Amazing Grace Stenciled Sign
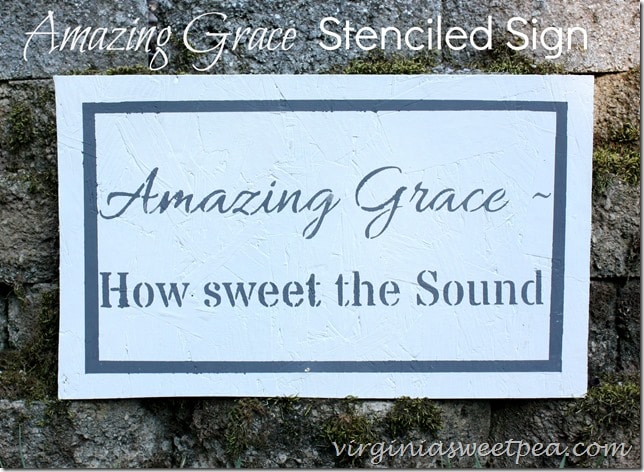
My friend Angie from Knick of Time has created an line of vintage sign stencils. She recently invited me to try out her Amazing Grace stencil that I used to make an Amazing Grace stenciled sign.
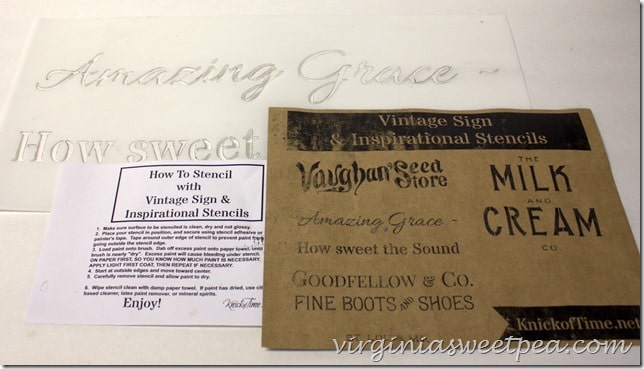
Included with each stencil that Angie sells is a set of directions for how-to-stencil, a stencil brush (shown later in my post) and a sample list of other available stencils. There are more on her website!
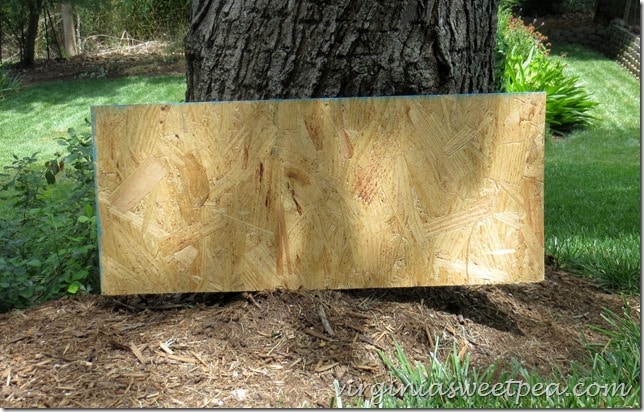
Being the dumpster diver that I am, I did an experiment when making this sign and used a piece of chipboard that I found in a dumpster. If you read my post from last Friday, you probably can guess the dumpster’s location. 🙂
Some of the links below are affiliate which means that if you make a purchase using the link, I receive a small commission.
I started by using a circular saw to cut the wood to size. I gave the chipboard two coats of Kilz to seal the wood followed by two coats of Maison Blanche paint in Mushroom.
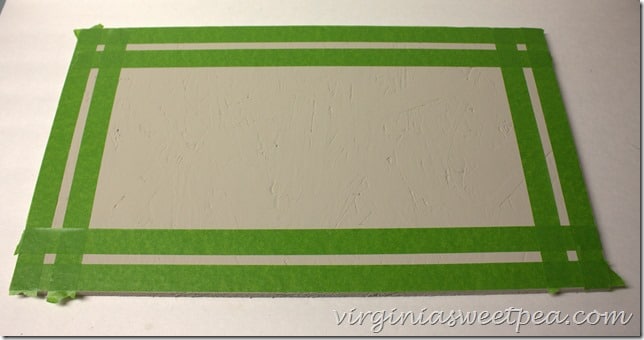
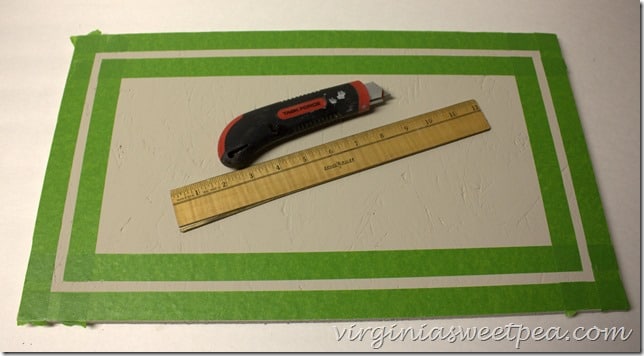
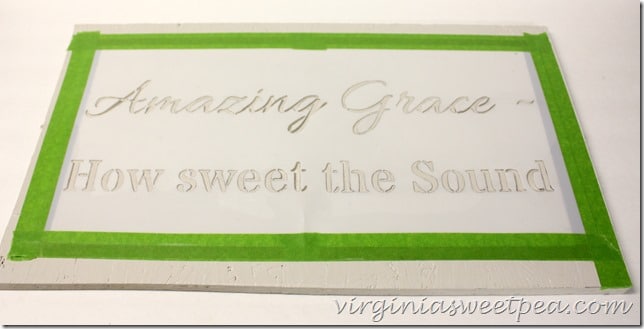
After the paint dried, I used frog tape to tape off a frame for the area around the stencil design.
A ruler and a box cutter make quick work of removing the tape from areas where I didn’t need it.
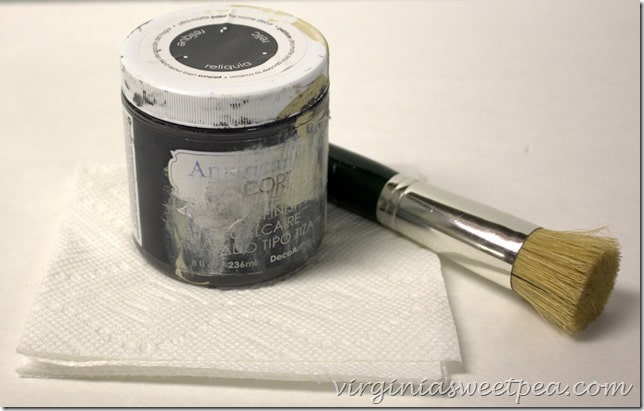
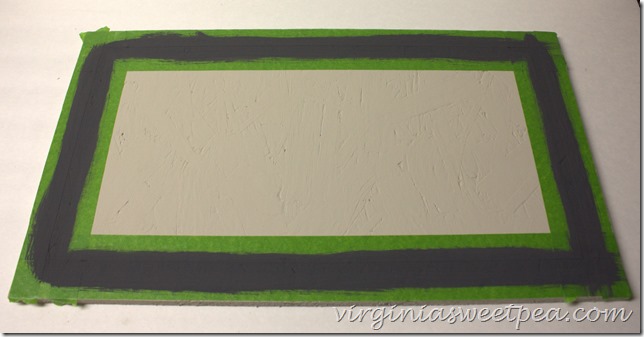
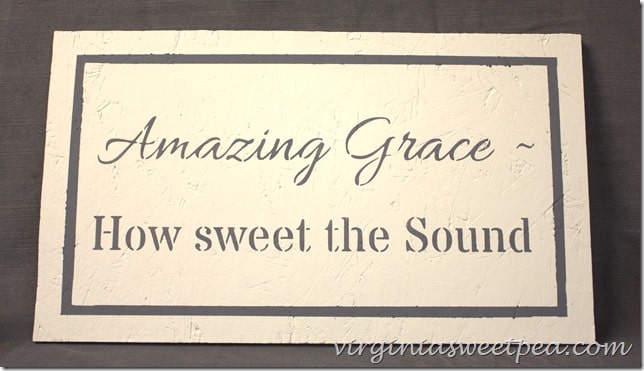
I used Americana Decor Chalky Finish Paint in Relic for both the frame and the stenciled words.
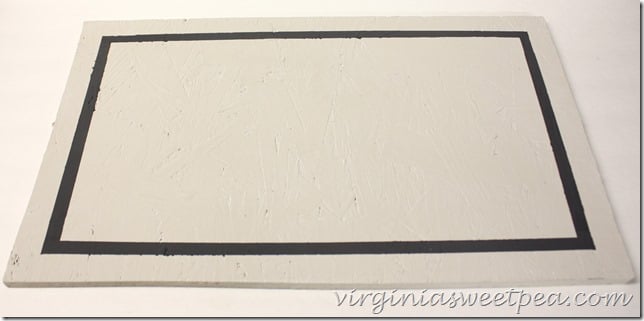
I stenciled the frame first but I could have started with the words.
Be sure to tape your stencil down securely. My stencil got bent in the mail which made it gap up a bit. To prevent paint from seeping into areas where it shouldn’t be, I pressed the stencil down with my fingers with one hand while using the other hand to apply paint with the stencil brush. Be sure to use a small amount of paint when stenciling. Dip the brush ever so slightly into the paint, tap the brush on a paper towel until most of the paint is removed, and then apply paint to the stencil using and up and down motion.
After the paint dried, I waxed the sign with Americana Decor Cream Wax and then buffed it with an old t-shirt.
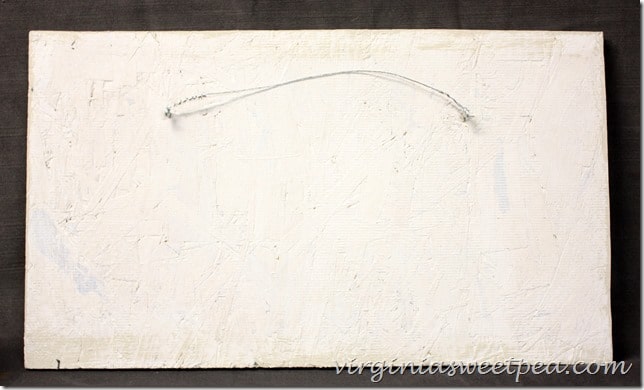
To hang the sign, I used picture framing wire and screw eyes. A saw tooth bracket would also work but I used what I had on-hand.
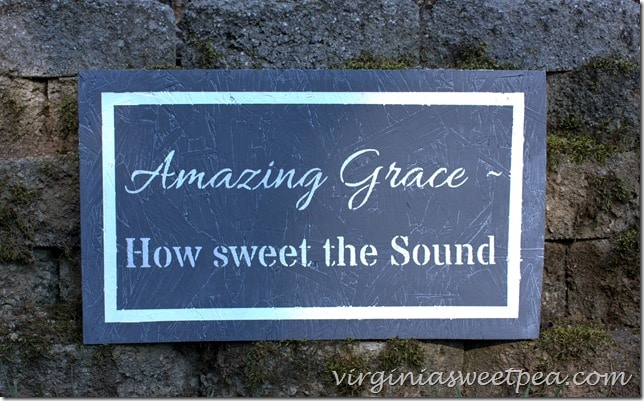
For a second version of the sign, I used the same technique but added an additional step. After applying two coats of Kilz and two coats of American Decor Chalky Finish Paint in Relic, I waxed the wood with lime wax from Maison Blanche. I like how the white wax shows of the grain of the chipboard. I doubt that a builder would think of this wood grain as pretty but I do! The paint color for the frame and words for this version is Everlasting, also an American Decor Chalky Finish product.
Be sure to check out all of the vintage sign stencils that Angie offers. I’m wanting to order a Christmas one to make a few new things to use in my home for this year’s festive decor.
If you like this project, please pin it to your favorite Pinterest board for others to discover. If you don’t already follow me on Pinterest, you can find me pinning away here.
Sharing With:
Dwellings-The Heart of Your Home, Refresh Restyle, Between Naps on the Porch, Concord Cottage,Stone Gable, Sand and Sisal, Yesterday on Tuesday, A Stroll Thru Life, Savvy Southern Style, Bless’er House, Common Ground, Houseology, Imparting Grace






Love both versions, Paula. I never knew a piece of chipboard could look so good! Great job!
This is so cool! I love that you used wood from the dumpster. I would have never thought to use chipboard for a sign but the texture works so well with it! Are you going to put it in the lake house or your store?
Both versions turned out beautifully, Paula! So glad you enjoyed using the stencil and thanks for sharing it with your readers! 🙂
~Angie
I never would have thought chipboard would look good at all used like this!!!
Looks great. One tip though. When using a stencil your suppose to go back and hang paint in and connect the spaces on the letters. That fives it a finished look.
Sorry. Typo..it should say hand paint in.