Staining Our Deck–Part One
In 2004 an addition to our home gave us a larger kitchen with an eating area, a family room, and a new deck. The deck was stained in 2004 and hasn’t had an update since. Staining the deck has been one of those projects that we’ve been meaning to do but have put off time and again. This weekend we got a great start on our project.
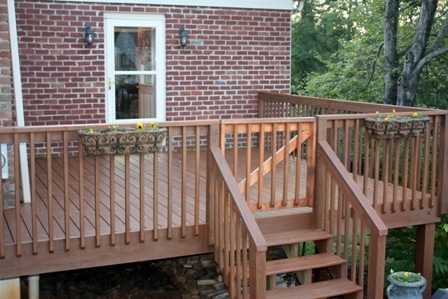
This is our deck. We very rarely sit on our deck because there’s a patio below it that’s open to the yard. Sometimes I sit out there while Mr. SP grills, but that is it. I do find it handy to grow herbs on it as I can easily slip out to the deck to snip what I need while I’m cooking. Looking at the “before” picture below, you can see that it doesn’t look bad at all from a distance. The wooden rectangles hold planters that I took down for fall planting. The gate at the top of the steps is a new addition that Mr. SP made when we got Sherman in March.

Half of this deck is in the sun under the afternoon. The sun soaked sections don’t have much stain left on the exposed boards.

The shady section of the deck is covered in algae thick enough to scape it off with your fingernail.


Even the window on the shady side is algae covered.

Areas that have held pots for as long as we’ve had the deck show what the original stain looked like.

I discovered Homeright products at the Haven Conference in August and was immediately interested when I saw their deck washer. The deck washer connects to a hose and can be used not only to clean decks, but also to clean sidewalks, entryways, patios, pools, driveways, and garage floors. Priced at less than $30, it’s a handy tool to use for many projects that require cleaning.

Since Mr. SP is tall and I’m short, a feature that we really liked was the telescoping handle. Here is is set for tall Mr. SP. When I took over, I quickly adjusted it for my short stature.

I don’t think we cleaned our deck in a textbook fashion, but this is what worked for us. Our bleach container only had about a cup left in it, so I put it in a bucket and filled the bucket with hot water. I got a section of deck wet, then dipped the deck washer in the bleach solution and spread it out. After a few minutes, I scrubbed the bleached section down with the deck washer.

The corner area that was algae covered required extra scrubbing with a scrub brush. The deck broom made easy work of rinsing off the dirt and washing it away. (Can you see how clean the window is after scrubbing it with the deck brush?)

This picture is a good comparison showing a cleaned and uncleaned section of our deck.

After the deck floor was cleaned, we tacked the rail, mostly by hand.

After a few hours of work, the deck looks remarkably better!

I couldn’t wait to get home from school on Monday to see the deck dry. What a difference cleaning the deck made! The algae is gone from this section. (I think I’ll scrub the brick next weekend.)

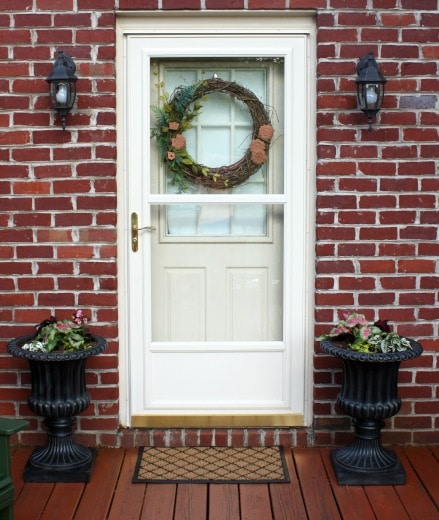
The area by the door looks much better.


Now I need to cross my fingers for good weather next weekend. We have the stain and are ready to make this deck look like new.
Disclosure: This is a sponsored post with product provided by Homeright. As always, all opinions are my own.
Sharing With:
Grace at Home at Imparting Grace

Yay! So glad to see this product at work. The deck looks awesome! Good luck on staining it!
Wow, that looks like a lot of work but I am sure the end result is going to be amazing. Can’t wait to see part II.
Wow! It looks so good. All of that hard work really pays off.
Oh my gosh. . . I can’t believe the difference. Looks like a whole new deck! I’m anxious to see it after you stain it.:)
Me, too! I hope the weather is good this weekend so that we can stain it.
It looks so great – need this!