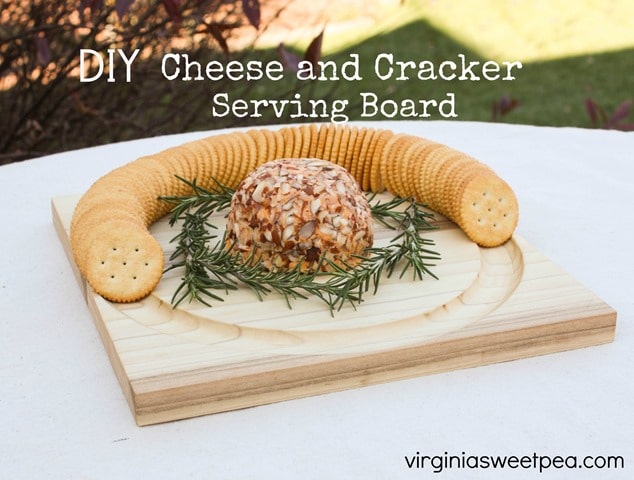
DIY Cheese and Crackers Serving Board
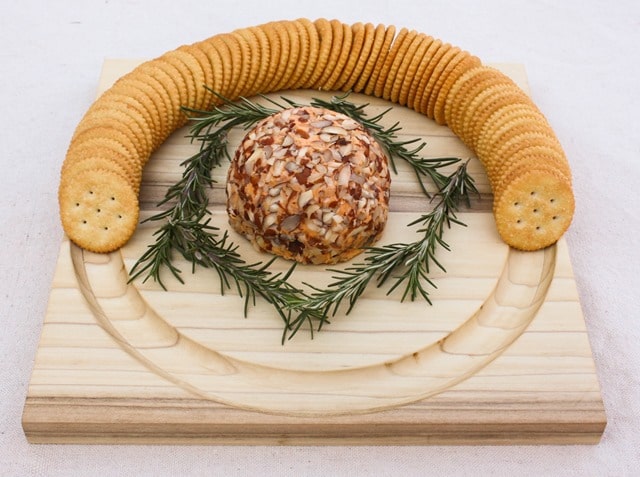
Today my Power Tool Challenge Team gals are sharing projects and this time it’s a Holiday Edition. We each made a gift for another team member but we only know the recipient of the gift that we made. I made a DIY Cheese and Crackers Serving Board that will be useful for the holidays and also for entertaining any time of the year.
I’m so excited to see what each gal made this month and am extra excited to know that one of the projects shared will be sent to me!
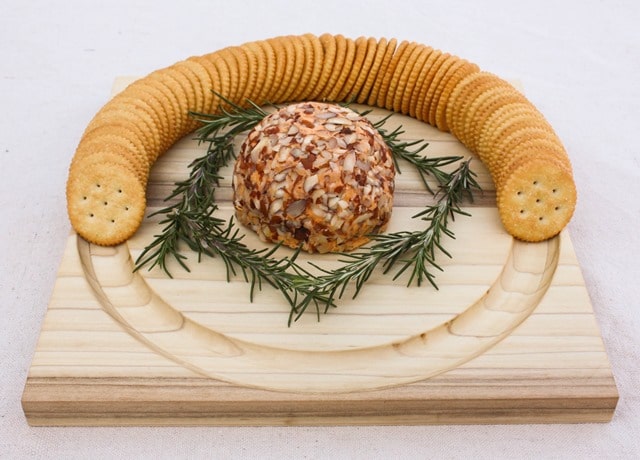
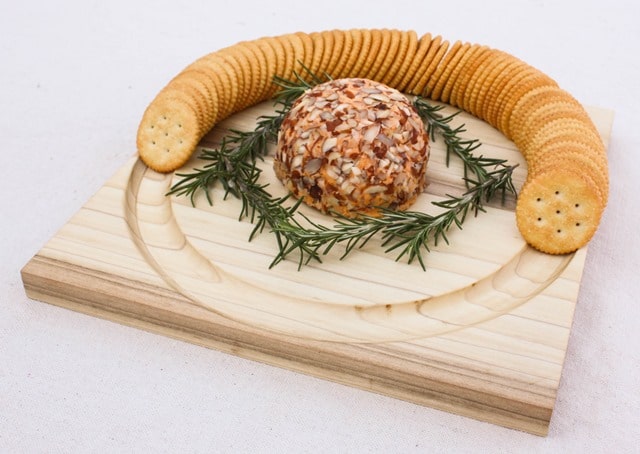
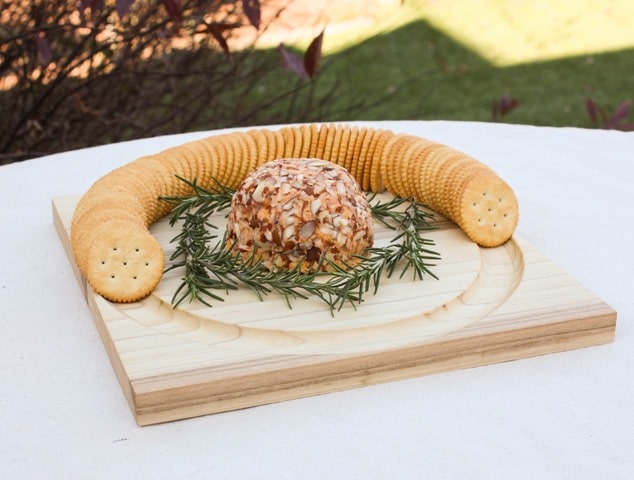
What makes this Cheese and Cracker Serving Board special is the groove that holds the crackers in place. With this server there’s no need for a separate basket to hold the crackers, the groove keeps them in place around the cheese ball.
Materials
Affiliate links are included. Any purchase that you make gives me a small commission at no additional cost to you.
Poplar Board – I used a 1” x 6” x 8’ with wood leftover for future projects.
Circle Cutting Jig – This is so useful! I also used it for DIY Clocks that I made.
Sliding Compound Miter Saw or Circular Saw – Our Sliding Compound Miter Saw is always out and read to be used so I used it. A regular hand held saw could be used as well.
Biscuits – #10 Size
Pencil
Pipe Clamps (Three sets were handy for this project.)
Tung Oil – I used this product.
Rag to Apply Tung Oil
Procedure
1. Cut the Pieces
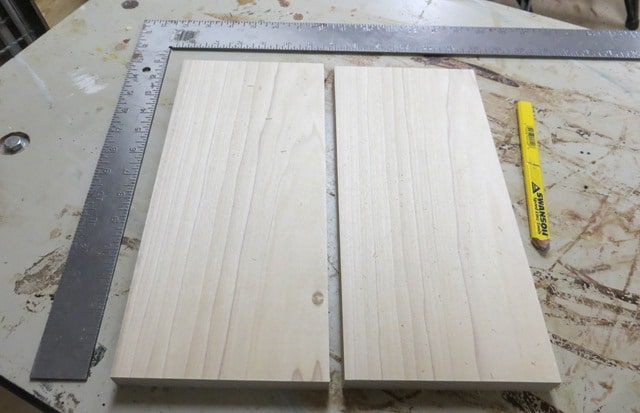
Since the true width of a 1” x 6” x 8’ board is 5 1/2” inches, I decided to piece two sections together to make the cheese board 11 inches square.
I started by cutting two pieces of the board to about 11 1/2”. I made them a bit longer knowing that I would square it up after joining the two pieces together.
2. Join the Boards Together
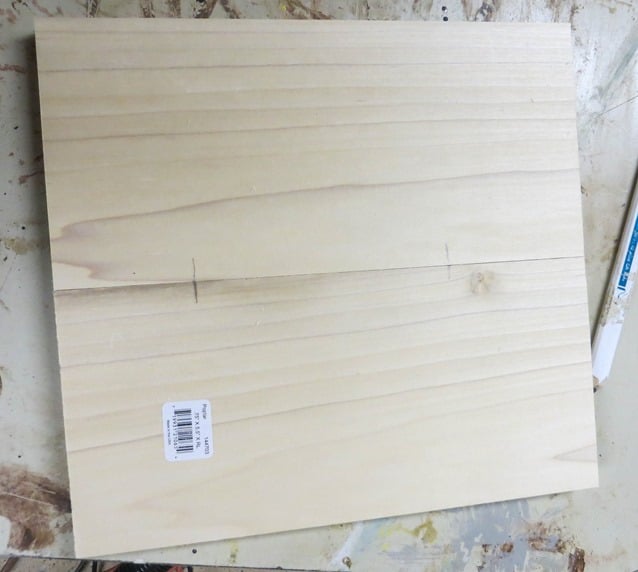
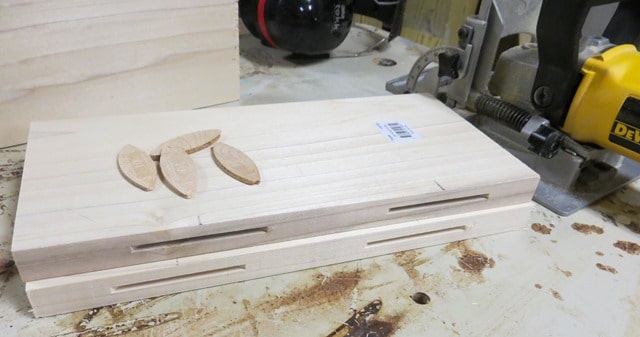
To join the two boards together, I used our biscuit joiner. The first step for using this tool is to make marks on both boards for where the biscuit will go.
These are the slots in the wood that the biscuit joiner makes. Four biscuits are pictured because I actually made two cheese boards. I wanted one for myself!
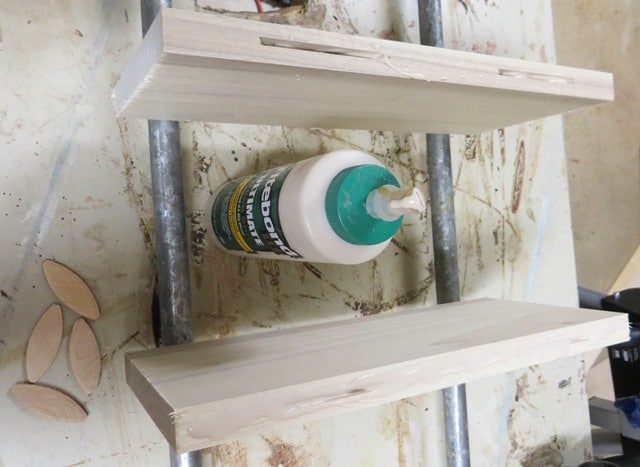
Apply Glue to the edges of the board.
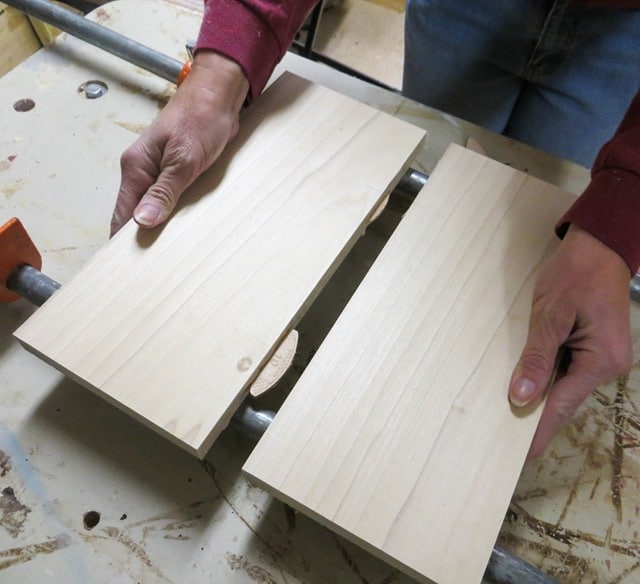
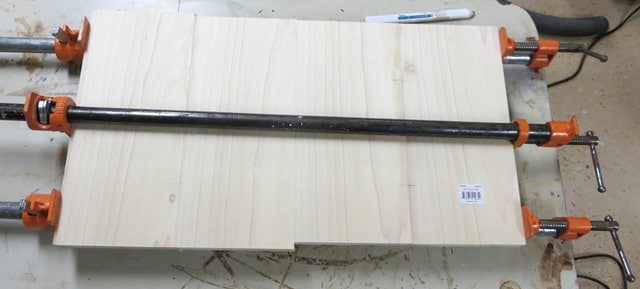
Insert the biscuits and press the two boards together. Use pipe clamps to keep everything square and to hold the boards in place until the glue dries.
Here you can see the pipe clamps in action.
3. Square the Wood
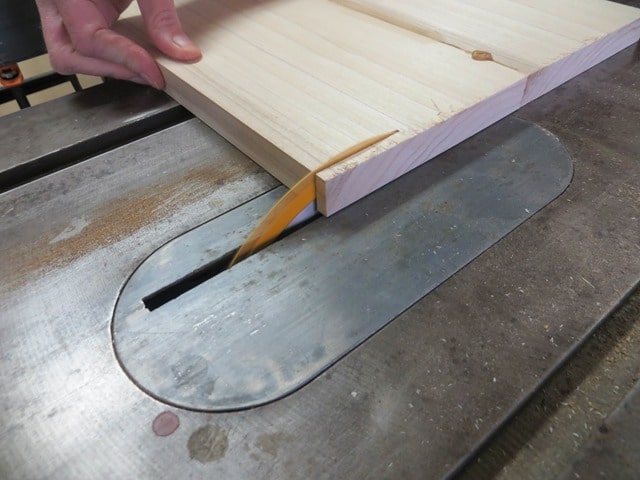
After the glue is dry, use a table saw or you could use a circular saw if you don’t have a table saw to square off the cut ends
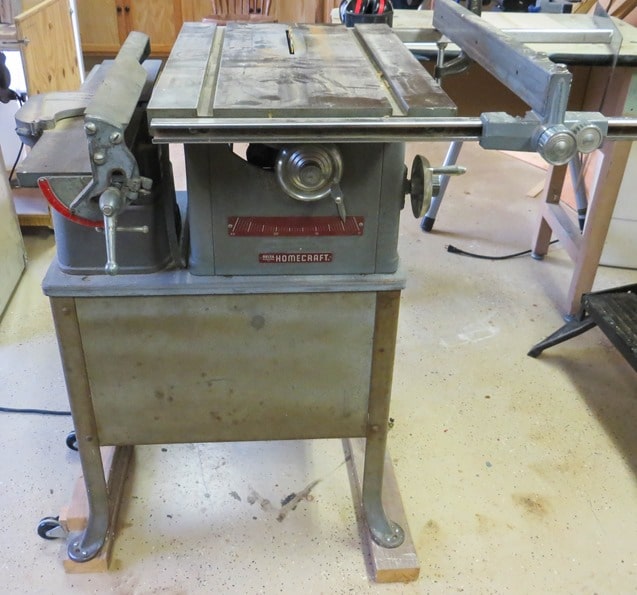
Don’t think that your power tools have to be brand new. I use the table saw that I inherited from my granddad. This beast is probably at least 60 years old and it still works like a champ.
4. Route a Groove for the Crackers
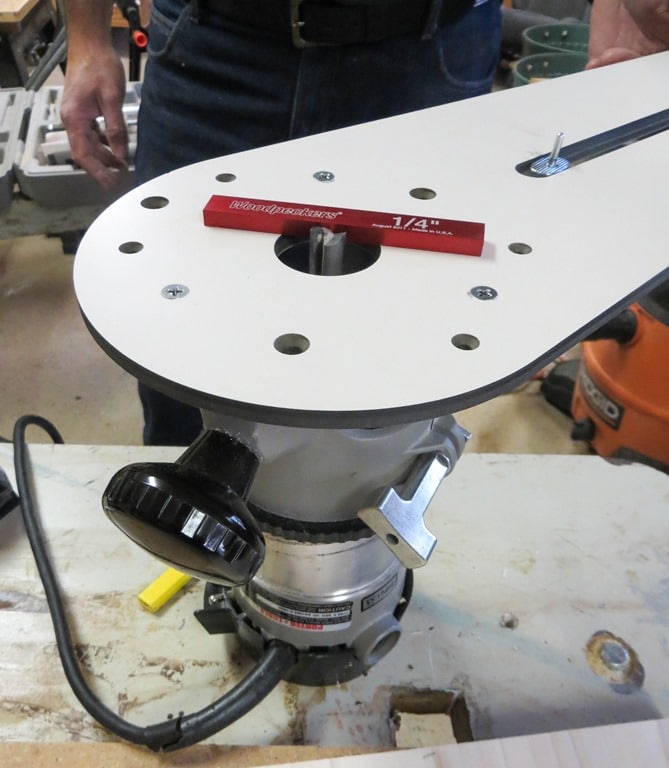
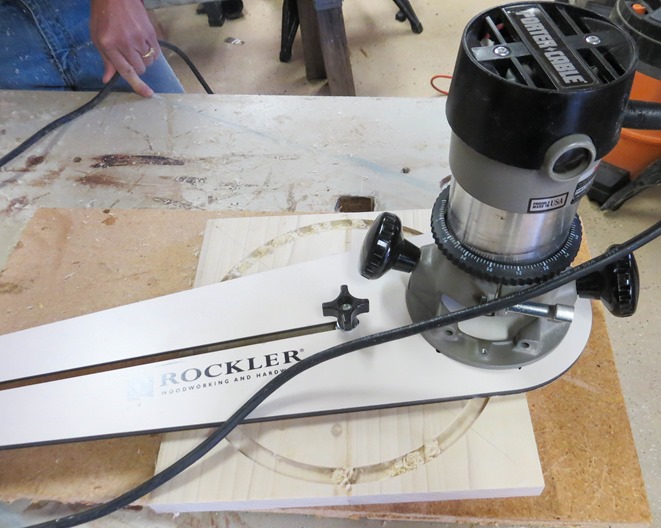
A circle cutting jig made for a router was essential for making the groove for the crackers.
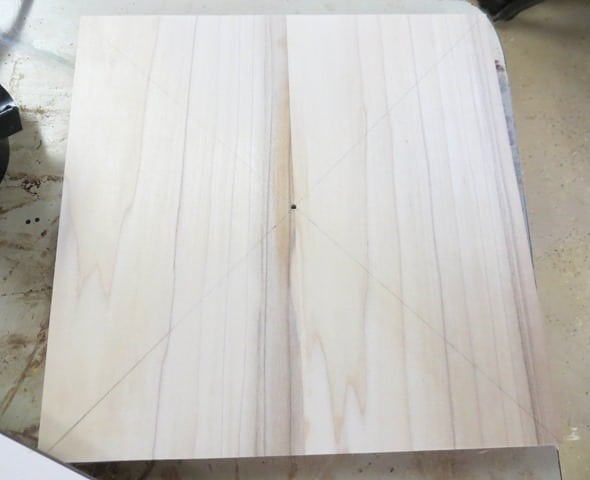
Using this jig requires that a hole be drilled in the center of the cheese board. I later filled this with wood filler.
Insert a 1/2” straight router bit into the router set at 1/4” depth.
Use the circle cutting jig to cut a circle into the wood.
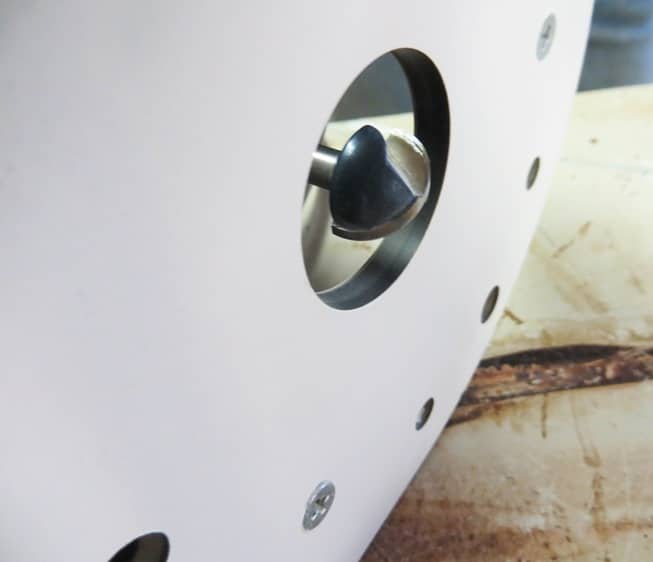
Switch to the roundnose bit with the intention of rounding the edges of the square channel that was just cut.
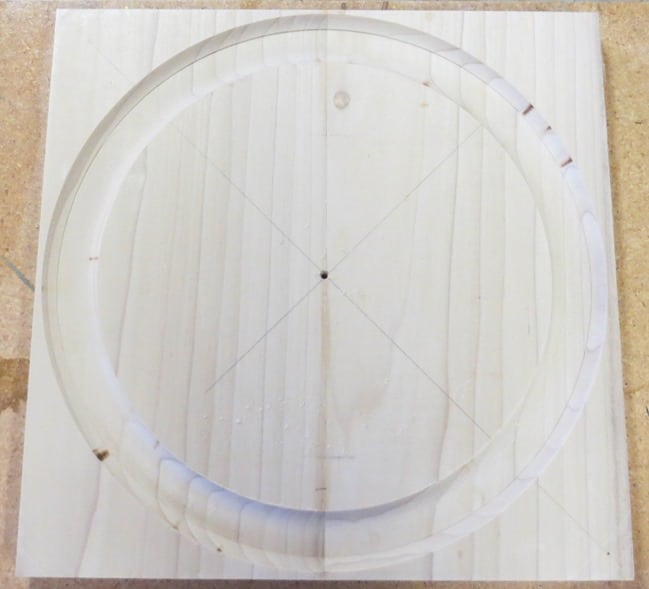
I moved the center pin of the circle cutting jig out 3/8” from the radius of the initial routed channel. That is 1/2 the diameter of the roundnose bit. This created the outer rounded edge of the circular groove. Once that was completed, the center pin of the circle cutting jig was moved in from the initial routed channel radius. This created the inner rounded edge of the circular groove. The end result of the 3 routed circular cuts is shown below.
5. Sand
Fill the hole in the board with wood filler and let dry. Use a random orbital sander to sand the board. Wrap a small piece of 220 grit sandpaper around a finger to hand sand the groove.
6. Finish the Board
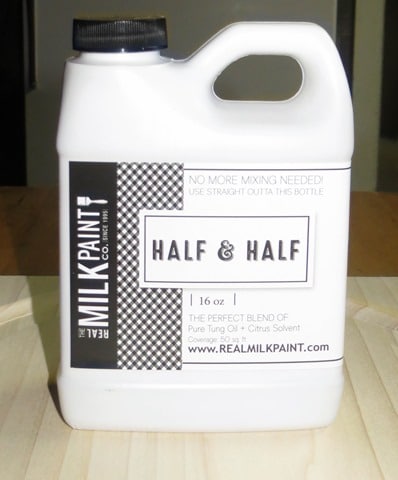
Since the cheese board is the be used with food, I needed to finish it with a food-safe product. Tung Oil from The Real Milk Paint Co. worked like a champ. I applied several coats, adding Tung Oil until the wood would no longer absorb the product for each application.
I am thrilled with the end result of this project. I’m sure to use my DIY Cheese and Crackers Serving Board multiple times over the holidays and I hope that the person who receives her serving board will like it as much as I do.
Tung Oil didn’t darken the wood but I love how it brought out the wood grain.
I intended to make a cheese ball to use for this post but ran out of time and purchased one from Kroger. It was super yummy and I’m glad that I didn’t go to the trouble to make one.
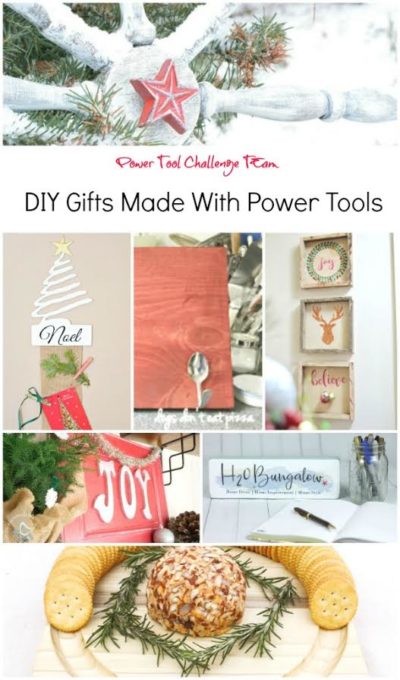
Now enjoy the projects that my friends made this month. Which would you like to receive as a gift?
Wooden Chair Spindle Snowflake by Interior Frugalista
Hanging Christmas Card Holder by H2OBungalow
DIY Cookbook Stand by Dogs Don’t Eat Pizza
DIY Pallet Wood Shadow Box by Create And Babble
Repurposed Cabinet Door Joy Plaque by Designed Decor
Textured Photo Transfers To Wood Blocks by The Kim Six Fix
DIY Cheese and Crackers Serving Board by Virginia Sweet Pea


This is such a cool idea!! I love it! You are killing it with these woodworking projects! I love seeing them!
This is so creative! LOVE your router my friend! I have no doubt someone will be loving this gift when it shows up on their doorstep soon:) Pinned!
Paula, oh could I use one of these awesome cheese and cracker boards – LOVE! I have my finger’s behind my back right now hoping that it may be en route to Canada.
I love it! You did a great job! I hope I’m the lucky lady who gets this!! 😉
This is awesome Paula! I hope I’m the lucky recipient. I need to use my router more often. Pinned!
This has to be one of my favorites! I love it! I want it! Awesome job Paula!
Your wood projects always amaze me, Paula! I absolutely love this! You could also do a veggie tray on this and put cucumber slices in the groove with the rest of the veggies in he center! XO
That is such a good idea, Christy! I never would have thought to put cucumber slices in the grooves. We have our school Christmas party on Thursday and I just might make a veggie try just as you described to share.
That is such a great idea! Thanks for sharing this with us at the DI & DI Link party. Hope you had fun, and have a great weekend!