How to Use a Jigsaw to Make a Sign
I’m back at school and have a fun project to share that I made for my classroom door.
I used a jigsaw to make a sign in the shape of a dog. After painting the sign with chalkboard paint, I used a chalk marker to label it with my name. I meet my students today and I hope my new sign will help them to find my room easily.

I’m in my teacher workday clothes here but will be dressed up when I greet my new students for the first time today. I actually enjoy dressing up for school and I think it creates a positive roll model for my students.

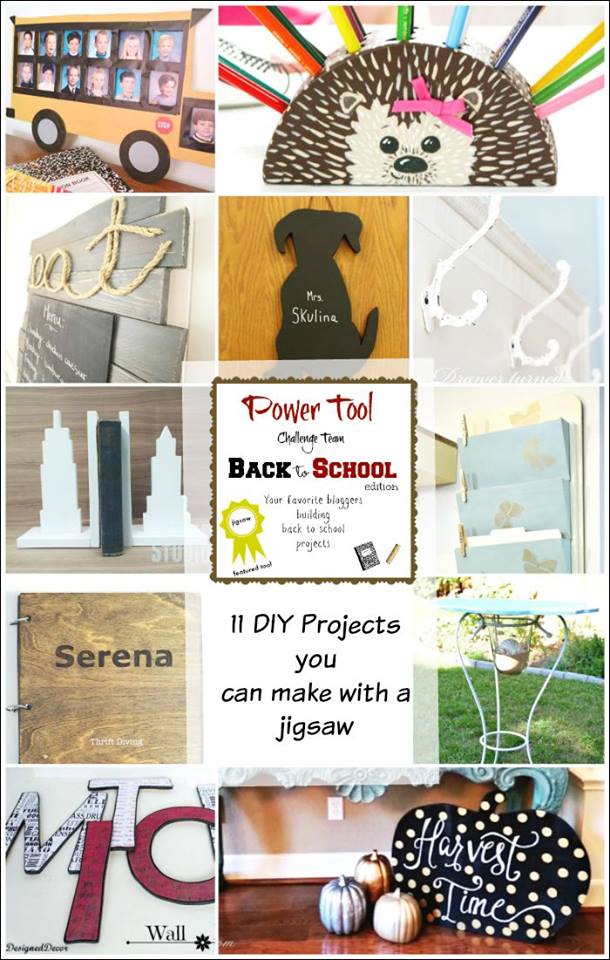
I’ve teamed up with a group of ladies who enjoy using power tools. We want to show you that power tools are fun to use and yes, you can use them! After you’ve enjoyed my project, scroll down to view more back to school projects crafted with the help of a jigsaw.

How to Use a Jigsaw to Make a Sign
Materials
(*Affiliate links are included for your convenience.)
Jigsaw
Clamps
Pine Wood
Pencil
Palm Sander
Sandpaper for hand sanding
Chalkboard Paint
Paint Brush
Chalkboard Marker
Two Screws and Nuts
Leather Cord
Hearing and Vision Protection
Tutorial
1. Draw or trace your desired shape onto a piece of wood.
I used a piece of pine leftover from making a top for our Ikea Hack Patriotic Dresser. I found plenty of dog images on-line that I could have used but wanted mine to be 100% unique, so I asked Mr. SP to draw one for me. (This was super nice of him because he’s been dreadfully ill for over a week from a tick bite and can hardly muster the energy to get off the couch.)

I think he had Sherman in mind while he sketched. 
Usually when I do a woodworking project, Mr. SP helps me. Since he is sick, I was on my own for this one. I assembled my supplies and then got busy.

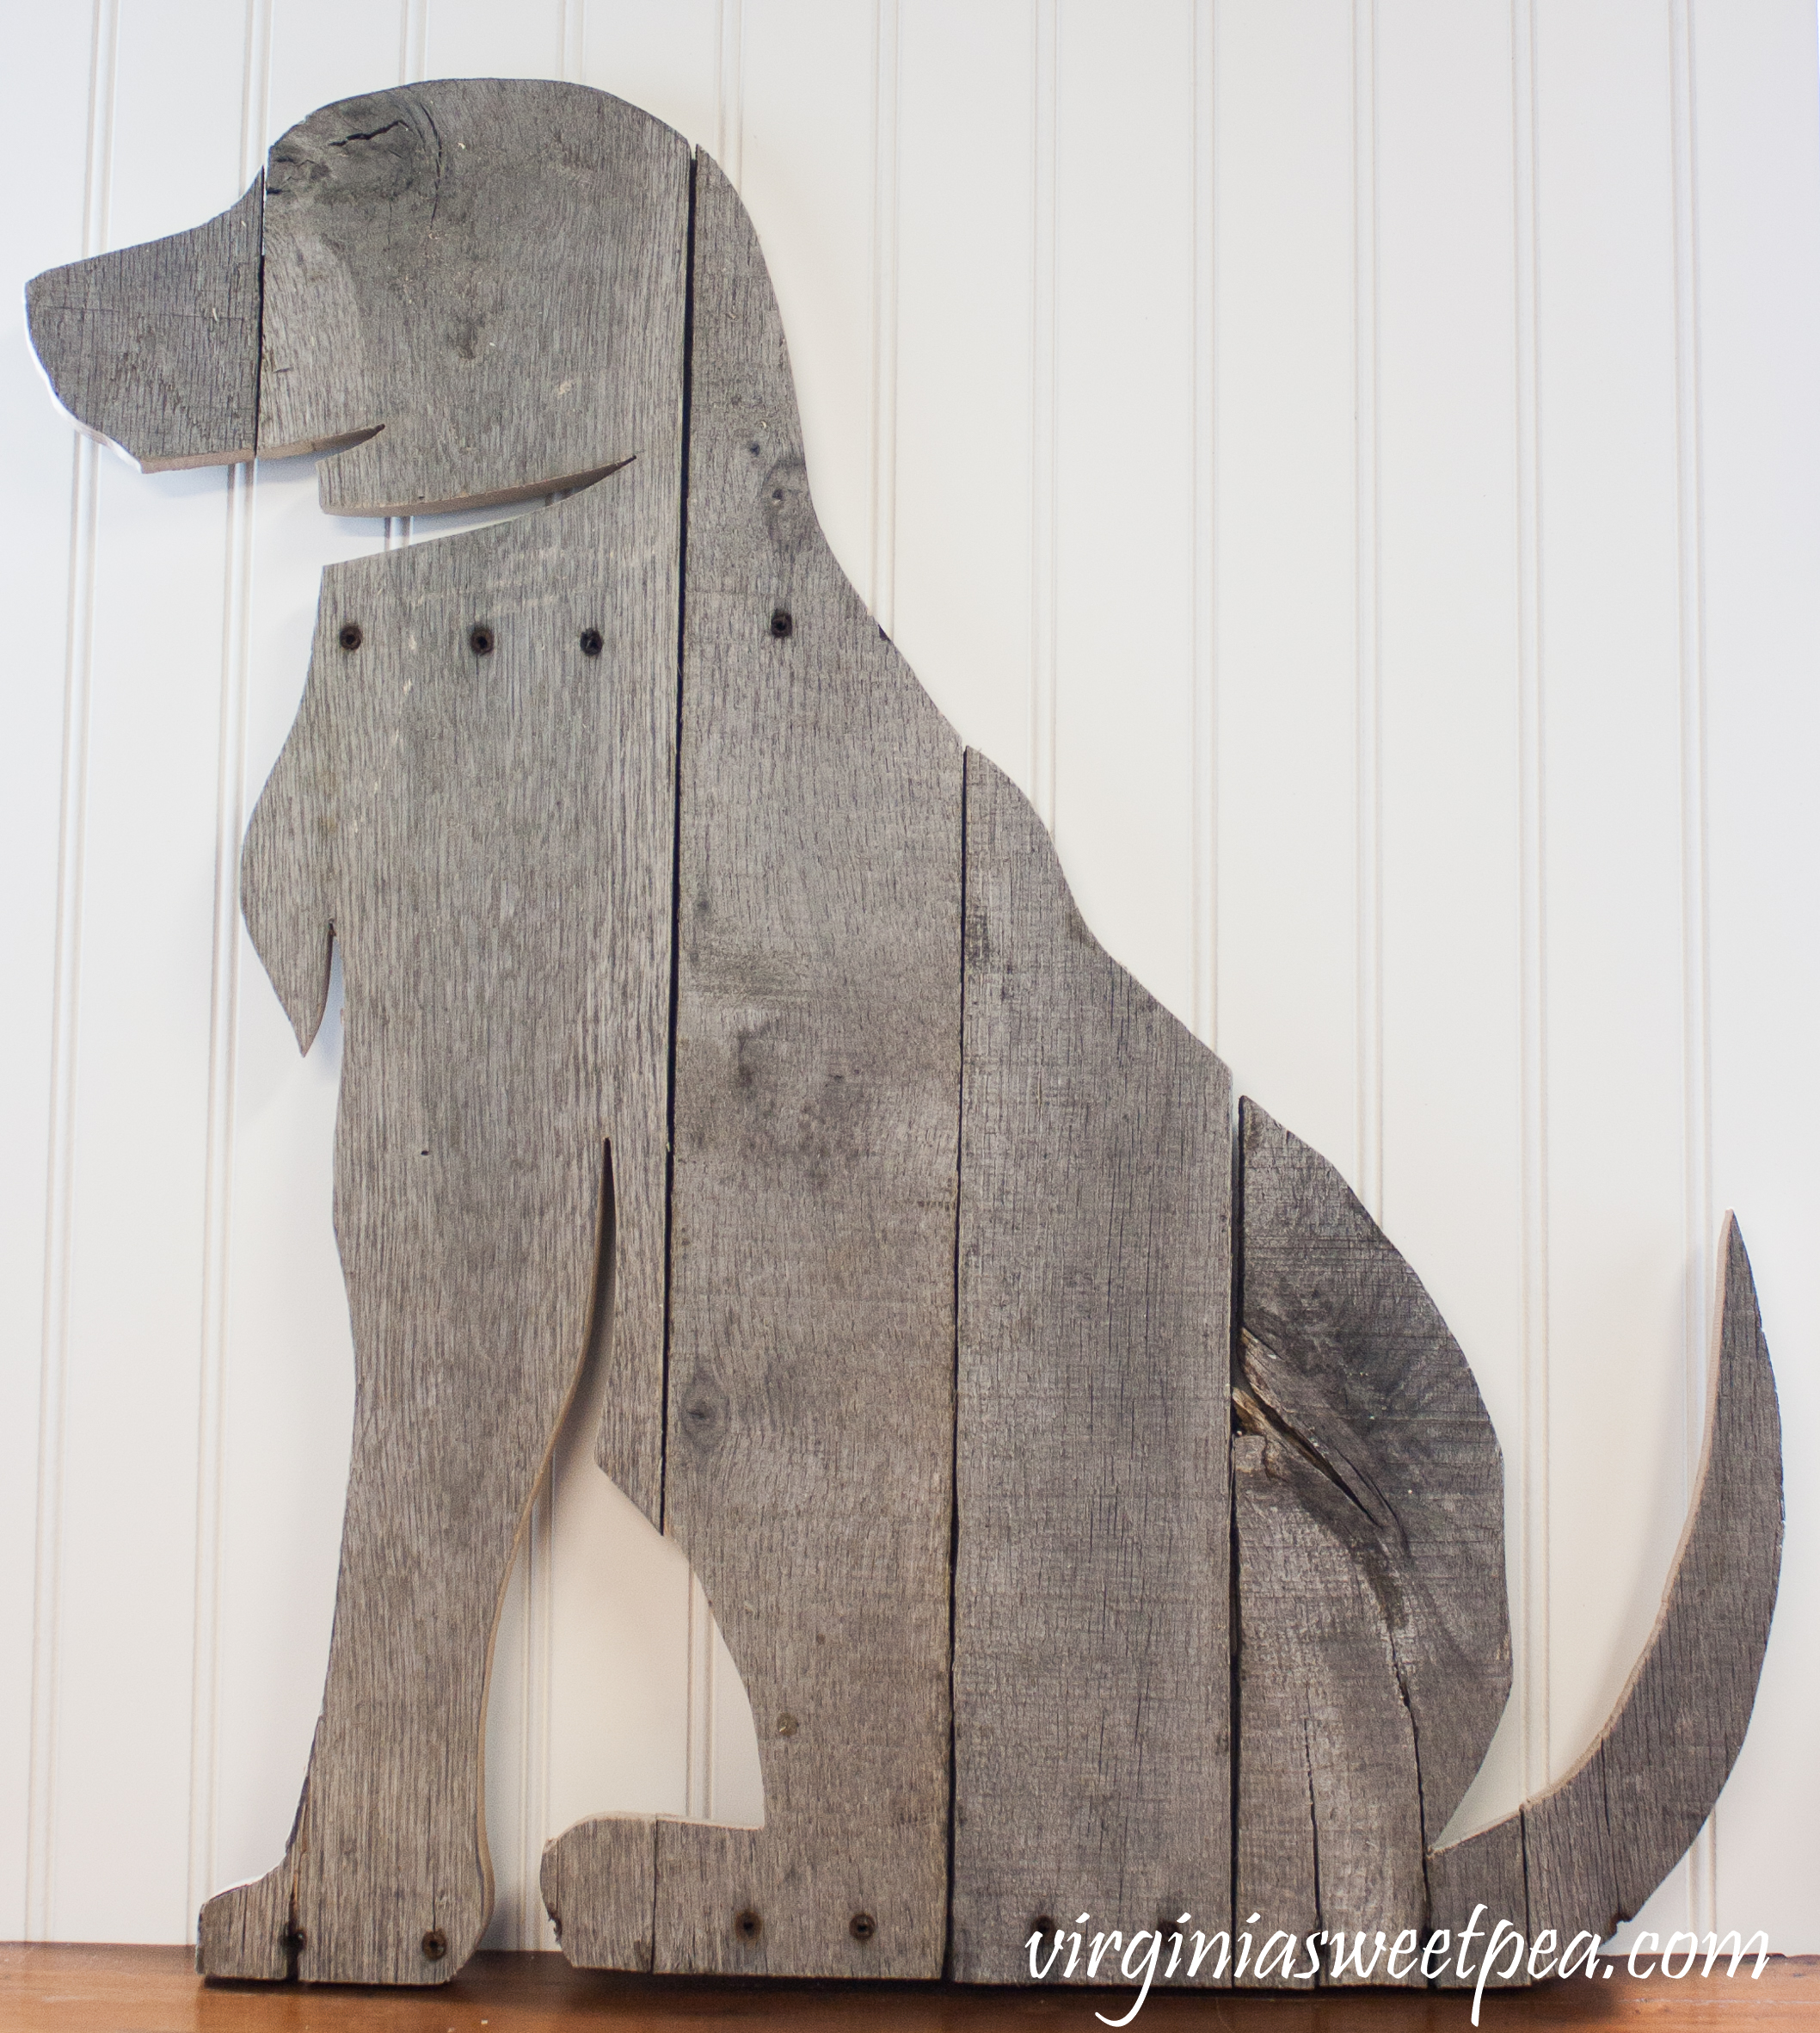
2. Use the jigsaw to cut out your image.
Clamp the board to your work surface with the part that you are cutting well over the work surface’s edge.

Be sure to start the blade before you begin cutting. Straight lines are easy, curves are a bit harder. I take my time and get as close to the traced image as I can.
Turn the board and clamp in place to cut out another section.

Keep turning and cutting until the image is cut out.

Since I don’t use a jigsaw all that often, some of my cuts were a bit rough looking such as under the dog’s right ear and around his feet. I didn’t worry about it because I knew that it’s nothing that some sanding can’t fix.

3. Sand
I used a palm sander to sand both sides and as much of the edges as I could. I then used sandpaper and old fashioned elbow grease to sand the areas that the palm sander couldn’t reach.

Here’s my dog sanded and ready for paint.

4. Paint
I chose chalkboard paint for my dog since he will hang on my classroom door. At the beginning of the year he will display my name and room number but as the year goes on, I’ll use him for messages such as, “In Room 108 Today.”
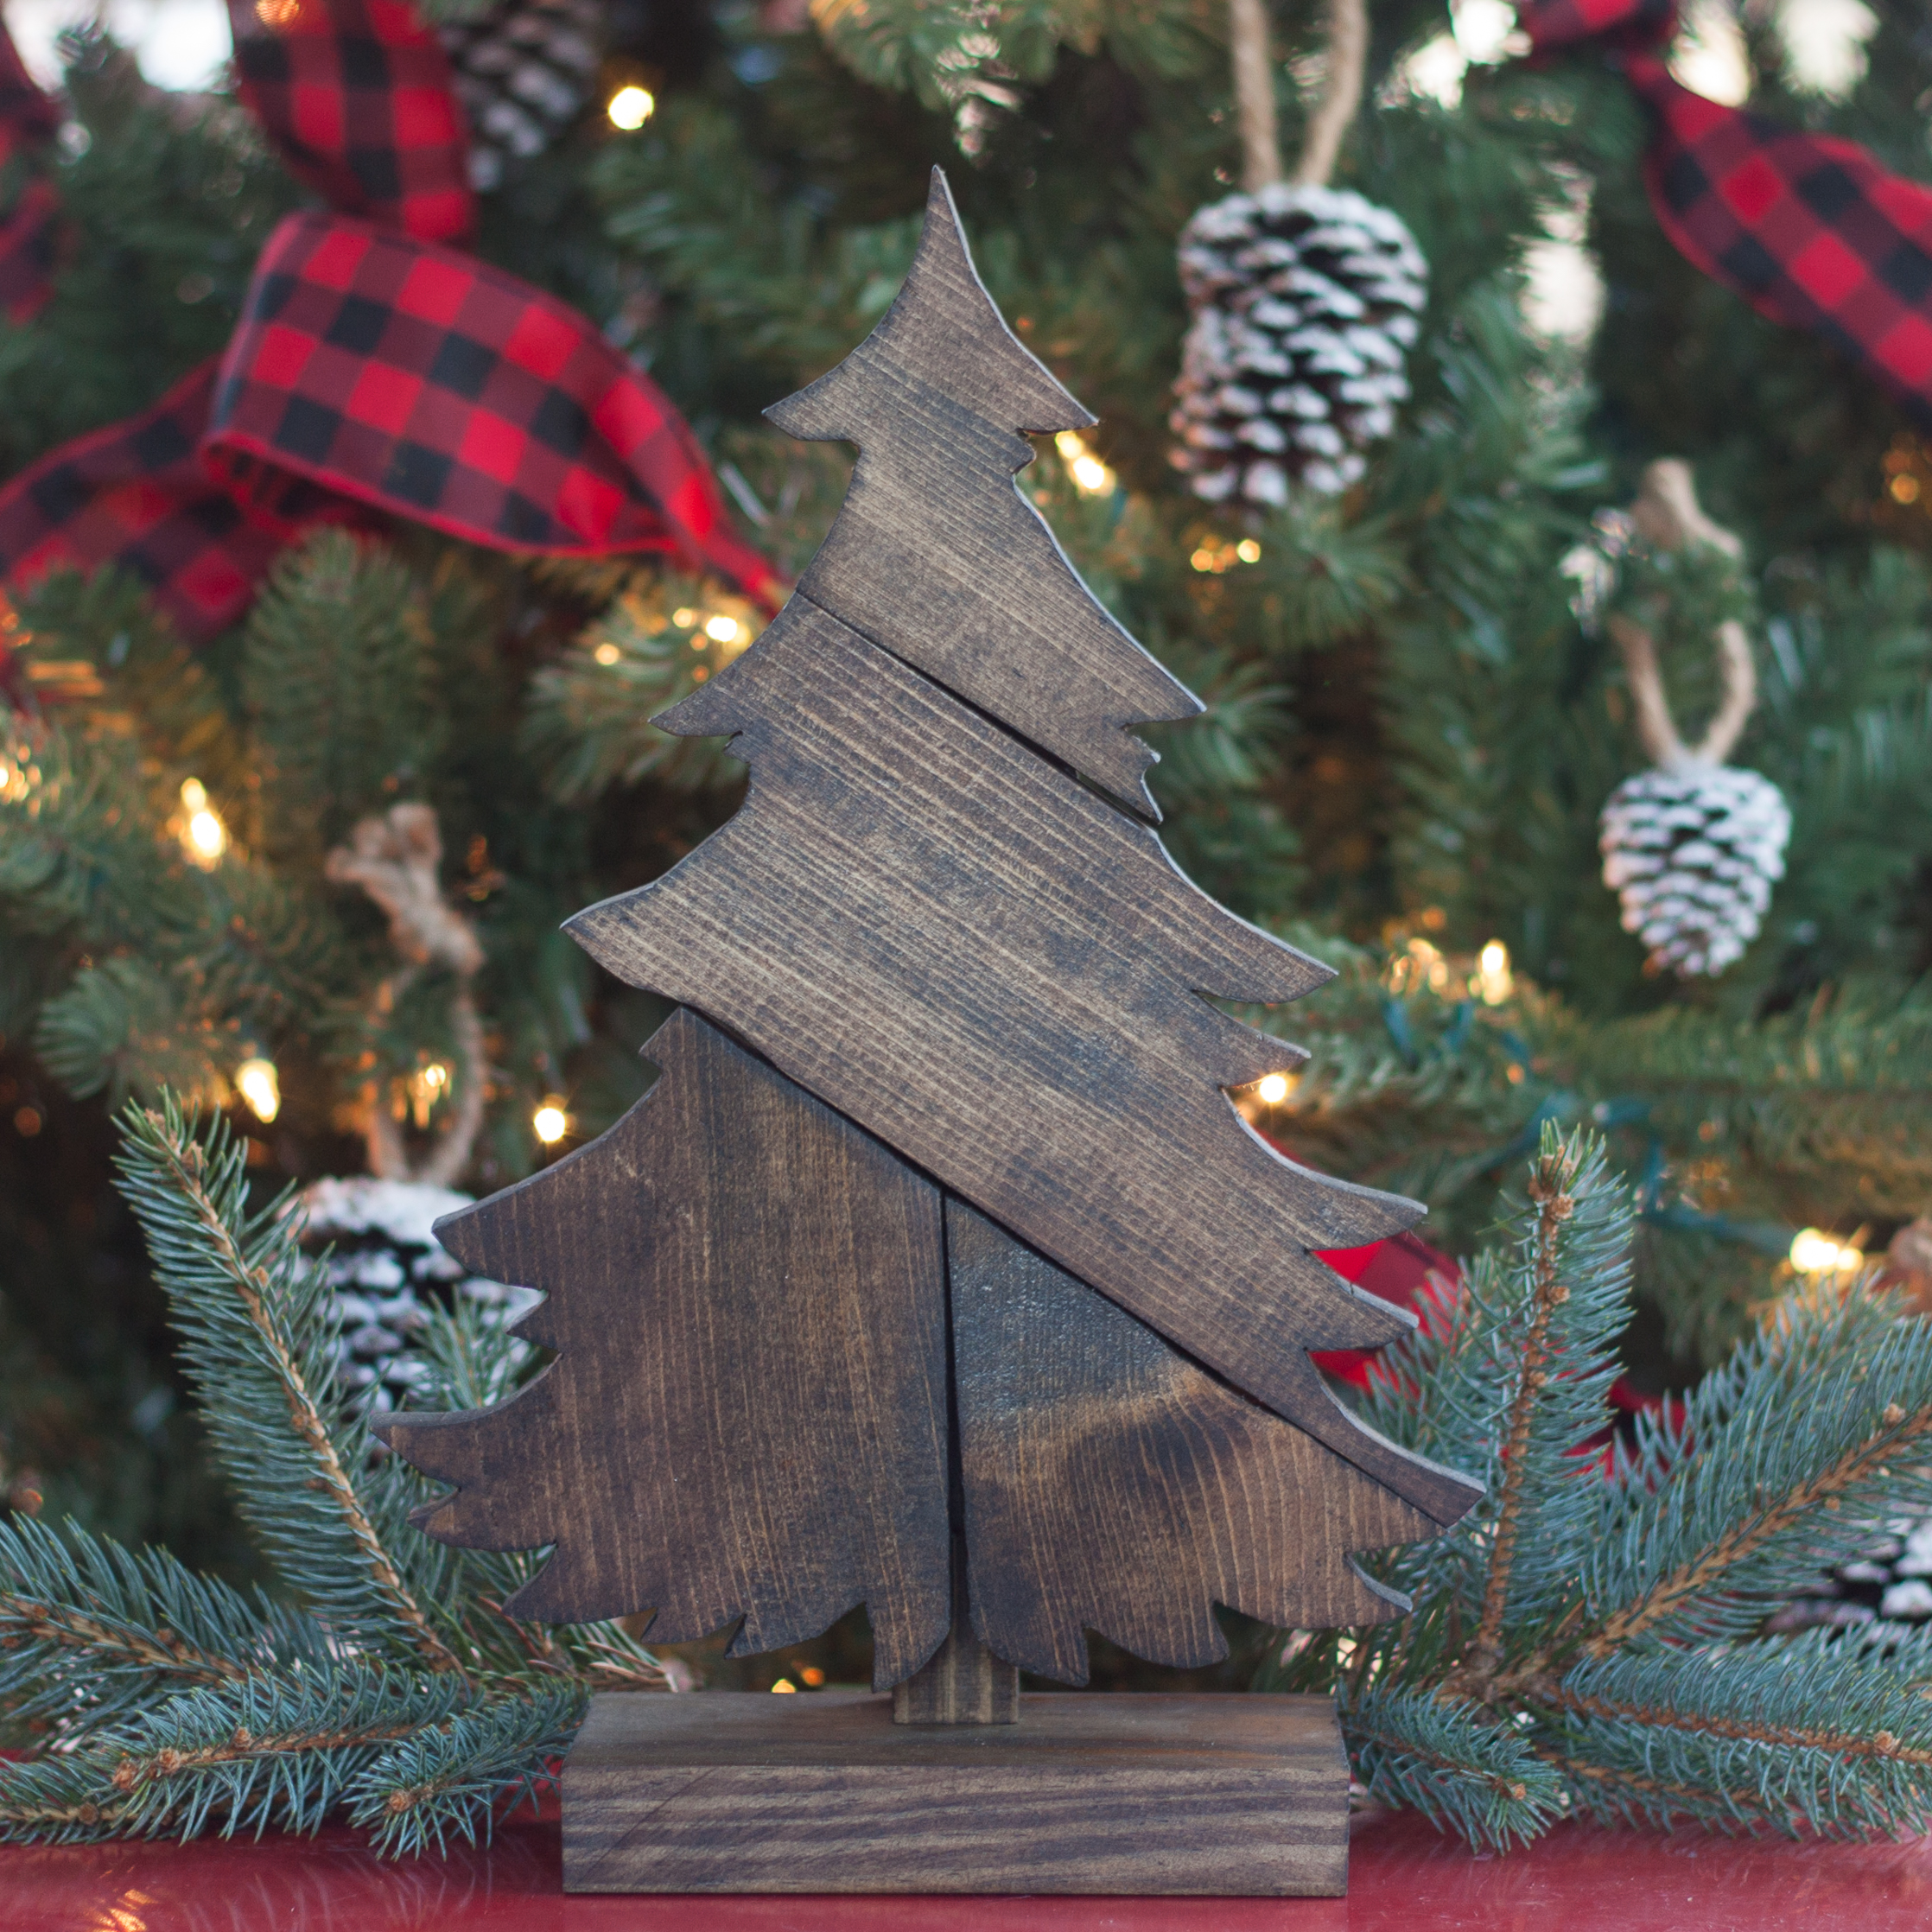
My dog also would look good with stain or paint simply to use as a decoration.
I’ve got a great tip for you today that will let you paint both sides of a board at one time. This is such a time saver! To do this, I used mini finishing points from Rockler.

I painted the edges and one side of my dog and rested him on saw horses while I set up the mini finishing points. Note how I spread them out on the work table in the approximate shape of my dog.

I then flipped the dog over painted side down on the finishing points.

See how they hold my project up so that both sides can be painted?

Here is my dog with one coat of chalkboard paint. Chalkboard paint requires 24 hours of drying time between coats so being able to paint both sides of the wood at one time is a real time saver. 
5. Attach the Hanger
I decided to use a leather cord to hang my dog because it reminded me of a leash. I attached the cord by catching the ends with a screw and nut inserted into the back of the dog.

6. Season the Chalkboard Paint
Rub chalk all over the surface of chalkboard paint to season it. If you don’t do this, a mark can be permanent in the paint. (I skipped this step for now but will complete it later when I need to use my sign for messages written in chalk.
I used a chalk marker to write my name on the sign.

I hope that my new sign will not only help my students to find my room but also make my room look inviting to them. I always want my class to be the class that students love to attend!

And if you haven’t been in a school for a long while, here’s a peek into my classroom. I have a large room with nice tables for labs and plenty of counter space and drawers and cabinets for storage.

I used to be afraid to use power tools but now that I’ve had practice with Mr. SP’s supervision, I am loving that I can do things on my own. I am proud that I did this project without an ounce of his help other than having him draw the dog for me. (Of course I wish he weren’t sick so that we could have worked on this together!)
If you don’t have someone to teach you to use a tool, watch a few YouTube videos and before you know it, you’ll be using any tool that you want to use all by yourself!
Now enjoy the other projects!
What a sweet and functional project, Paula! I’m sure your students love it. (though I have to admit, I’d be tempted to embellish it if I were in your class…hee hee).
Love it! And that your pup is a chalkboard too. I can imaging how much fun your students will have when they find a piece of chalk:) I was “creative’ like that when I was in school:) Such a unique way to personalize your school room…this is such a good project for the Back To School theme:)
I hide all of the chalk from them, Wendi! We do most everything on the SmartBoard these days so there isn’t much use for chalk.
Paula
Love, love, love this sweet sign!! It looks fabulous on your classroom door – you did a great job!
Thank you, Cher! My students love my sign and so do I.
Paula
This is the cutest jigsaw project ever, Paula! Your hubby did a great job with the sketch, especially not feeling his best. This will surely make your students instantly feel welcome to your classroom. Hope Mr. SP feels better soon! XO
I am so thankful that he is starting to feel better, Christy. It was a rough couple of weeks! My kids are loving my sign but probably not as much as I do! 🙂
Paula
Oh Paula, this is too cute! You have some mad jig saw cutting skills to be able to cut all of those curves! I hope your students appreciate all of your efforts to make them feel welcome in your classroom! Have a great school year!
The school year is off to a great start, Jeanie! So far my kids have loved my sign, especially the ones that I had last year who know that it is shaped like my dog.
Paula
This is sooo adorable, Paula! And I know, you were like, “Oh, I don’t use a jigsaw much…” HA! You’re a pro! 🙂
Paul, I bet your classroom door will be the most popular one in the school! Such an adorable door sign and your husband did a great job drawing the template. I’m so jealous of your jigsaw! I keep wishing my Mastercraft model will morph into a DeWALT. Santa are you reading this? Hope your have a fabulous first day of school!
Thank you, Marie! Isn’t it fun to ask Santa for tools?
Paula
Great tutorial Paula! I never heard of those pointers but I need to run out and get me some. Where did you get them? I have some jigsawing projects coming up. Thanks again! 🙂
They came from Rockler, Bev. Mr. SP loves that catalog!
Paula
Paula,
First of all I sure hope Mr P is feeling better, how sweet he drew that for you. You did a great job, especially attempting the rounded edges! Best of luck in your new school year!
~Tami
Thank you, Tami! Mr. SP is starting to feel better and I am so thankful. The past few weeks have been scary!
Paula
Absolutely adorable Paula! I need this for my classroom door!!
I didn’t realize that you are a kindergarten teacher until I read your “about” page, Krista. Your students would love a sign! I hope you have a wonderful school year.
Paula
Thanks so much for sharing this, Paula! I have always wanted to try cutting shapes with a jigsaw. You’ve inspired me to give it a try! I’m sure your students will live your doggy sign!
Thank you! I love my sign and my kids like it, too, especially my kids from last year who know my dog well from the many pictures that I shared with them. A jigsaw isn’t hard to use and I know that you’ll enjoy it once you get the hang of using it.
Paula
Wow, I am impressed with your cutting skills and that jigsaw! Awesome job!
Thanks, De De! It looks great on my classroom door!
Paula
Love it Paula!! Pinned, shared it! Thanks for sharing at #inspirationmonday
XO
Debbie
Great tutorial! I love this idea and it seems very simple and easy for a beginner like me! Thanks!
You are welcome! A jigsaw isn’t difficult at all to use. Good luck with your project. When you finish, send a picture to me. [email protected]