How to Make a DIY Wood Box Centerpiece
Learn how to make a DIY wood box centerpiece for less than $10. This project is great to use for decorating in any season.

It’s time for another woodworking challenge with my Power Tool Challenge Team girls. Our goal is to encourage women to use power tools. Each month we share a project made according to a theme and this month our theme is “$10 and Under”.
I had to put on my thinking cap for this challenge because I wanted to make something that I would both use and enjoy and I knew my budget was $10 and under.
While shopping at Home Depot, I spotted 1” x 4” x 3 1/4 ft. pine bed slats that were just $1.87 each and the idea popped into my head to make a DIY Wood Box that I could use for a table centerpiece in any season.
Not only was this an inexpensive project, but it was also an easy one. I started the project on a Saturday evening and was enjoying the stained, polyurethaned, and decorated table box centerpiece by Sunday afternoon.
Fall Decorating with My Wood Box Centerpiece
By changing out the décor of the wooden centerpiece box, I’ll be able to enjoy this as a table centerpiece in any season.
I’m already picturing this wood box centerpiece filled with greenery for Christmas.

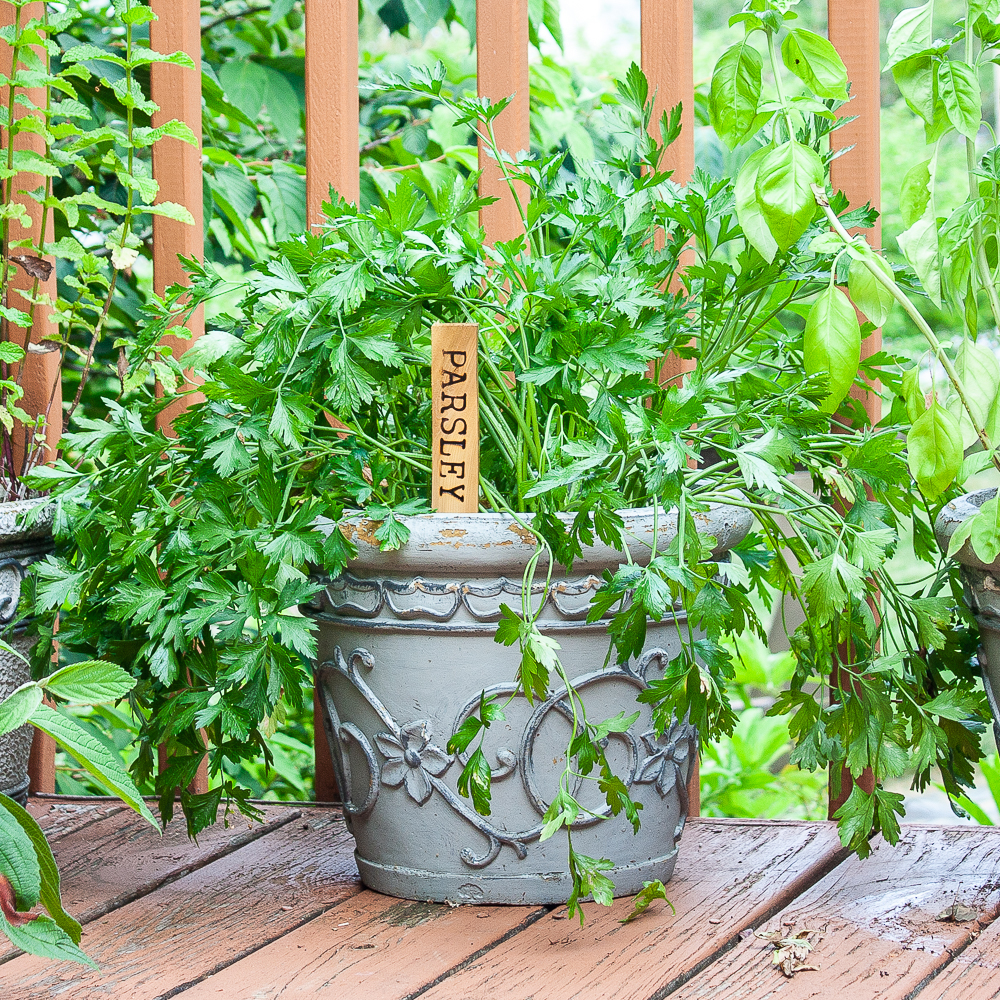
For fall décor, I filled the wood centerpiece box with flameless candles, small pumpkins, faux Bittersweet, and Sweet Gum balls.
After our first frost, I’ll be able to switch out the faux Bittersweet for the real thing.

I pick up Sweet Gum balls used in the wooden box centerpiece while I’m walking my dog. You can see how I used them to make a winter wreath here.

The trees around here are super late in changing to their fall color. In fact, most of them are still green.
I spotted these pretty leaves on Sunday while walking my dog and picked a few to use as a decoration around my DIY wood box centerpiece.
The Walnuts were picked up on the same walk.
These acorns are faux but I definitely could have picked up plenty of acorns while walking because they are thick this year. I hope that means lots of snow this winter.

Let me show you how easy it is to make a DIY Wood Box Centerpiece. I chose to use mine as a table centerpiece but one could be used for storage in almost any area of your home and you can customize the length to meet your need.
How to Make a DIY Wood Box Centerpiece
This is a quick and easy woodworking project. You’ll have a wooden centerpiece box on your table in no time!
Supplies
- 3 – 1” x 4” x 3-1/4 ft pine bed slat boards
- Carpenter’s Square
- Wood Glue
- Saw – We love this Sliding Compound Miter Saw for projects like this.
- Orbital Sander
- Clamping Squares – We have four of these and find them to be super handy!
- Clamps – This type is my favorite and you can never have enough of them.
- Pipe Clamp
- Wood Stain – I used Dixie Belle No Pain Gel Stain in Espresso
- Polyurethane – I use and recommend this General Finishes Top Coat
Procedure
1. I purchased four bed slats but only ended up using three of them for this project.

While I was at Home Depot purchasing lumber for this project, I also purchased a set of three flameless candles.
I spaced the candles out on one of the bed slats to figure out how long I wanted my wood box to be. 2 feet long ended up being the perfect length.

2. I clamped the three boards together and made a mark at two feet for cutting.
Clamping the boards together means one cut and it also means that the boards will be exactly the same length, 2 feet.

Here are the three bed slats each cut to two feet long.

3. Next I used two end pieces left over from the previous cut for creating end pieces for the box.
No measuring was necessary because I cut the pieces the width of a bed slat. You can see that I have two pieces clamped together and I’m marking the wood for cutting the width of one bed slat.

4. I then had to decide if I wanted my end piece to fit into place like this, which would mean cutting a piece off of the top.

Or did I want the end piece to fit into place like this? I chose this way which meant my next step was cutting off twice the width of the end piece from the bottom board.

5. No measuring was necessary. I lined up the two end pieces on the bottom board…

And then drew a line for cutting.

After making the cut, the bottom board is the perfect size.

6. I sanded all of the pieces using an orbital sander.

7. Glue the box together.

Use clamping squares, clamps, and a pipe clamp to make sure the box dries square.

8. After the glue is dry, sand the box, and then stain it.
After the stain was dry, I rubbed the table box centerpiece down with fine steel wool and then applied a coat of polyurethane for protection.

The wooden box centerpiece is now ready to be filled with decorative items and enjoyed.

If you don’t want to make a wooden box, here are a few that you can purchase.


$10 and Under Projects
I can’t wait to see what my Power tool Challenge Team gals share this month for this $10 and Under challenge. I certainly love the wood centerpiece box that I created.

Click on the links below to see each project.
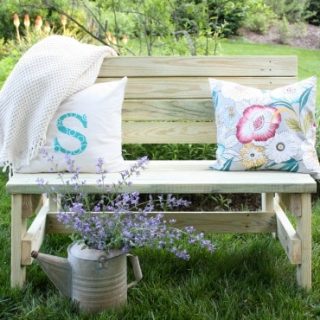
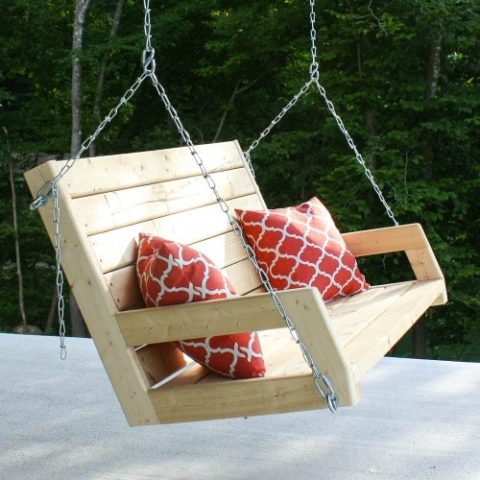
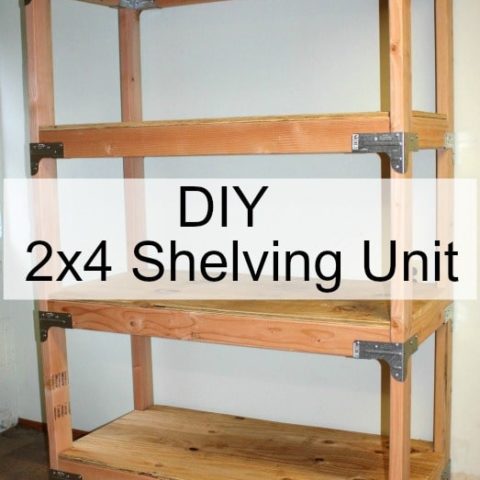
Double Pedestal Scrap Wood Table by My Repurposed Life
Hexagon and Triangle Shelves by My Love 2 Create
Window Box by Dogs Don’t Eat Pizza
Blanket Ladder by Domestically Speaking
DIY Wood Centerpiece Box by Virginia Sweet Pea
Easy DIY Shelves by Create and Babble
Vintage Peg Blanket Ladder by H2OBungalow
Computer Monitor Stand by Interior Frugalista
Wood Slice Plant Stand by Designed Decor
DIY Video Game Organization Station Holder by Kim Six Fix
Favorite Projects
If you liked this post, check out more popular projects.


What a great, versatile centerpiece!
What a beautiful centerpiece! I love the stain color! Great Power Tool Challenge project!!
Thanks, Karen! I was super pleased with how this turned out.
This is a wonderful idea since you can change it out for every season and holiday. Love it! Pinned!
Thanks, Jeanie! I loved how quickly I was able to build it!
Oh, how I love a good wood box, they are so useful! You decked it out so beautifully!
I love centerpiece boxes decorated for the seasons. I especially love the rustic dark stained ones, like yours. Adding pillar battery operated candles is a great idea, much better impact than using glass votives like I have in the past. Have fun decorating yours for the holidays soon!
Thanks, Marie! I have already planned how I want to decorate this box for Christmas!
Paula,
I love the simplicity of your project and how versatile your centerpiece will be throughout the seasons!
I’ve never heard of clamping squares. I think I need some of those.
pinning!
gail
Thanks, Gail! Those clamping squares are super handy and we do use them quite frequently. I don’t think that you’ll be sorry that you purchased a set.
Paula
I built one of those cute boxes last fall and I LOVE using it this time of year… yours is SUPER CUTE!
You might have subconsciously given me the idea, Maryann, since I enjoy reading your blog!
This came out lovely! It is the perfect centerpiece for your table. It would also look so nice on your mantle too! Love the premise behind this challenge!
I hadn’t thought about using it on my mantle, Megan. Thanks for the idea!
Paula, your centerpiece turned out great. I too pick up those gumball things when I walk the dog in the morning. It’s great finding all those free goodies from Nature.
Free goodies from nature are the best!! 🙂
Such a great centerpiece… and for less than 10.00! Woohoo!
Love that it is something that could be used year round with simple changes.
Have a great evening!
Thanks, Tina! I’m so pleased with how it turned out.
Your tutorial is super detailed and clear. love the stain you chose also.
Thanks for your visit, and I hope you get to visit New England soon!
xxx
Love it and wish that I could be so handy, maybe sometime in the future! thanks so much for sharing on craft schooling sunday!
Loving the DIY centerpiece idea! It doesn’t take up too much space yet it brings a fall vibe into the room. Thanks for sharing. Stopping by from the Share the Wealth party.
I love this! Think I’ll give this one a try with some new Varathane Barn Red Stain from Rustoleum that I’ve been dying to use! It’ll be awesome for Christmas!!
Thanks so much
That color sounds perfect for Christmas, Candy. I’ll have to look for it the next time I’m out shopping.
Love this project and you provided a great tutorial. Thank you for sharing at the Snickerdoodle Create Bake Make link party!
Thanks, Sharon! I had fun making it and I know that I’ll enjoy decorating it for each season.
This is awesome–and you’re going to make such good use of it in the years to come! Great job, Paula–and thanks for the tutorial.
Thanks also for joining the Grace at Home party. I’m featuring you this week!
Classic style that can be used all year long.
It’s beautiful and your tutorial is fantastic!
Thank you, Robin! I had fun making it and I think that I will use it all year.
I’d love to try making one centerpiece like this. Thanks for joining us at the Inspiration Spotlight party.Pinned & shared.
I love a pretty decorated planter box and I love the stain yours has. I’ve visited a few projects here and they’re all fantastic! Great work!
Kate | TheOrganizedDream.com
Thanks so much, Kate! I’m really enjoying this box and look forward to changing out its decor for Christmas.
Hi Paula, What a nice centerpiece box! Thanks for the tutorial also! Well done! Blessings, janet
Thanks so much, Janet. I’m looking forward to changing out its decor for Christmas.
You can really build lovely things if you have the right tools! I really love this idea since you can personalize it based on different occasions. I think this is a perfect centerpiece box you can put on a table in any corner of the house. Thank you for sharing this.
This is so pretty 🙂 I really like how it’s fairly easy and very cheap to make. I love the colors! thanks for sharing Paula!