DIY Wood Burned Plant Markers
A project that has been on my mind to make since early spring is DIY Wood Burned Plant Markers.
I finally made this project and I love the end result!
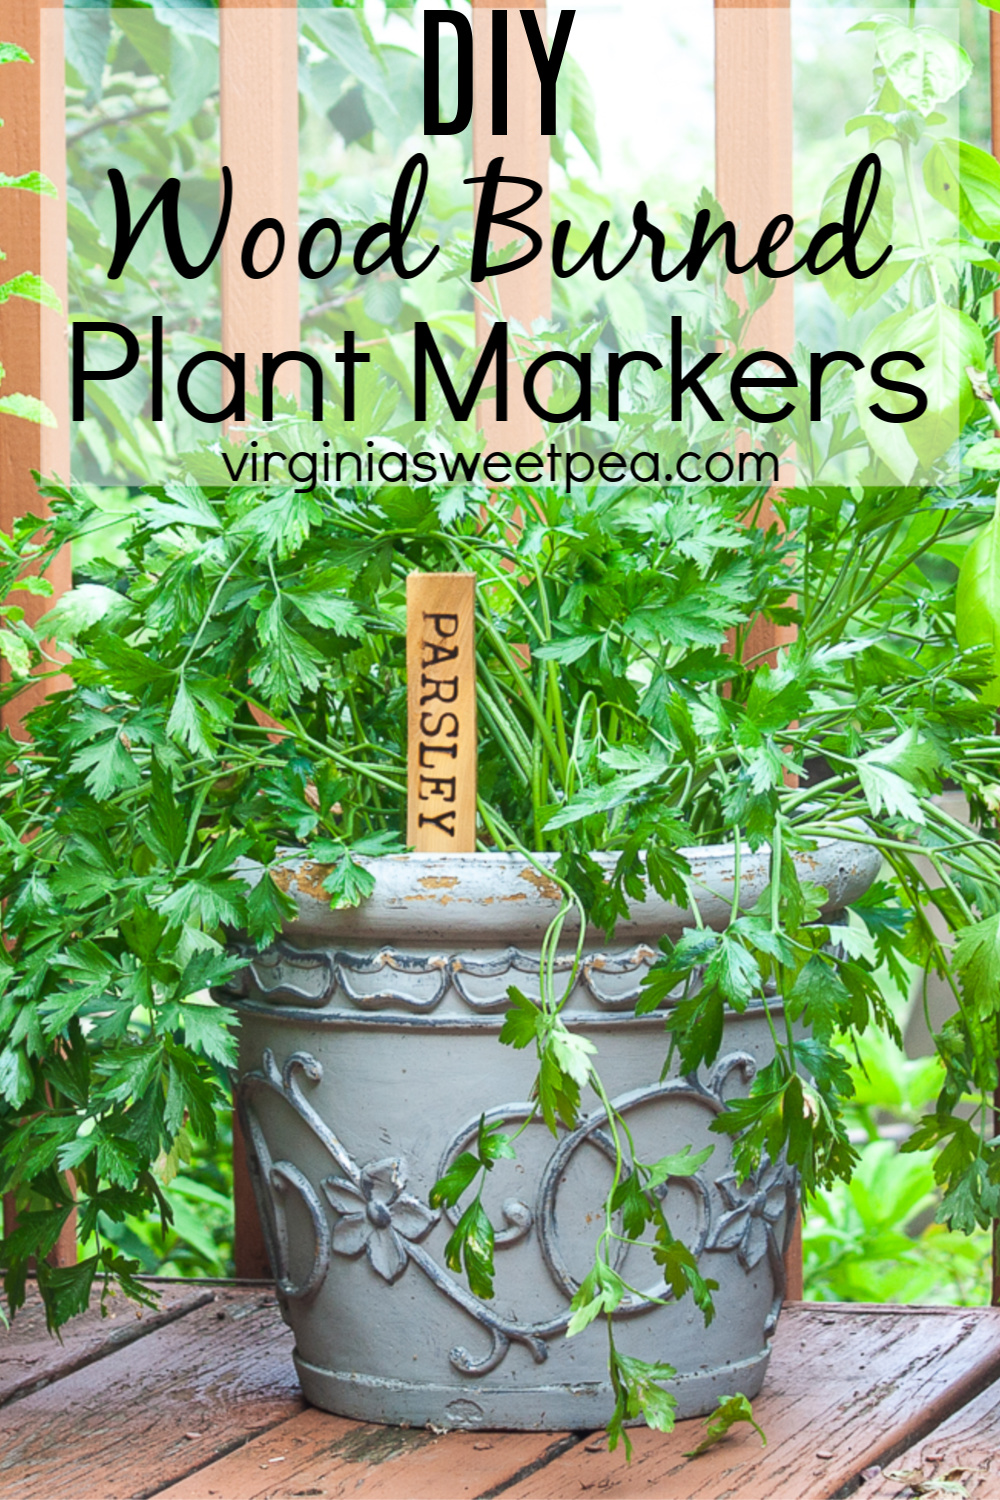
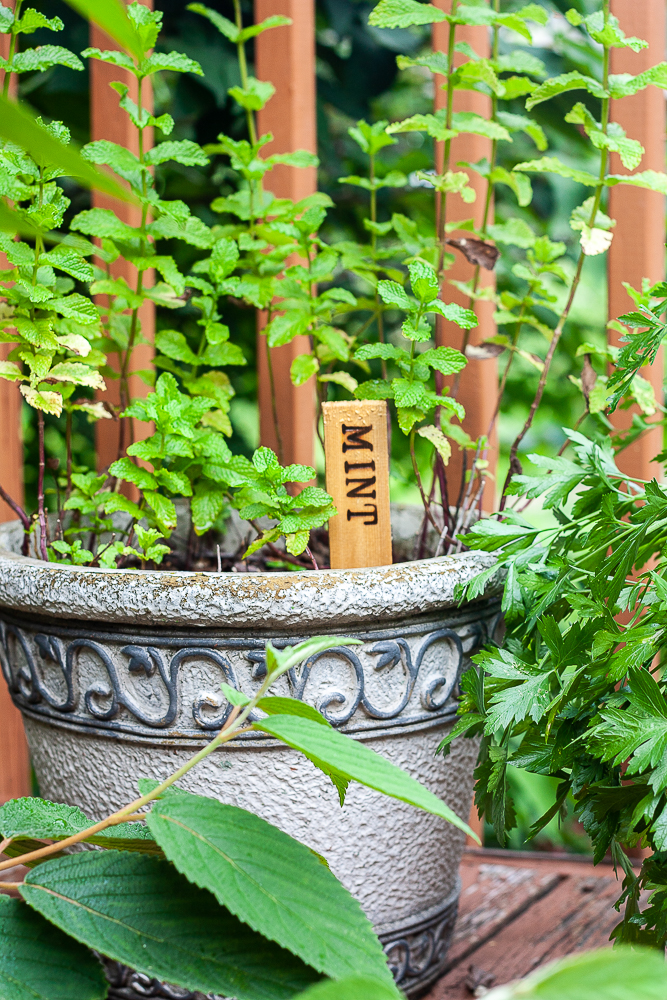
I made plant markers for the herbs that I grow in pots on my deck.
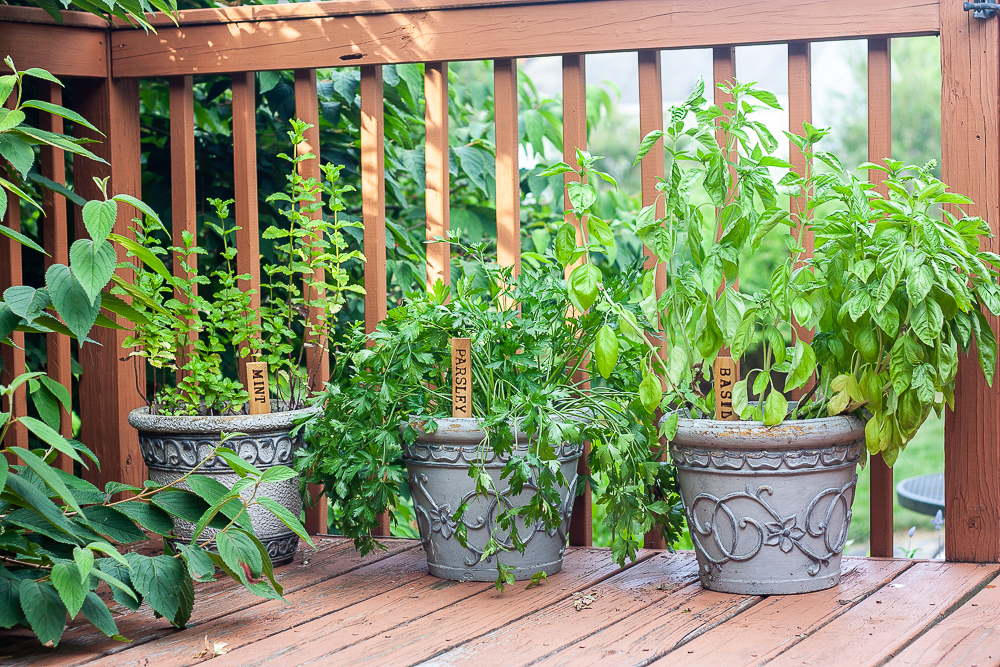
Now that I’ve made these three markers, I’m ready to make more.
I’m sharing my DIY Wood Burned Plant Markers for this month’s Thrifty Style Team project hosted by Julie of Redhead Can Decorate.

You’ll find links to all of the projects shared this month at the end of this post.
How to Make Wood Burned Plant Markers
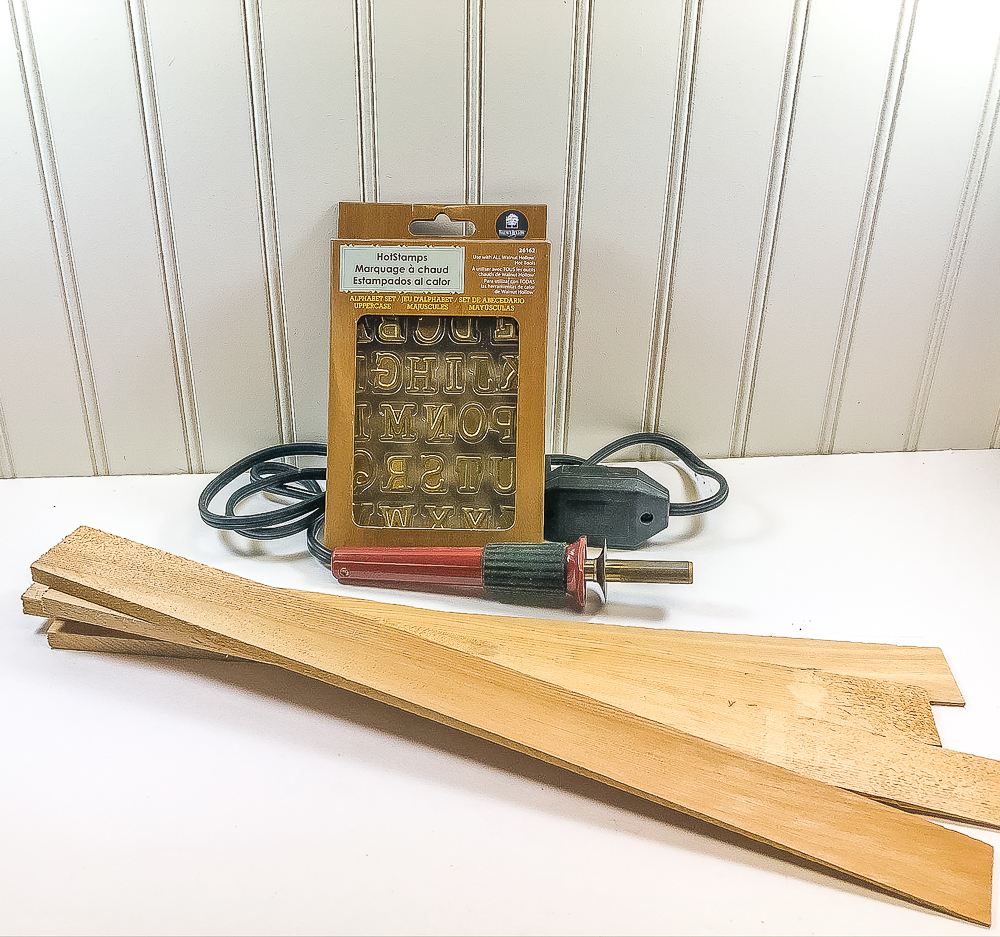
To make plant markers, you’ll need:
- Wood shims (Paint stirrers or lattice moulding will also work.)
- Wood Burning Kit – I really like this one.
- Alphabet Branding and Personalization Set
- Polyurethane
- Optional – Clamp – We have bunches of these and use them all of the time.
- Optional – Ruler or other Straightedge
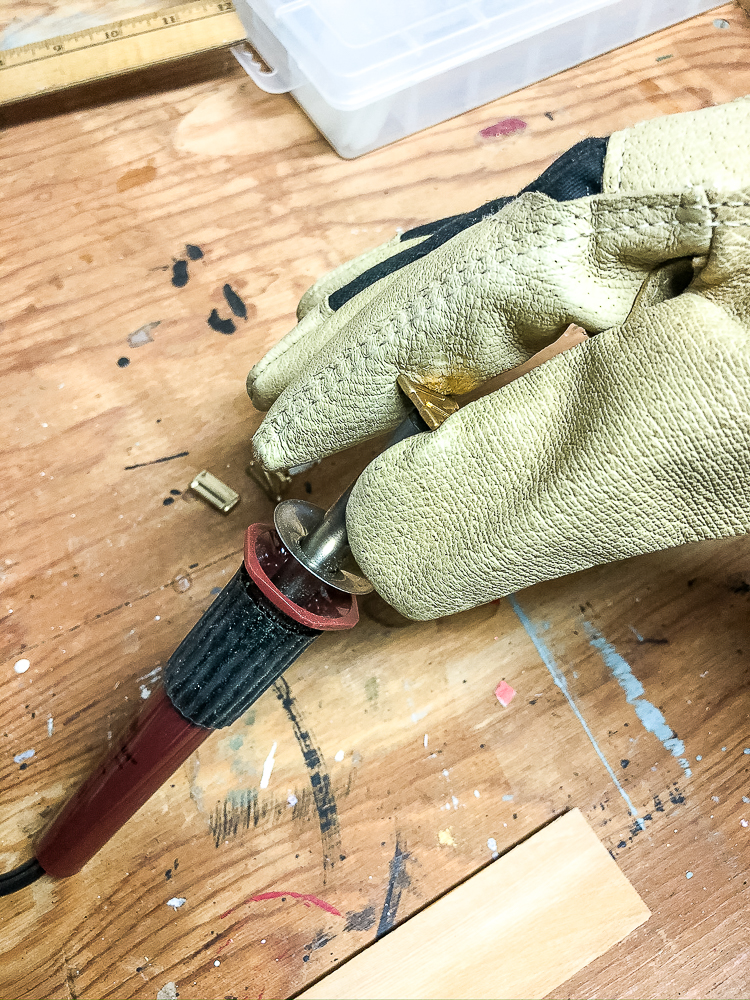
Attach a Letter to the Wood Burner
Before turning on the heat to the wood burner, screw a letter into place.
Then turn the wood burner to the highest setting and let it heat up. This will take a few minutes.
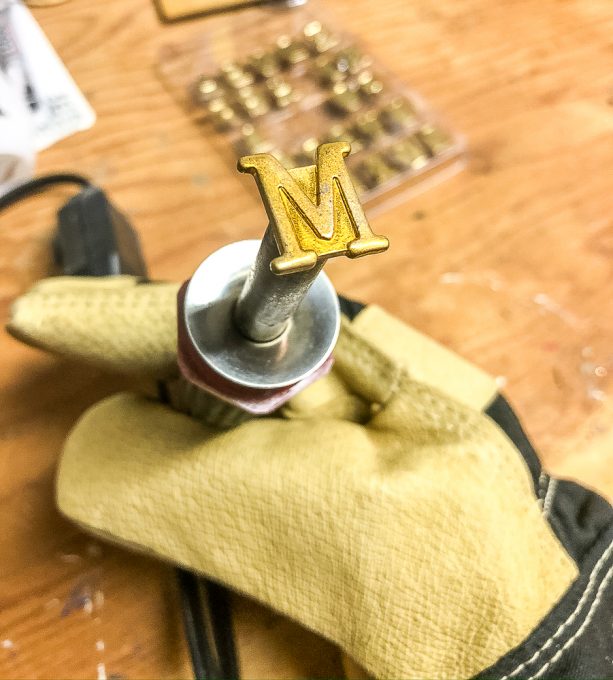
When you’ve finished with a letter, turn off the heat and let the wood burner cool down before removing the letter.
Even though my wood burner had cooled after I had used each letter, I still wore a heavy-duty glove when I changed one letter to the next. Better safe than sorry!
Start by Practicing!
Even if you have done wood burning projects in the past, I recommend practicing on scrap wood before starting your project.
My first wood burning project was in 8th grade when I burned a horse head on top of a footstool that I made in shop class. I still have the stool and use it in my closet.
Even though I’ve done a few wood burning projects over the years, I’m definitely a novice at the skill.
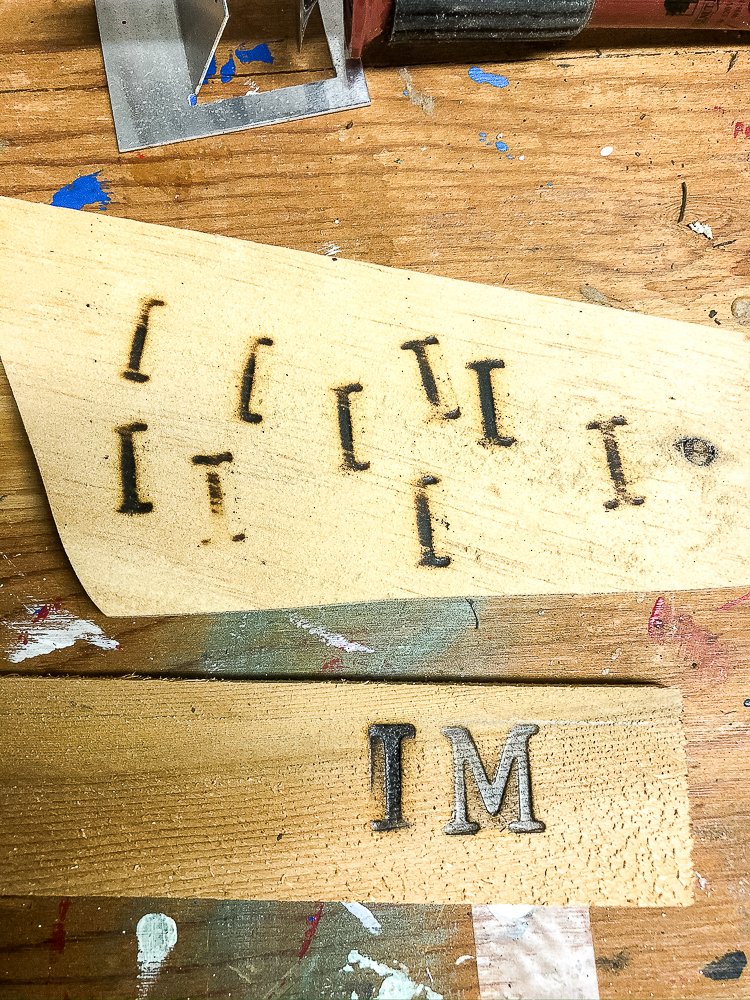
I started with this shim and realized I was spelling mint backwards. I’m not sure what I was thinking!
Once you’ve practiced, you are ready to start to make your plant marker.
Draw a Line to Guide the Placement of your Letters
To keep the letters forming the word in a straight line, I drew a light line on the wood to use as a guide.
I am by nature a very shaky person and I couldn’t control my hand to place the letter even with the line.
When I realized that a line wouldn’t work with my shaky hand, I came up with a new plan.
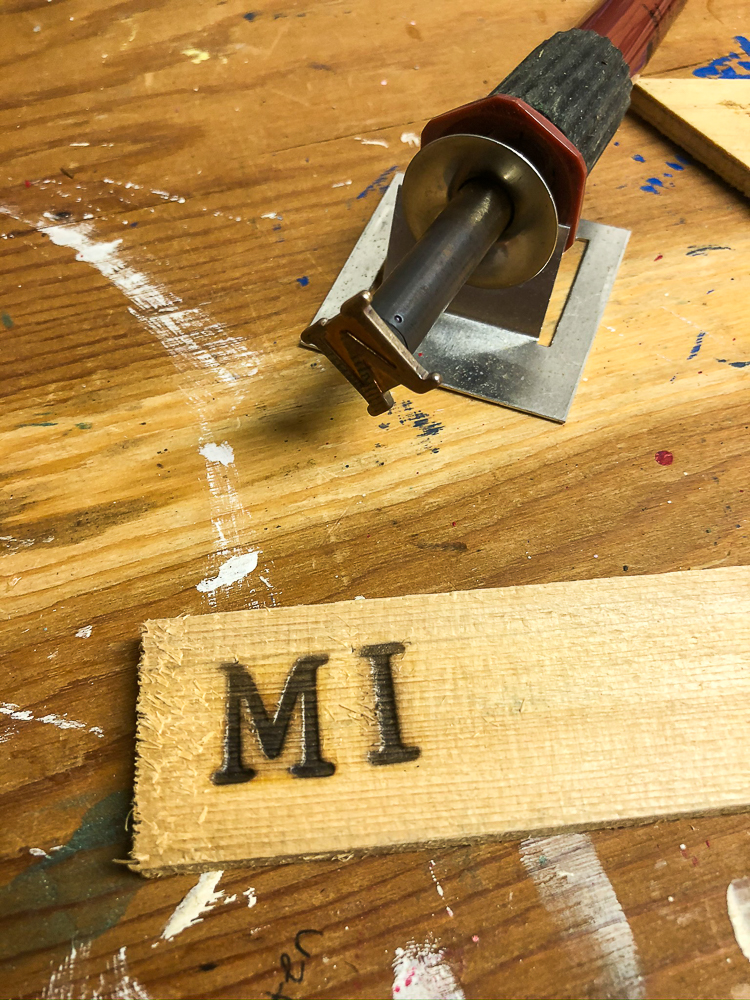
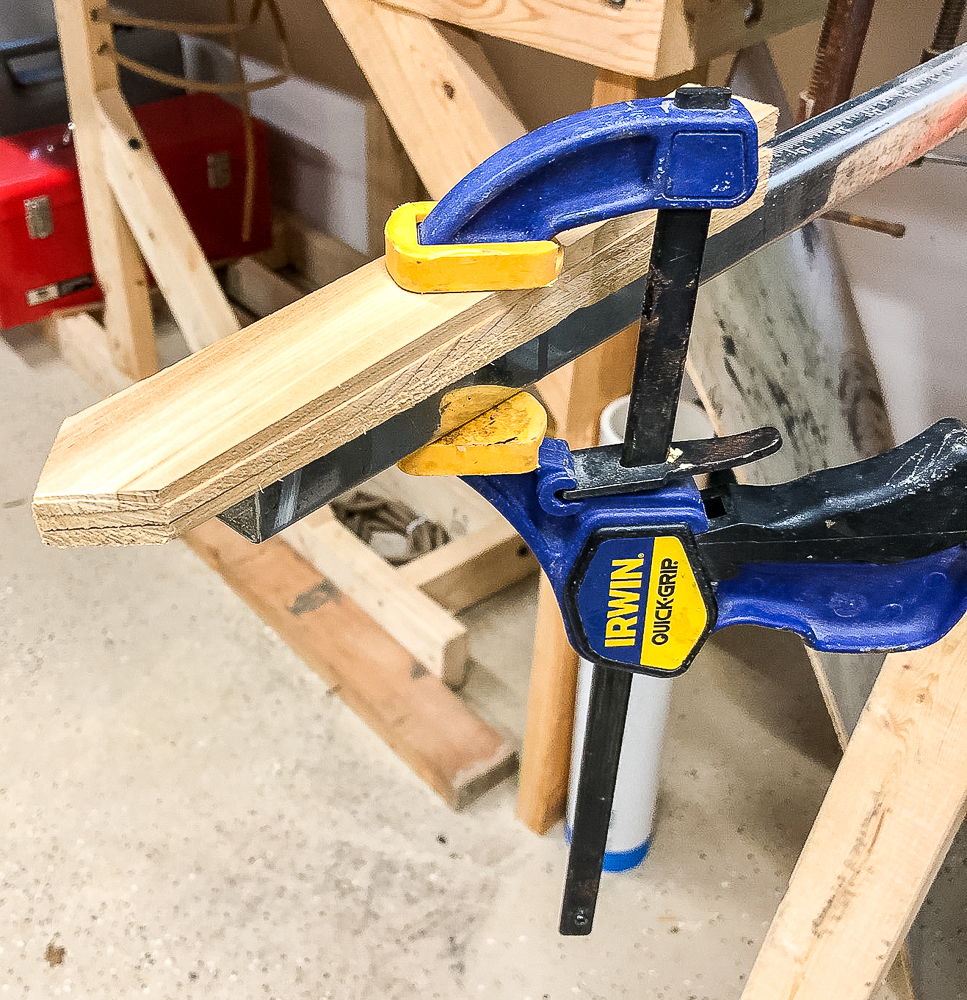
Or Use a Clamped Ruler
Plan B was to use a ruler clamped to the shim and my workbench to guide the placement of the letters.
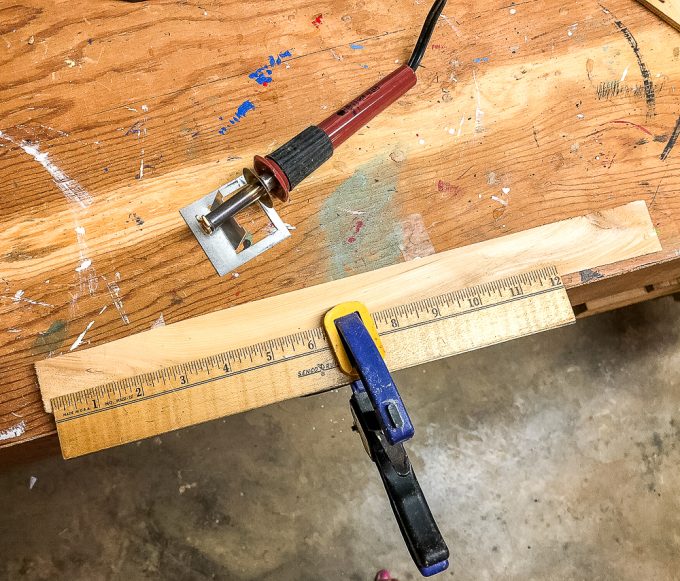
Using this method, I was able to press the bottom of the letter against the ruler to keep the placement straight.
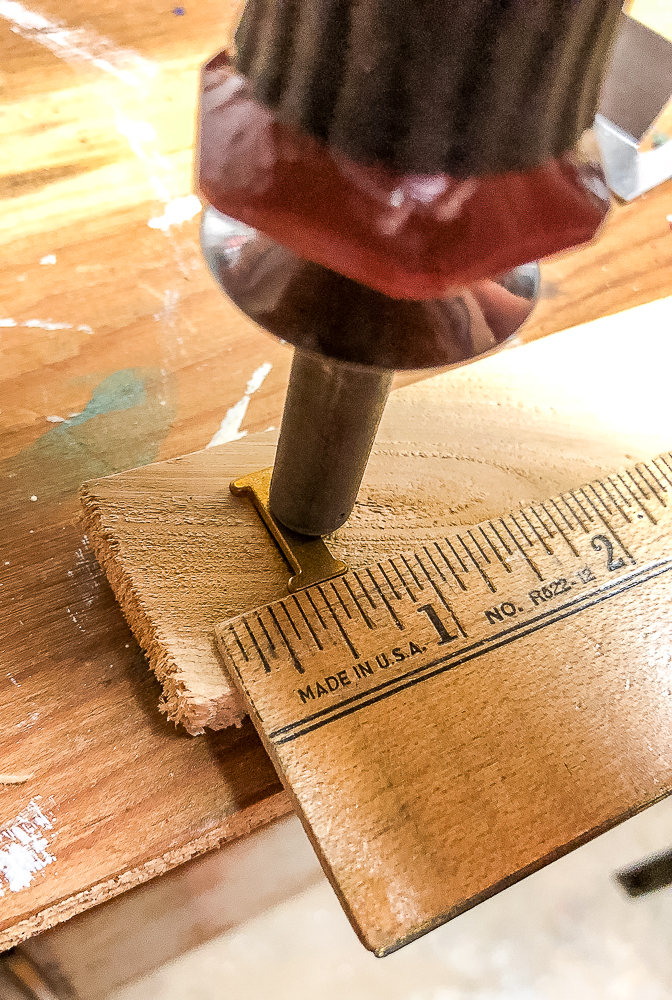
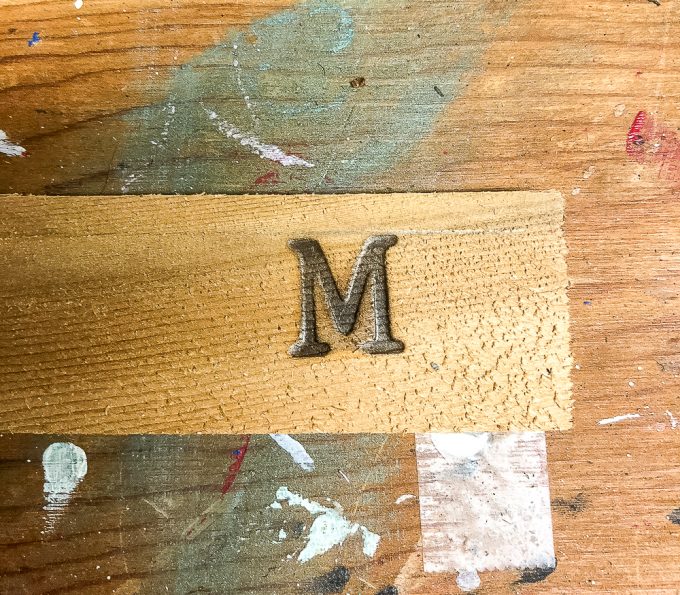
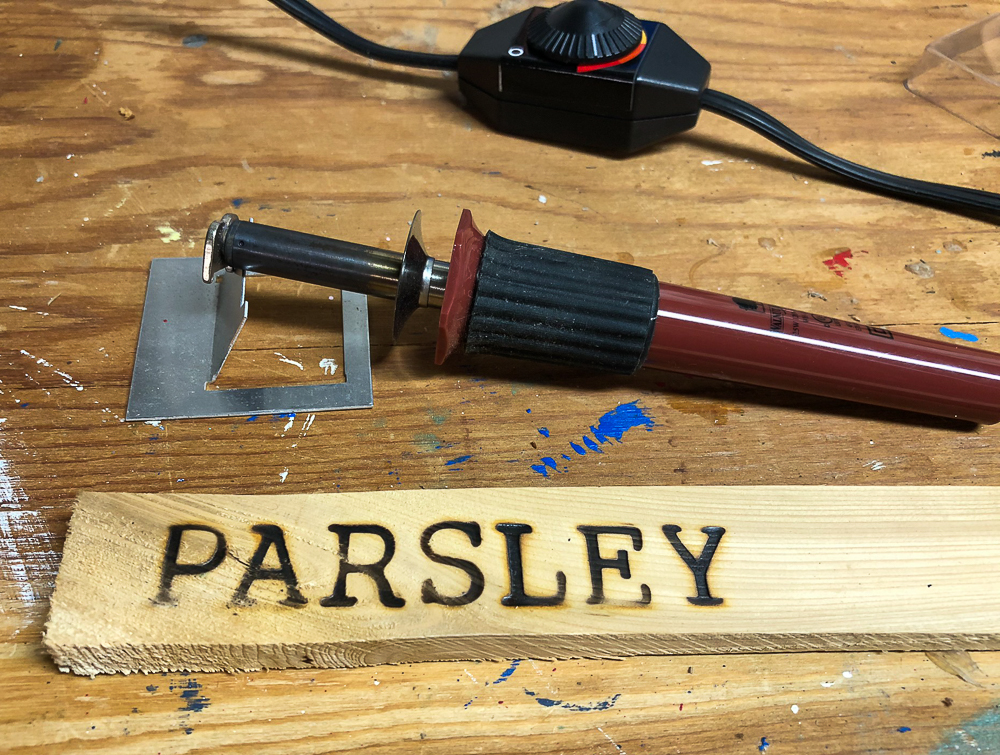
Burn the Word into the Wood
I did pretty well with my letter placement but I’m not skilled enough to evenly burn each letter. Good enough, though!
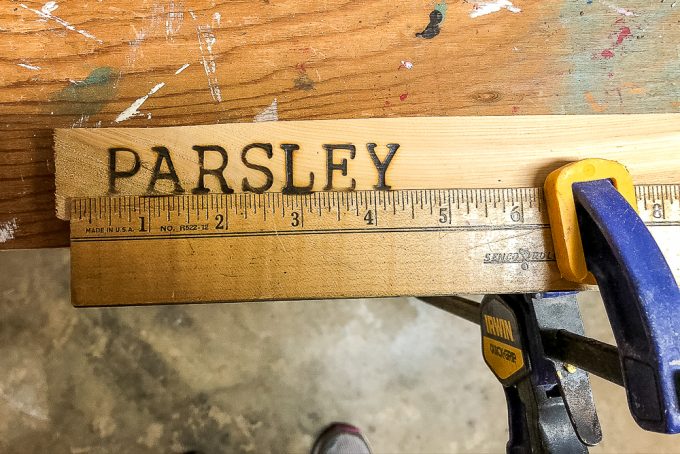
This process takes time as you have to heat up and cool down the wood burner between letters.
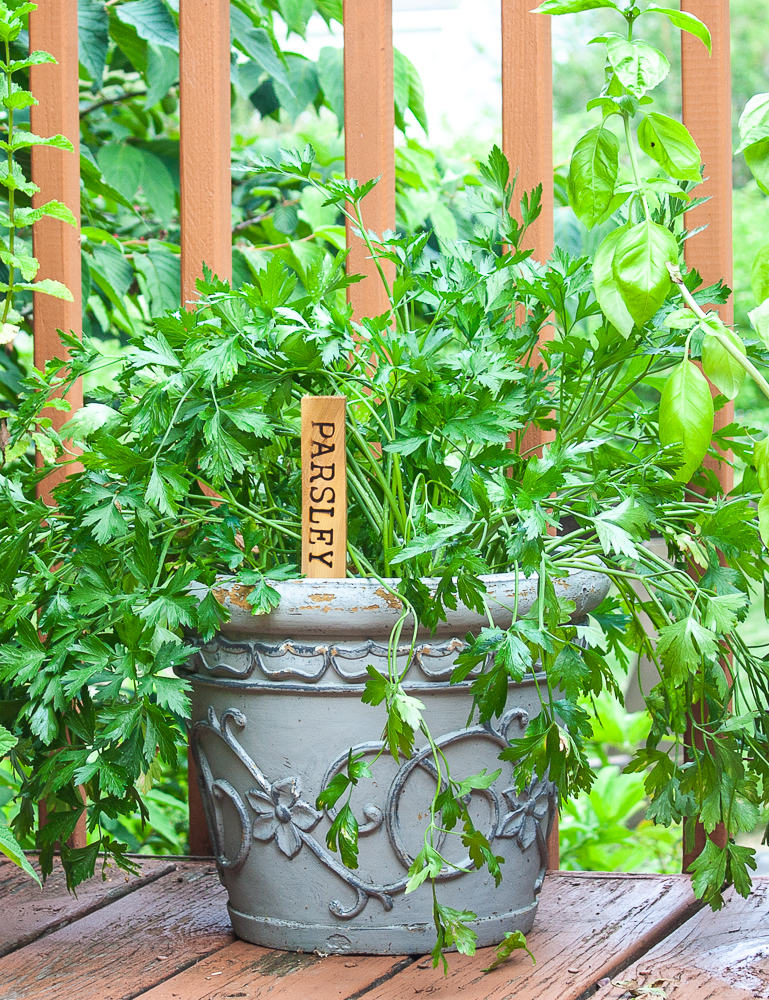
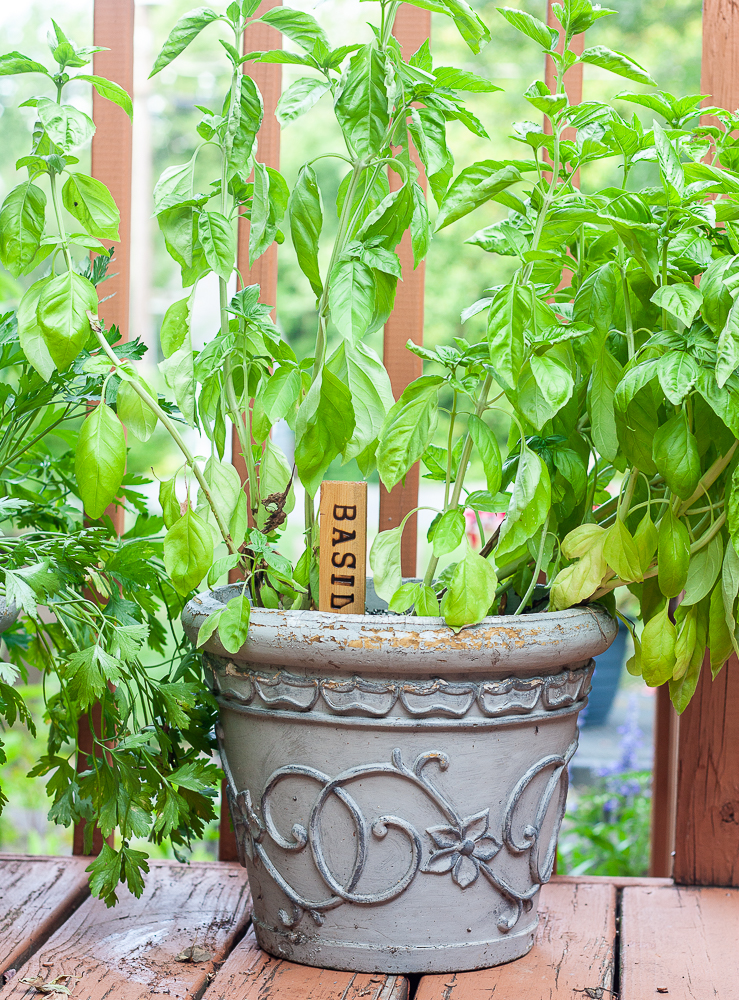
Since I have Parsley, Basil, and Mint on my deck for easy access for cooking, I made plant markers for those herbs.
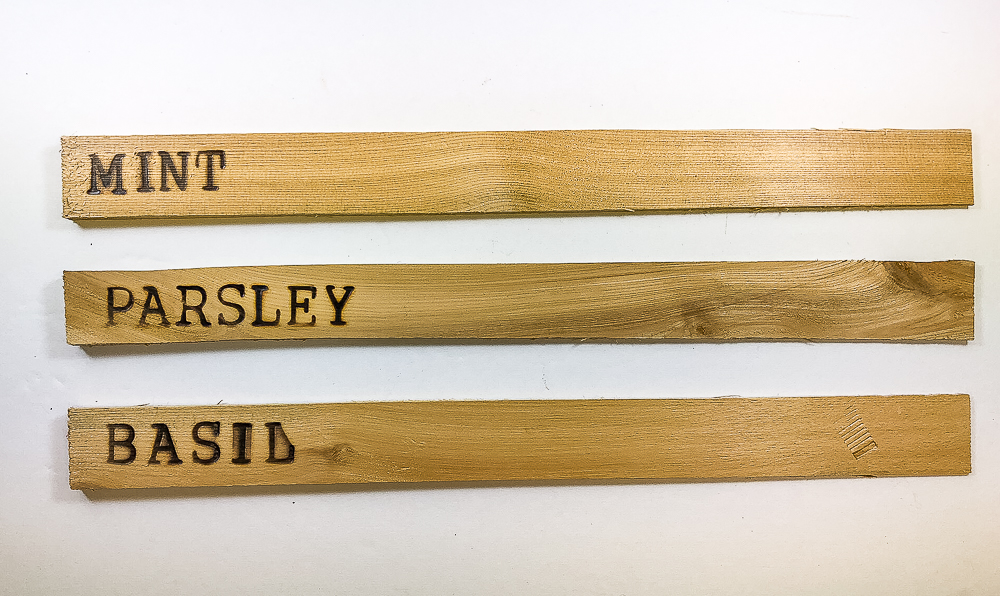
Basil isn’t perfect, but good enough.
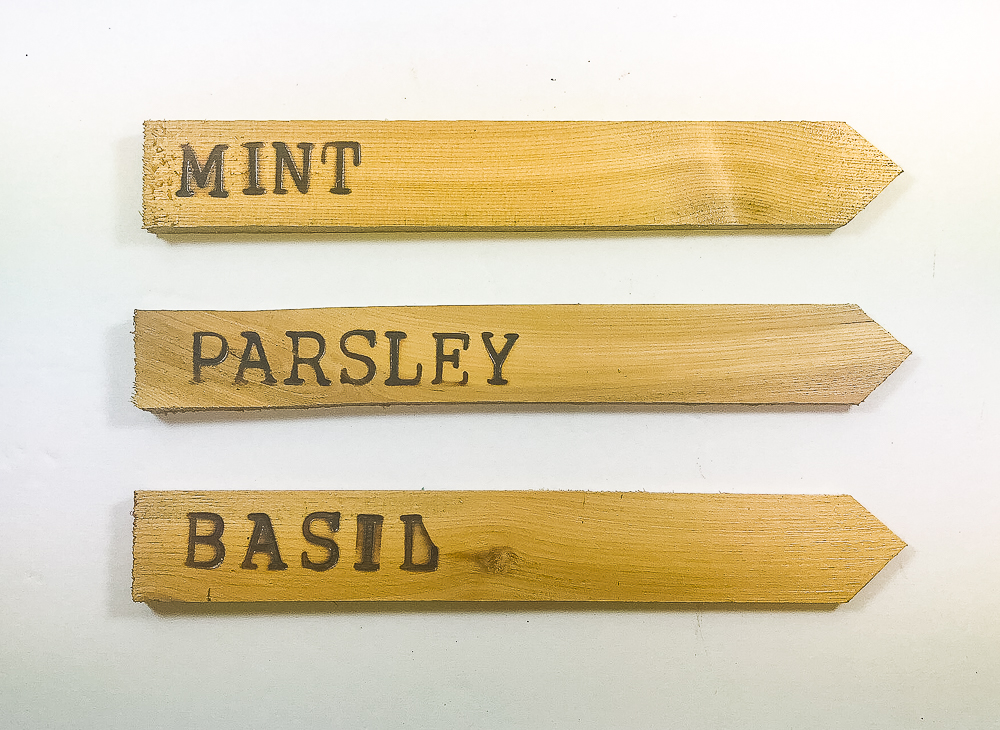
Cut a Point on the Plant Markers
After the wood burning was complete, a hacksaw was used to cut a point on each plant marker.
Tip: Clamp the markers together so you only have to make two cuts.
Seal the Markers
The next step was to seal the markers to prevent the wood from rotting. I used polyurethane.
Label Plants with the Markers
The point made it easy to add a marker to each pot.
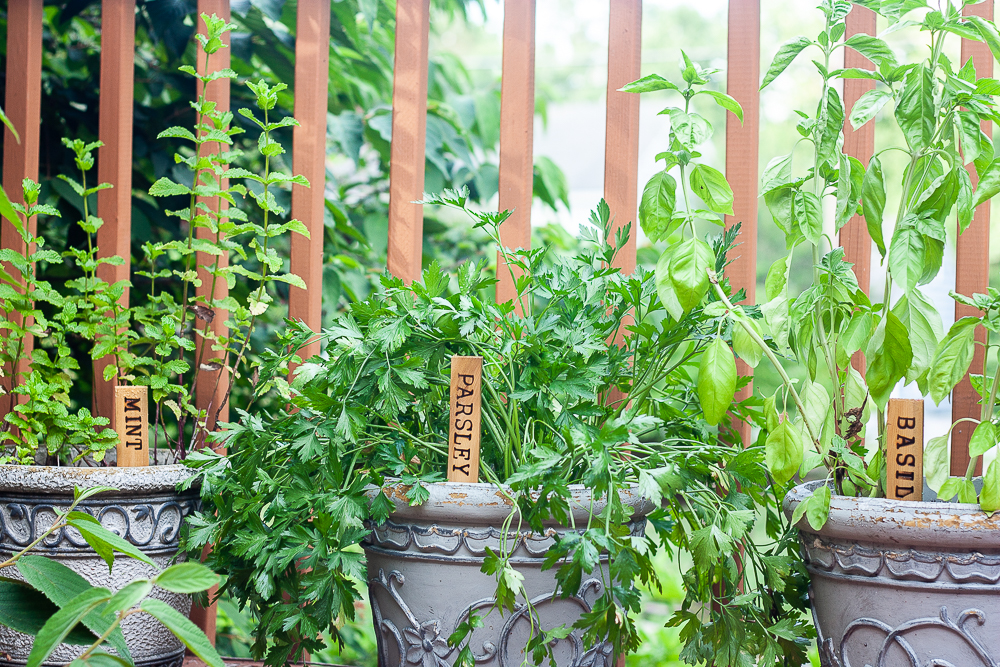
My mint has been in this pot for a number of years and I think after this year I may need to start a new plant as it’s not growing as lushly as it has in past years.
I love having Parsley just outside my kitchen to cut and use.
If I had to choose one herb to grow, it would be Basil.
These aren’t the first plant markers that I’ve made, a long time ago I made these plant markers using a metal stamp kit.
If you have a metal stamp kit, see how to make personalized Christmas ornaments.
In 2012, I made a personalized ornament for each student in my homeroom and the kids loved them. I hope that some of those kids are still hanging their ornament on their Christmas tree and fondly remembering their 7th grade year.
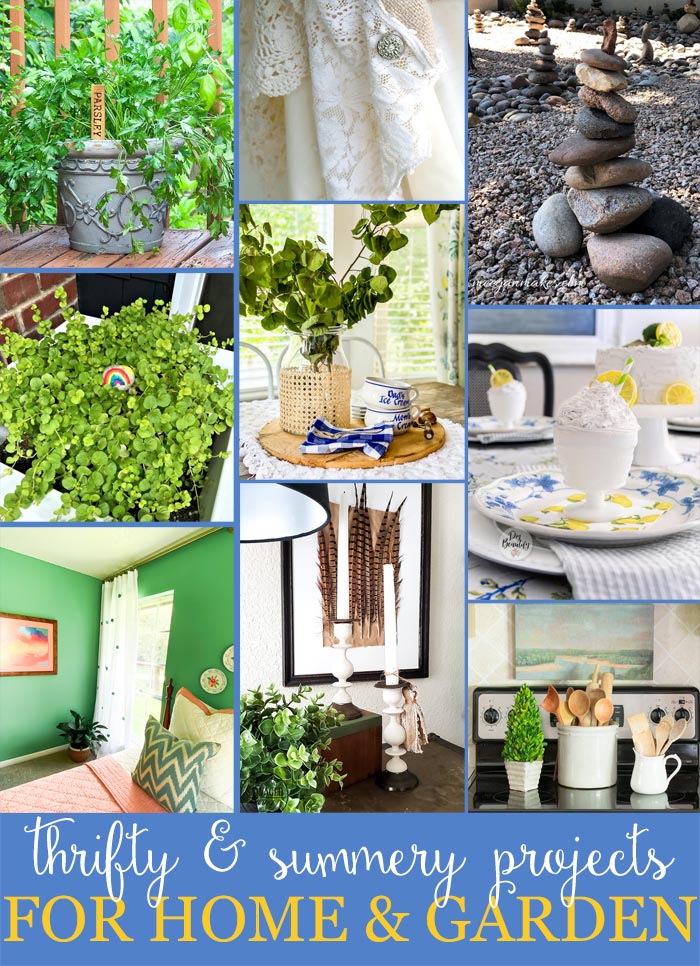
More Thrifty Projects to Enjoy
Now it’s time to enjoy the projects that the rest of the Thrifty Style Team is sharing today. Click on the links below to see each thrifty project.
Redhead Can Decorate – DIY Rainbow Rocks
The Painted Hinge – Repurposed Oil Lamp Vase
DIY Beautify – Thrifty Summer Citrus Tablescape
Postcards From The Ridge – How to Clean and Care for Vintage Wooden Spoons and Utensils
The How To Home – Shabby Chic Tablecloth Ideas
The Tattered Pew – DIY Cane IKEA Vase
Sweet Pea – DIY Wood Burned Plant Markers
What Meegan Makes – Design Your Own Rock Tower Garden Art
Salvaged Living – Thrift Store Candlestick Makeover
I Should Be Mopping The Floor – Polka Dot No-Sew Curtains
What a fun idea!
Oooh, I need that alphabet branding kit. Your plant markers are AWESOME, Paula!
I love wood burning projects. I have only tried a few times. You make it look so easy. I think I will be making these very soon.
Thanks Paula.
These are really cute, Paula. And your plants look so nice and healthy. I bet it’s great having fresh herbs just outside your door!
Great idea! I always forget about my wood burning tool. I really need to use it more, so I guess I found my next project! Thanks for sharing!!
This is such an awesome idea Paula! I can’t tell you how many times I’ve tried to use ink on plant markers and the ink ended up running and I didn’t know which plant was which anymore! This solves that problem perfectly!
Wow!! First your herbs look so healthy I need your tips on growing Basil! Do you clip off the tops? Second… the wooden markers are perfect and I bet you could sell those on FB Marketplace!!!
These turned out so awesome! Now, I’m wanting a wood burning too. Such a clever idea! And your herbs look gorgeous. xoxo
Wood shims are such a good idea for this project. I’ve used them with paint, but wood-burning sounds like fun, Paula. Thanks for the tip for keeping the letters straight, and thanks sharing at Party In Your PJ’s!
I love this! Such a great idea! Thank you for sharing with Charming Homes and Gardens!
Thanks so much for sharing this with us at Farmhouse Friday – we’re featuring you at tomorrow’s party!
Thank you so much!
HI Paula Pinned this! Okay my herbs are not growing as well. Ha!
Have both the tool and the letters in my shopping cart!
It turned out so well! Great job and great tip on clamping the ruler! xo laura
Thank you so much, Laura! I hope you have fun making these,
These are fabulous, Paula! Thanks for sharing at Vintage Charm! Pinned!
Thank you so much, Cecilia!
Such a FUN DIY for Summer!
Don’t forget to join us over at the Creative Crafts Linky Party every Wednesday through Sunday
https://creativelybeth.com/creative-crafts-linky-party-50/
Followed and Pinned! 🙂
Creatively, Beth
Thank you so much, Beth!
Paula, I miss you every day my friend.
Love you,
Kippi