DIY Wood Card Display and Holder
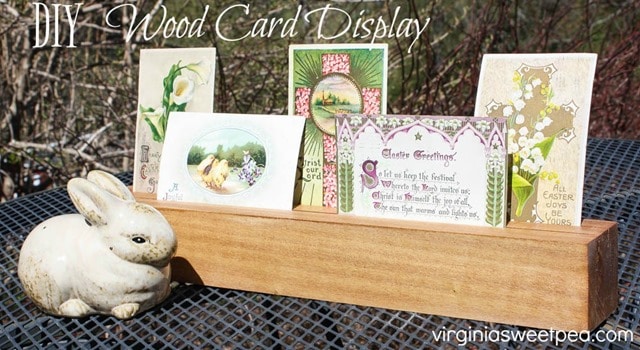
It’s time for another Power Tool Challenge Team project! This month our theme is “Home Décor” and I’m excited to share the DIY Wood Card Display that I created. This was an easy project and one that I’m sure to enjoy using year-round.
Be sure to read the entire post because there’s a contest that you can enter to win a great prize package. Keep reading to see the details.
DIY Wood Card Display and Holder
I used a 2.5” x 2.5”x 3’ poplar board from Lowes that cost just $14.95 to create two card holders.
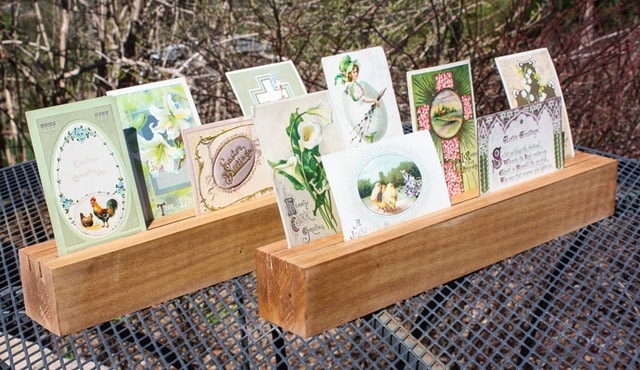
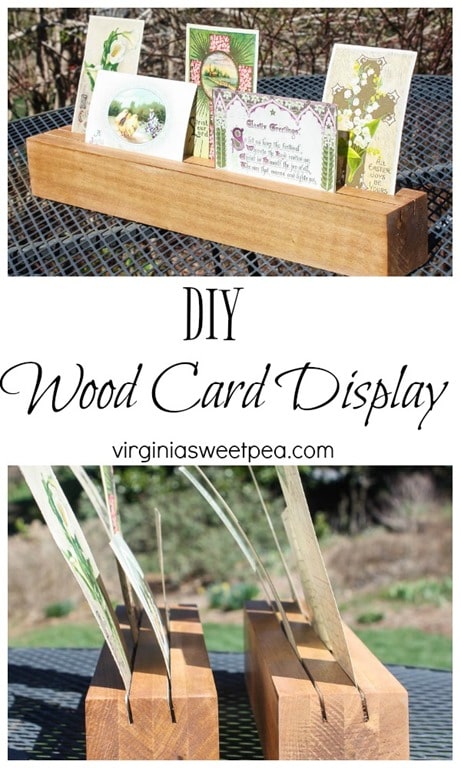
Slots created with the table saw make pockets that hold the cards in place.
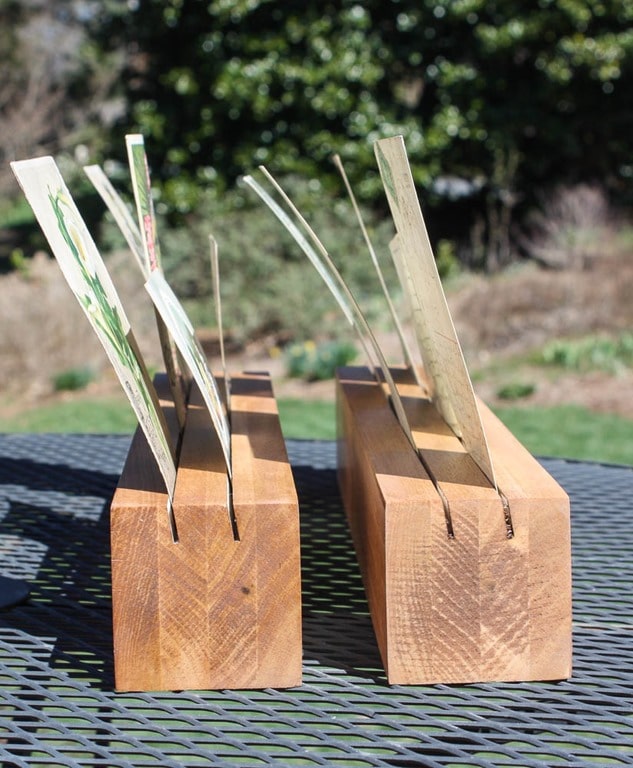
A 1/2” deep cut with the table saw blade set at a 10 degree angle makes the slots that hold the cards.
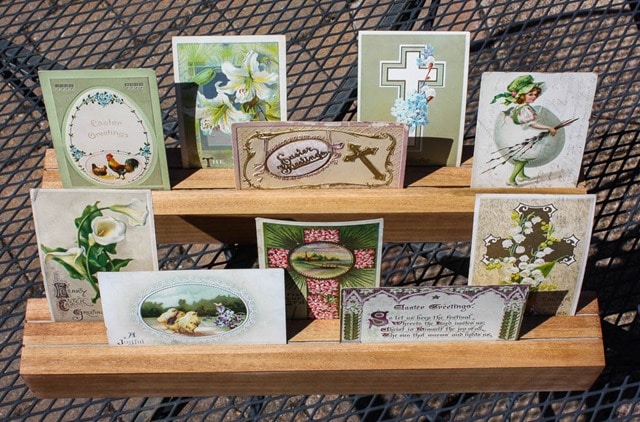
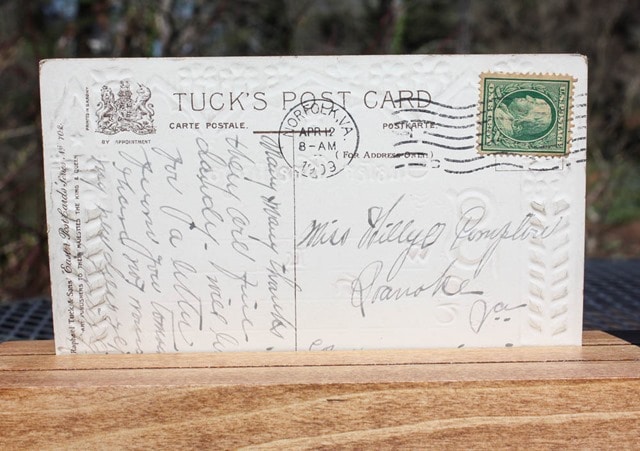
I’m currently using my card holders to display vintage Easter post cards from early part of the 20th century. These cards were sent to my great-great aunts and date between 1909 – 1913.
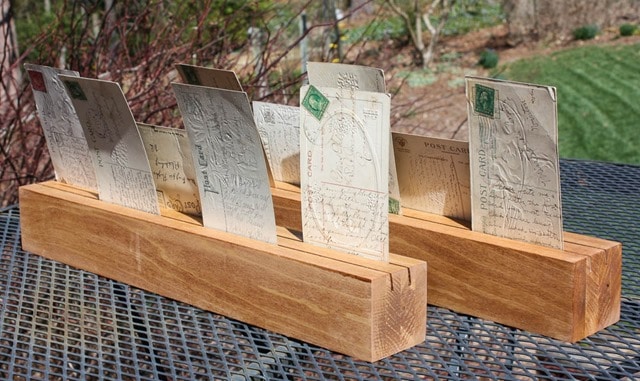
I usually display my vintage post cards using small antique flower frogs. This works well but on occasion I have damaged the bottom of a card with the prongs of the frog. No worries of damage with the use of my new DIY wood card holder!
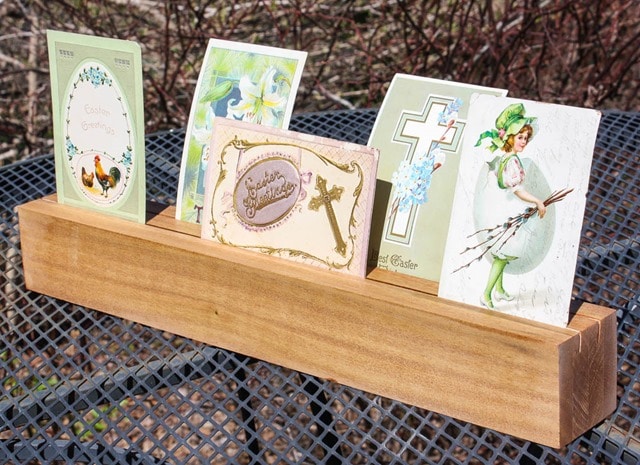
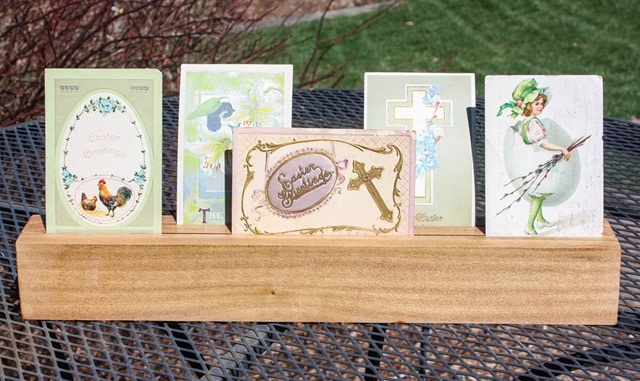
I love my vintage post cards and am so thankful that my aunt passed along my grandmother’s collection to me. It’s hard to pick a favorite card.
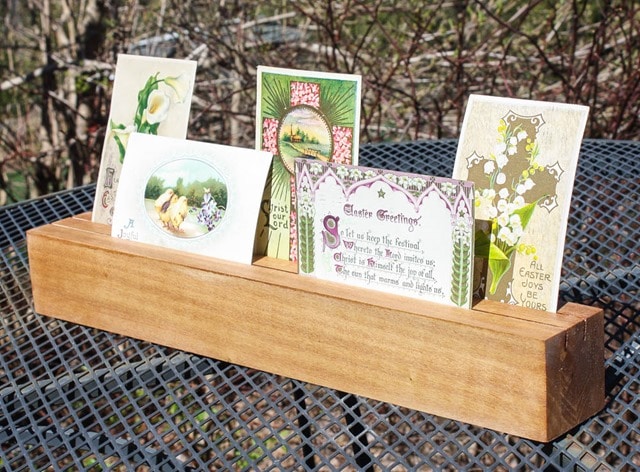
Willye was my great-great aunt. She eventually lived next door to my Great-Great Aunt Fannie who raised my grandmother. The note says, “Many, many thanks. They are fine and dandy. Will look for a letter from you tomorrow. I have not ? my new dress yet. Lovingly, L. L is I believe Willye’s sister Lulie, a milliner who lived in Norfolk with Fannie.
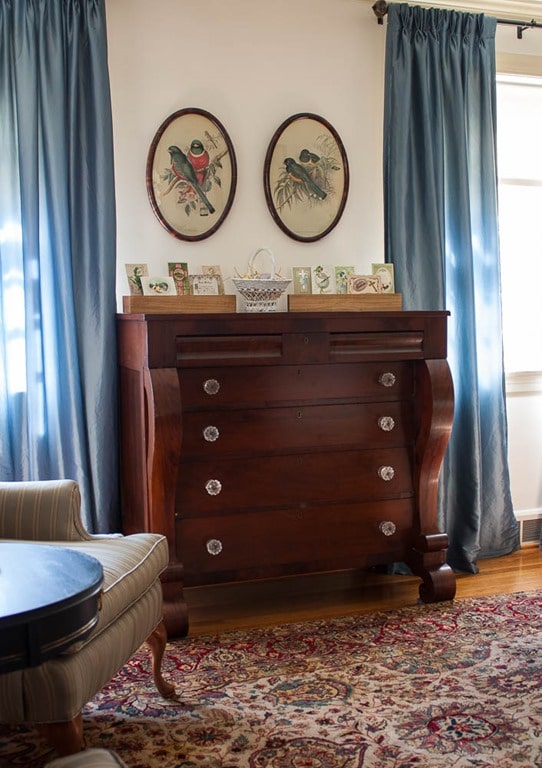
My card holders are currently in our living room on an antique chest that I inherited from my grandmother.
If you like this project, please pin it so that you don’t forget it!
How to Make a DIY Wood Card Holder
Materials
Affiliate links are included.
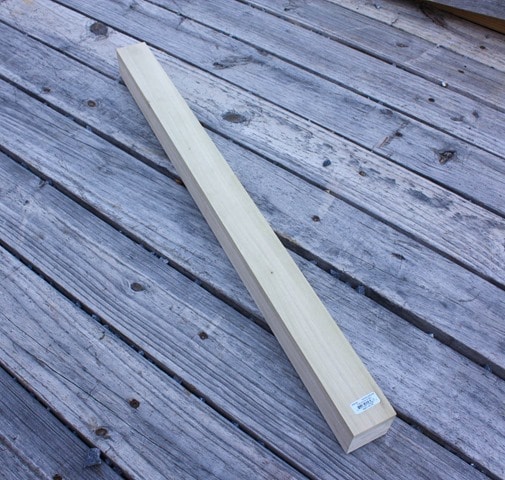
1 (2.5” x 2.5” x 3 ft) Poplar Board – This makes one long card holder or cut it in half to make two card holders like I did.
Table Saw
Stain – I used Minwax Polyshade Stain and Polyurethane in 1 Step in Antique Walnut Satin
Procedure
1. Set the Table Saw Blade
Set the table saw blade to 10 degrees. Our table saw was my grandfather’s and probably dates to the 1950’s!
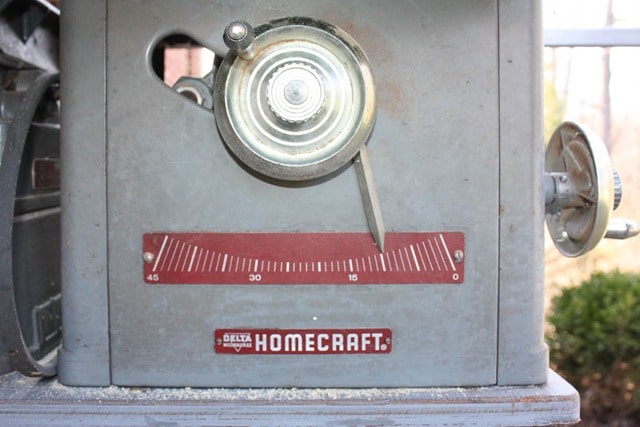
Here you can see the 10 degree angle of the blade but the fence is not in the correct position.
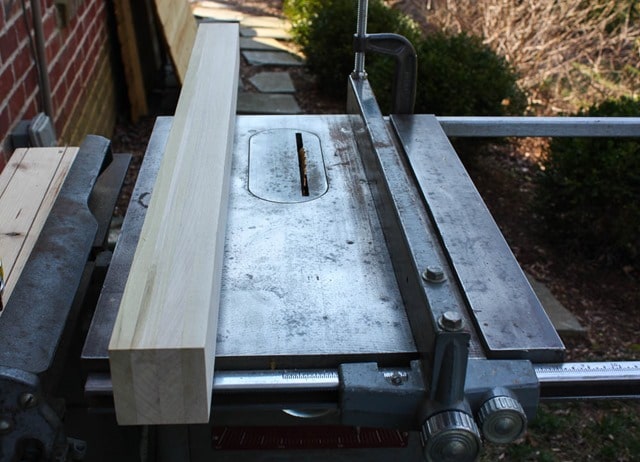
2. Make the First Cut
I wanted two grooves in my board for cards meaning the grooves would each be at 1/3 of the board’s width. I moved the fence to 7/8” from the blade and cut the first groove. Before cutting, be sure that the fence is square to the blade so that the line will be straight.
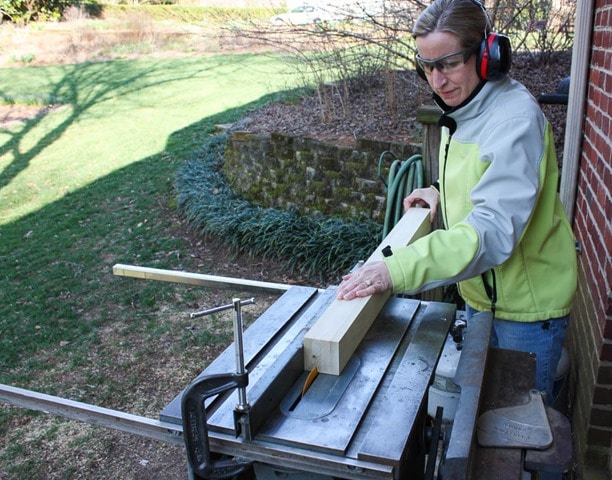
Her you can see the 10 degree blade angle, the fence set at 7/8” and the resulting cut in the board.
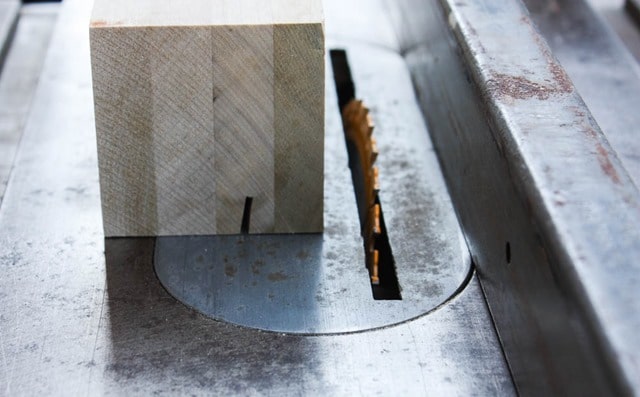
3. Make the Second Cut
For the second cut, the fence was moved to 1 5/8”.
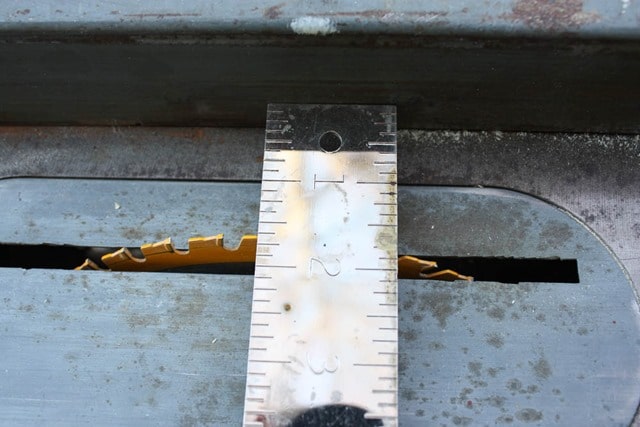
Make the second cut. Again, be sure that the fence is square to the blade so that the line will be straight.
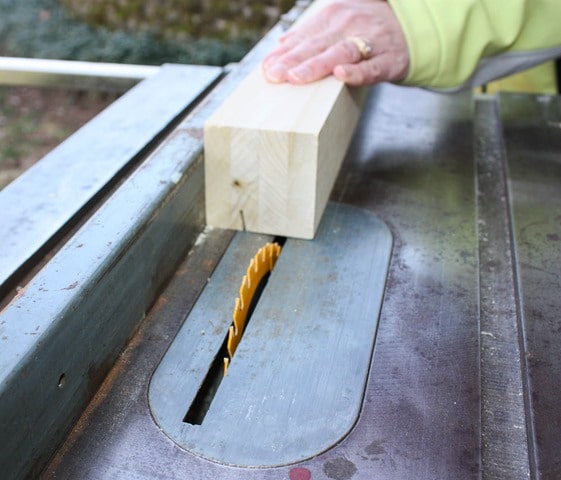
Now there are two parallel grooves to hold the cards.
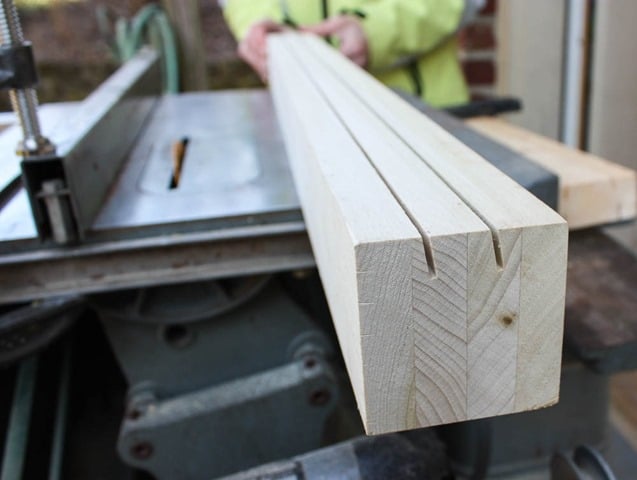
4. Cut the Board in Half
Cut the board in half to make two card holders or leave it if you want a really long display piece.
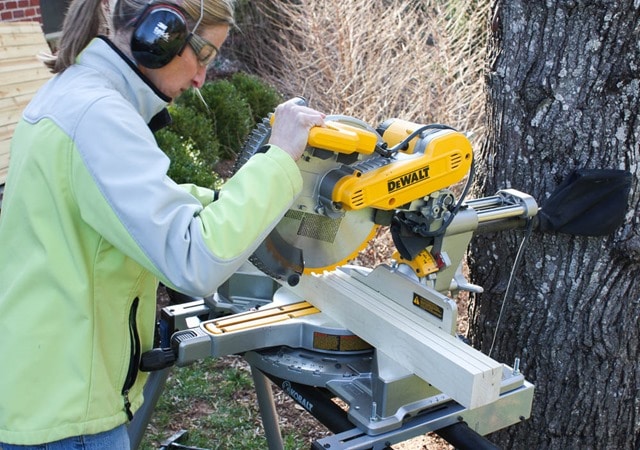
We don’t have a good dust collection system, so we do as much of our woodworking as possible outside.
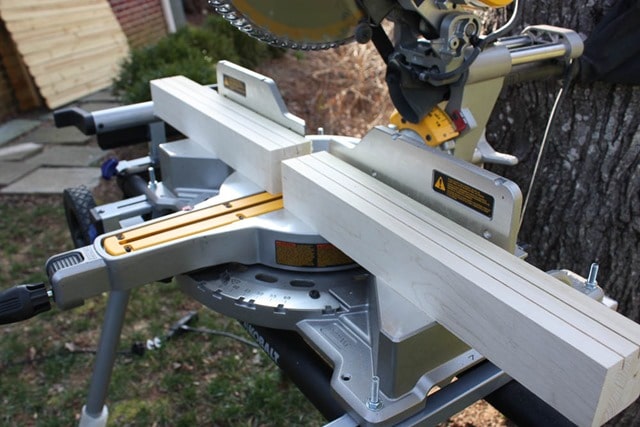
5. Sand and Stain
Sand the card holder and stain. I found that after the first coat of stain, it was necessary to sand again as the stain raised the grain of the wood. I used Antique Walnut
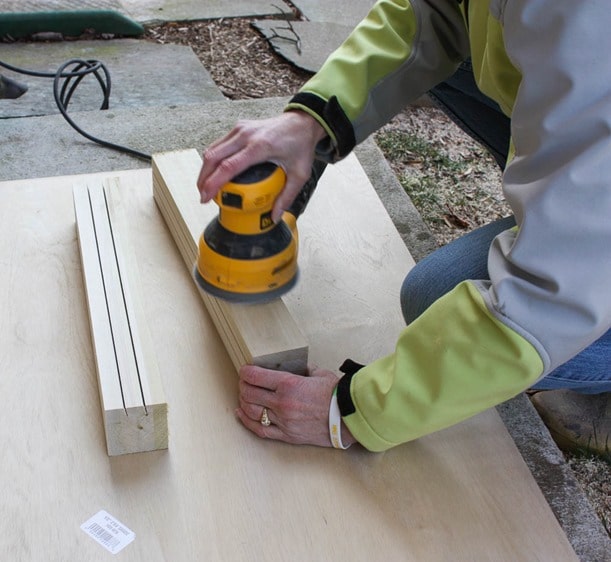
Antique Walnut is not dark at all on Poplar. On other wood species, I find it to be much darker. I always test stain color on a scrap board before I apply it to my finished piece.
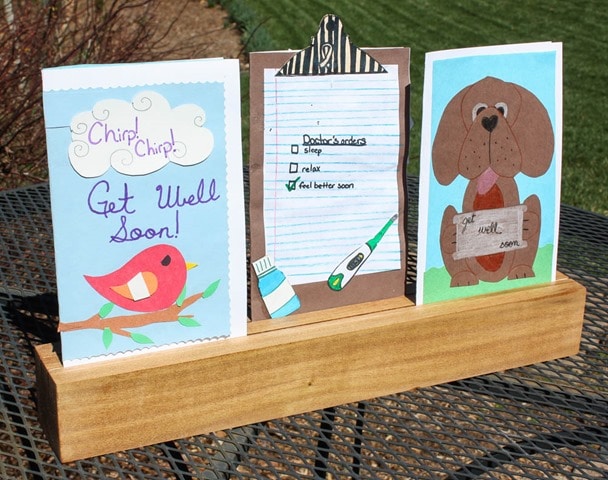
These are three cards that some of the creative art students at my school made and sent to me when I first found out I was sick.
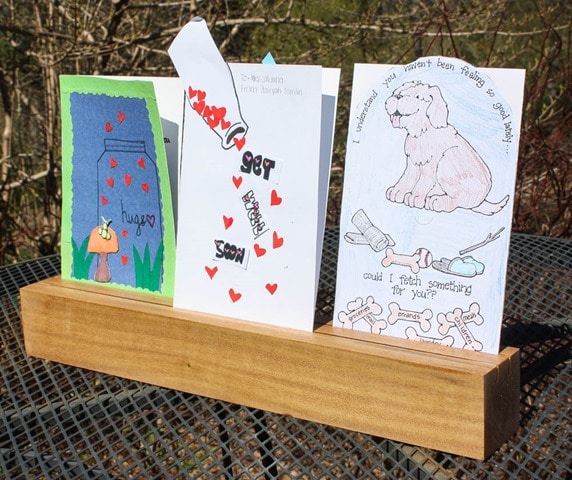
Here are a few more. I was amazed at their creativity and wish I could show off all of them to you.
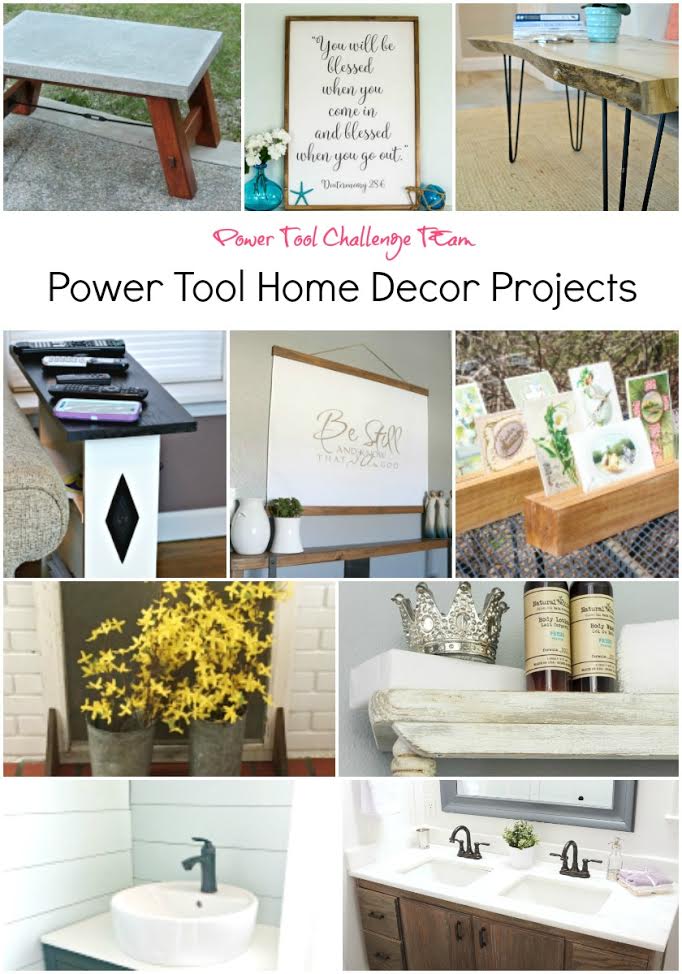
See More Home Decor Projects
I am really looking forward to seeing what my Power Tool Challenge Team friends create for this month’s Home Décor theme.
Click on the links below to visit each project.
The Kim Six Fix – Pottery Barn Inspired Concrete Top Coffee Table
Domestically Speaking – Large DIY Wall Sign
H2OBungalow – DIY Live Edge Coffee Table With Hairpin Legs
My Repurposed Life – Sofa Side Table
My Love 2 Create – Fabric and Wood Wall Hanging
Virginia Sweet Pea – Card Display Holder (That’s Me!)
The DIY Bungalow – Repurposed Fire Screen
Designed Decor – Upcycled Wall Shelf
Create and Babble – DIY Wood Plank Walls
Thrift Diving – DIY Bath Vanity


I love this idea!! The vintage cards look so pretty on your dresser! I can see me making some out of 2×2’s and having my little kids use them for when we play cards, they have such a hard time holding them in their hands! Pinned!
Oh Paula! I agree with Mindi, the display looks beautiful on the dresser. How fun that you have these wonderful treasures from your family.
Great tips on the diy wood card display holder. I can think of so many uses for something like this. It would make a great craft show display for items a vendors sells! Pinning to my craft show board for sure.
gail
I hadn’t thought about how handy the card holders would be at a craft show. That’s a great idea!
Those cards are gorgeous and your DIY display is the perfect way to show them off… love it!
Thank you! I’m enjoying my old post cards this Easter season.
Oh my gosh Paula, those cards are so precious – both the old ones and the new ones! And what a fitting way to display them all! Oh, and that old table saw – how awesome that you have that! And that it still works -” they don’t make things like they used to!”
Thanks, Jeanie! I know my granddad would be pleased to know that his table saw is still in use.
This is such a great project! It’s perfect for displaying those gorgeous family vintage postcards, but would also be perfect for birthdays and Christmas! Love it! Pinned and shared!
Thank you! I am sure to enjoy using these year round.
Great idea, Paula! Dang, I’m thinking a small version of these would have made fun and rustic table number card holders for my daughter’s wedding last summer. How lucky to have the vintage postcard collection passed down to you!
A smaller version would have been perfect for a table number holder for a wedding. That’s a great idea that also would be inexpensive to execute.
I think every house needs to have one of these! What a great idea. Love that you can display a collection of cards or maybe use in my kids rooms for them to display their birthday cards. Looks so much neater than just propping them up on the piano or mantel. Great job!
I think a child would love to have one of these in his or her room. It’s nice to keep the cards contained in one spot as well.
Paula,
This is a lovely idea and I love your vintage cards. Thanks for sharing.
Thanks, Vanessa! I know that my grandmother would love that I’m still using these cards.
Paula, This is a great idea. I could definately see using it year around and holding photos and fun hand made crafts.
I am sure to use this year round, DeDe. I hadn’t even thought about photographs. Gosh, I may need to make more!
This is such a fun idea! I love that you can use it year round, too!
Thanks, Ginnie! I am sure that this will stay out year round. I particularly will enjoy using it at Christmas.
Firstly Paula, I’m so envious of your beautiful vintage postcards. How absolutely special to have them given to you!
I love this project for not only being practical, but beautiful as well. You’ll be able to use this all year through!
I’m so glad you shared it at Create, Bake, Grow and Gather this week and I’m delighted to be featuring it at today’s party.
hugs,
Kerryanne
Oh! I want some of these made from my old fence posts! Great idea! (But we don’t have a table saw…. I will see whose we can borrow….)
Using an old fence post is a great idea. That would give it a rustic look. Our table saw belonged to my grandfather and is really old but it still works.