Wooden Tree Project
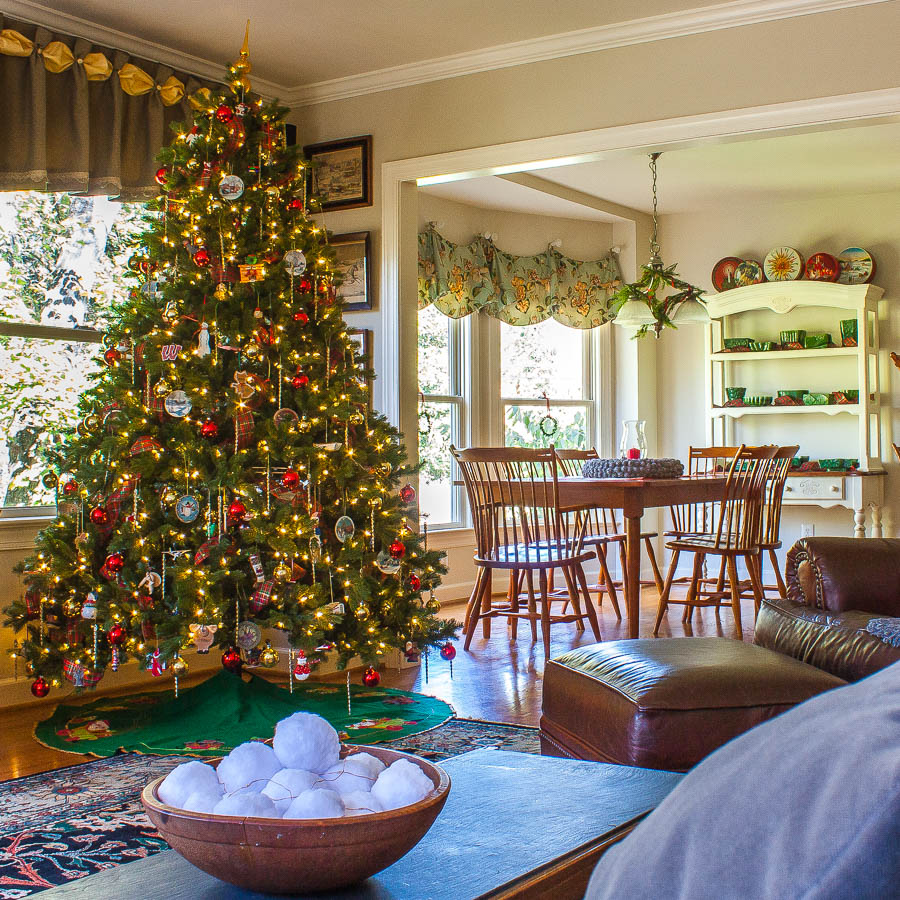
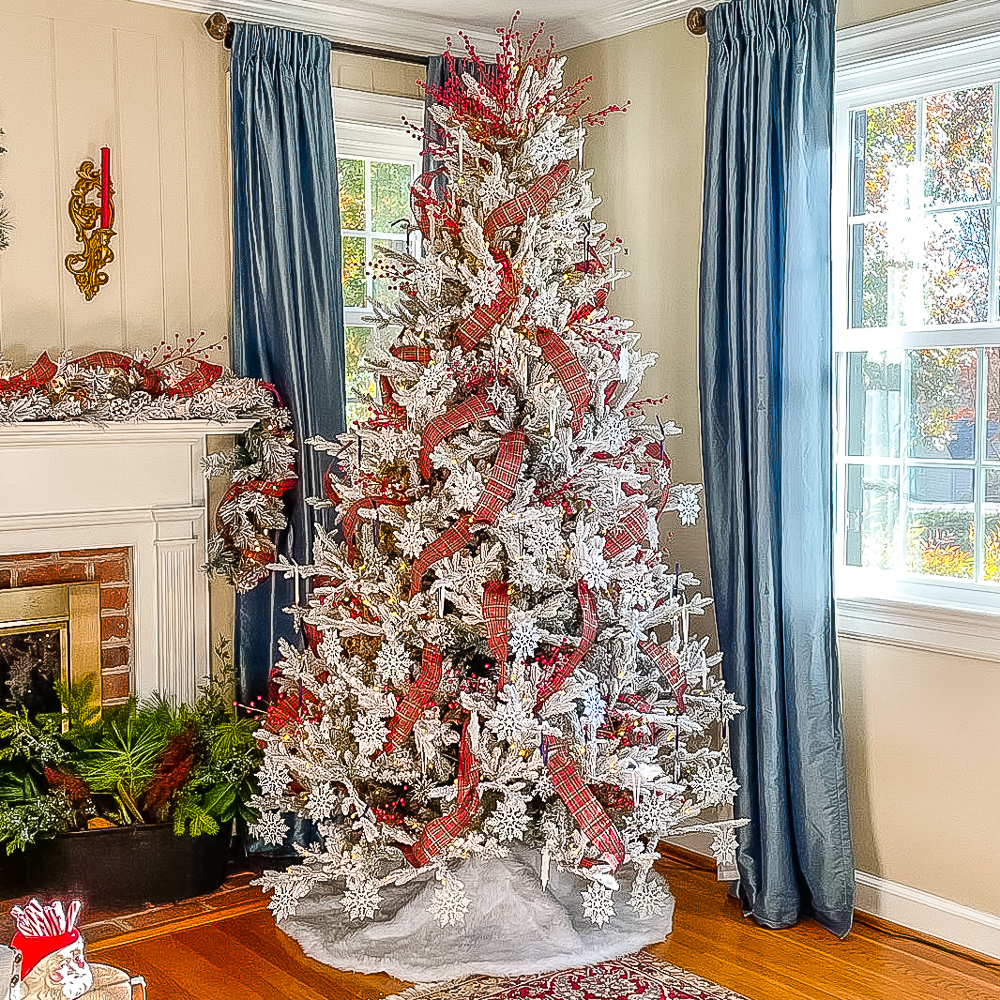
Mr. SP gives me a Swarovski snowflake ornament every year for Christmas. I usually display them on a thorny branch that my grandmother used in her church for alter arrangements. My collection has grown so large that I needed a new way to display these beautiful ornaments. I like to display them separately from my regular tree because I leave them out through the winter months.

I had a vision to make a wooden tree. I explained to Mr. SP what I wanted to do and then we headed to Lowe’s for the needed supplies. I wanted to do this project myself and in the process learn how to use some of his power tools.
The first step was to make a base. I traced a circle onto a piece of wood and then cut off the extra wood with a circular saw.
 The circular saw was really scary and I would definitely not use it again without Mr. SP’s supervision. Better yet, I’d just let him use it.
Then I cut the circle out with the band saw. This is another scary tool. I practiced on some scrap wood before I cut my circle.


Then it was time to use the router. I wasn’t very good at routing.

I had used the orbital sander before, but it had been a long time. After a quick refresher in proper sanding technique, I sanded the top, bottom, and sides of my circular base.

The next tool that I learned how to use was the drill press. I cut a hole in the base for the main trunk of the tree.
 I used a large dowel for the main trunk and then used the drill press to drill small holes around the main trunk for the branches.

I kept drilling and experimenting until I had enough holes for all of the branches that I needed.

I used a hand saw to cut dowels to different lengths for the branches. I even needed a lesson in using a hand saw. I’m not good at using that tool, either!

So far, so good!
 The next step was to design the star. Mr. SP helped me to draw a star on a scrap piece of wood and then I cut it out with the band saw. I’m pretty good at using the band saw! It kind of feels like sewing, only with a really sharp blade that could easily cut your finger off.
We attached the star to the top of the trunk by drilling a hole and using a smaller dowel. We glued this to make sure it would stay in place.

The next day I glued the branches into place and after they had dried, it was time to paint the tree. I ended up doing three light coats.
Ta-da! Now for the fun part, decorating it!

I had a terrible time trying to take a picture of the tree with the ornaments. It is so much prettier in real life when you can see the ornaments shimmering in the light. I still need to buy candles for the votives on the tray.


Thanks to Mr. SP for teaching me how to use some of his tools and for letting me invade his workshop.
I’m linking this to Metamorphosis Monday at Susan’s Between Naps on the Porch, DIY Day at Kimba’s A Soft Place to Land, Saturday Night Special at Donna’s Funky Junk Interiors, Thrifty Decor Chic’s Before and After Party, and to I made it without my Hubby at Whitney and Ashley’s Shanty2Chic.


Disclaimer – I couldn’t have made this without Mr. SP’s help. Since I learned how to use the tools and did almost all of it myself, I’m linking it to Whitney and Ashley’s party.


Beautiful!! Good job to you and Mr. SP 😉 xoxo
Cool, Miss Paula!!! I’m impressed.
Love the ornaments!
Suzanne
Jan.3, very nice work. You are as lucky as I am. My Mr. gets me a Waterford, santa every year. I like the snow flake very much…michelle
Good for you! Nice project and it looks wonderful with your ornaments!
Good for you learning to use the power tools. I enjoy using a scroll saw although it has been awhile since I have made any crafts.
That looks great! What a great feeling of accomplishment.
Mr. SP has quite the nice tool selection. Puts Home Depot to shame. Very good that you came up with this on your own. It looks great and what a nice way to display the ornaments. I came up with a great design for a large standing towel rack. You know the kind to hang towels on after the beach or pool? We end up with 7 wet pool size towels. Too many to hang over the shower doors. I just haven’t made it yet. You are an inspiration/motivator.
How very cool! I love the ornaments on your tree.
What a great project and how AWESOME that 1) your hubby has the tools and 2) that he’s patient enough to show you how to use them. However, I’m with you….a lot of that equipment scares me–I’d really like to keep ALL my fingers! The tree is beautiful. GOOD JOB! Happy New Year from Houston, TX
You did a great job! Using tools is fun! Your collection is stunning – I love the total display!
Great Job!! I am certainly impressed.
Awesome job with the power tools! I love your tree and the crystal snowflakes are incredible! What a great tradition… Mr. SP’s work shop isn’t too shabby either!
Have a great week!
~Really Rainey~
You did a great job on this! Love the tradition your husband started for you and love the tree!
Paula this is really creative and so beautiful too! I just adore Swarovski crytal ornaments. They are truly lovely. Great job!
Have a good week. ~Melissa 🙂
Hello Paula ~I’ve just strolled in for my first visit…I’ve enjoyed taking a peek at your past posts. You’ve got so many wonderful ideas. The tree is so versatile. I can see it decorated with Valentine decor too.
We share similar taste for so many of the same creative design elements.When winter landed on our doorstep…it has provided the motivation for a few indoor DIY projects.
It’s wonderful how generous blog friends can be and like you, that’s why I love returning the favor, whether it’s sharing cooking or craftin’ inspiration.
I’ve bookmarked you in my favs.
I look forward to coming by your charming blog again.
Come by for a visit. Your company would be nice.
Sweet wishes,
Sara
Lovely!! Those ornaments are (gasping) gorgeous!!!! 🙂
Well, that’s a beautiful little tree!! You look quite at home with those power tools girl!!!
Hi, saw your tree at somedaycrafts, and liked it very much..You have a very daft hand at using those tools..Gosh, such state-of-art tools, have you bought them just for crafts? ‘coz they seem very professional!
Those are gorgeous! I want snowflakes like that! I featured this at somedaycrafts.blogspot.com
This is beautiful – well done!
I bet you two had fun getting in to all of the toold and the result will be a tree that will be loved for a long time. Your collection is beautiful!
Go you@ You did an amazing job! I’m hosting a Power of Paint Party starting late tonight & every Wednesdays… I’d love it if you’d link up your cute tree.
That’s a really neat tradition! I love swarovski crystal- my sister used to give me a silver crystal animal each year. 🙂
Paula traajo precious, adorable addition to well you use the tools!
you are a creative genius, congratulations you have a beautiful 2010 Chany
That’s the best snow I have ever seen. You did an amazing job on your tree.
P.S. love your signs in the back.
Great job! Please don’t cut your fingers off!
-Trish
Great job! You must be the envy of all of your DIY friends with that decked put workshop at your fingertips. And how great that you took on tools you weren’t familiar with, and was able to use them without fear to make your project.
The snowflakes are very pretty too.
That is just plain crafty and cool! Love your collection.
Well, you certainly got MY attention!! Look at you go with all those tools! Your project is adorable. You have a band saw? sob…
Thanks for linking up to SNS!
FJ Donna
Well way to go Paula, you did a great job. Love the ornaments, I’m Sweet Pea Green.
i too have tradition of buying Swarovski ornament (big n small) every year since my son’s birth… 🙂 this will be 8th year! I used to display them on regular tree… but this year i got a metal display stand… The only problem is the ribbon.. It just does not looks good on my metal tree because some ribbons are blue n some are white…… and I also have hard tym setting ‘light’…
yours look beautiful though….