Guest Bathroom Reveal :: 1980’s to 2013

Almost a year ago we began renovations on our guest bathroom and finally the project is complete. I’m excited to share this room with you and also excited to host overnight guests.
Our guest bathroom had been updated by the previous owner in the 1980’s with new wall tile and a new vinyl floor. Both were in good condition, but we wanted a different look, so we gutted the room and started over.

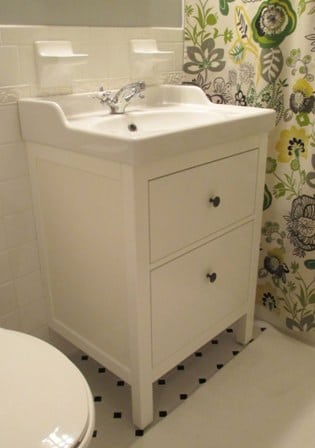
The wall mount sink was a space saver but offered no storage. The toilet work very well but was replaced with a more modern one.

The tile was in almost new condition but wasn’t the style we prefer.

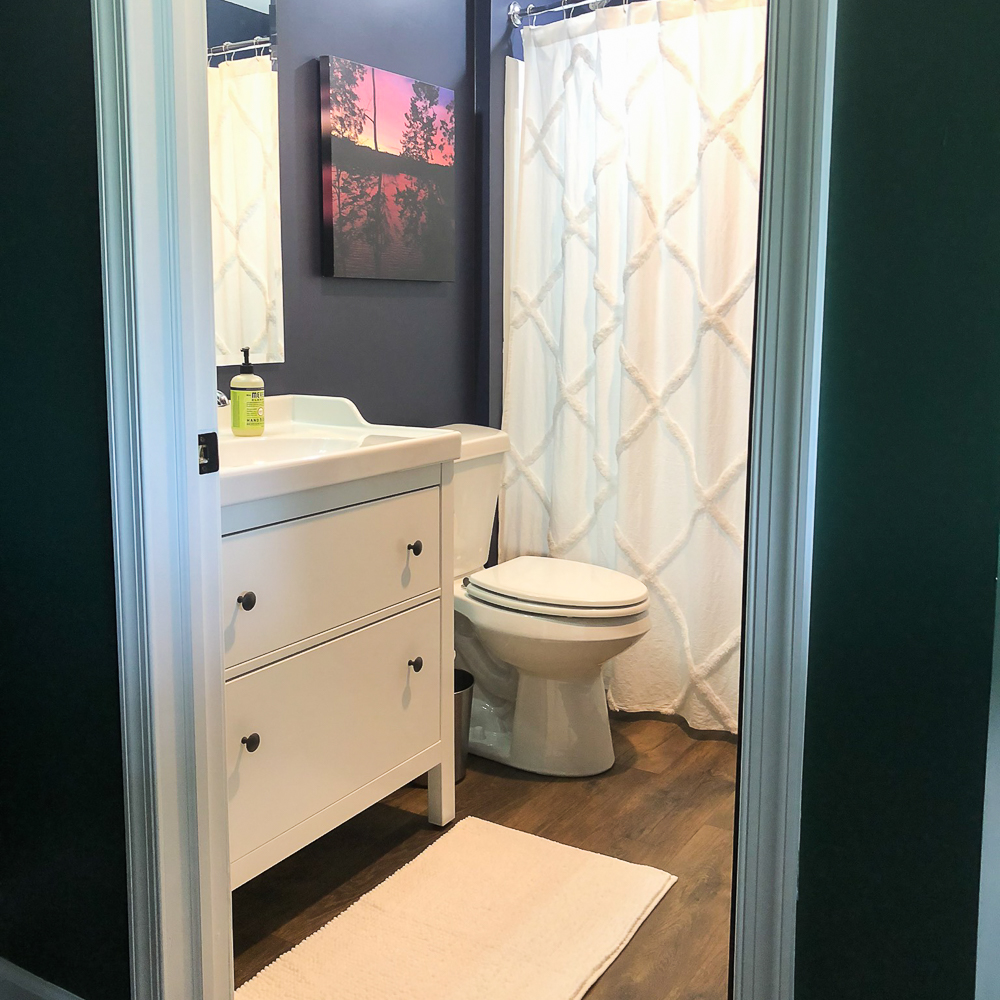
We live in a 1950’s Cape Cod and the guest bathroom is located at the top of the steps on the second floor. This is what you see when you get to the top of the steps.

Come on in to see our updates.

We love the subway tile and old fashioned style floor that we selected. A larger sink with a vanity makes getting ready in this room much easier and the vanity offers much needed storage. The toilet is water saving and also powerful.


A towel bar and a hook are on the back of the door.

The shower got a new showerhead and a new faucet.

A towel bar in the shower offers a handy spot for hanging wash clothes.

A curved shower curtain rod makes this shower feel more spacious.


Mr. SP did the majority of the work on this project. My contributions were sewing the shower curtain and making the curtain and shade for the window.


If you’d like to read about our renovation from the beginning, here are the links where our progress was shared:
Part One
Part Two
Part Three
Part Four
Part Five
Part Six
This bathroom renovation was our biggest interior project for 2012. We are so pleased with the outcome!
Sources:
Floor Tile – Merola Metro Hex – Home Depot
Wall Tile – Lowes
Cadet 3 Toilet – Lowes
Tub and Shower Faucet and Showerhead – Moen – Lowes
Shower Curtain Rod and Toilet Paper Holder – Lowes
Vanity: Ferguson
Fabric: Fabric.com
Curtain Pattern: Pate Meadows
Sink Faucet: Rohl
Sharing With:
Wow Us Wednesday at Savvy Southern Style
Tutorials and Tidbits at Stone Gable
Grace at Home at Imparting Grace
Weekend Bloggy Reading at Serenity Now

I remember when you showed the various fabric swatches you were considering. You made a good decision. The framed map of Virginia has just the right colors to coordinate with the curtains. Love the valance and shade.
It turned out just perfect!! I love every update because they are timeless and classy.
Beautiful job, love the subway tile and all the updates. Ibaslonlove the pop of colors in shower curtain and curtains!
It really looks beautiful!
Looks wonderful! I have the same exact light fixture you have above the sink….only mine is about the kitchen sink. I don’t know why I never thought about putting a hook behind the bathroom door! Duh! Perfect for hanging up your robe while you shower. It looks great! Love the valance and shade fabrics.
LOVE the flooring and subway tile! Perfect choice. 🙂
Great job – love the dark grout with the white subway! I have a very similar floor in my guest bathroom – love the vintage feel!
Kelly
Hey Paula, You have been a busy bee! What a lovely bathroom and I love that happy fabric you chose it reminds me of your blog banner!
Now that will be worth the climb up the stairs. 🙂
Coming from Imparting Grace.
Fondly,
Glenda
Paula that looks amazing! I LOVE the new floors! And the shower curtain is adorable!
It looks fantastic! I love the darker grout with the subway tile and the fabrics are so gorgeous!
I love the white subway tile! So crisp and fresh 🙂
Such a lovely redo ~ I love the white! I hope to do my guest bathroom soon ~ you have given me so many ideas.
Great makeover and love all the details.
Wow Paula! It could not have turned out any more perfect. You made me wanna tear up my whole bathroom!
xoxo,
Kim
Thank you! We are really enjoying it.
Hi! I found yoyr blog through “Wow Us Wednesday”! The first thing I noticed in your newly remodeled bathroom was the picture of Virginia! I live in Virginia too! I really like the finishes and fixtures you used for your project and love the fabrics and how you made the curtains! Isn’t it nice to have a beautiful, brand new bath? Thankis for sharing! I’ll be following, looking forward to reading more posts! Hugs, Leena
PS Feel free to visit me at pinkcherubmoon.blogspot.com!
Yeah! I love to meet fellow VA bloggers.
Paula, this room turned out so well! I know you must be proud of it–I sure would be! Thank you for providing the links to all the posts about the room’s progress–it’s fun to look back and see the steps along the way.
Thank you so much for joining Grace at Home–I’m featuring you!
Absolutely crazy about your tile. Can’t wait to show my hubby. This is the look I’ve been wanting for our small bathroom upstairs. Yay!
Wow, what an amazing transformation!!! Beautiful bathroom.
Thanks, Brittany! It took us many months to complete, but we had fun doing this project and it’s nice to have a pretty bathroom.