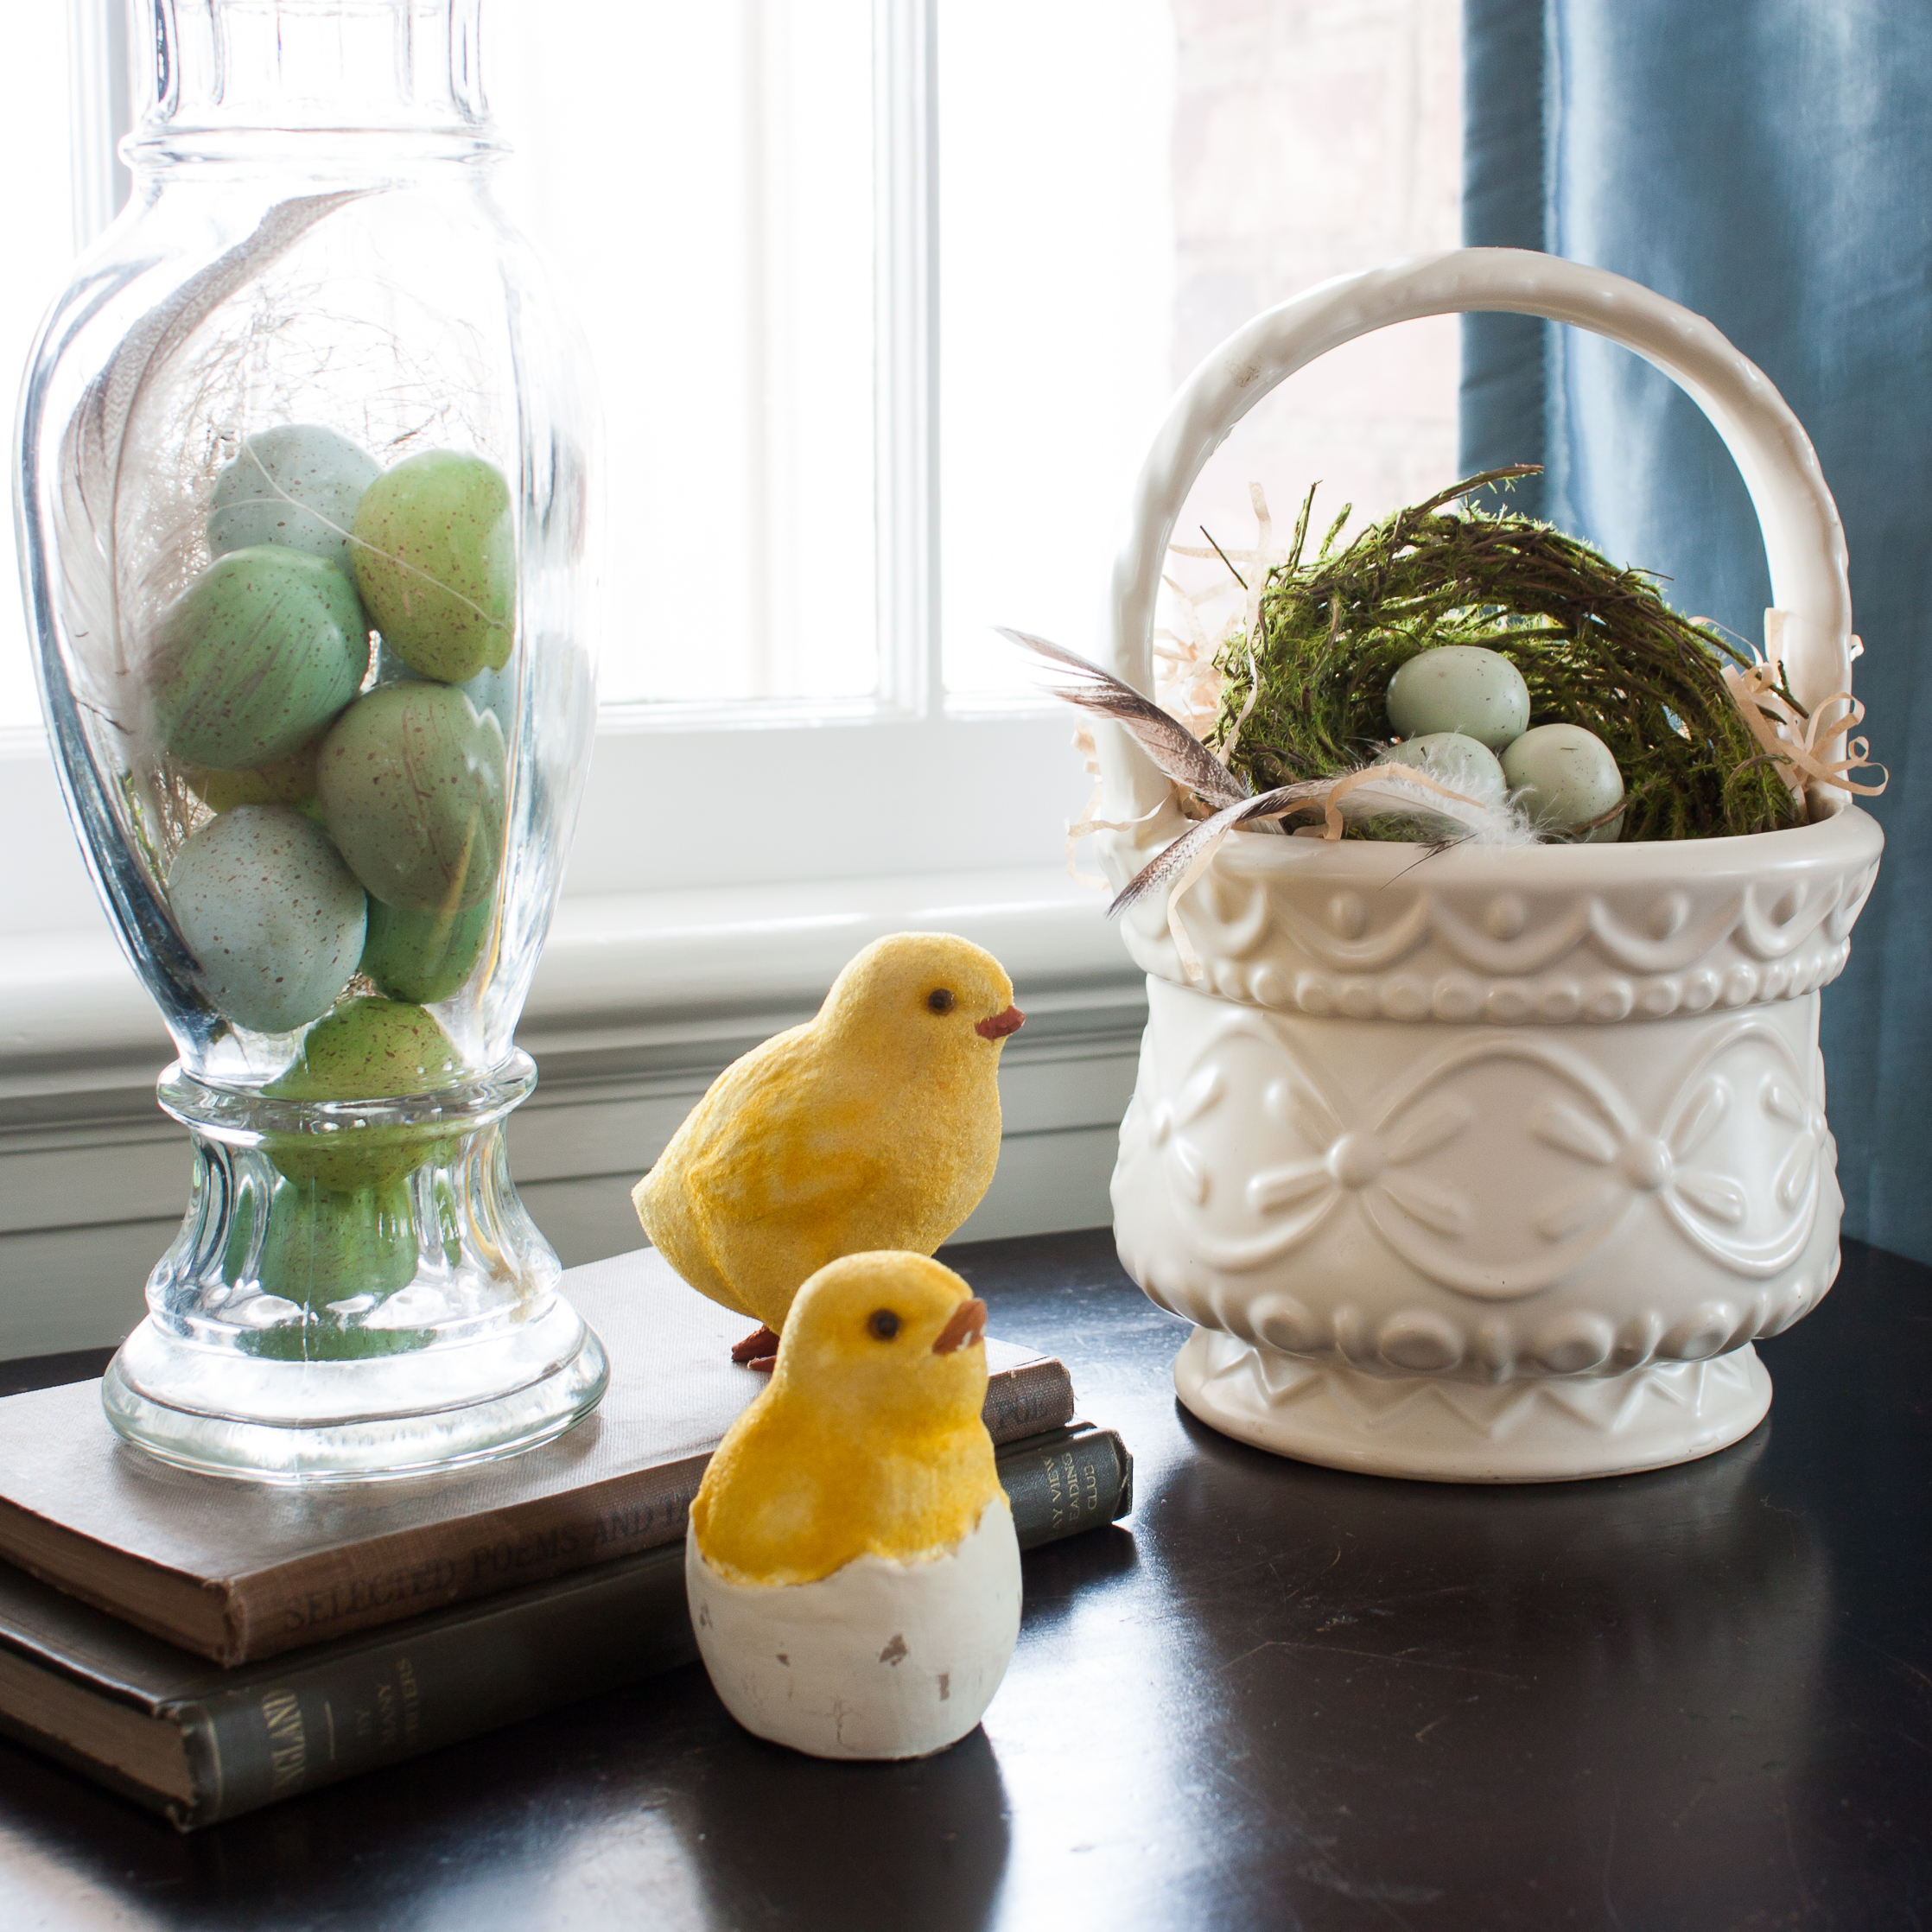
Easter Centerpiece
This weekend my bunnies came out of hiding to adorn my house for Easter. I love Easter decorations almost as much as Christmas ones. Let’s just say that there are bunnies, chicks, and eggs on just about ever available decorating surface in my house.
I hosted a birthday dinner for my mom on Saturday night and needed a centerpiece for my table. My inspiration was an adorable basket crafted by Red Door Home. Click here to check it out for yourself.
Here’s my version:
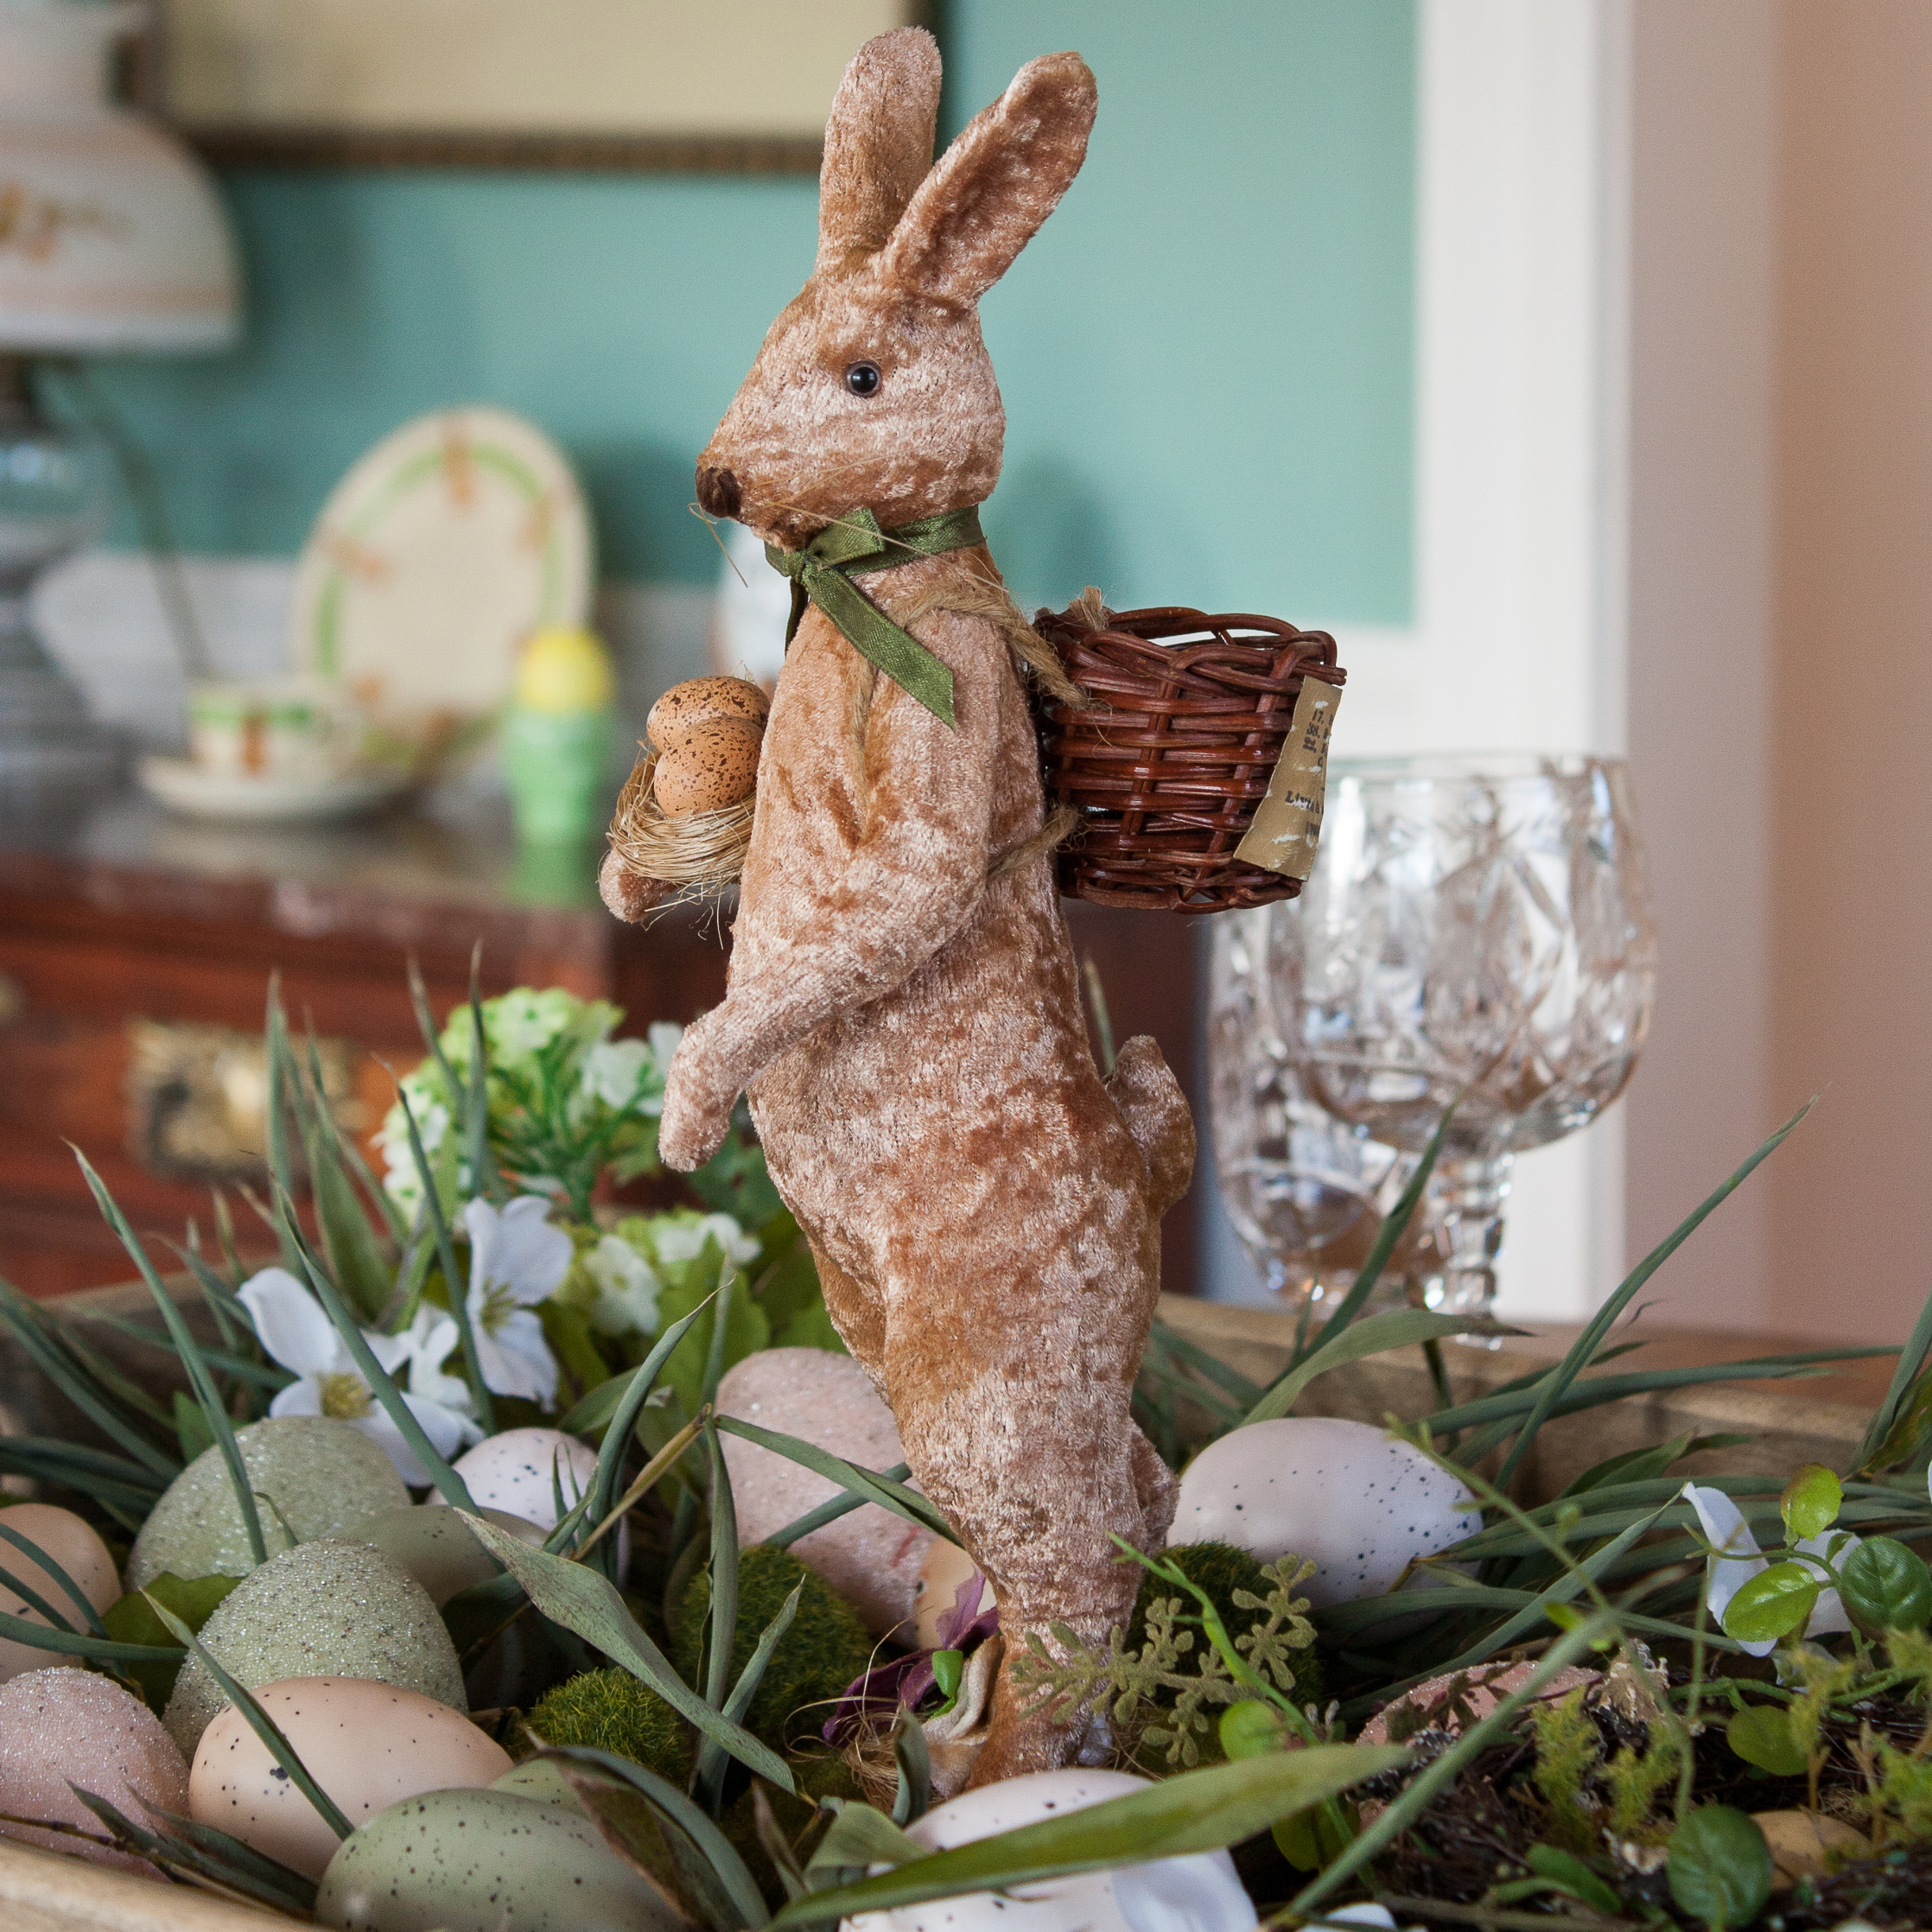
This bunny is making his debut in 2011. He was purchased in 2009 in the Charlotte airport by Mr. SP who knows how much I love my bunnies. I didn’t decorate last year, so 2011 is my first year to really enjoy him.
I read Stacy of Red Door Home’s tutorial but didn’t write down the directions, so my finished product is a bit different from hers. The main thing I noticed after I finished my project and compared it to Stacy’s is that I forgot to make a handle.
I experimented with a drop cloth lined with plastic for this project. I wondered if a hot iron would fuse the plastic together and I found that it does.
Directions:
1. Find a container. (I used a peanut tin.) Measure the circumference of the container and add 1/2 inch for your fabric width. Decide how long you want your petals to be. I picked 4 inches. Double this number and add 1/2 inch for your fabric length. My container’s circumference was 20”, so I cut my fabric 20 1/2 x 8 1/2. Cut three of these strips.
2. Fold the fabric over 4” and iron into place. I loved how my plastic lined drop cloth fused.


3. Use pinking shears to cut strips through the doubled over and fused fabric. Be sure not to cut through the 1/2 single layer of fabric.
4. Glue strips on your container one at a time.


5. Flip container over and use your fingers to press the fabric into place. Fill your basket as desired.


Many thanks to Stacy at Red Door Home for sharing her cute idea. Be sure to check out this blog if you aren’t already familiar with it. You will be amazed at Stacy’s decorating talent.
I’m sharing this project with Susan’s Metamorphosis Monday ,at Hope Studios Tutorial Tuesday, and with Beth at The Stories of A to Z Tutorials and Tips Tuesdays.

Adorable and I love the bunny!
I will making one of these tomorrow…..so darn cute!! Your directions were very clear and you made it look easy to do. I adore the tiny bunny that was gifted to you….so sweet!
This is absolutely adorable. Your tutorial is wonderful. Love it. Hugs, Marty
I love that basket! Not to cutesy.. like a lot of Easter decos are! I may just have to steal your idea! 🙂
Paula – I am thrilled you used my tutorial for inspiration! Love how your basket turned out!
That is such a cute idea….thanks for passing it along! Carla
You know…I went over to Red Door Home and checked out her basket and while it is just the cutest thing ever the instructions were just way too hard for me to follow. I know I would mess them up. But yours are super easy and I think even I can make one of these. I love it. Love the new bunny for 2011 too, he’s just the perfect size!
That is beyond cute…and I mean really, who doesn’t love a bunny???
That is so cute! What a great idea and I looooove that bunny! Hope y’all had fun at the party!
You did a great job, Paula! I love the cute little bunny perched inside too. 🙂 “Hoppy Spring.” 😉
Love it Paula, I’ve got a few friends coming over Sunday to make Easter cookies for the Veterans, I think I may add this too the adventure 🙂
What a cute idea! Might have to “steal” this one. I’m so far behind. I haven’t even pulled out my Easter stuff. Thanks for sharing.
Jennifer