Decoupaged Floral Easter Eggs
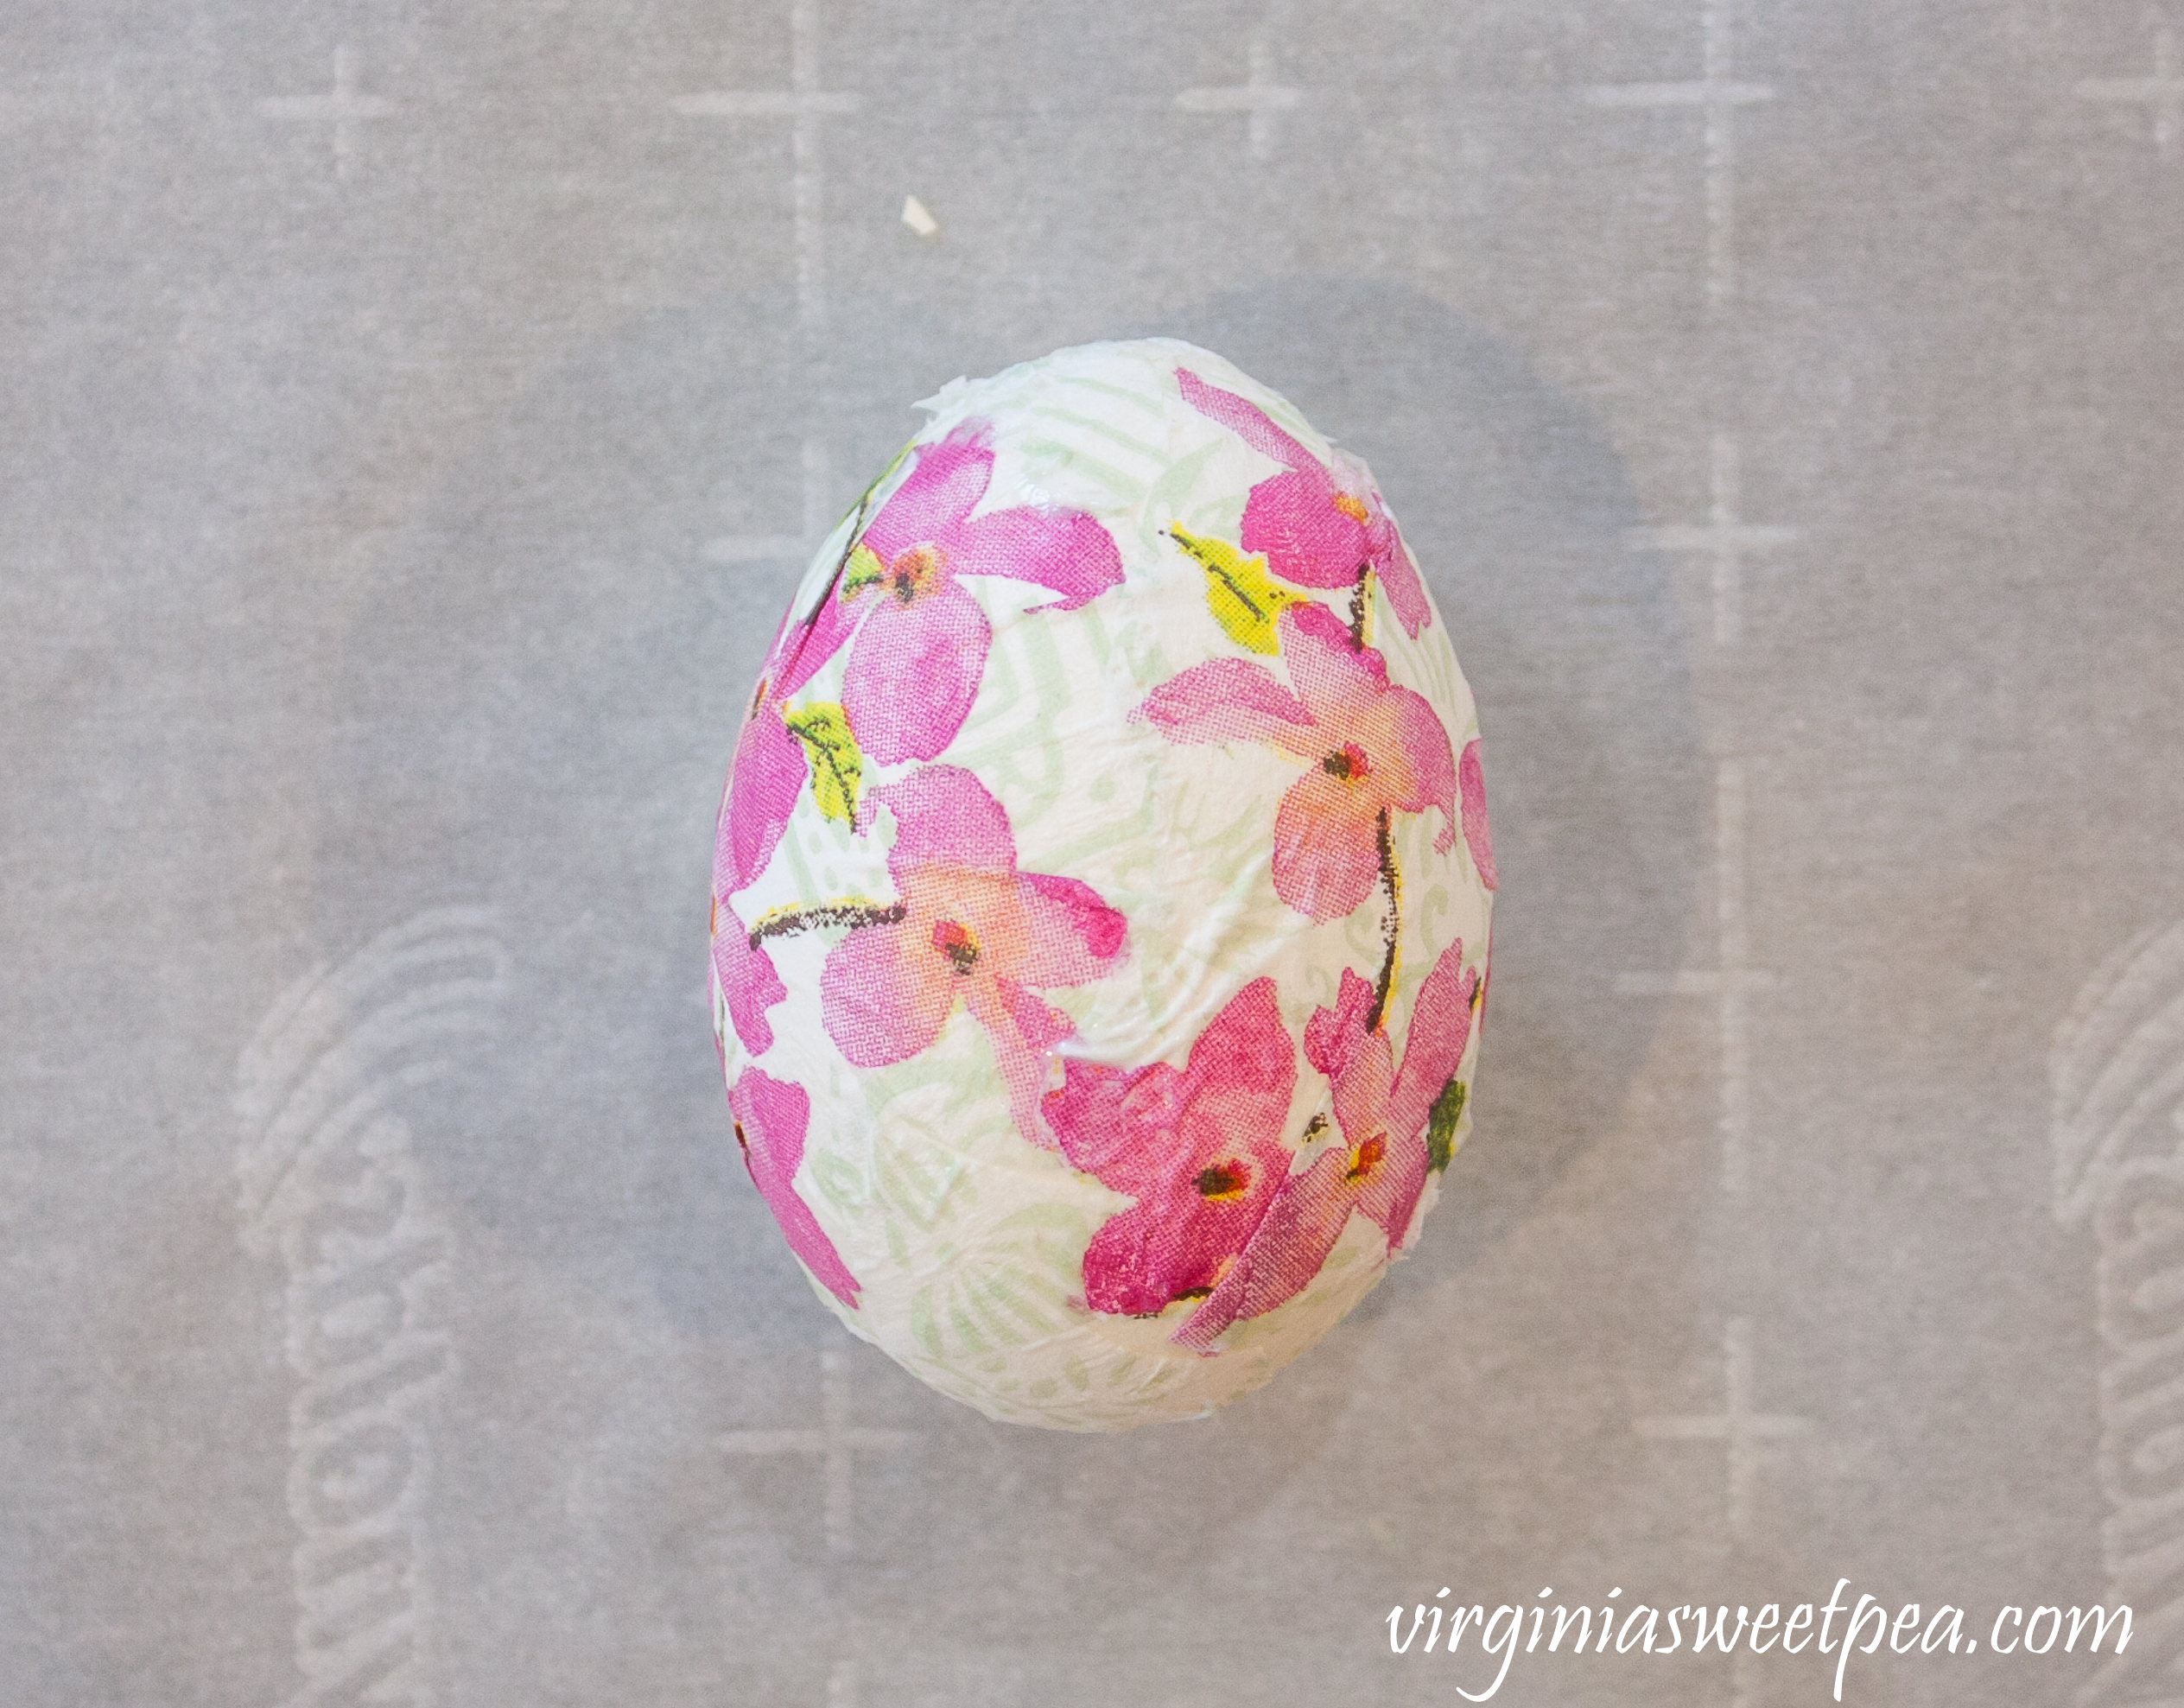
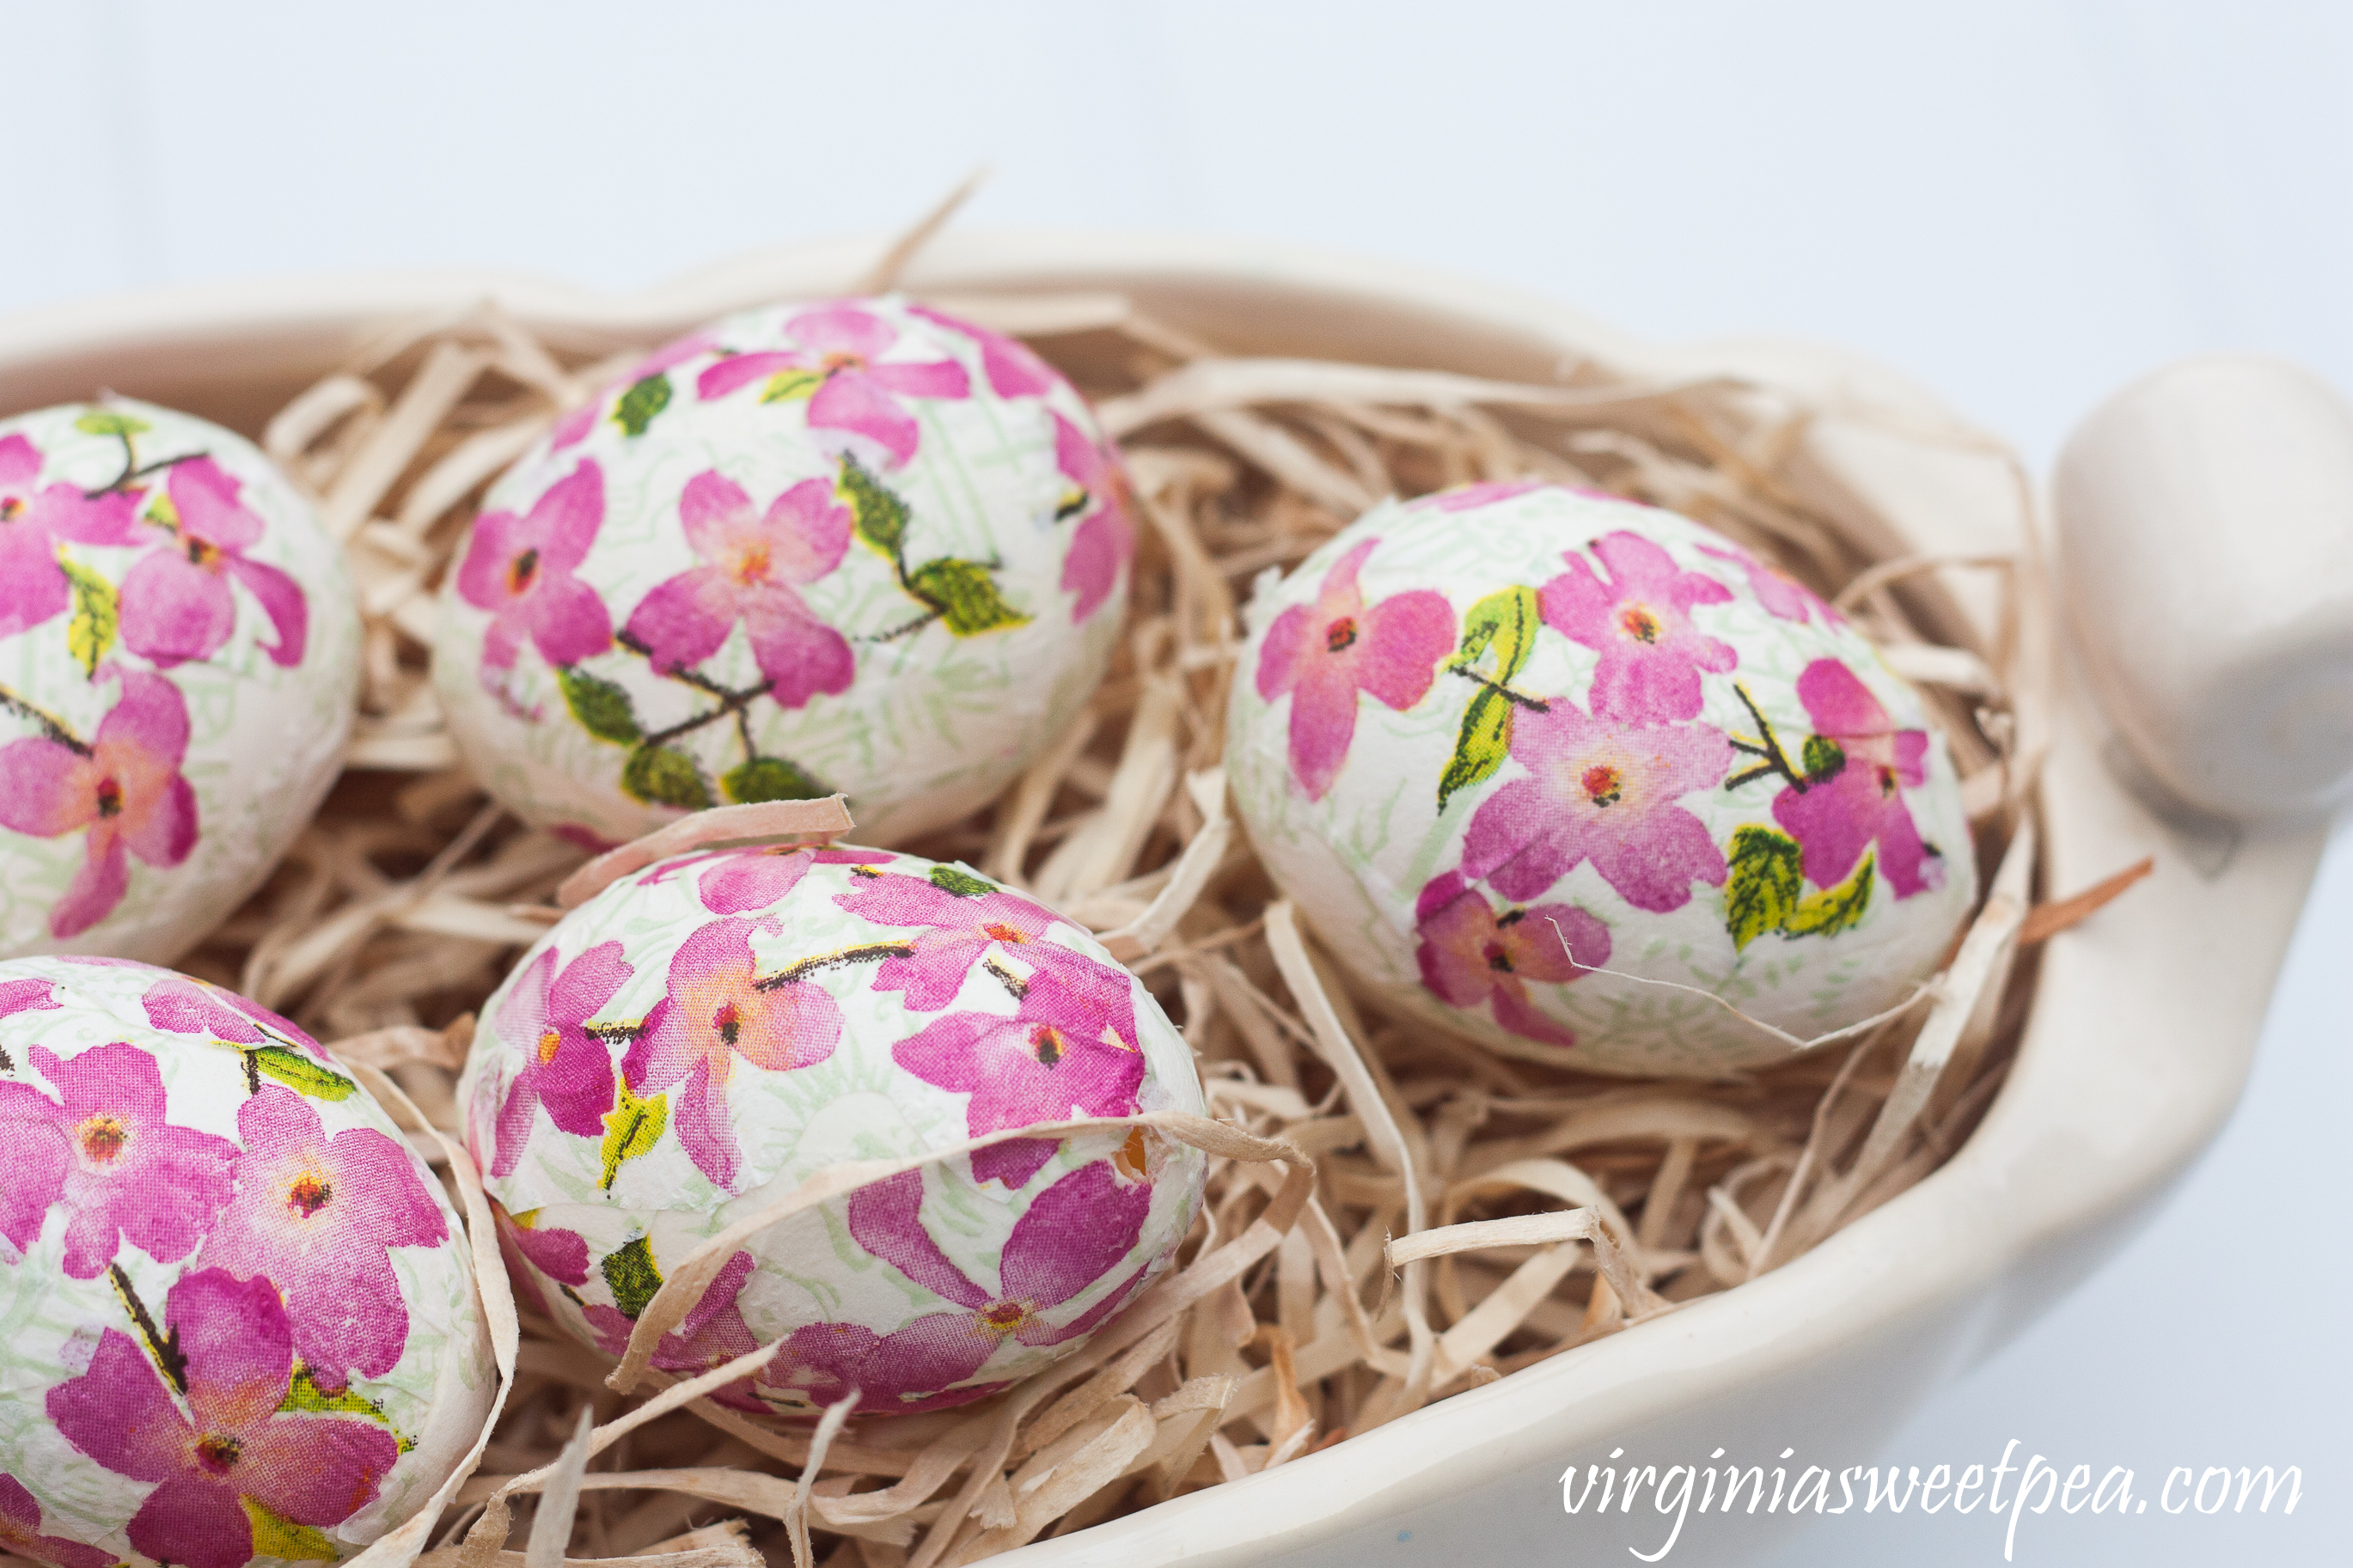
Easter is one of my favorite holidays and I’m beginning to decorate my home for the season. Today I’m sharing a fun Easter craft, Decoupaged Floral Easter Eggs. To make these eggs, I used beautiful Caspari Blossoming Branches napkins and blown out eggs.
How to Make Decoupaged Floral Easter Eggs
This is a project that I’ve been wanting to complete for several years. Last year I purchased Caspari Blooming Branches napkins with the intention of decorating eggs with them but never completed the project. I’m thrilled that I finally made these floral eggs and since I used blown out eggs, I’ll be able to enjoy them for years to come.
Supplies
This post may contain affiliate links. For full disclosure go here.
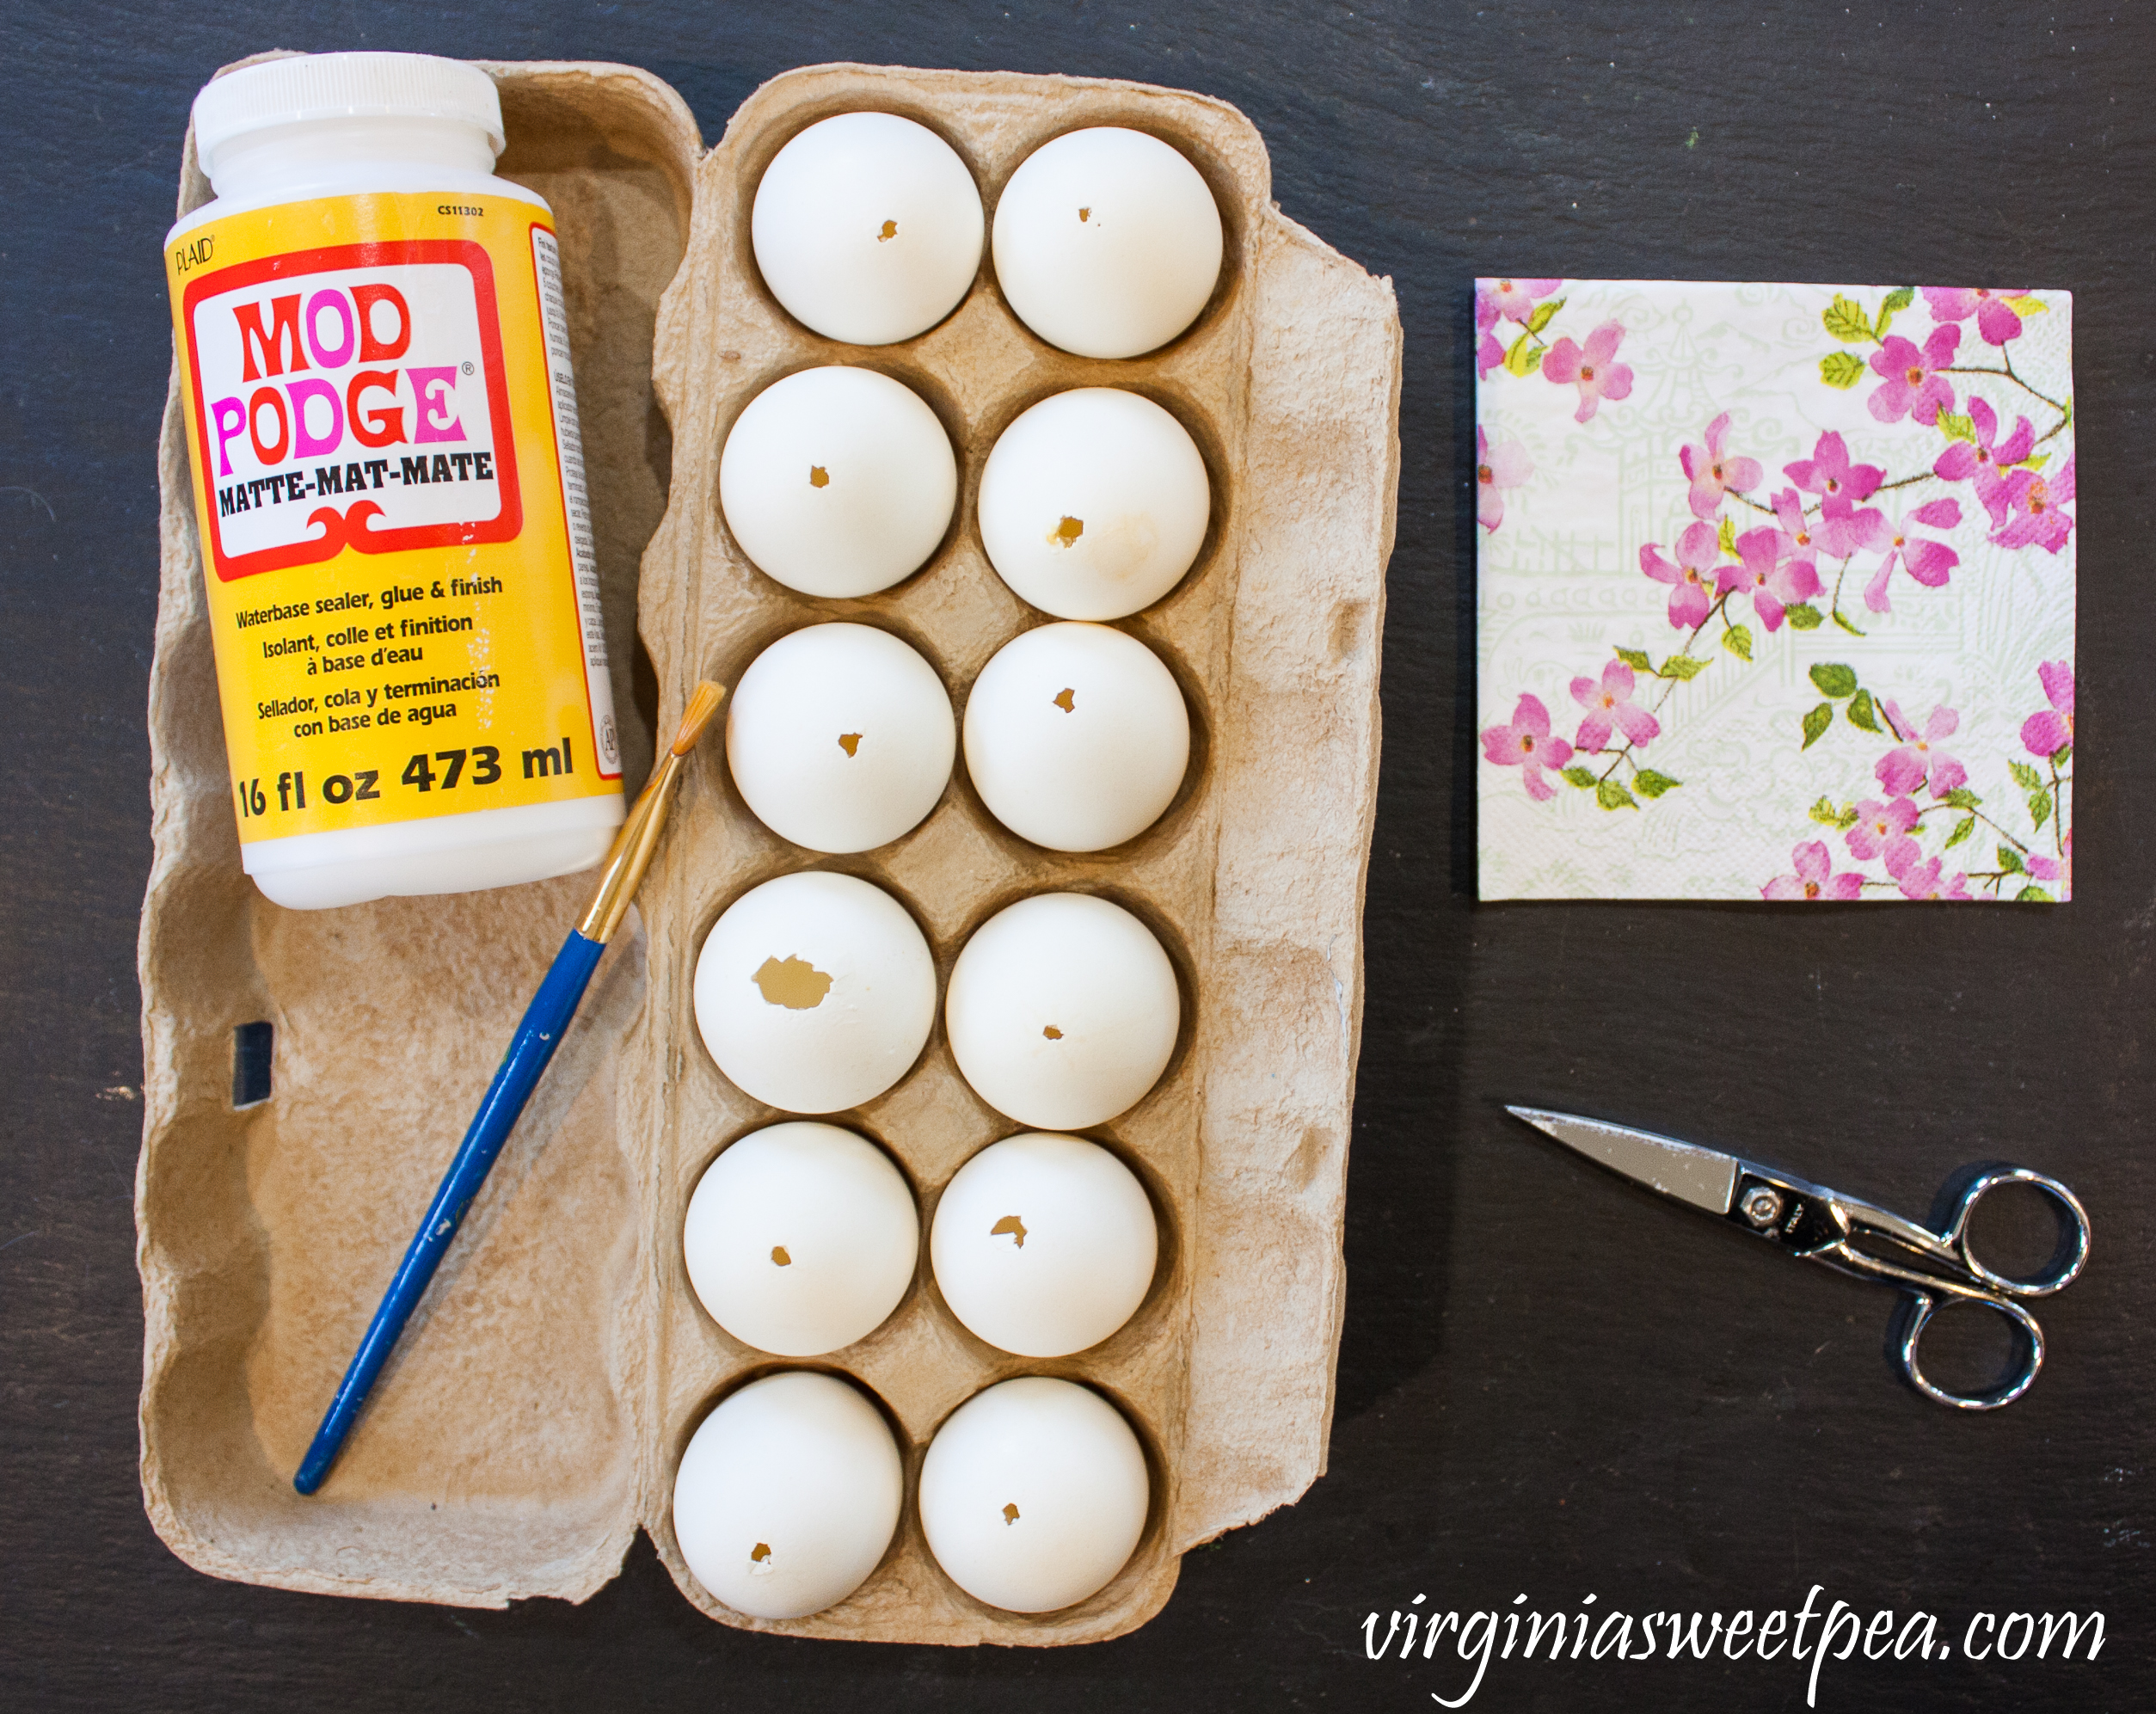
Eggs – I used blown out eggs but craft eggs would work perfectly and be less work.
Napkins – I used Caspari Blossoming Branches napkins.
Mod Podge
Small paint brush
Scissors
Paper, parchment paper, or waxed paper to protect your work surface
Procedure
Step One – If you are using real eggs, poke a hole on either end, blow out the contents, wash the eggs and let them dry thoroughly. I got lucky and inherited this dozen of already blown out eggs from my grandmother. She probably intended to make something beautiful with them.
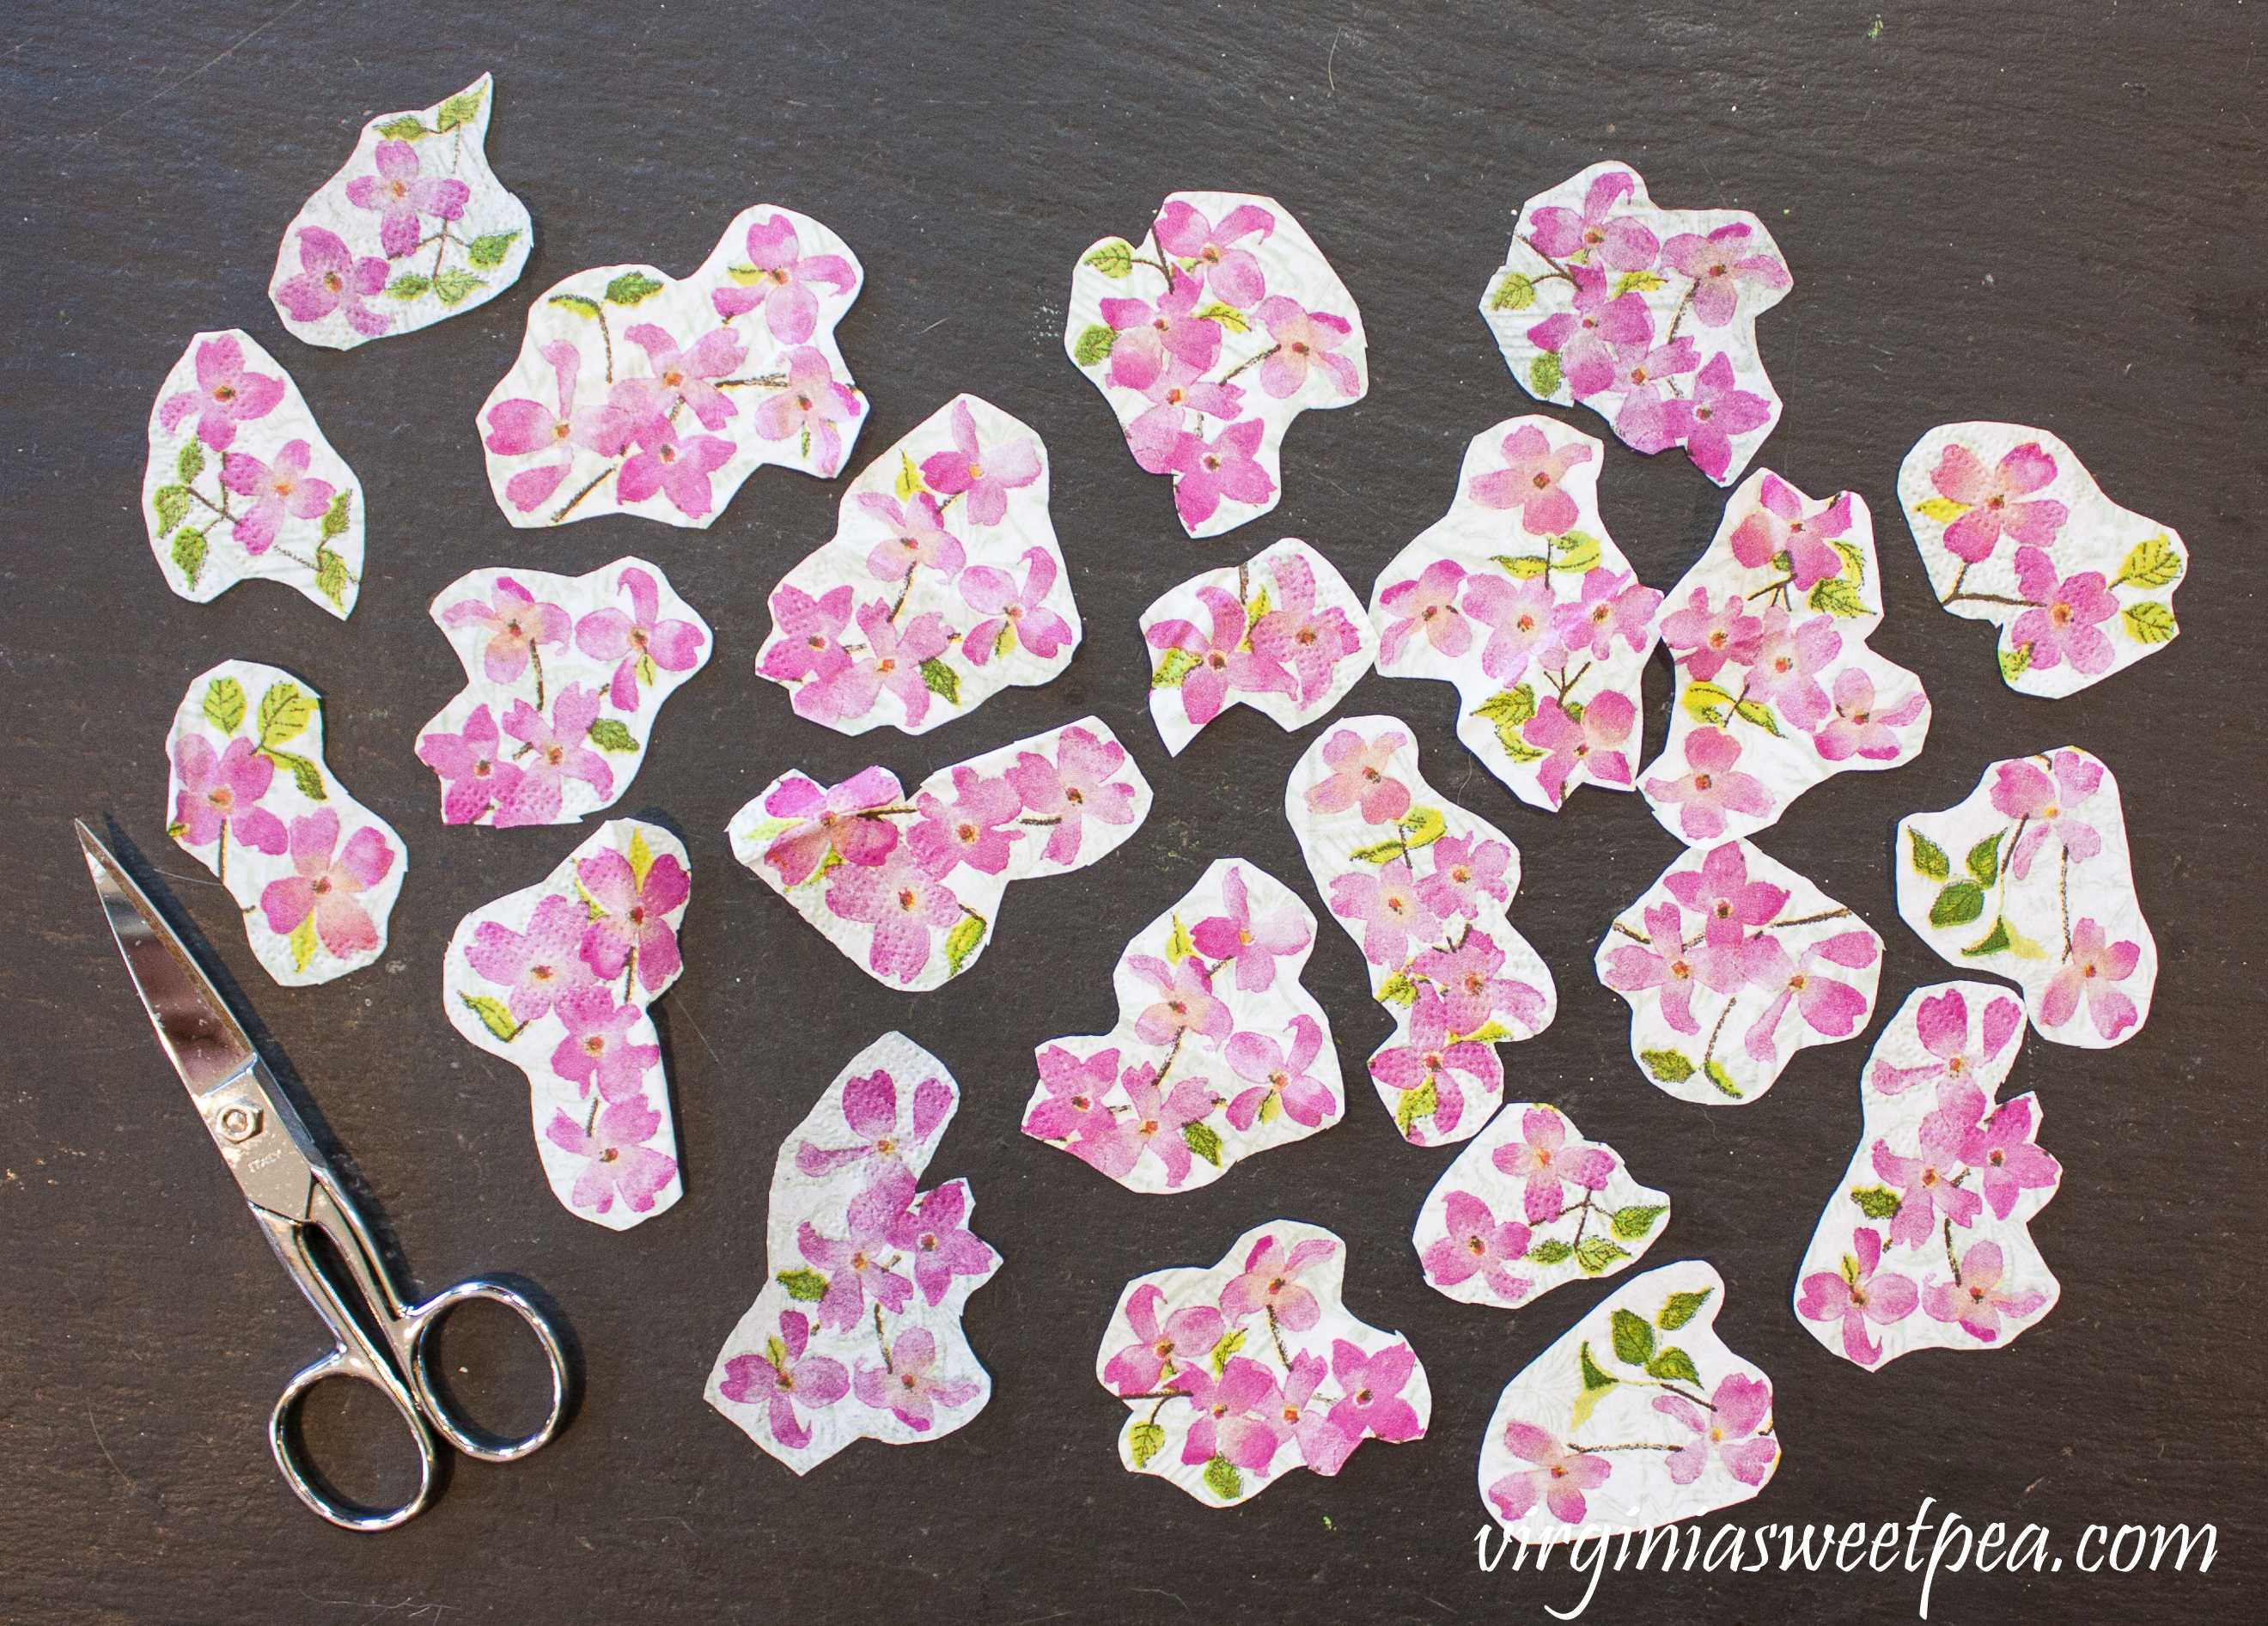
Step Two – Separate the napkin layers then cut out the images from the top layer of the napkin that has the images printed on it.
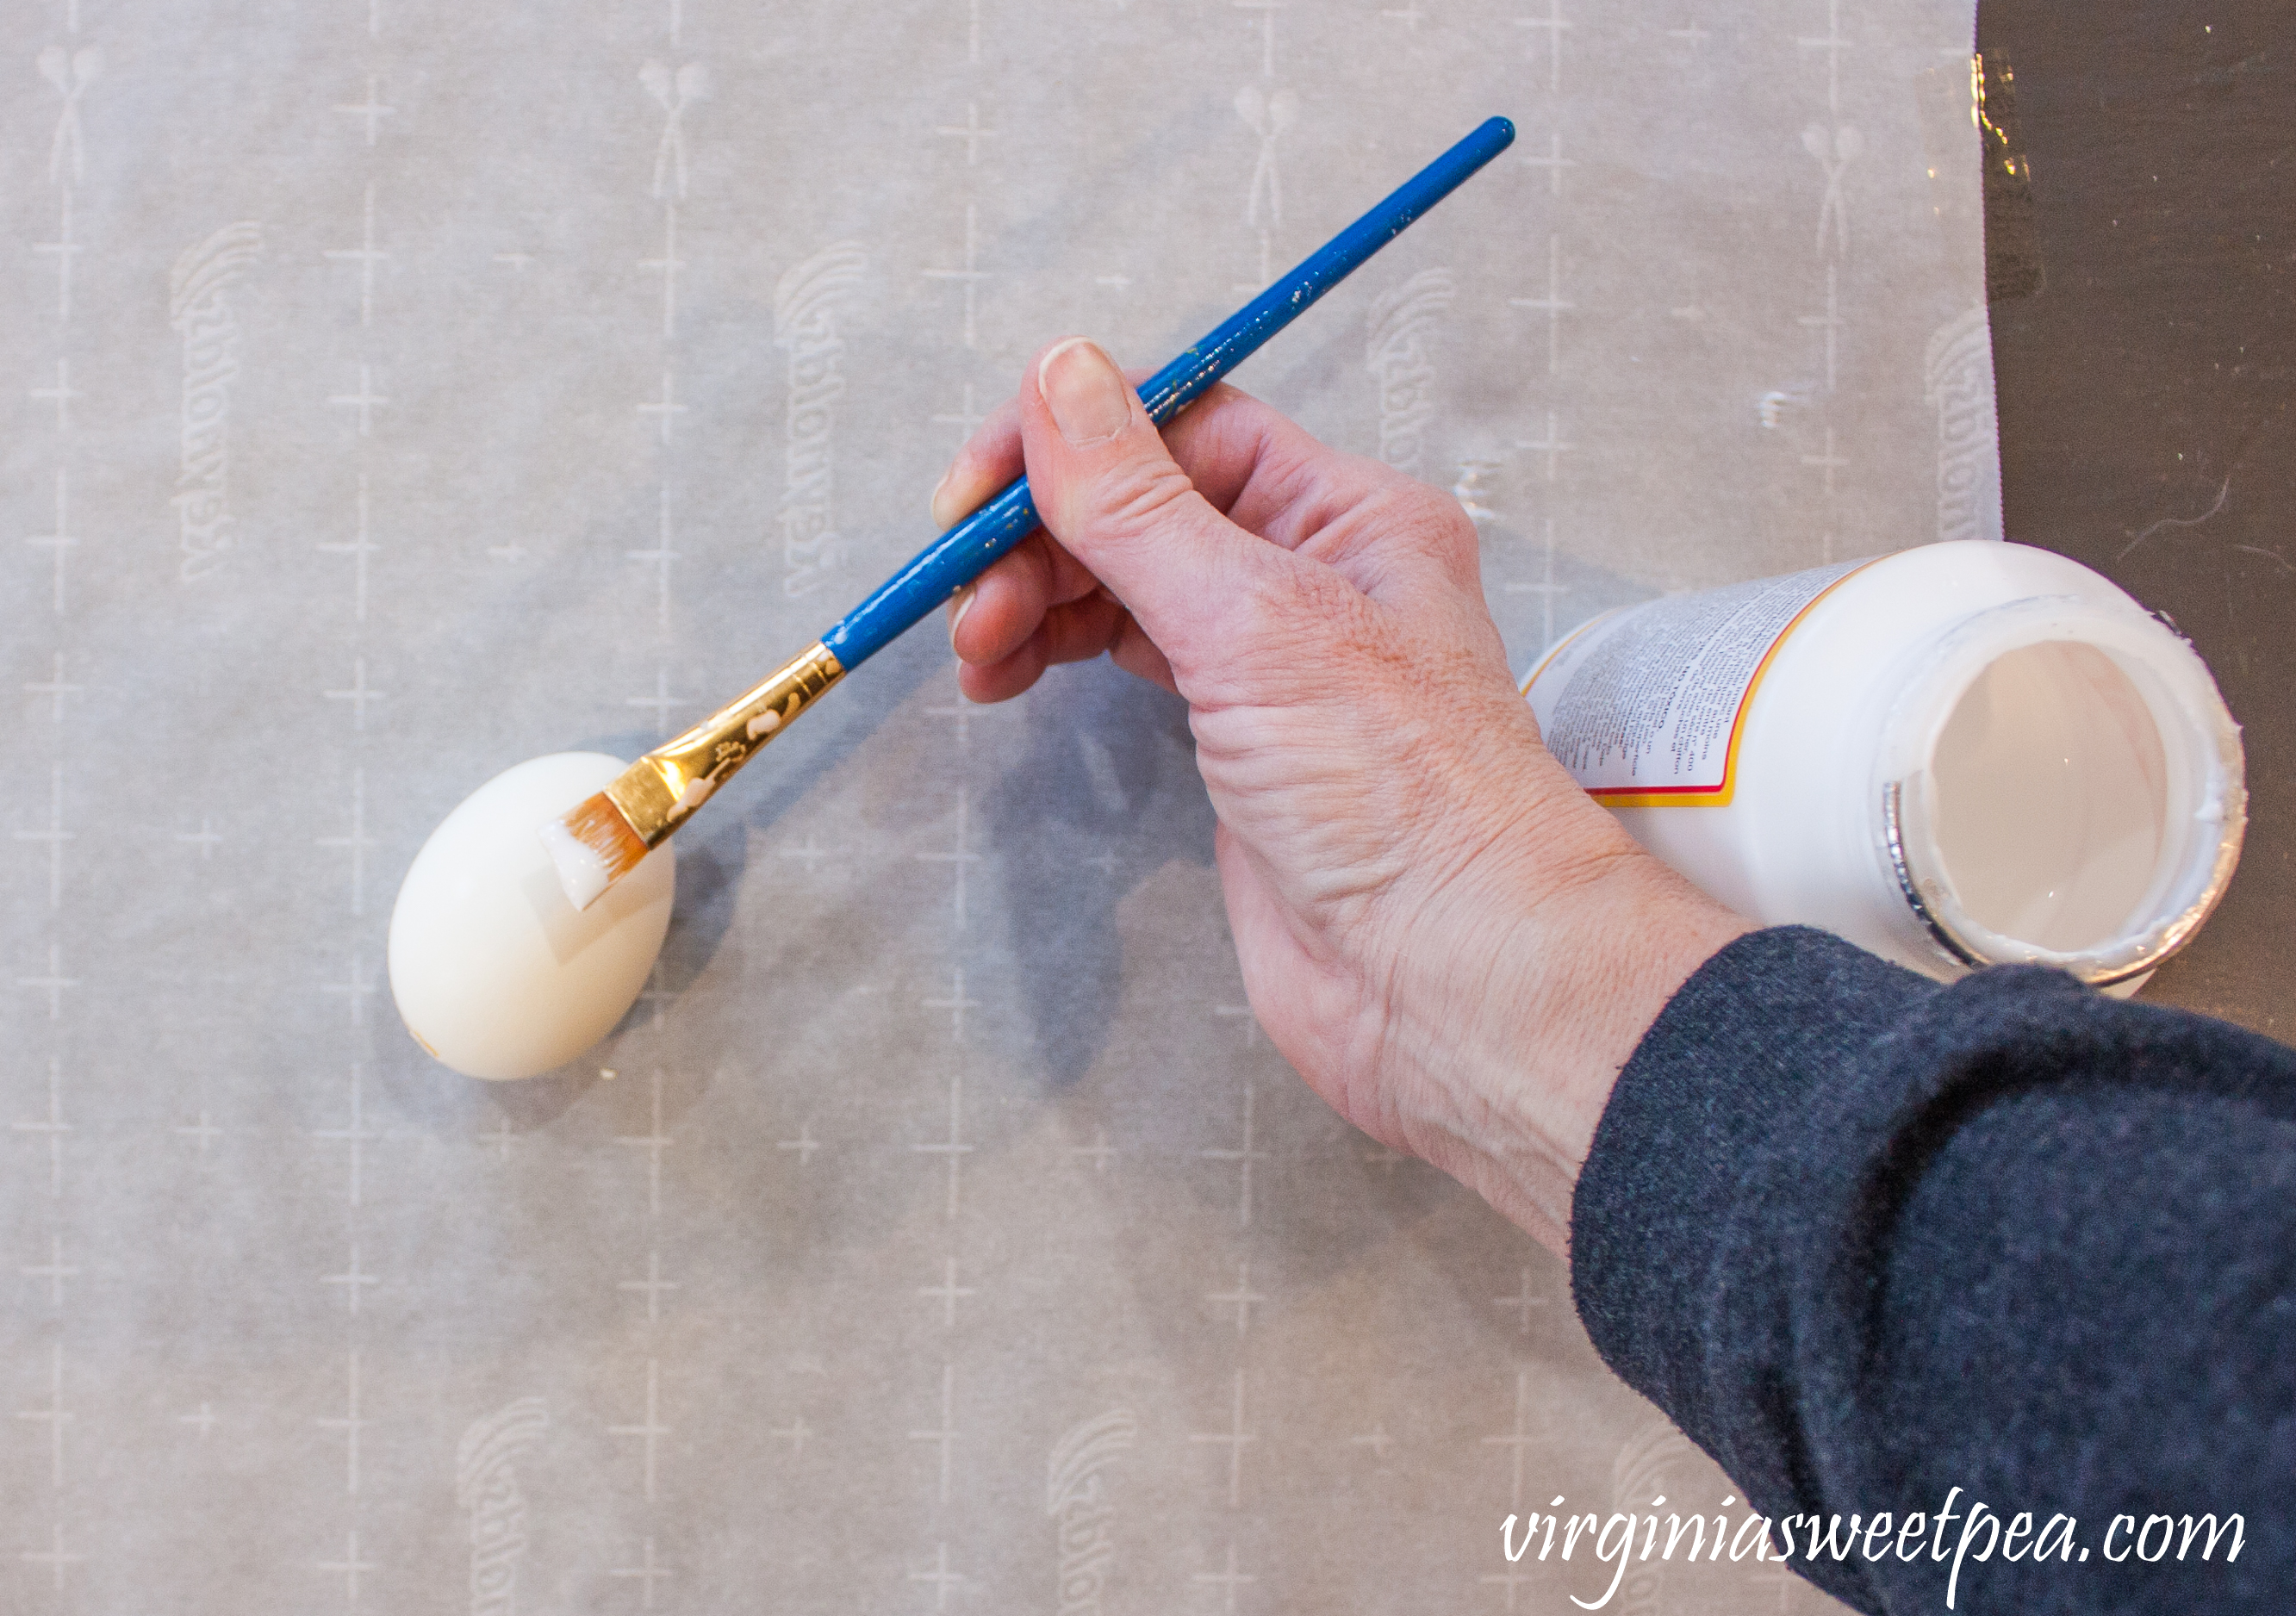
Step Three – Protect your work surface because Mod Podge can get messy. I was working on our coffee table and taped down a piece of parchment paper to the surface to protect it. Brush Mod Podge onto the egg and then apply the image cut out from the napkin.
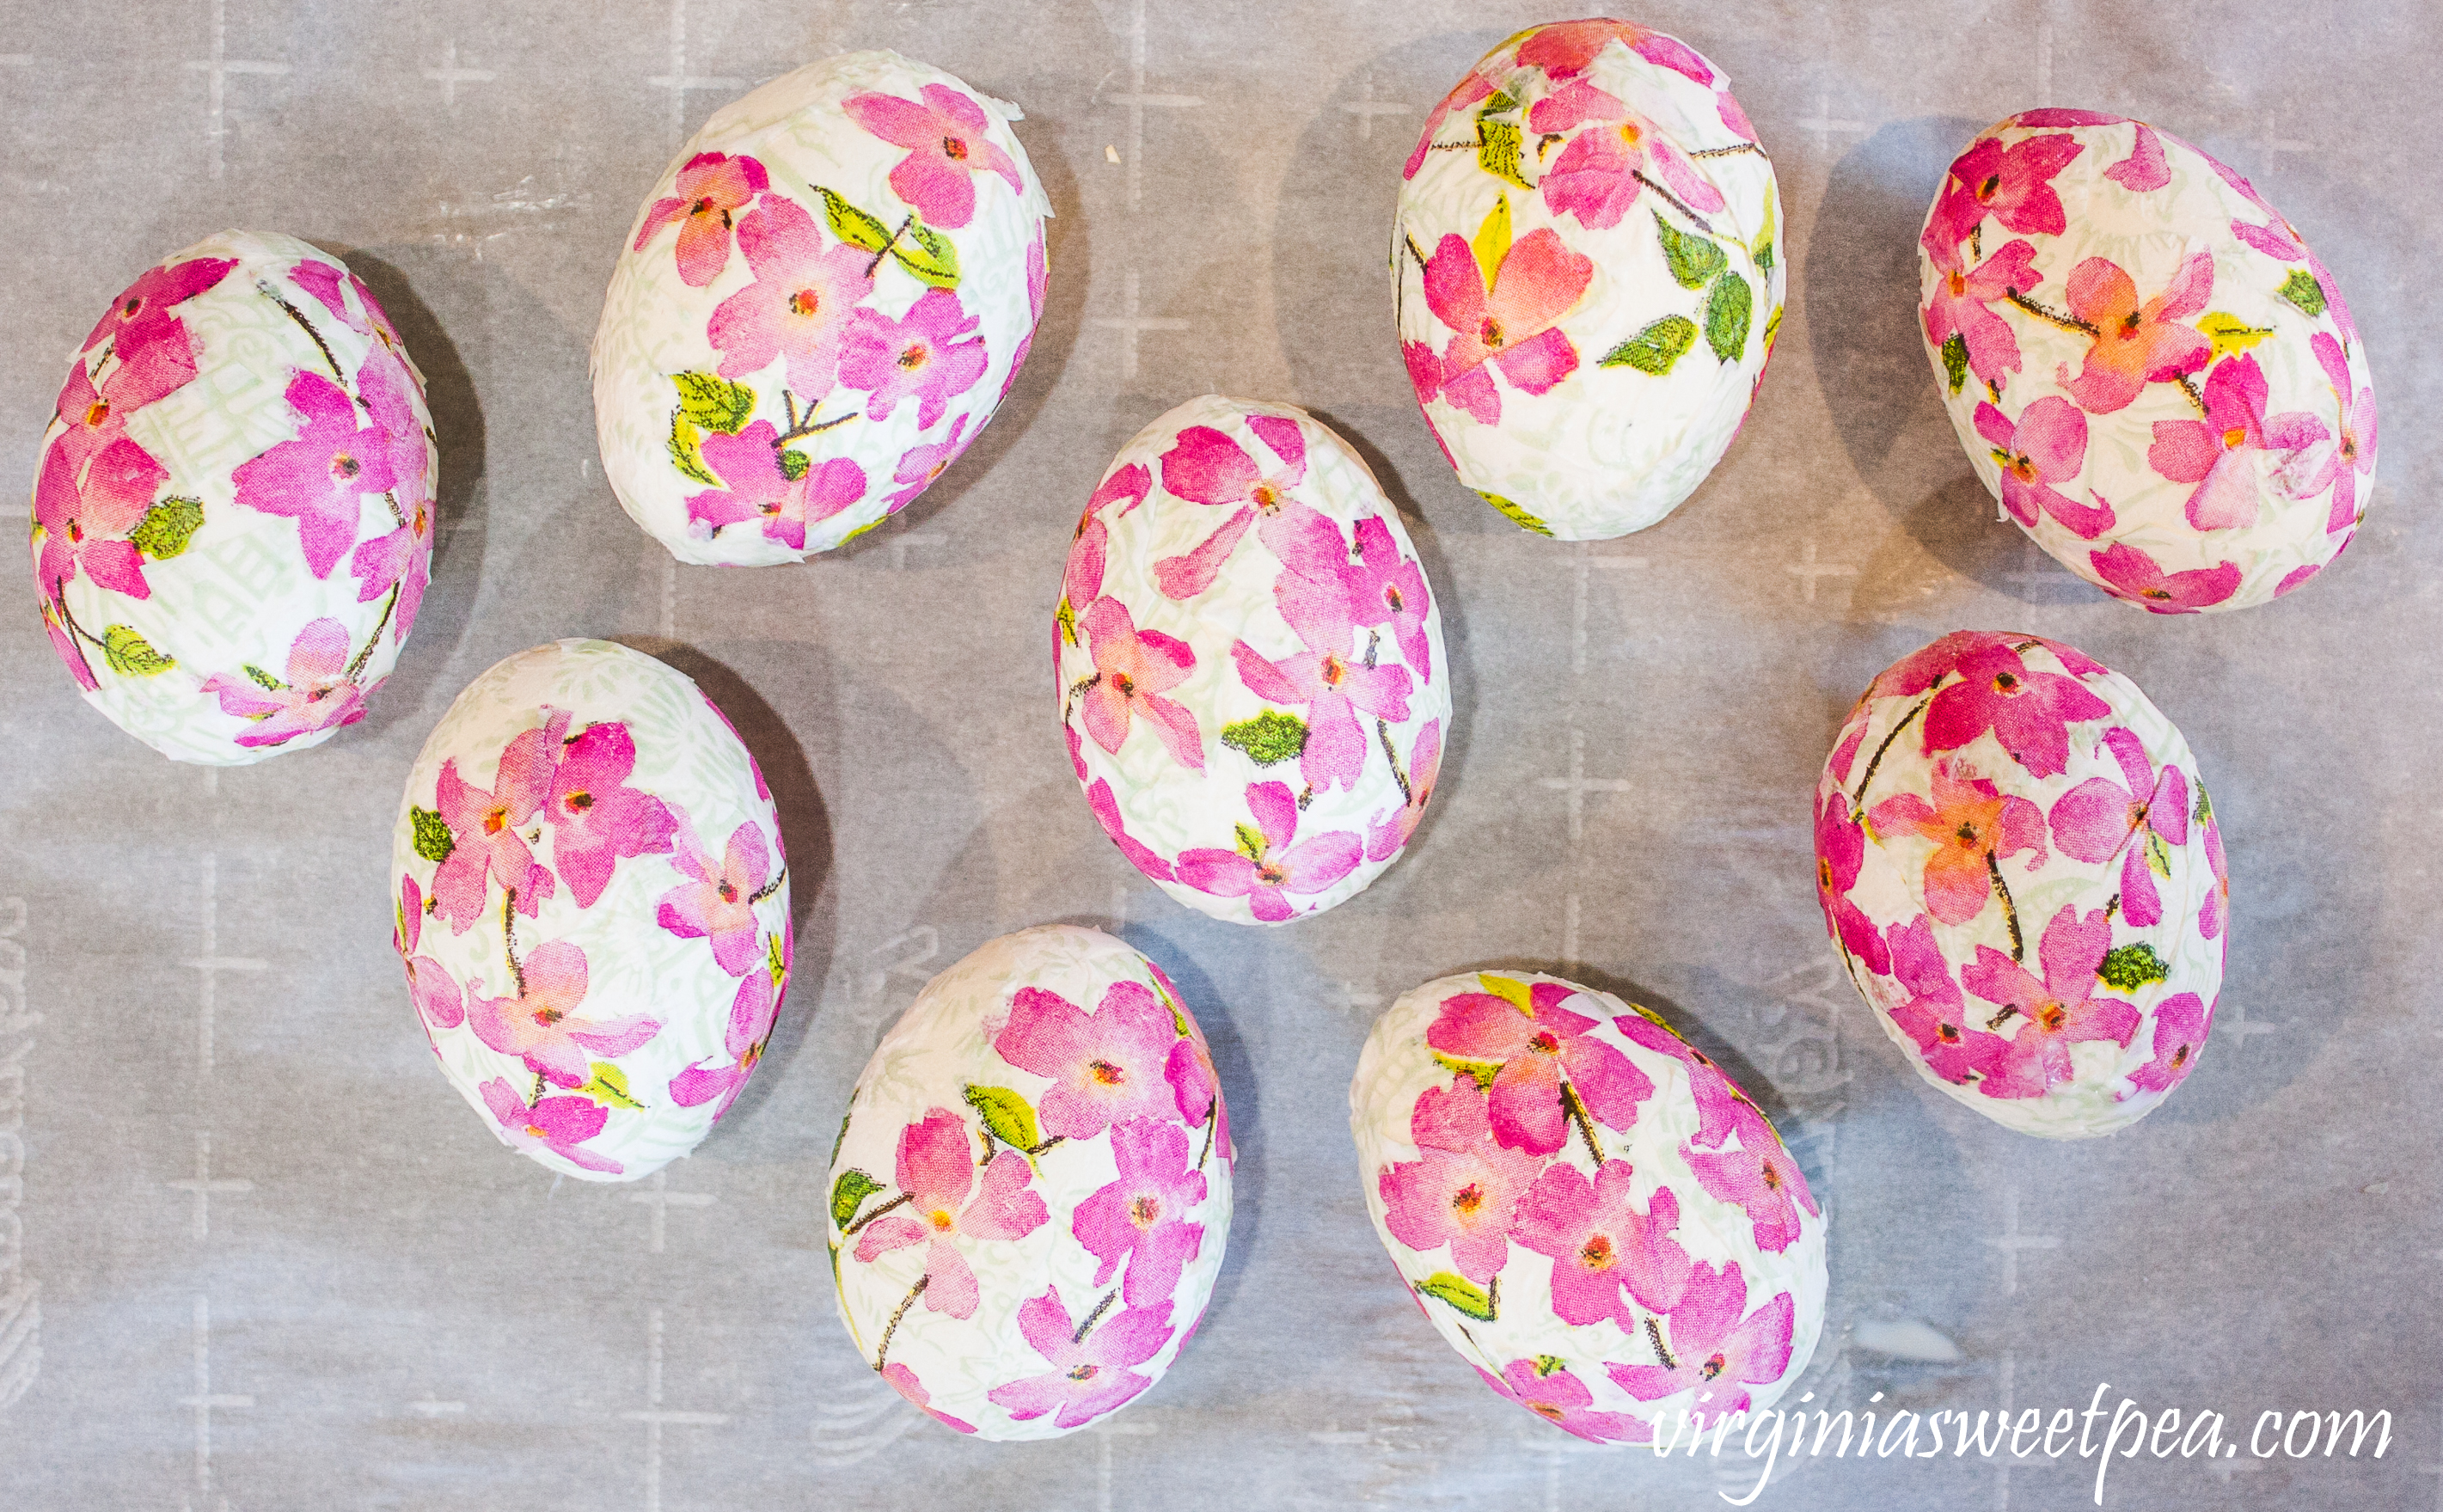
Use your finger to smooth down the napkin until it lies flat. If the Mod Podge doesn’t saturate through the napkin, brush a bit more on the image. I added several floral images to each egg and then I filled in the empty spaces with small pieces of the background image on the napkin.
Let the eggs dry completely and then they are ready to be enjoyed.
Decorating with Decoupaged Floral Easter Eggs
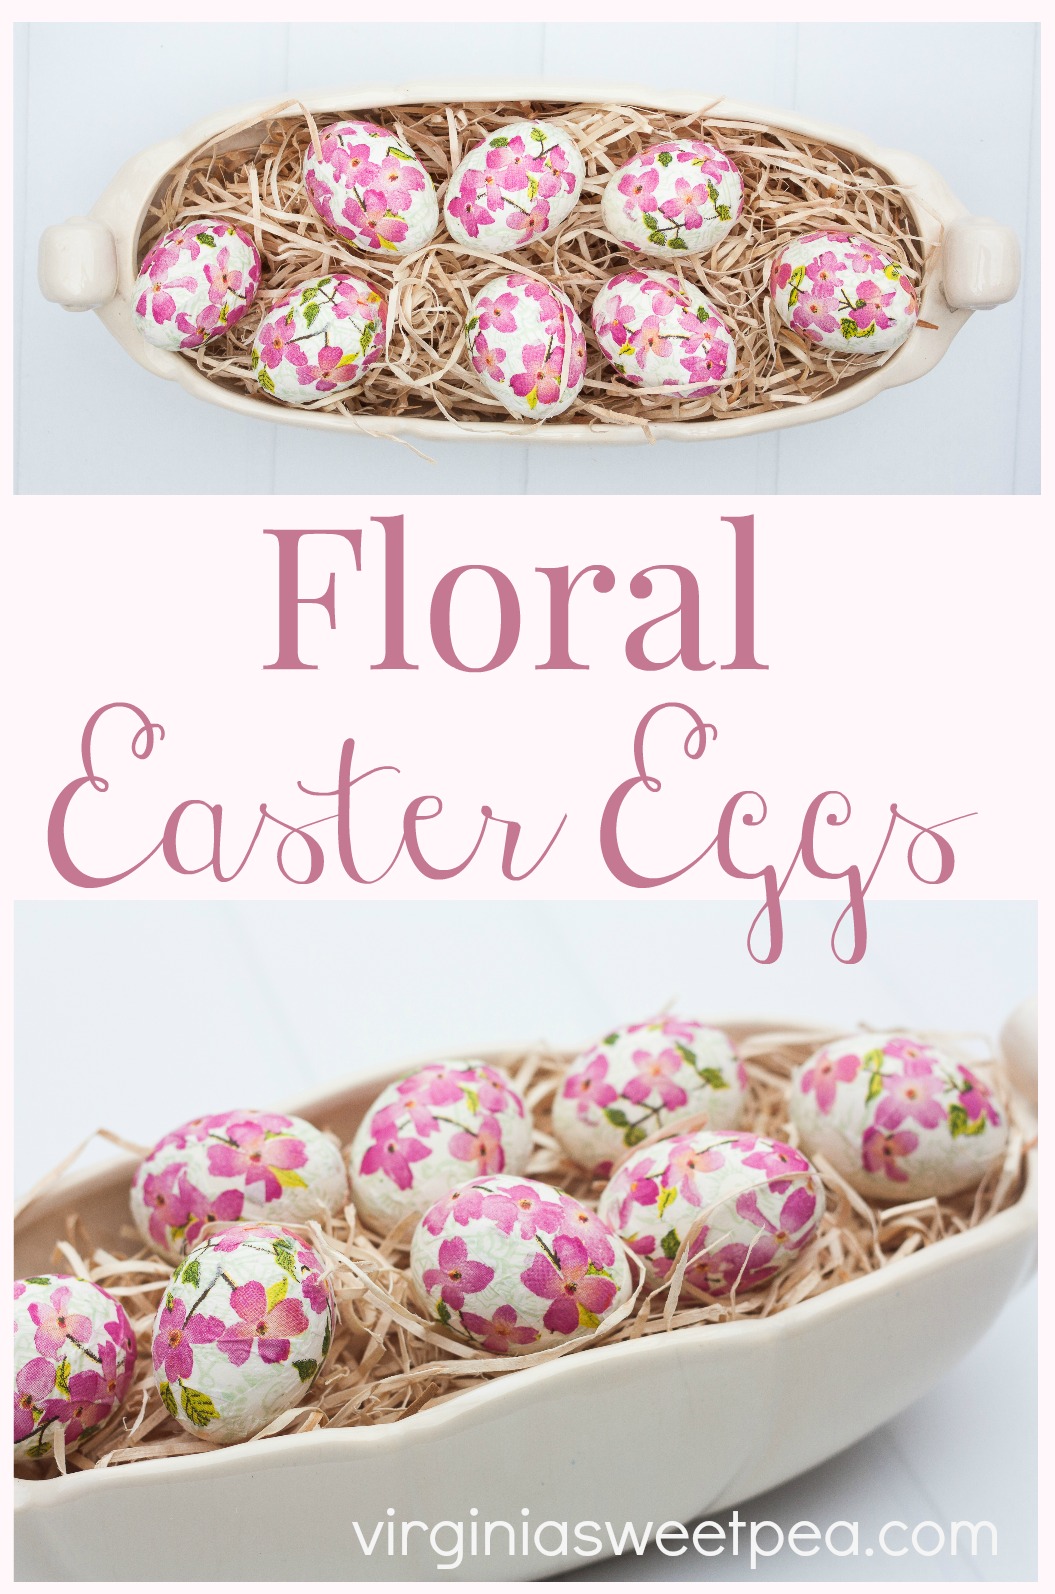
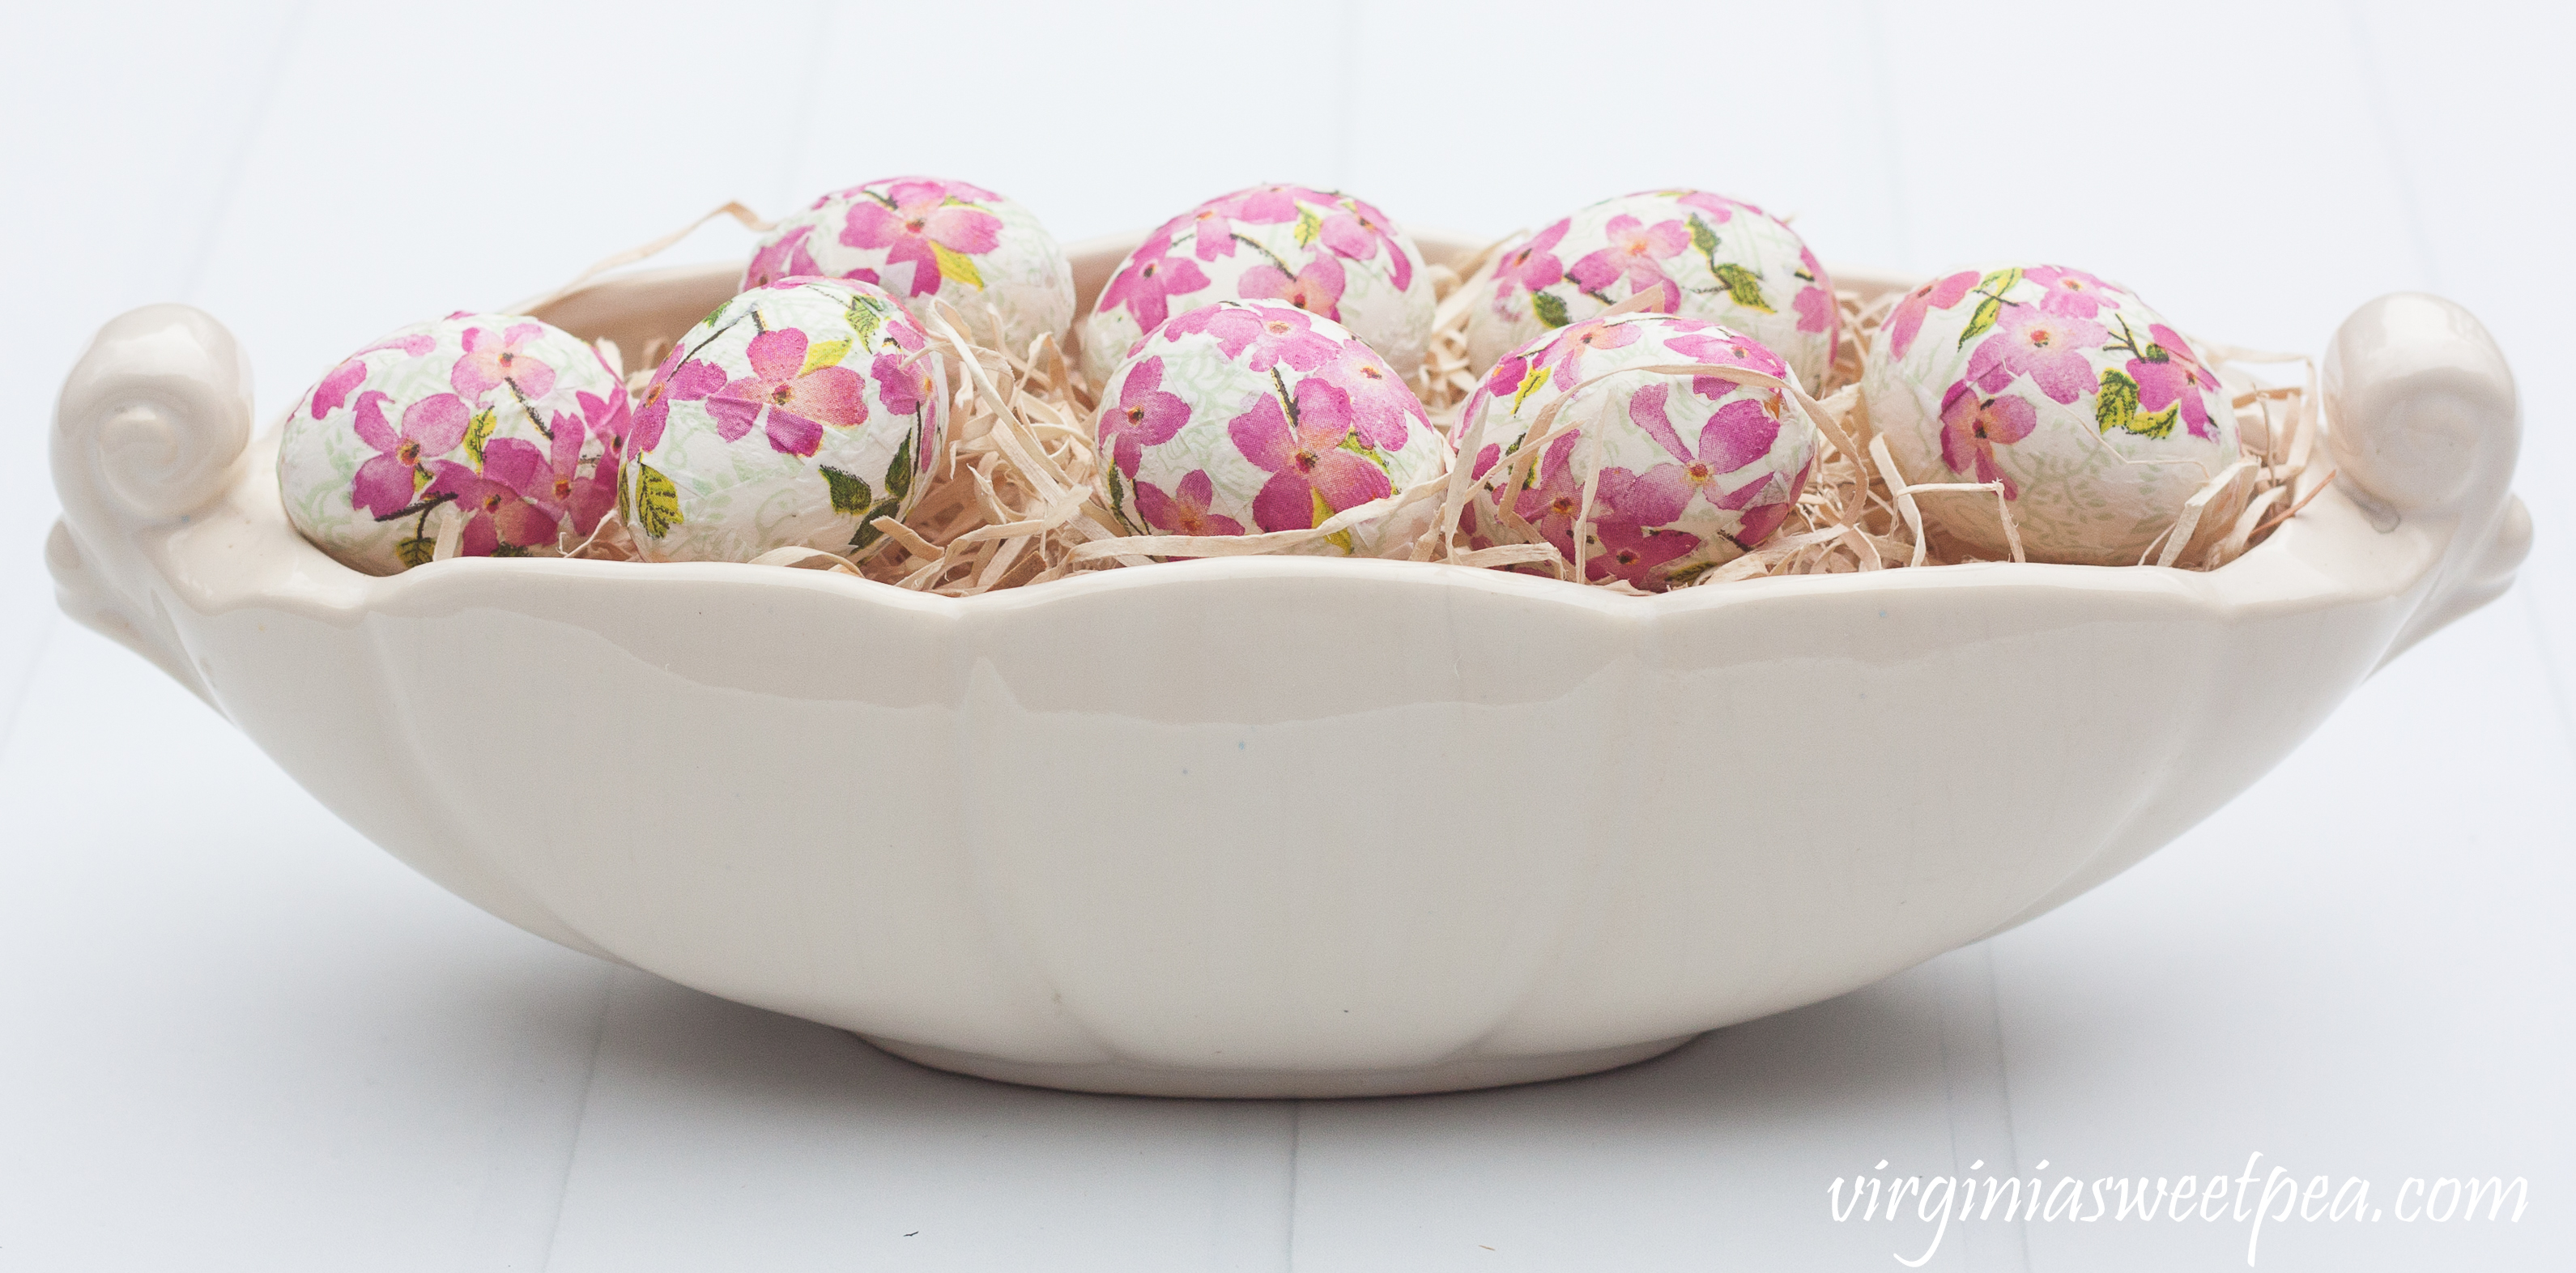
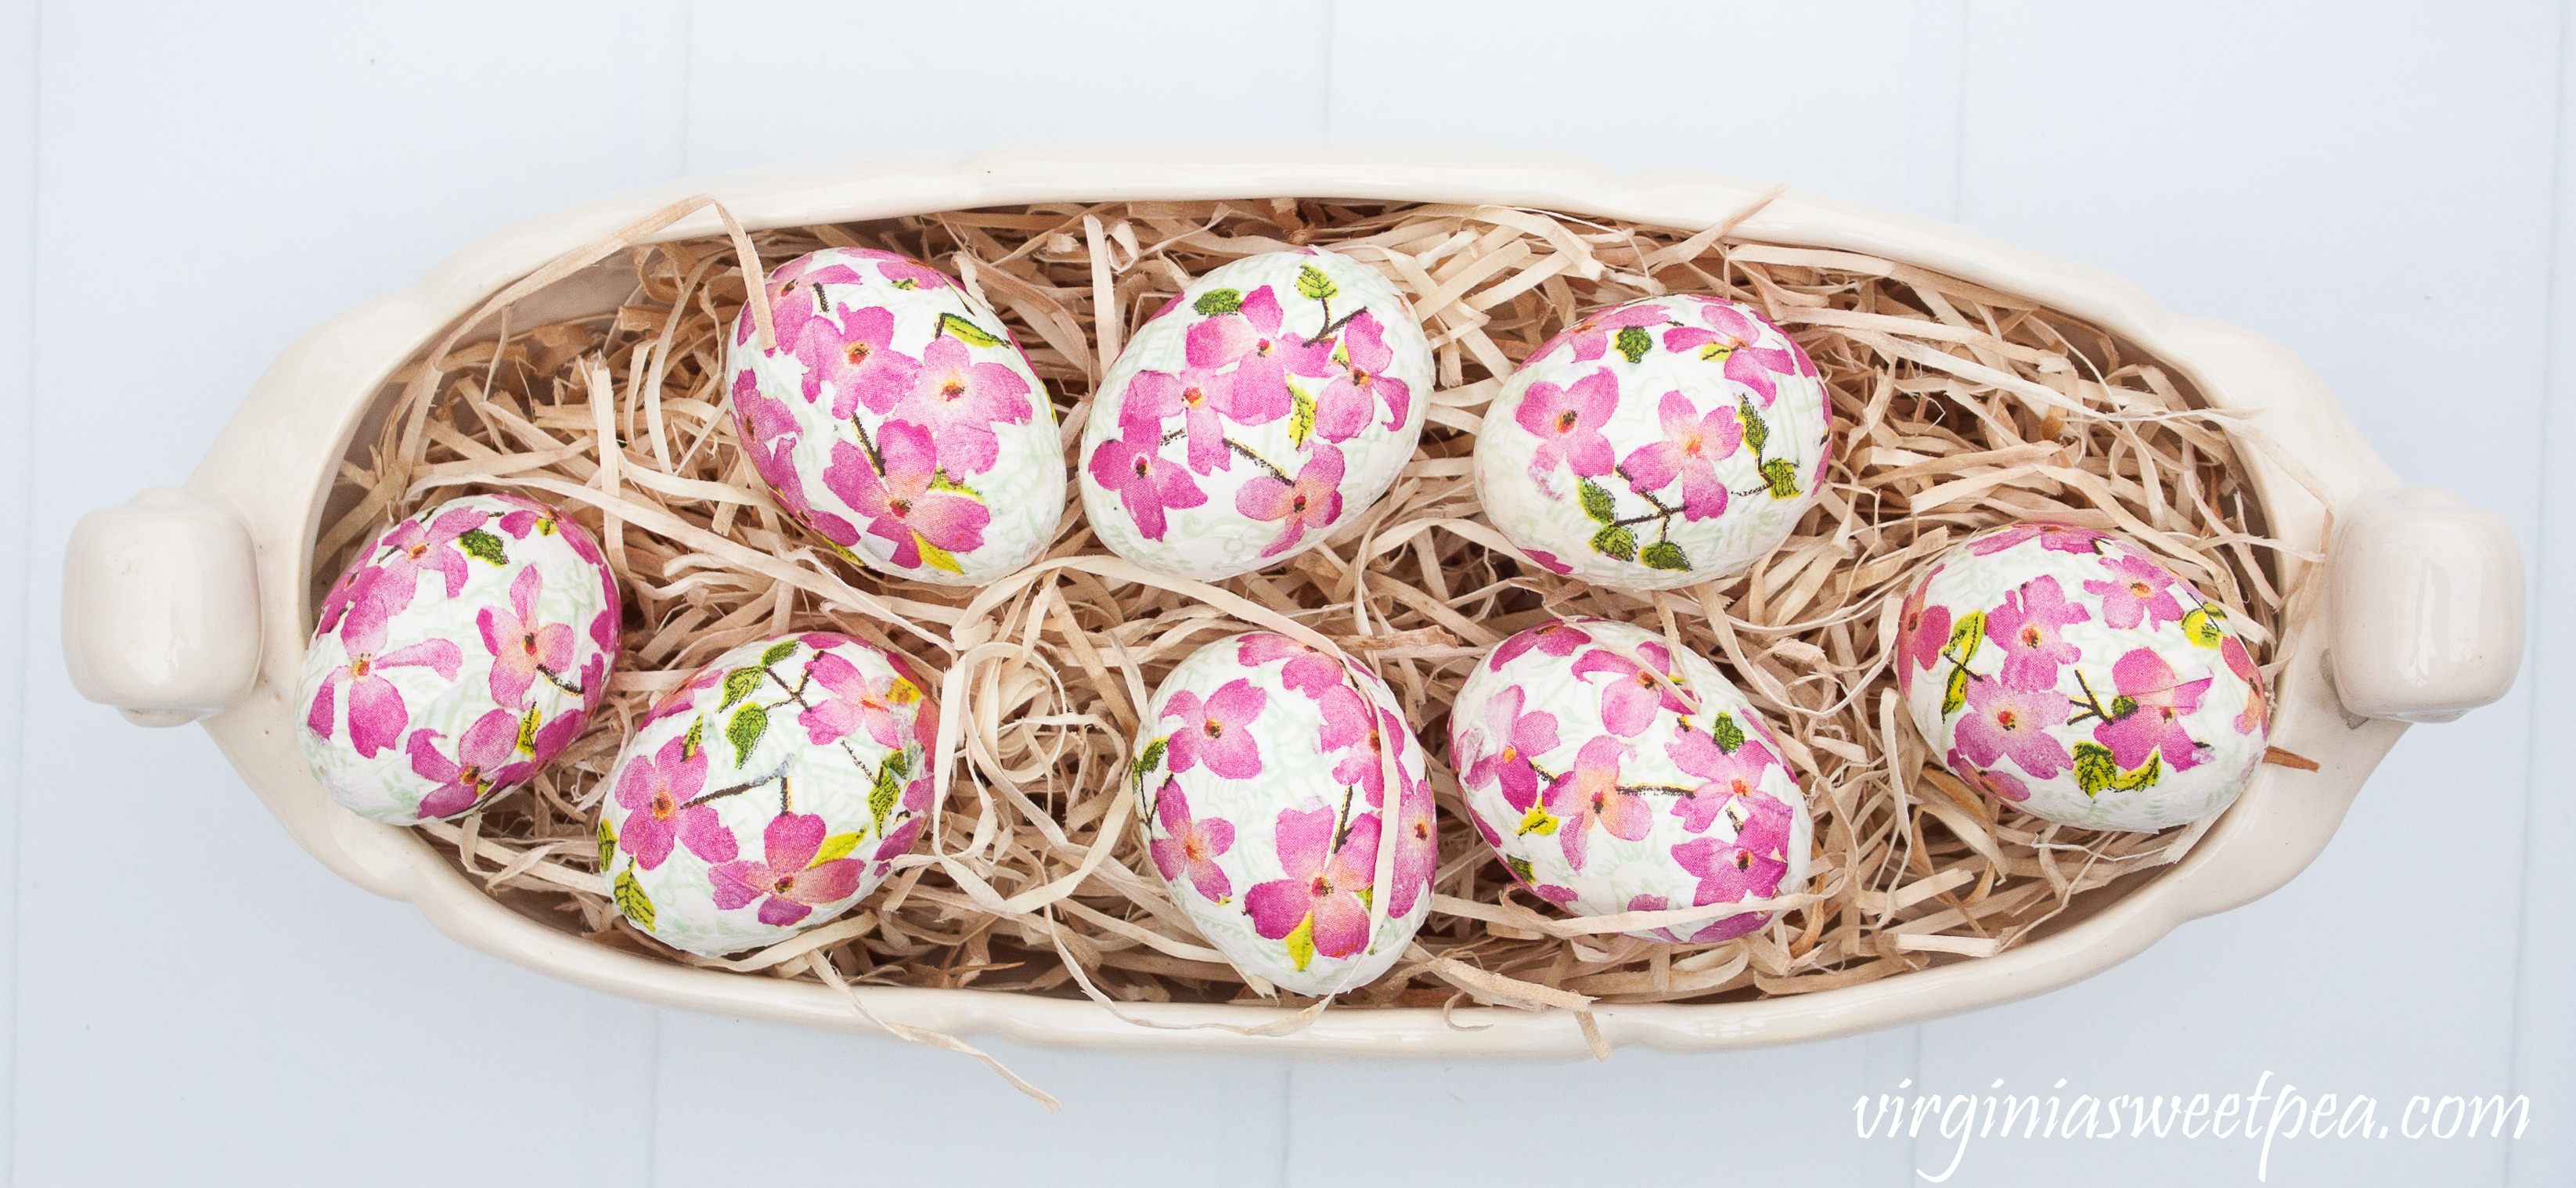
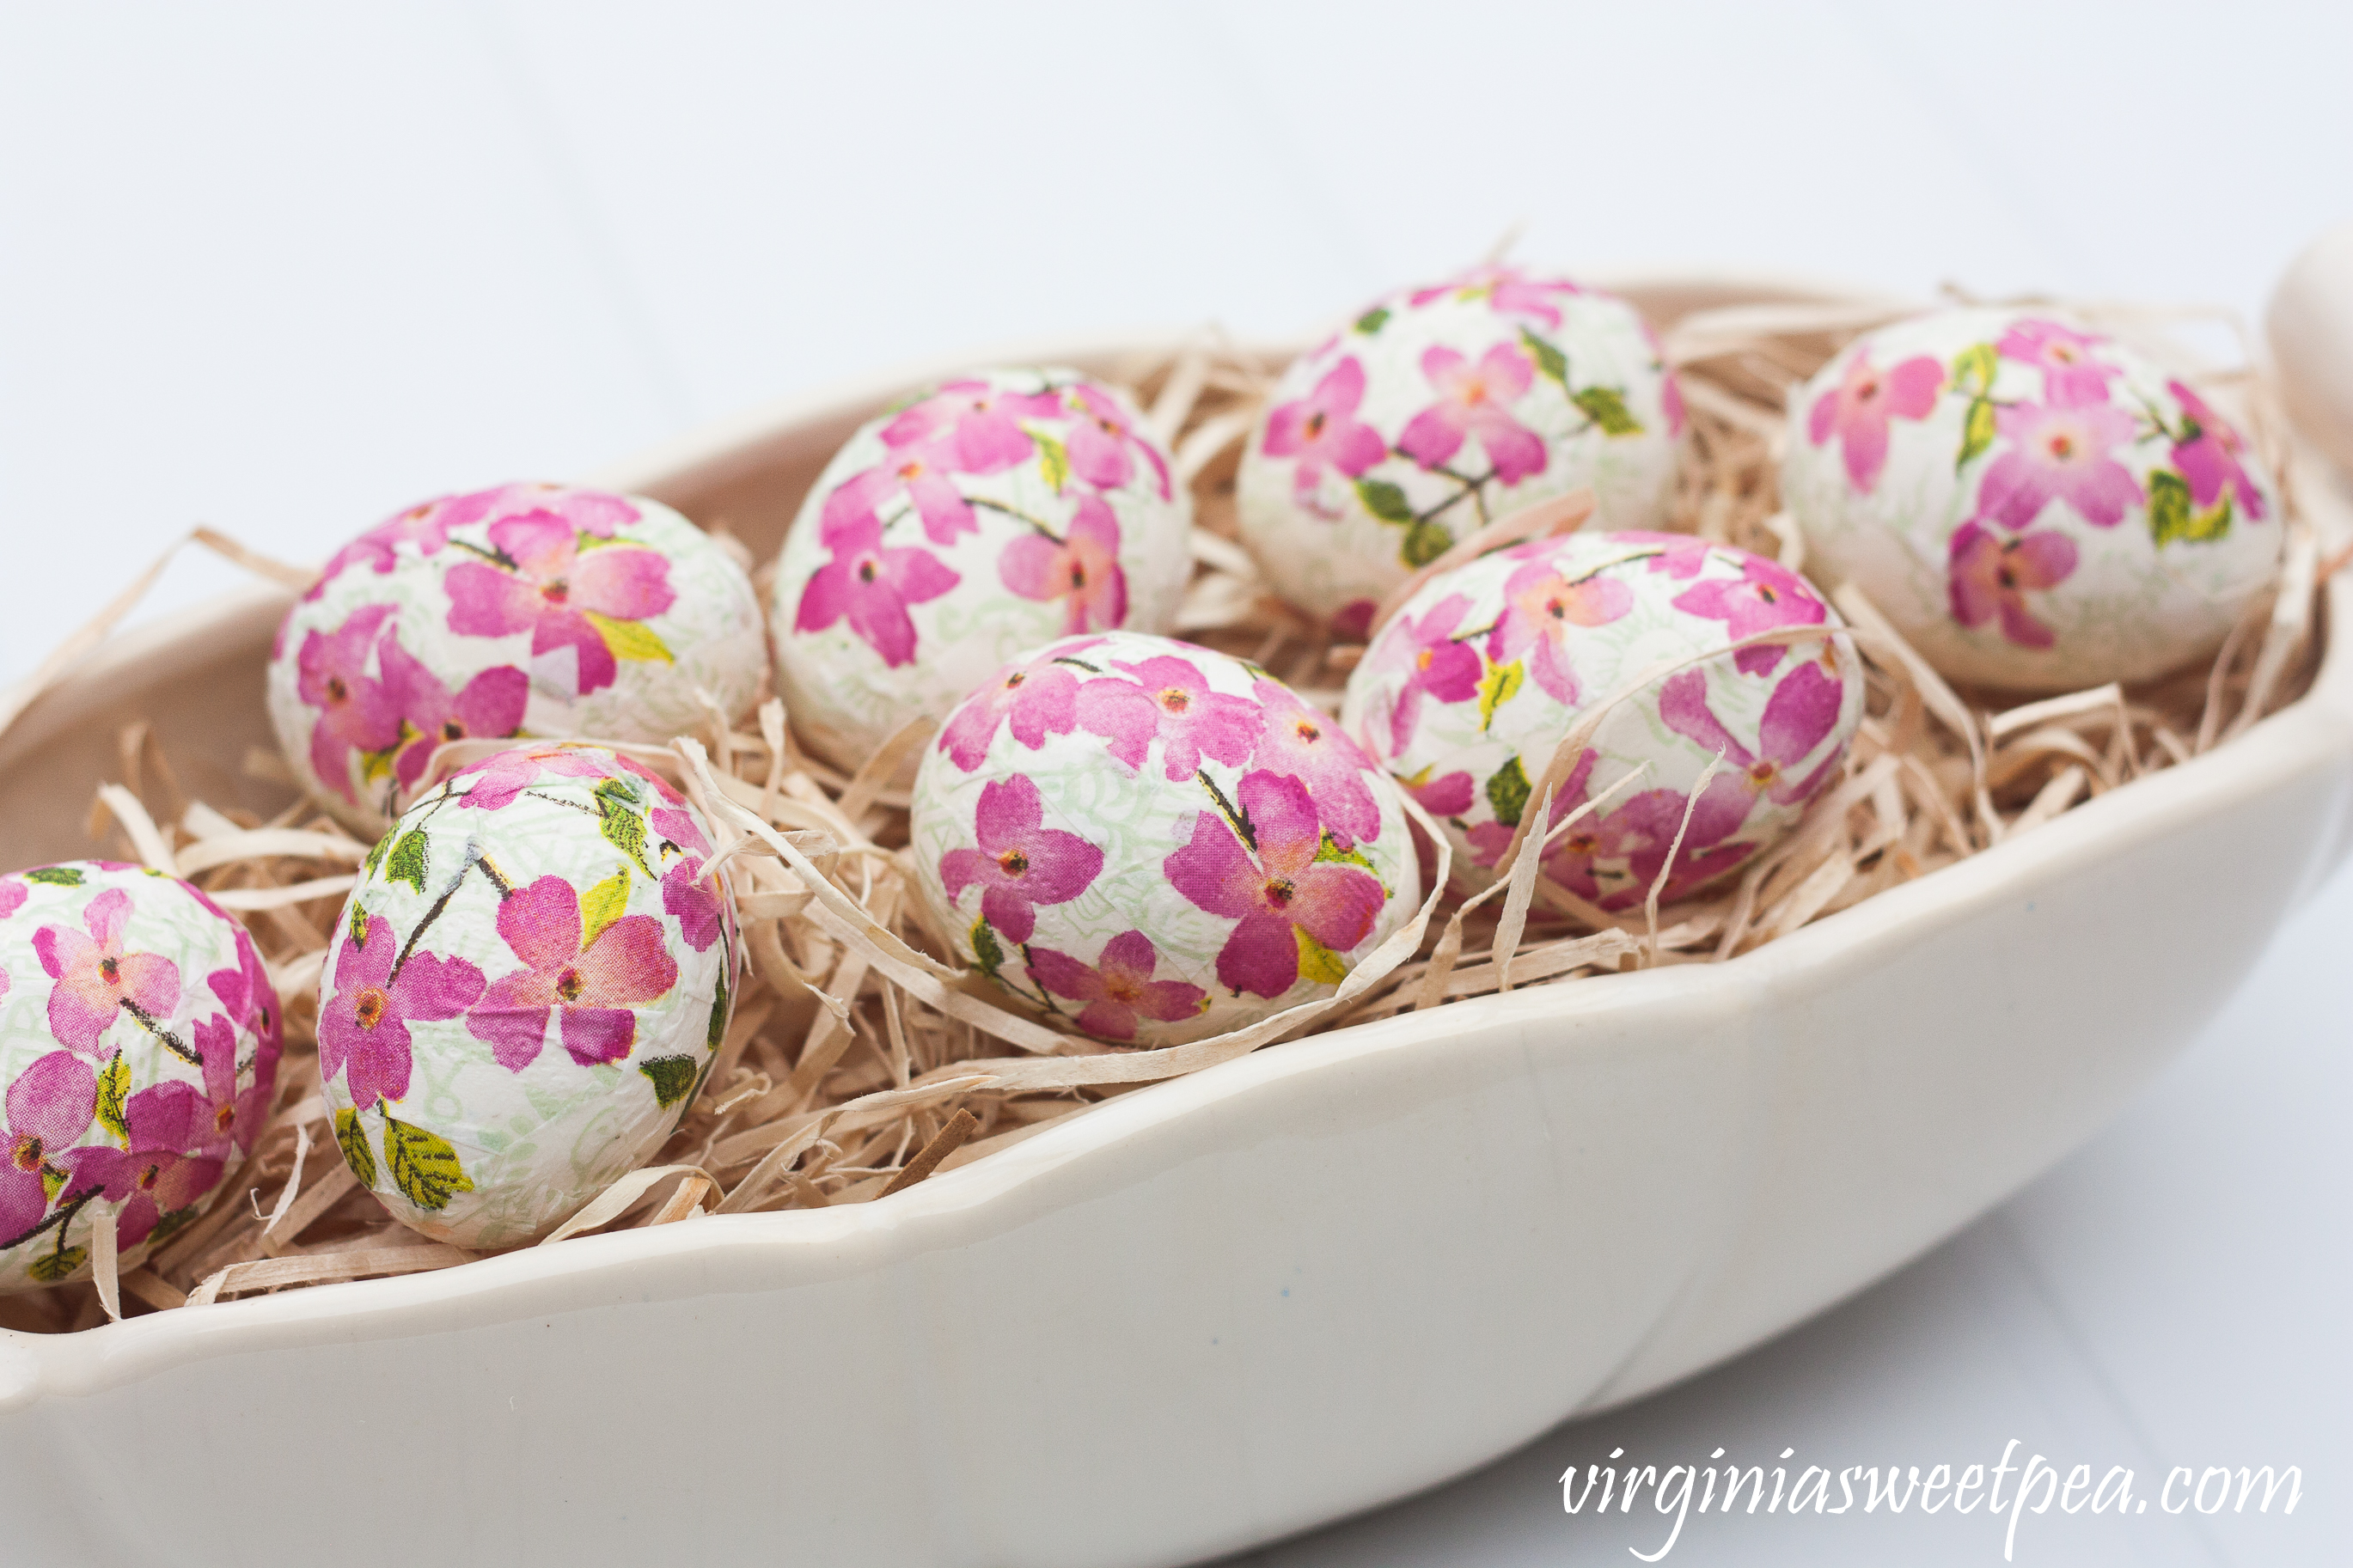
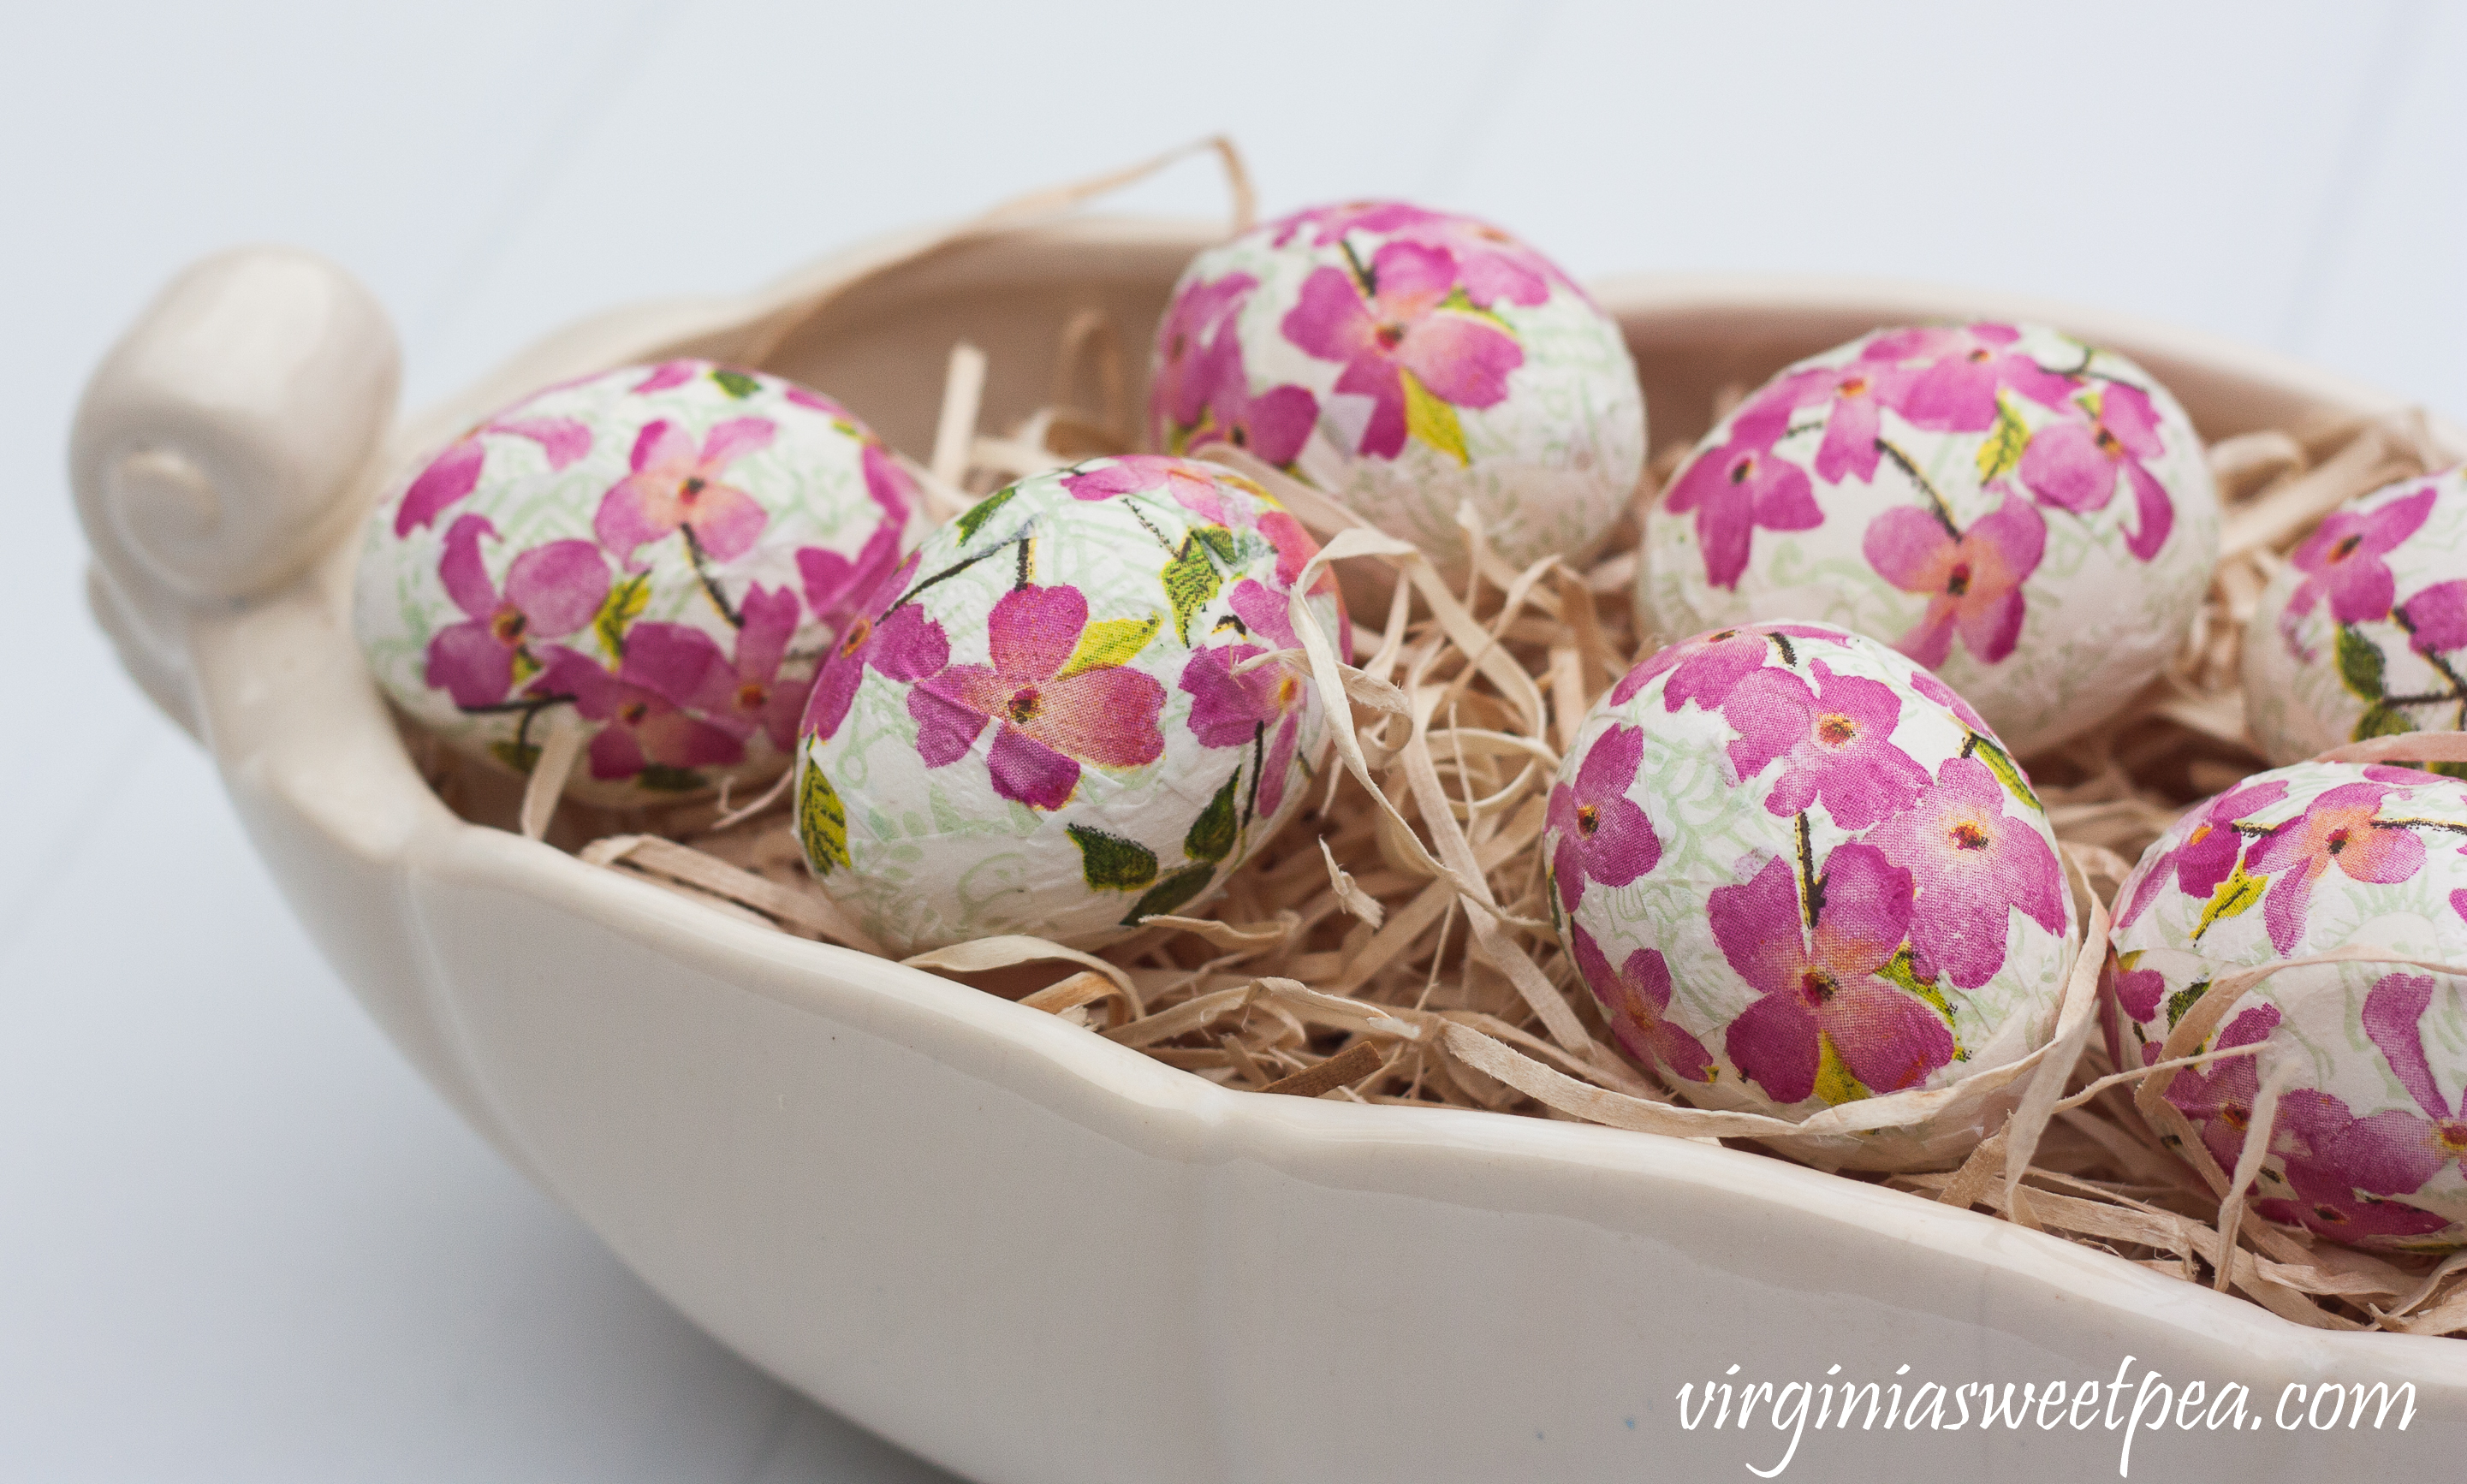
I arranged my eggs in a white console bowl by Abingdon USA in the Fern Leaf pattern. I filled the console bowl with two bags of excelsior from Michaels, then arranged the eggs.
I love the contrast of the pink flowers decoupaged on the eggs with the brown excelsior and white bowl.
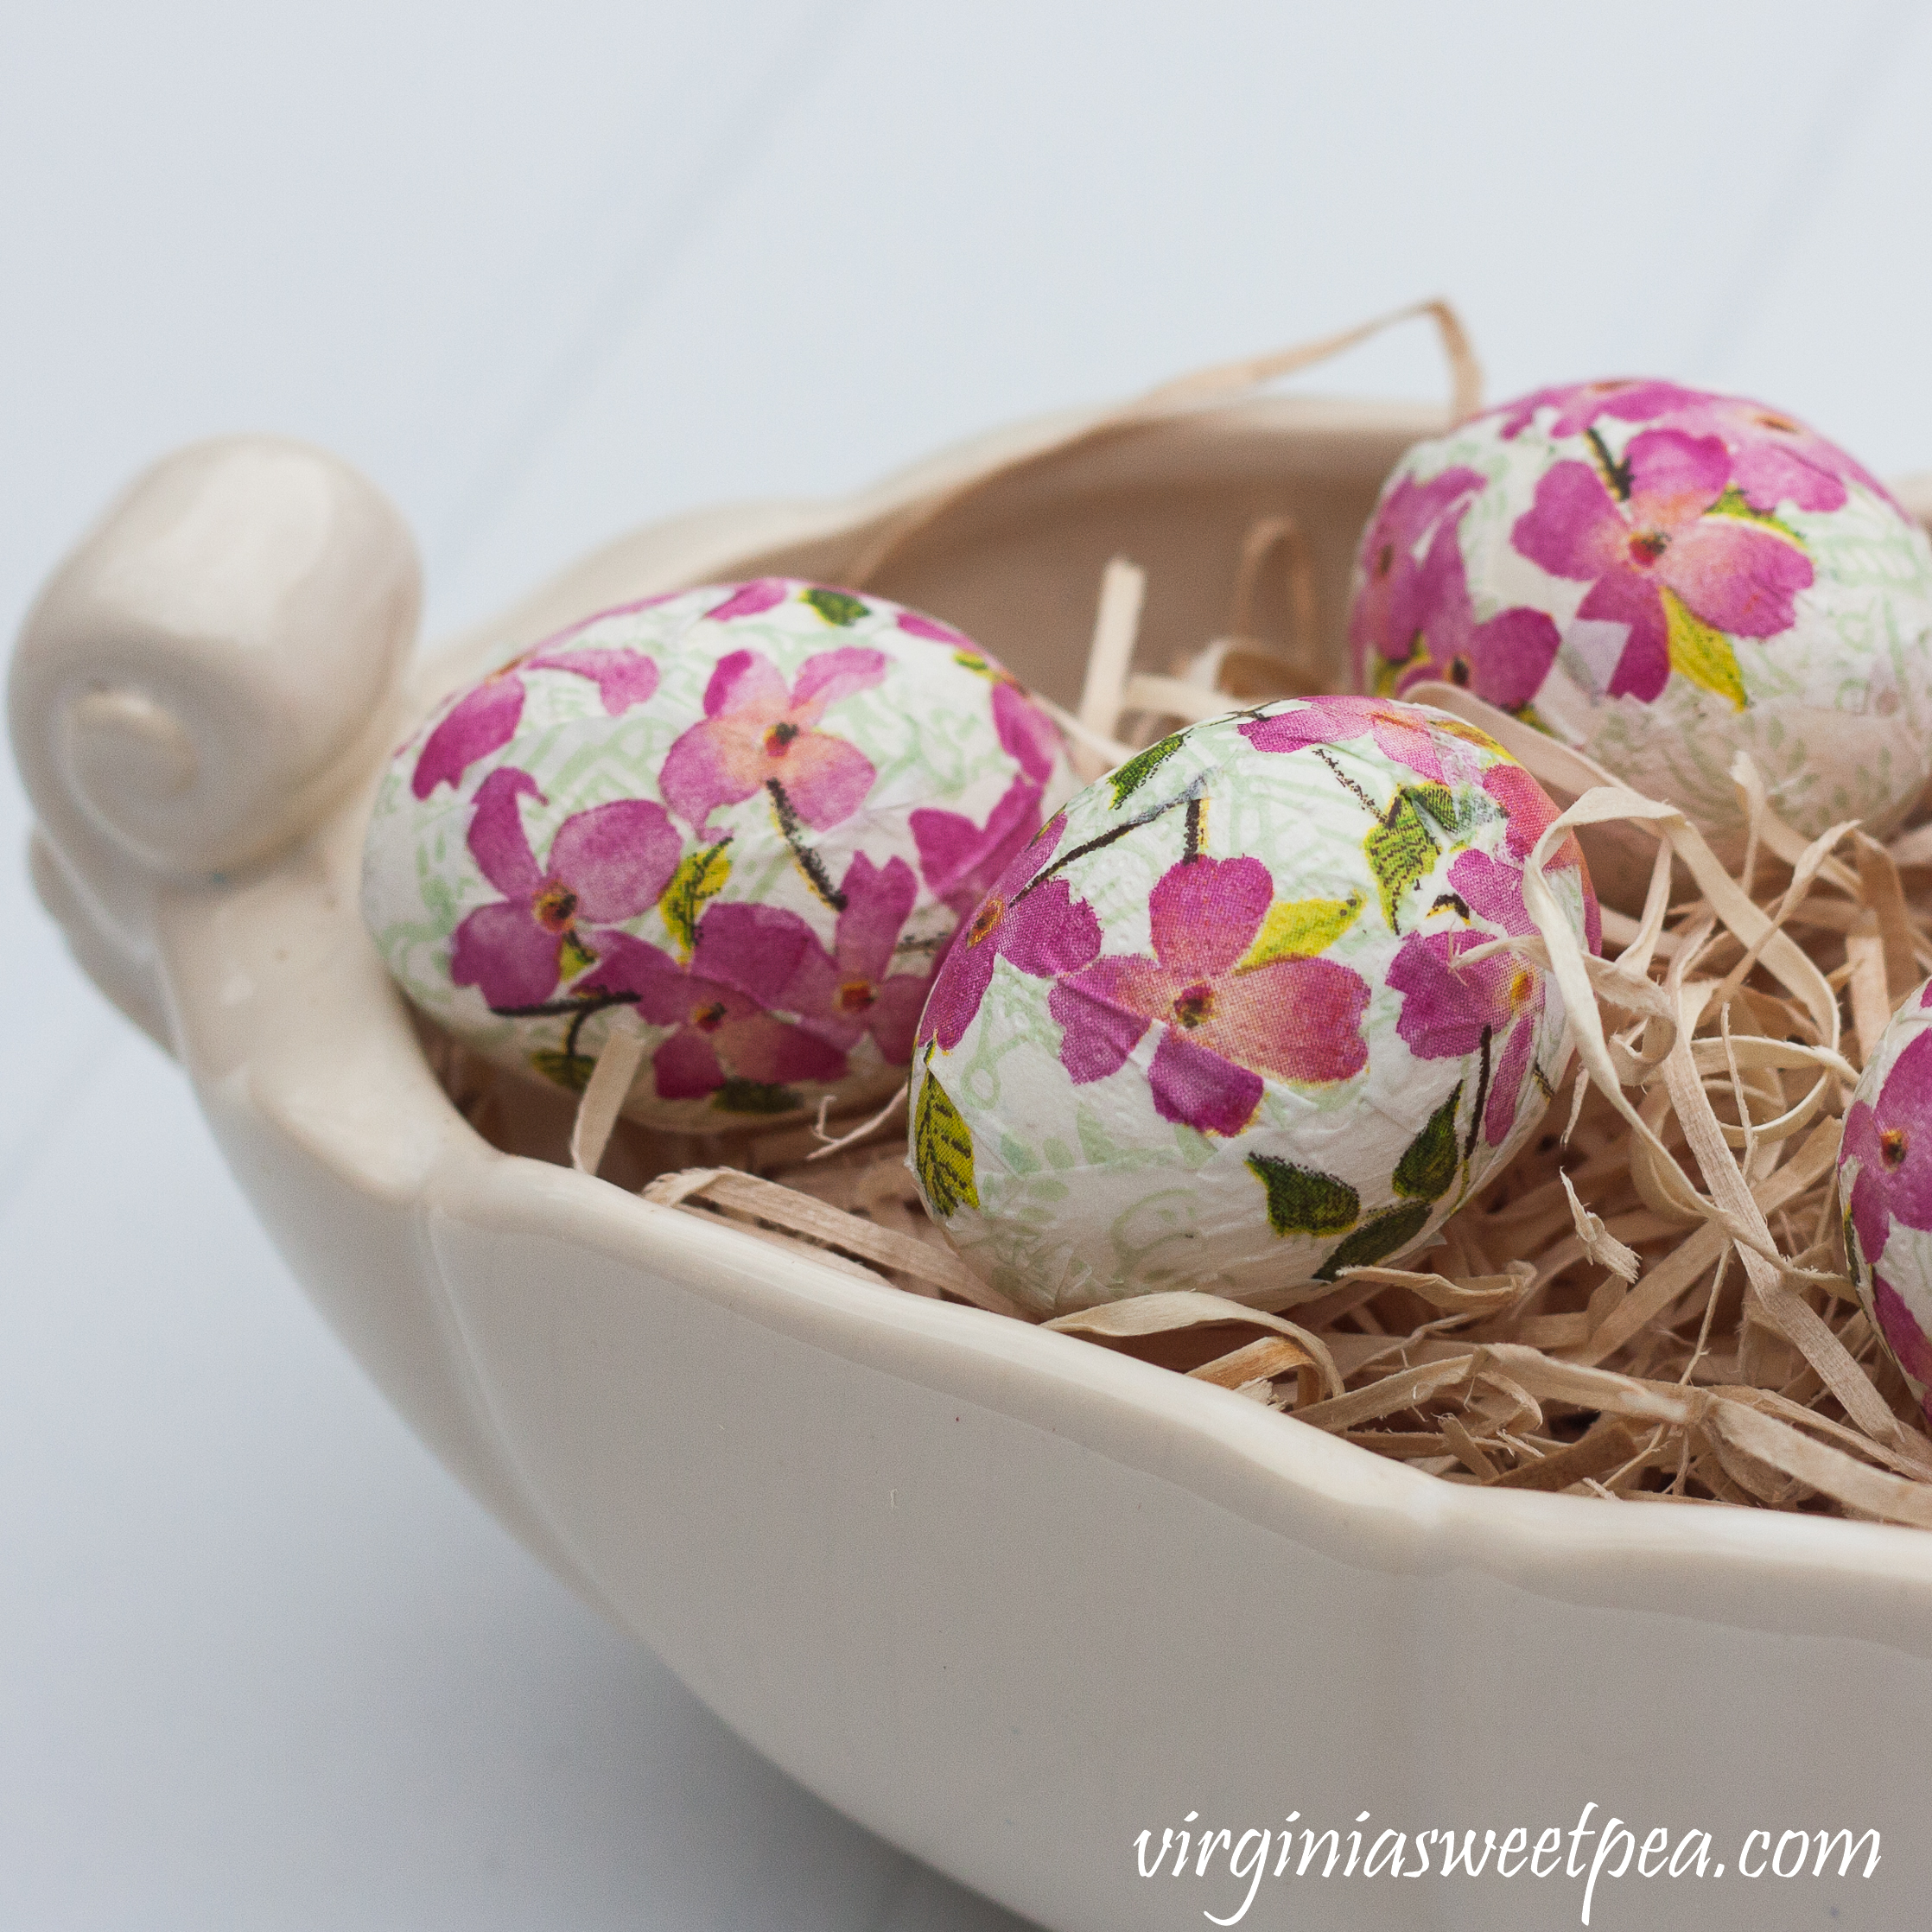
I’ve been trying to determine which flower is shown on these eggs and my best guess is pink Dogwood.
I originally thought that the bloom was a Cherry but Cherry blossoms have five petals and this only has four.
The shape of the leaves also matches a Dogwood’s leaf pattern.
My grandmother patiently blew out all of these eggs to use for a craft project. She used to make the most gorgeous eggs with a scene inside each one. Perhaps that is what she intended to do with these eggs.
I’m so glad that I finally completed this project and that I have these pretty Decoupaged Floral Easter Eggs to enjoy for many years to come.
I’ll be back on Monday to share an Easter centerpiece and table. I love what I created and am excited to share it with you.
DIY Decoupaged Floral Eggs
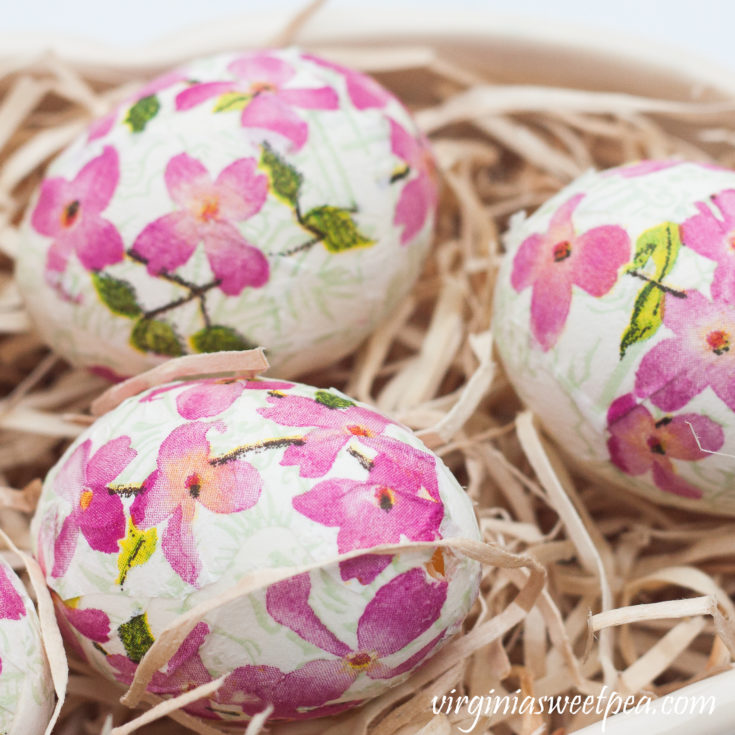
Decoupage images from napkins to eggs to create unique Easter decor.
Materials
- Craft eggs or Blown Out Fresh Eggs
- Napkins
- Mod Podge
- Paint Brush
- Scissors
- Parchment or waxed paper to protect work surface
Instructions
- If you are using real eggs, poke a hole on either end, blow out the contents, wash the eggs and let them dry thoroughly.
- Separate the napkin layers then cut out the images from the top layer of the napkin that has the images printed on it.
- Brush Mod Podge onto the egg and then apply the image cut out from the napkin.
- Use your finger to smooth down the napkin until it lies flat. If the Mod Podge doesn't saturate through the napkin, brush a bit more on the image.
- Fill in the empty spaces between the floral designs with small pieces of the background image on the napkin.
- Let dry before using.


These are so pretty, Paula! And they are so nicely styled in the bowl. I want to make some pretty eggs. I first tried decoupaging a couple of months ago with some plastic ornaments– and boy is it harder than I thought! My first one was awful. My second one was not as bad, but still was not very smooth. And they take longer than I thought. Maybe I will try a third time soon. How long did it take you to make all of those? Thanks for sharing at Best of the Weekend! (I featured your Clover Wreath today.)
This is a time consuming craft! I cut the flowers out one evening while watching tv and then the next afternoon made the eggs. It took about two hours to make nine eggs. I would do a section on one egg, and but it aside to dry while I worked on another egg. Then when the first egg was dry, I’d rotate back to it and add more napkin pieces to it. Doing a little bit at a time worked well. When I tried to do an entire egg at one time my finger would rip wet napkin sections.
Paula
These came out very nice. Lovely idea.
Thank you, Alice! They were fun to make.
Paula
These eggs are so pretty! It looks as though you applied flowers on one by one.
Thank you, Laura! I really enjoyed making these.
Paula
These are so pretty and fresh looking. I love how you have styled them as well. Do you think you could varnish them to make them longer lasting? #handmademonday
The Mod Podge should protect them but there’s no reason why you couldn’t add a layer of varnish for more protection.
Paula
Paula – these are so pretty and unique! I read your response to the comment about the process; it’s helpful to know you took each egg in stages. This is very inspiring – I am pinning this for next Easter!!
Thank you, Kristine! I really enjoyed making these.
Paula
Paula, your eggs are lovely. I remember my brother and I blowing out eggs–we ate scrambled eggs for breakfast for weeks before Easter. Ditto with my children. I have several VINTAGE blown out duck eggs–I should find some pretty napkins and finally use them! Thanks for the inspiration!
Better to blow out the eggs than to use hard boiled ones. I remember hiding hard boiled dyed eggs in the house and every year one wouldn’t get found until it started to stink.
Paula
The Eggs are look so lovely. A great Idea. I will make them too. Thank you for inspiration.
Thank you, Simona! They were fun to make.
Paula
These are so pretty, Paula! I love the napkins you chose. Pinned!
Thank you, Lora! I love napkins and have a hard time resisting buying pretty ones.
Paula
Paula, your decoupage eggs are beautiful! Shared 🙂
Thank you, Jen! They were fun to make.
Paula
These are lovely, Paula!! What a beautiful craft idea…and using napkins…brilliant! Thank you bunches for linking up and sharing with us this week! xoxo
I really enjoyed making these and I know that I’ll enjoy them each spring for years to come.
Paula
Veery pretty eggs Paula…I love your decoupage….And I want to thank you so much for linking up to our Celebrate Your Story link party. We hope we are providing a celebration of your post and perhaps yours will be chosen as a feature by one of the hosts.
Have a great and Blessed Day!
Kari @ Me and My Captain
Your eggs are so pretty. They remind me of some vintage milk glass Easter eggs inherited from my grandaunt. I’ve been afraid of blowing out a real egg ever since my sister did it and the egg smashed all over her face. YUCK!
Thank you, Wendy! I haven’t blown out many eggs. If I remember correctly, it is a lot harder than you’d think to get the egg contents out of the small hole that you make.
Paula
These are gorgeous! And I love the napkin you chose. The colors are perfect. I’ve pinned this for later. 🙂 Thanks so much for sharing at Sweet Inspiration!
Thank you, Amy! I had a lot of fun making these.
Paula
Such a cute idea for Easter I love the flowers theme on the eggs.
Thank you, Jen! I’m glad that you stopped by my blog so that I could discover yours.
Paula
I just had to stop over from Friday Favorites, your eggs are so cute, great inspiration. I love decoupage, I have made floral pumpkins, hangers and flower pots.
I would love to have you drop by and share on Friday Features party for my readers if you have time.
Hope you have a great weekend!
Thank you for stopping by and for the invitation to join your party.
Paula
These are so pretty, Paula! What a cute idea! Thanks for linking up to Best of the Weekend – this was one of my features this week! Have a wonderful weekend!
Shelley
Thank you so much for featuring me this week, Shelley!
Paula
Love the floral napkins you used for your decoupaged eggs, Paula! I think to cut and layer the florals as you did is so much prettier than decoupaging the napkins in strips. Pinned 🙂 Thanks for sharing them with us at the Talk Of The Town party!
Thank you, Marie! I had fun making these and I know that I’ll enjoy them for years to come.
Paula
Love these, Paula! Thanks for sharing your posts at Homestyle Gathering! Pinned!
How dainty! Love them!
I love these. They were my favorite pick for this weeks Waste Not Wednesday
Paula, these are beautiful! Thanks so much for sharing at Celebrate Your Story. I will be featuring your post tonight when we go live with the new party…7:00 p.m. CST. Hope you will join us again!
These are so beautiful. I have wanted to make these for a long time. I love the napkins you used. I’ll be sharing this tomorrow at Thursday Favorite Things!
Thank you so much for sharing my project, Pam!
Paula
Hi Paula, Sorry for the late notice, but I am featuring your sweet eggs at this weeks Thursday Favorite Things party. They are simply adorable. Thanks so much for sharing them with us! Wishing you a happy weekend!
Theresa from Shoestring Elegance
https://www.shoestringeleganceblog.com/?m=1
Thank you so much for featuring me this week.
Paula
Paula, I love these pretty little Easter eggs. They are so delicate and look so beautiful in the little wooden tray.
What a beautiful way to use a gift from your grandmother.
Thank you so much!
These eggs are beautiful! I never had luck before with decoupaging with napkins, but it’s so trendy right now, and I’m loving all the projects! I might just give it a try again. This was our most clicked from last week’s Snickerdoodle Create Bake Make Link Party!