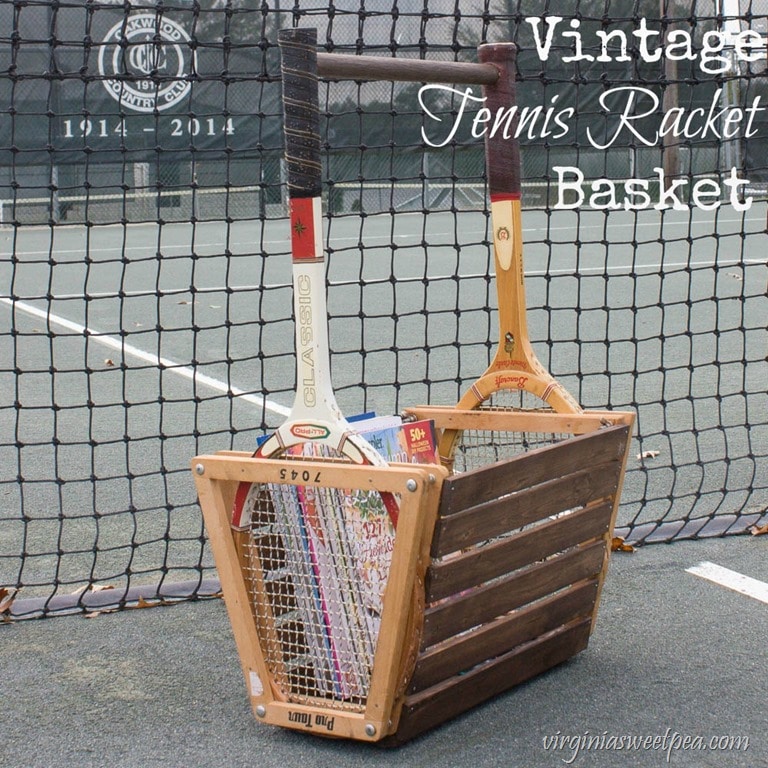
DIY Vintage Tennis Racket Basket
I’ve got a fun repurpose project to share with you!
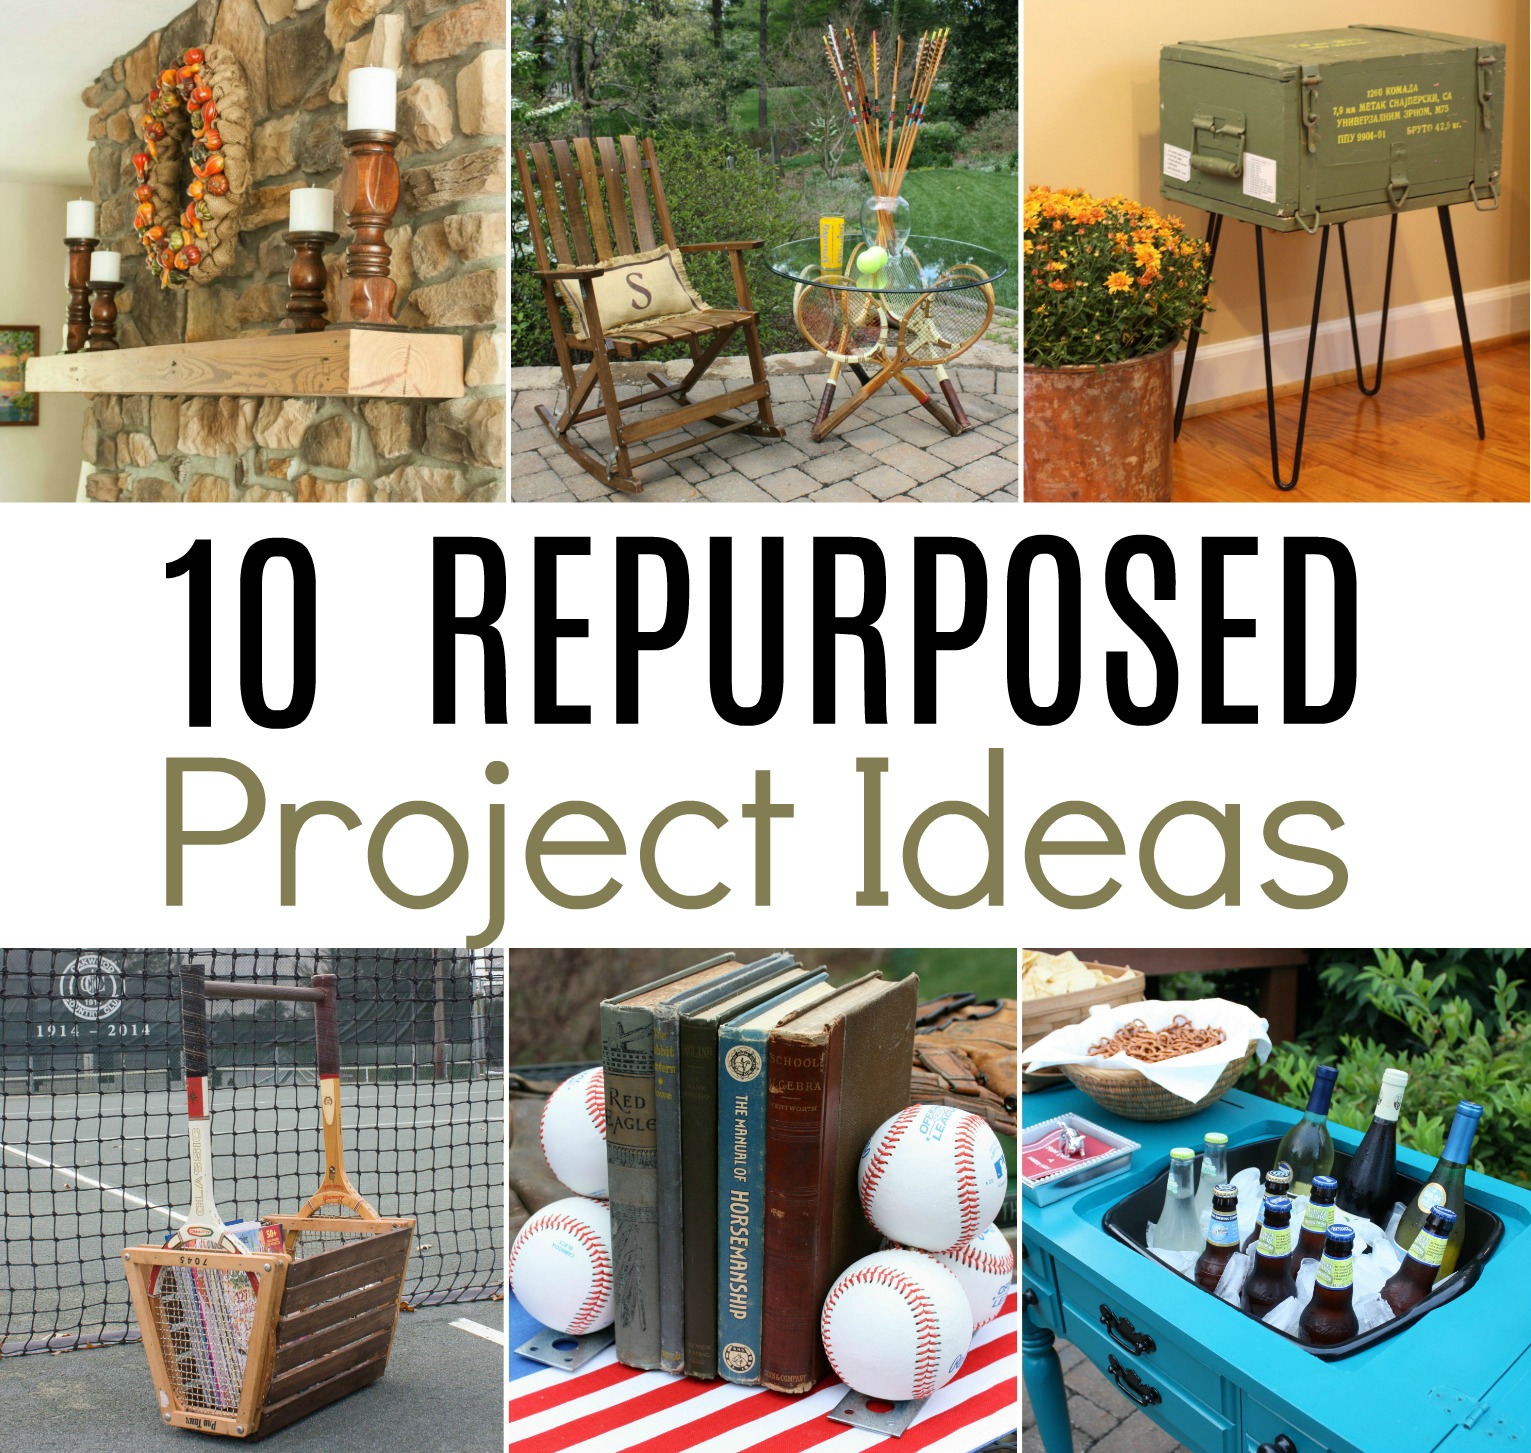
For last month’s “Wildcard” themed Power Tool Challenge Team project I shared how I upcycled bedposts into candlesticks. The theme for this month’s challenge is repurpose and I made a basket using two vintage tennis rackets.

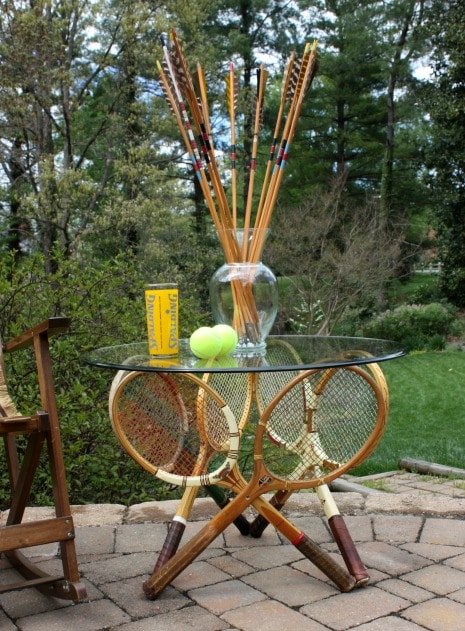
This isn’t my first time using tennis rackets for a repurpose project. Don’t miss the tennis racket table that I made last spring. I love being a part of the Power Tool Challenge Team because it motivates me to make projects for my home. You can see all of the projects that I have shared here.
Repurposed Tennis Racket Basket

This summer I spotted two vintage tennis rackets with wooden frames at Goodwill for $1.99 each. I snapped them up knowing that I’d come up with a fun use for them.

The basket that I created could have many uses. I’m currently using it to hold magazines but think that I may end up using it for storing my dog’s toys. In a bathroom it could hold extra toilet tissue or even rolled up bath towels.

My husband and I enjoy playing tennis but I’ve been sidelined for 3 1/2 months due to some health issues. I’ve so much missed being on the court and have especially missed spending time with my tennis friends. When I walked on the court to take these pictures, it gave me a pang of sadness because I so miss my old athletic self. Lately I have been feeling better and am improving, so I have hope that I’ll soon be back on the court with my friends.
Enough about me, let me show you how to make a basket using vintage tennis rackets.
How to Make a Basket Using Vintage Tennis Rackets
Obtain Two Vintage Tennis Rackets
The rackets need to be the same size and with wooden frames.

Prepare the Rackets
Make sure that each racket is square in its wooden frame. If it isn’t, release the tension on the wing nuts to adjust it.

Use wire brads or small nails to nail the racket to the frame on both sides of the racket.

(Not shown) Unscrew each wing nut and put a few drops of threadlock on the screw. Screw the wing nut back into place. This will keep the screws from loosening.
Use a hacksaw to cut off the excess screw lengths.

Make the Basket Handle
Use a Sharpie to mark the location on the tennis racket handle for the basket handle. I used a section of an old flag pole for my handle, but a dowel or even a plastic pipe would work.

Measure the diameter of your handle and use the appropriate size Forstner Bit to drill a hole 1/4” deep. I used a 1/2” bit.

One of the racket handles ended up being hollow, so that hole was drilled to 1/2” deep.

Determine how long you want your basket handle to be. I wanted my handle to be 14 1/2 inches long, so I cut it to 15 1/4”. (14 1/2 handle length + 1/4” + 1/2” hole depths)

Make the Basket Side Slats
I purchased two 1”x2”x8’ common boards for this project but only used one of them. The board was too thick, so I ripped it in half using the table saw.

The two boards created were then cut into 14 1/2 inch pieces using a chop saw.
Tip: Set up a jig so you don’t have to measure each cut.

Make the Basket Bottom
The basket bottom was made from a 1/2” thick piece of ply board that we had on hand. It was originally cut to 6” x 14 1/2” but after cutting it, I realized that 6” was too wide and I cut it down to 5 1/2” wide. A circular saw and then a band saw were used for these cuts.

Sand and Stain the Pieces
A palm sander was used to sand all of the pieces.

The pieces were then stained with Rustoleum stain in Dark Walnut that I had on hand.

Assemble the Basket
A dry fit of pieces is always a good idea before you glue, nail, or screw pieces into place.
Use clamping squares and clamps to hold the tennis rackets in a perpendicular position.

Position the bottom into place and also the handle. Make sure that everything is square before you nail, screw, or glue.

Glue and nail the bottom into place. Also glue the handle into place. Make sure that everything is square and clamped. Let the glue dry.
Here you can better see how the basket bottom is attached to the tennis racket wooden frames.


Glue and nail the slats to the sides of the basket.

Start with the bottom slat.

Then add the top slat. Use a carpenter’s square to make sure that the slat is positioned properly.
After the top side piece was in the correct spot and clamped into place, pilot holes were drilled for each nail. The first nail that I drove in on the bottom slat made the wood split, so I quickly realized that pilot holes were necessary.

I drilled two holes on the side of each slat and nailed the slat into place.

Here we see the top and bottom slats in place.

I had four more slats to use for each side and spaced them 3/8” apart. I used set-up bars designed to use with a router to help with the spacing. Mine are from Woodpecker but this is another nice set. This is a super handy tool!

Continue to drill and nail until the slats are in place.

One side is done.

Add the slats to the other side and the basket is complete.

I would love for you to pin this project for others to discover.


More Repurpose Projects
Now it’s time to see what my friends made for this month’s Repurpose Challenge. Click on the links below to visit each project.
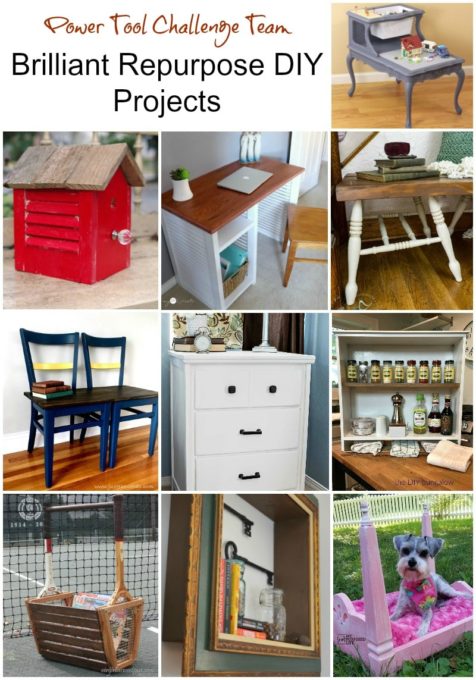
Create and Babble Rustic Birdhouse from Upcycled Shutter
My Love 2 Create Repurposed Shutter Desk
Designed Decor How To Build A Repurposed Chair Leg Bench
Just The Woods How To Make A Bench From Chairs
Domestically Speaking How To Turn A Desk Into A Nightstand
The DIY Bungalow Turn an Old Drawer into a Cabinet
H2OBungalow Repurposed Picture Frame Wall Shelves
My Repurposed Life DIY Doll/ Dog Bed
The Kim Six Fix Lego Table from Two Tier End Table

What a creative project! My tennis-playing son would LOVE this for his room – I’ll have to start scouring thrift stores for rackets!! Thank you for the inspiration!
So stinkin’ clever!!!
You are definitely the queen on tennis racket recycle! This is an awesome repurpose! You will be back to your old self soon, just rest and let your body heal!
Paula,
This is so clever and creative!!! $1.99 ??? what a DEAL! I probably wouldn’t even have given them a second glance to even see what the price was.
Love your project!
pinning!
gail
What an adorable redo so cute and functional
Very clever, Paula and I hope you’ll be back to playing tennis again soon!
This is such a cool upcycle my friend runs the cafe in our local tennis club I need to make her one!
THis is so clever and I love how it turned out!
Oh giiiiiiiiirl, you know my repurposed heart is in love. Thanks for linking to Waste Not Wednesday. You will be my feature pick this week.
How exciting! Thank you so much for picking my project!
what a super -cool project! I love those old rackets and what a cool way to re-purpose them. Very detailed instructions and photos-I’ll have to attempt this-