Smith Mountain Lake House Update–Kitchen Backsplash
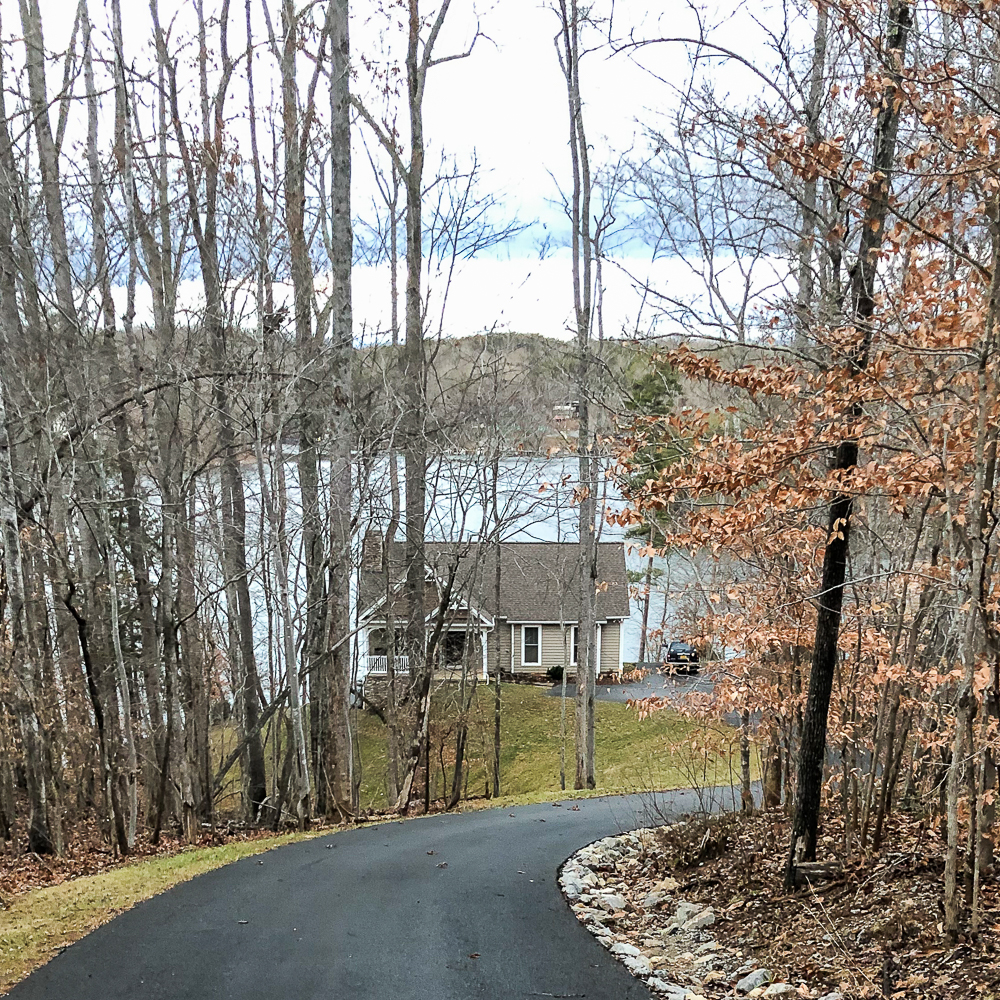
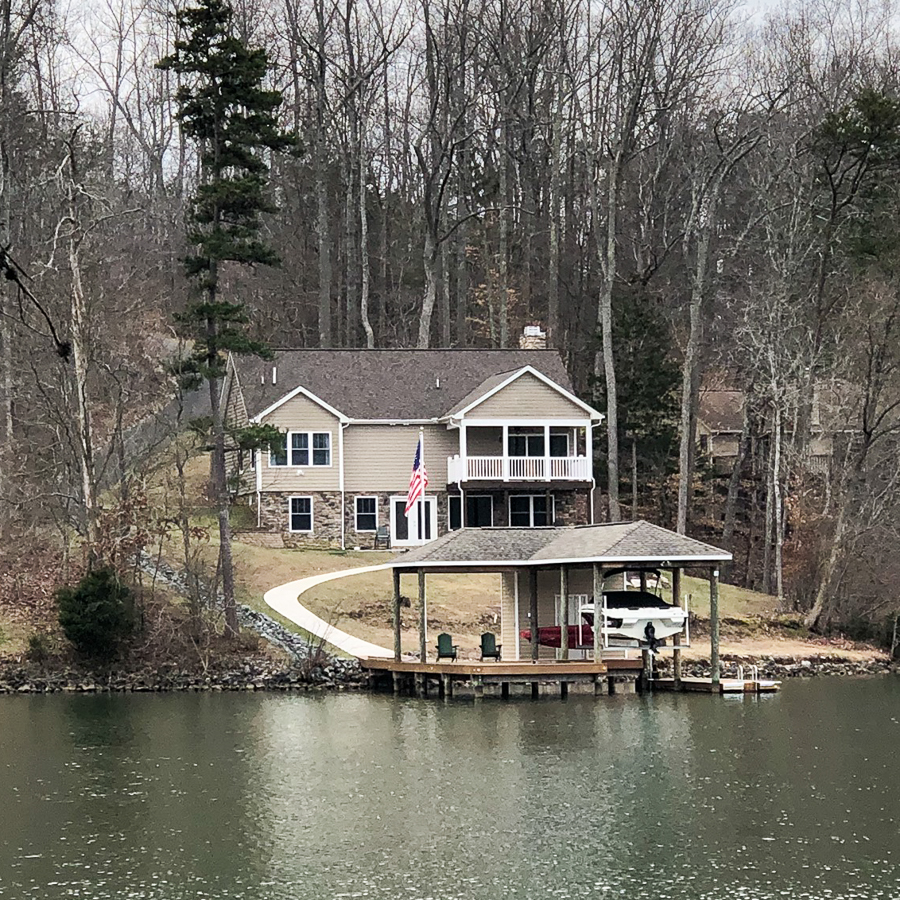
One of my greatest pleasures in life is spending weekends at beautiful Smith Mountain Lake. We don’t have tv or wifi there and we both love quite weekends where we can read books, take walks, and truly relax. I haven’t had a lot of blog motivation lately, but I do have a project to share today, our new kitchen backsplash at the lake.
We’ve been talking about installing a backsplash since the house was completed a little over two years ago and I’m thrilled that we can now check this project off of our list.
You can see all of our Smith Mountain Lake projects here.
Subway Tile Backsplash at Smith Mountain Lake
It didn’t take much debate to decide what kind of tile we wanted to use at the lake for the kitchen backsplash, we both like the look of subway tile.

This post contains affiliate links. For full disclosure go here.
We purchased the tile for this project from Home Depot and the mastic, grout, grout sealer, and grout caulk from Lowe’s. We also had to buy longer screws for our outlets, painter’s tape, and a small board to support the tile behind the stove. Since Mr. SP has done many tiling jobs in the past, we already owned the tools needed for the job. Our cost for this project ended up being about $130, not bad at all for a project that adds so much personality to our kitchen.

Previously the backsplash walls were painted with flat paint, not a good idea for a kitchen. Mama and I have fried chicken at the lake a few times and even though we tried not to be messy, the wall near the stove had a lot of grease spots. Now that the backsplash is in place, we can fry chicken without grease spot worries.

I debated a bit on a grout color and ended up going with Mist, a light gray.

We used Delorian Gray grout caulk on the tile edges and where the tile meets the granite. We looked at several Lowe’s locations for Mist grout caulk since Mist was our grout color, but couldn’t find it, so we used Delorian Gray instead. Delorian Gray color blends well with our granite, so it all worked out in the end.

I took the pictures above with the counters cleared. I don’t keep a lot on the counters at the lake, but here’s what it looks like with the little bit that I do keep out.

The large basket holds paper plates and the smaller basket is where we keep our keys. An old stirrup makes a great napkin holder.

I keep a vintage flower pot on the sink to hold soaps and a sponge. Our paper towel holder is a DIY project that we made shortly after the house was complete. You can see all of our lake house projects here.

Progress Shots
We completed this project over three weekends. I say “we” but Mr. SP did most of the work; I assisted with prep work and by cleaning up.
Weekend One
Before the tiling began, we took the outlet covers off and also removed the screws holding the outlets in place. I taped the granite edge and covered a portion of the counter with paper. In retrospect, it would have made clean-up easier had I covered all of the counter.

We pulled the stove out so that we could tile behind it. Mr. SP screwed a piece of wood to the wall to support the tile until the mortar dried.

We also taped the wall on the edge to protect the paint.

Mr. SP kept his tile cutter on the kitchen counter where it would be handy for simple cuts.

We didn’t buy tile spacers at Lowe’s or Home Depot, instead we used pennies. Mr. SP started the tile job on the granite lip and worked his way up the wall.

Here you can see why he needed to use a board behind the stove to support the tile.

We used this mastic from Lowe’s.

I enjoyed watching Mr. SP’s progress.

Mr. SP set up his wet/dry tile saw outside to use for detailed cuts like the one below.

He measured and marked the tile where he needed to cut. Then he used painter’s tape to make guide lines for cutting and then made the cuts with his saw.

After the tile was in place, I used a damp Scotch Bright sponge to clean the tile.

The next day Mr. SP did the top row of tile and it was then time for us to go home for the weekend.

Weekend Two
On the second weekend Mr. SP finished the tile (we had to buy some corner and trim pieces to complete the job) and the next day it was time to grout. Grouting is messy work and I was glad that he was doing it and not me!

Here the grout has been applied.

I again assisted by cleaning which included doing my best to clean up the grout that fell behind the stove.

At the end of weekend two the tile job was complete except for sealing and using grout caulk on the edges.

Weekend Three
The last step was to seal the grout and to apply caulk on the edges and where the tile meets the granite. This job didn’t take long at all. Mr. SP complete it so quickly that I didn’t even snap a picture while he was working.
We are both so happy with our new kitchen backsplash and know that we’ll enjoy it for many years to come.
Next up on our lake house DIY list is to stain our dock. It will be a big job but will look so nice once we complete it.
If you have a kitchen or DIY board on Pinterest that you could pin this to, I would appreciate it. Pinning helps others to discover my posts.


The backsplash looks great, Paula. The whole kitchen is beautiful. I can see why you love it there so much. I’d be there every weekend too! ~ Angie
Thank you, Angie! We love going there and it’s great that it’s only an hour away which makes it an easy weekend destination.
Paula
Looks fantastic!
Thank you, Debbie! We are so pleased with the end result!
Paula
What a clever idea using painters tape to mark cut lines. Kitchen looks great!
Thank you, Wendy! We are happy to mark that project off of the “to-do” list. Next up is staining the dock. I hope you’ve been able to enjoy the lake some this winter.
Paula
We used subway tile in our kitchen as well. Love the clean and classic look. Your kitchen is lovely!
Thank you, Joyce! I also think the subway tile look is classic.
Paula
Hi Paula
The backsplash looks great . I hope you have a great Easter! Can’t wait to see dock done.
Thank you, Laura! The dock will look so much better after we clean and stain it. The weather sure does a number on the wood.
Paula
Looks great! I love a white and black kitchen – so classic!
Thank you, Katherine! We are glad to check this project off of the “to do” list.
Paula
That backsplash is so pretty, Paula! Thanks for sharing at Vintage Charm!
Thank you, Cecilia! We are so happy with the end result.
Paula
Great job – I am always so impressed by people who can do these jobs themselves. What a great money saver and I am sure it gives you satisfaction knowing you could do it! Love that kitchen!
Shelley
The backsplash looks amazing! We are giving our kitchen a makeover & will be doing the white subway tile with a grey or dark grout. Pinned! Thanks for sharing at #HomeMattersParty
Thank you, Jenny! We are so pleased with how our backsplash turned out. Good luck with your project!
Paula
What an amazing transformation, Paula. You guys have an awesome space there. Pinned!
Thank you, Larissa! I was happy to check this project off of the “to do” list!
Paula
Great job and a beautiful backsplash. My husband and his friends visit Smith Mountain Lake every fall for a long weekend and love it there.
Smith Mountain lake is a beautiful spot. Thanks for the compliment on our new backsplash. We love it!
Paula
Like the way how you tiled the kitchen. And Paula, interior looks great too.
I may have missed it, but did you install “extenders” (not sure of the exact name) on the electrical outlets and switches, so they would be flush with the tile? Hope that makes sense! I want to install subway tile in my kitchen this summer and I’m just trying not to miss all the important steps in the process.
I love what you’ve done, the subway tiles are gorgeous. A great transformation!
Thank you, Linda! We are so pleased with how this project turned out.
Paula
Great reno job guys. The splashback ended up looking amazing