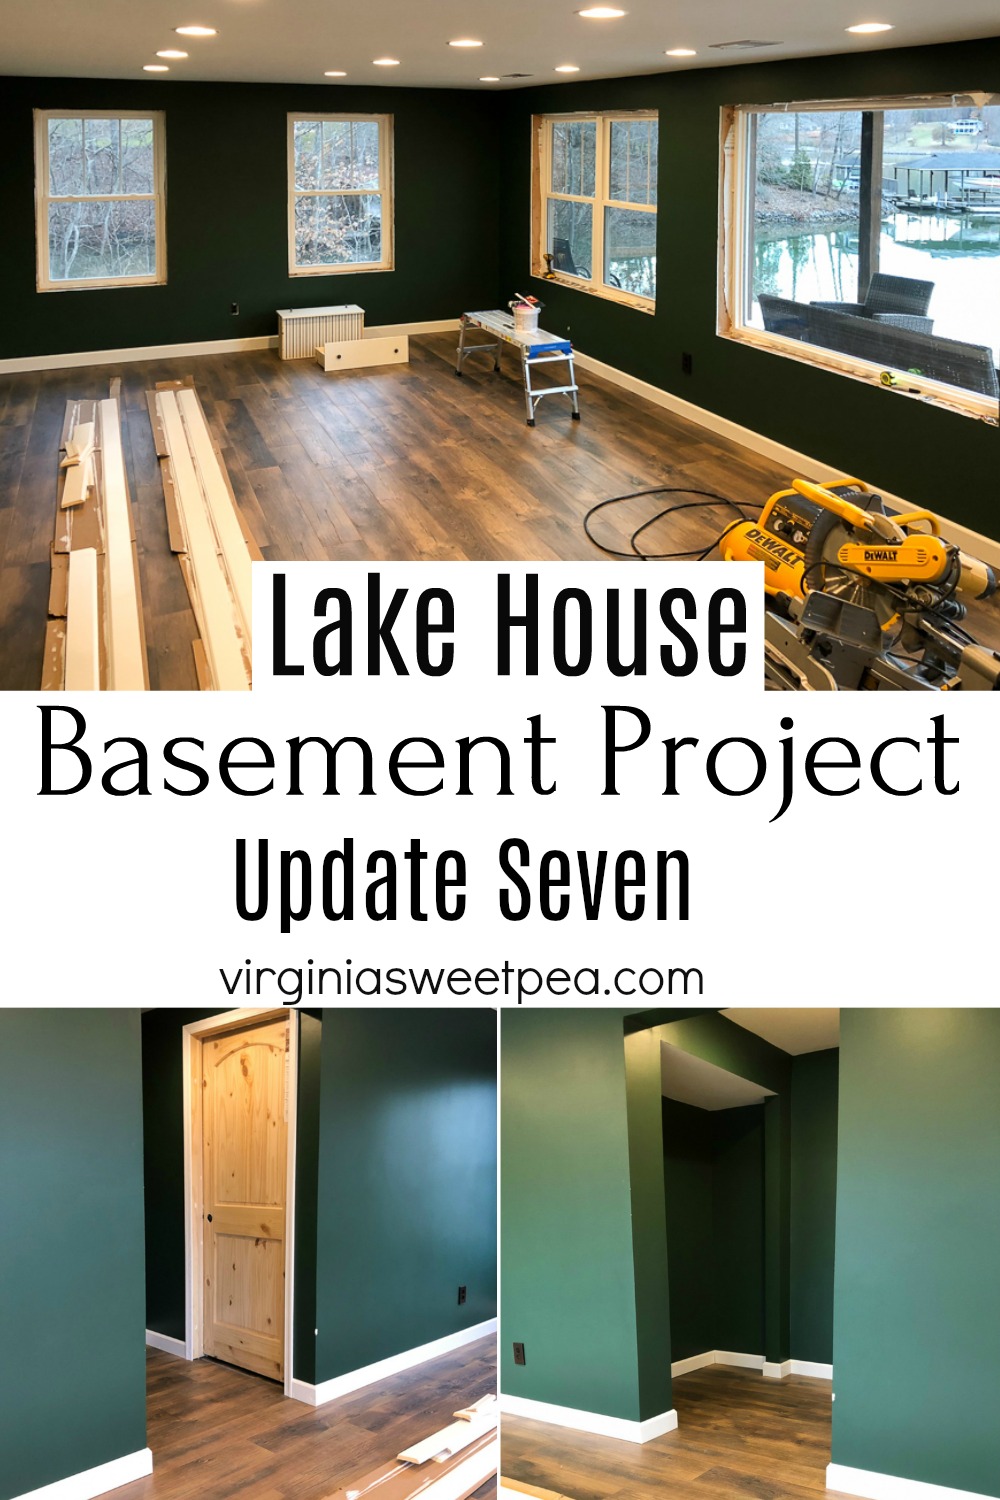
Lake House Basement Project – Update Seven
So far every weekend of 2020 has been devoted to our lake house basement project. This past weekend we focused on installing doors, moldings, and baseboards.
If you are new here, we are transforming our basement into a family room, bathroom, and bedroom. These posts chronical the work that we’ve accomplished so far:
- Lake House Basement Project Plans
- Lake House Basement – Update One
- Lake House Basement – Update Two
- Lake House Basement – Update Three
- Lake House Basement – Update Four – Paint
- Lake House Basement – Update Five – Flooring
- Lake House Basement – Update Six
- Lake House Basement – Update Seven
- Lake House Basement – Update Eight
- Lake House Basement – Update Nine
- Lake House Basement – Update Ten – Installing a Newel Post
- Lake House Basement – Update Eleven – Installing a Banister
Painting the Baseboard and Door Moulding
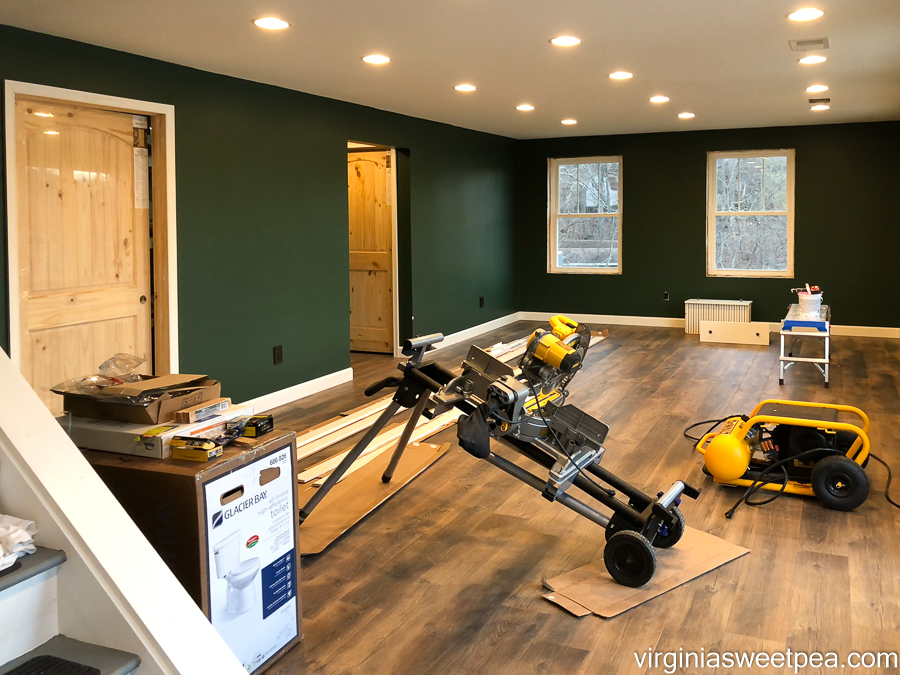
Last weekend we finished the floors and the goal this weekend was to install three doors, install moulding around the doors, and to get as much baseboard installed as we could.
We had Home Depot deliver the baseboard and door moulding to our home since the baseboard came in sections longer than we could easily transport. We purchased both already primed which saved us a lot of painting time.
Friday night we gave all of the baseboard and door moulding a coat of paint.
Saturday morning the baseboards got a second coat of paint. The moulding will also get a second coat but after it is all in place.

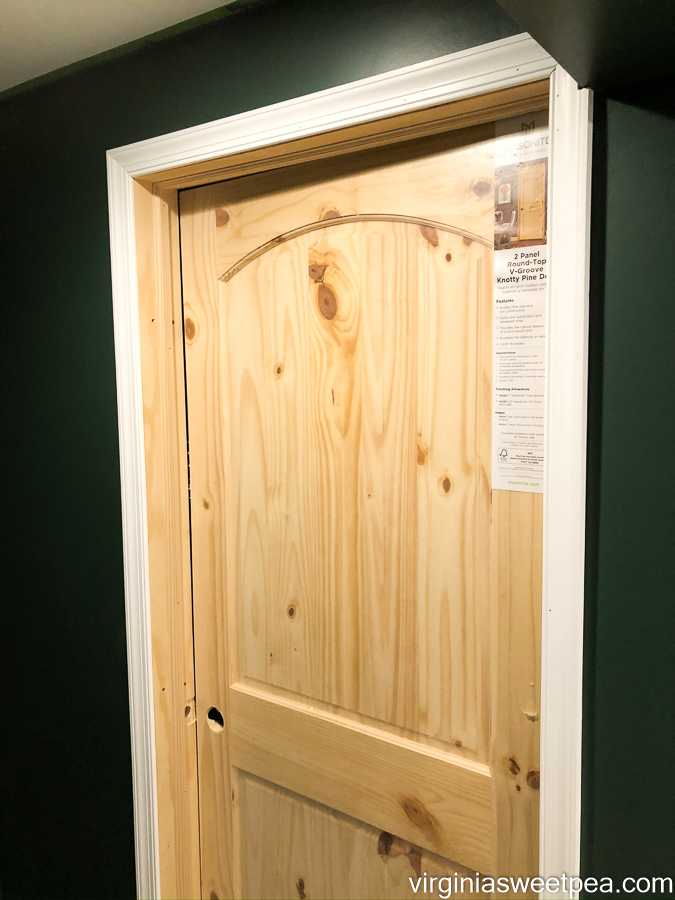
Installing the Doors
The first door we installed was the bathroom door. I really shouldn’t say we because Mr. SP did 99% of the work. I helped by handing him tools that he needed.
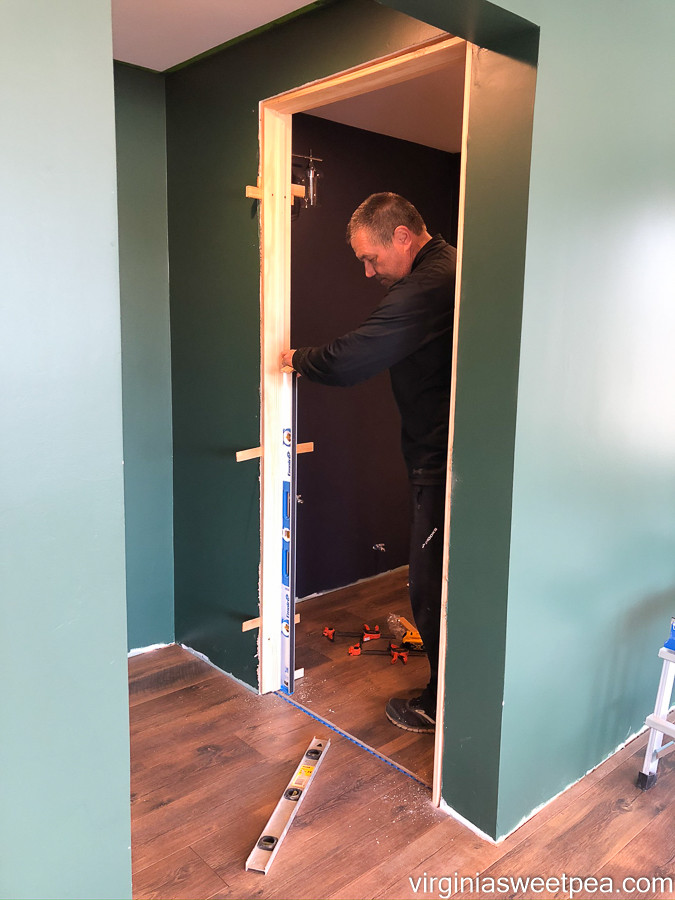
The bathroom door went in very easily.

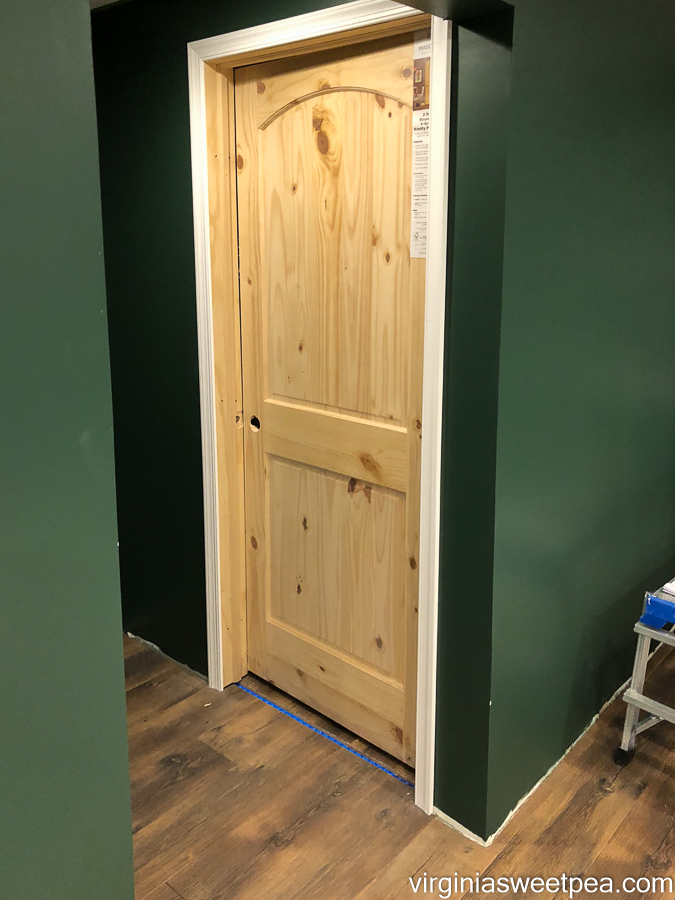
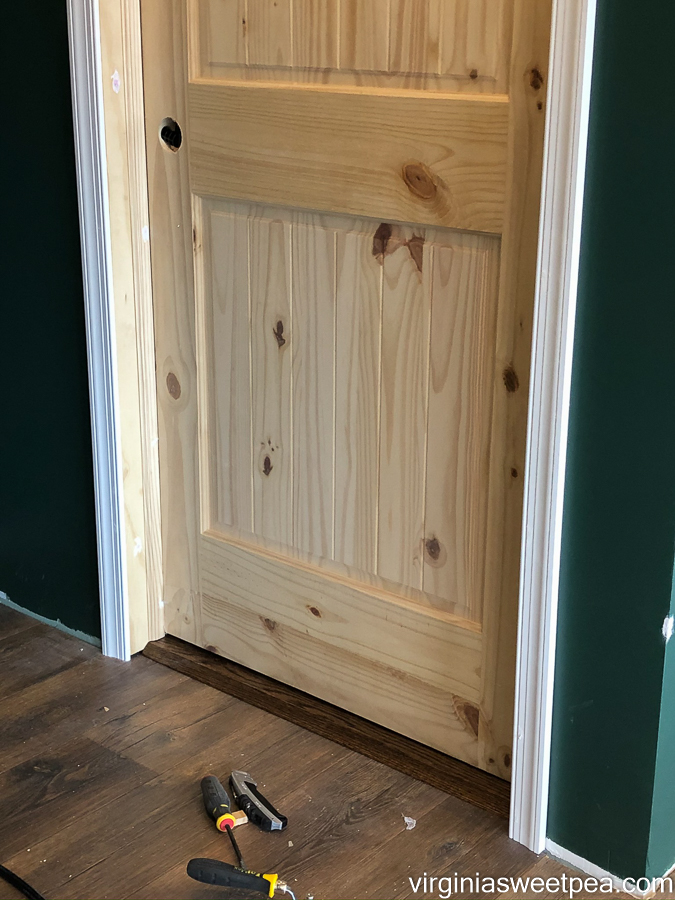
Then we moved on to the basement door.
Because of a beam, this doorway is shorter, so Mr. SP had to make the door shorter. He first cut off the casing.
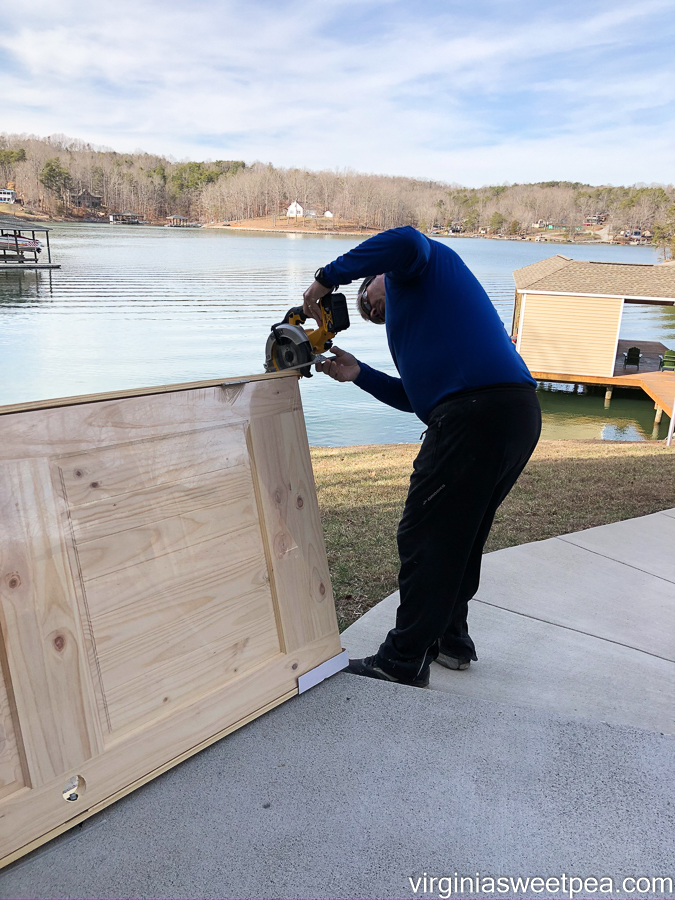
Then he cut the door shorter.

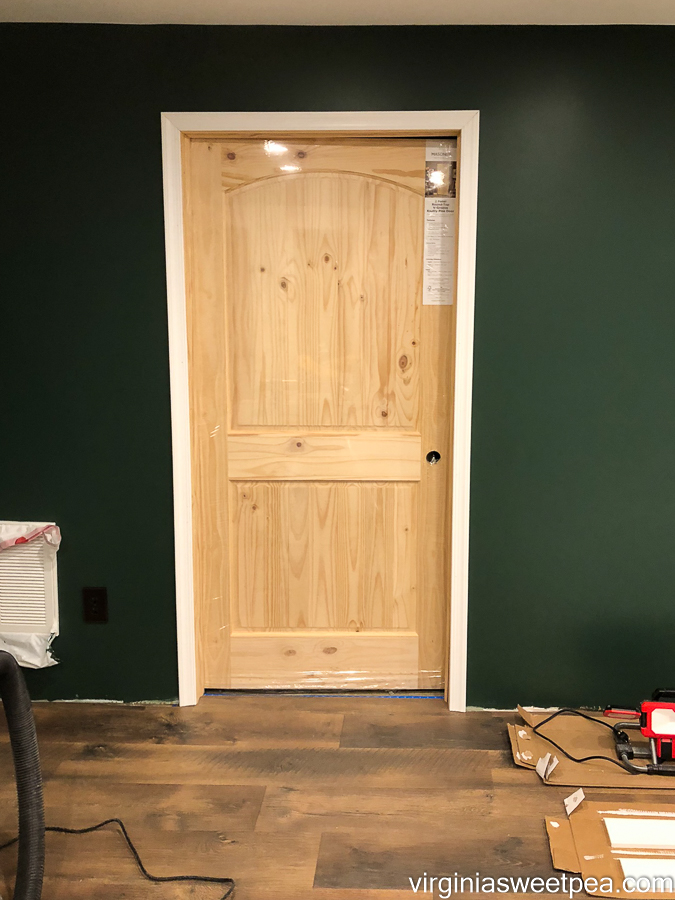
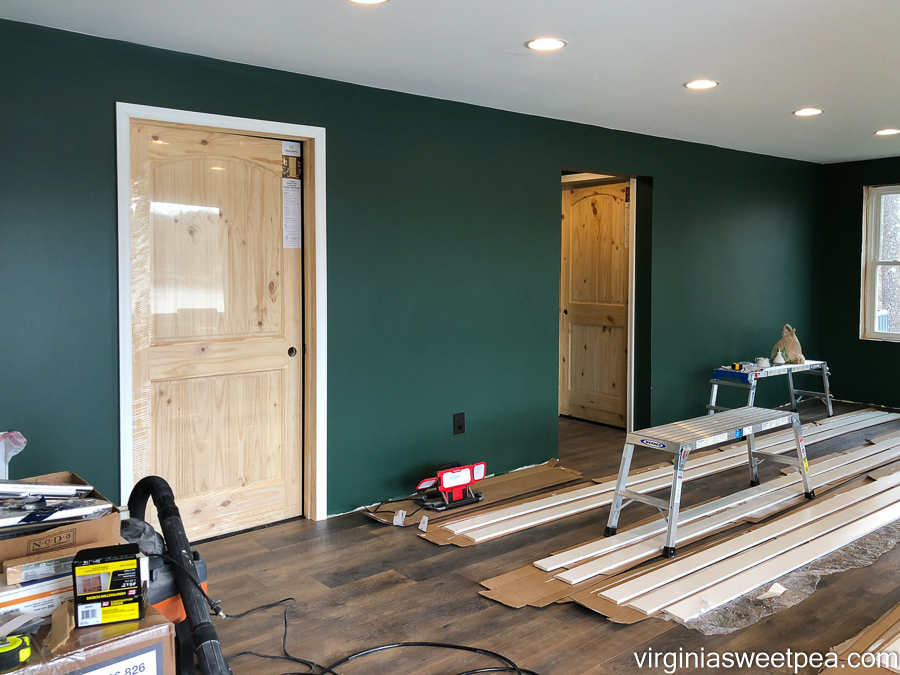
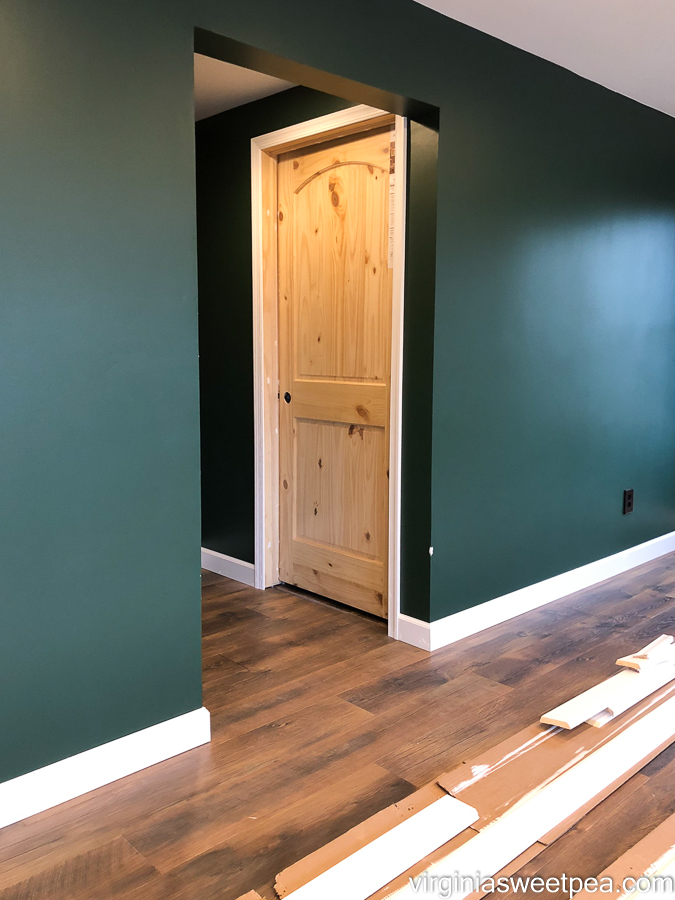
The door fit perfectly and was easy to install. Here it is after the door moulding was added around it.
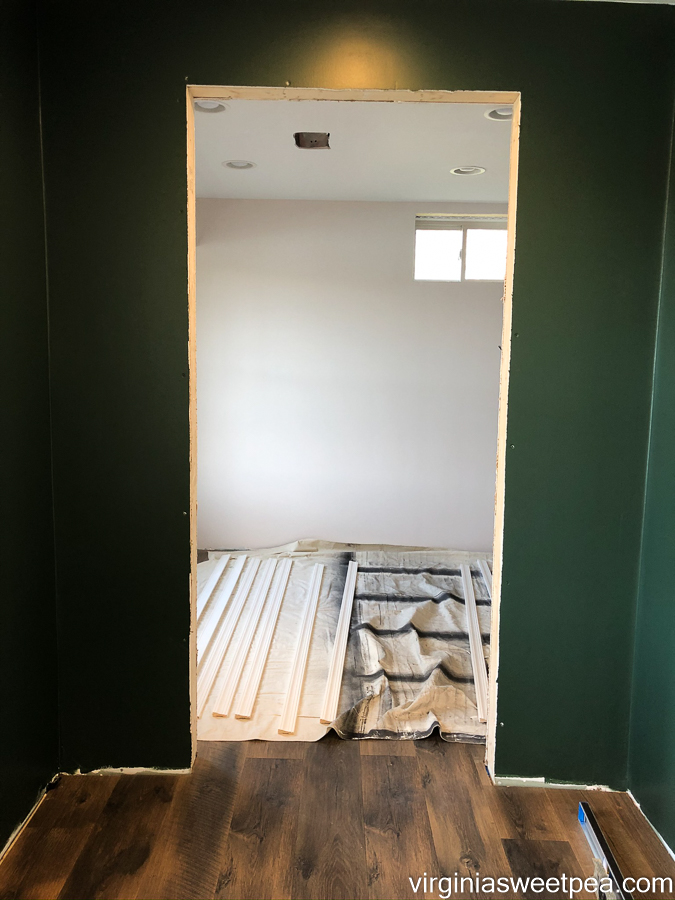
We were on a roll with our door installation until we got to the bedroom. Then the problem started.
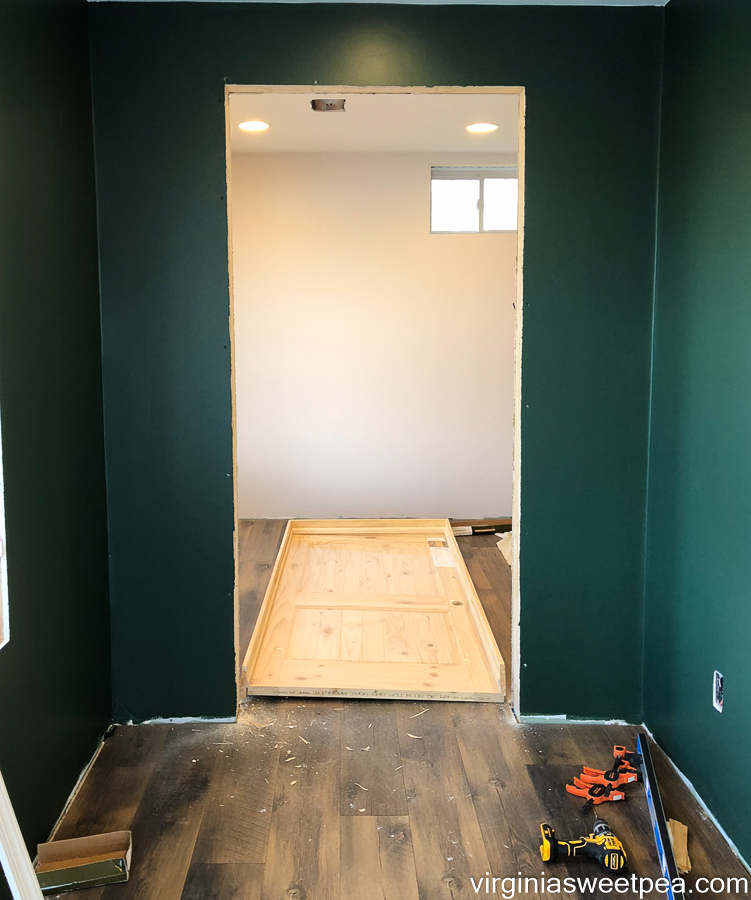
The door wouldn’t fit! Mr. SP measured the bottom of the door opening and it was correct. Then he measured the top and it was 1/2″ smaller than the bottom measurement. This door had been framed incorrectly. Drat!
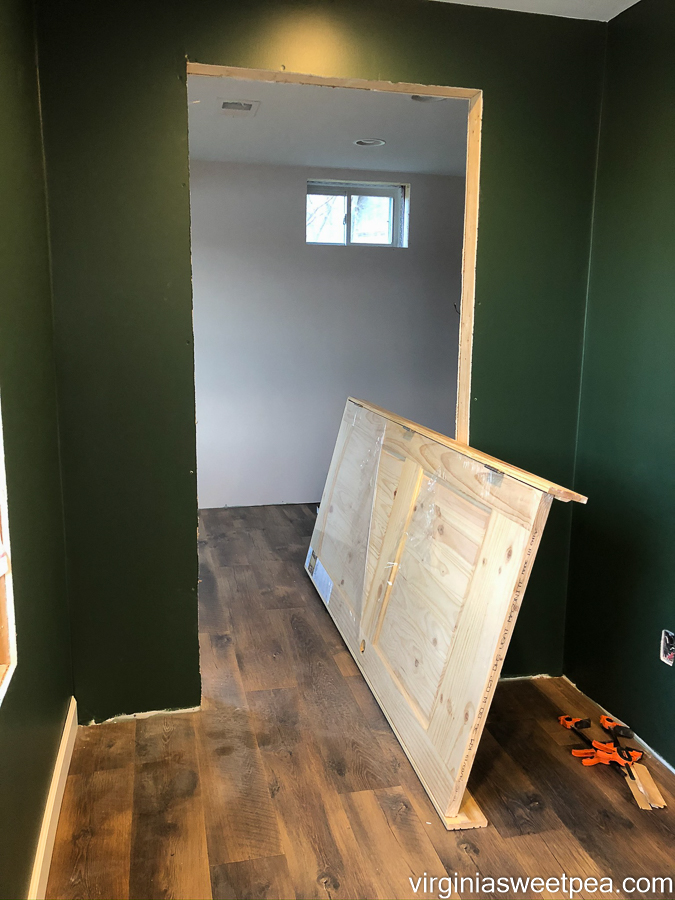
Since it was so close, we decided to see if we could force the door into place by chipping off wood from the top. Our plan failed and this door didn’t get installed.
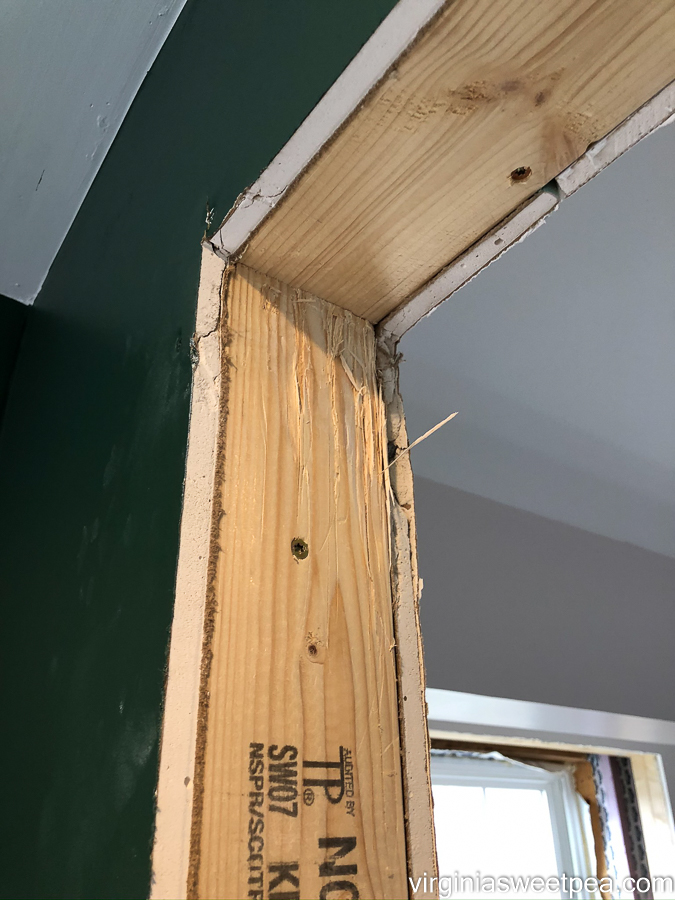
The plan is to chisel out the wood to make room and try again next weekend.
Installing the Door Moulding
After two of the three doors were installed, Mr. SP got busy installing door moulding.
He started with the double doors. (You’ll see the finished moulding on this door later in this post.)

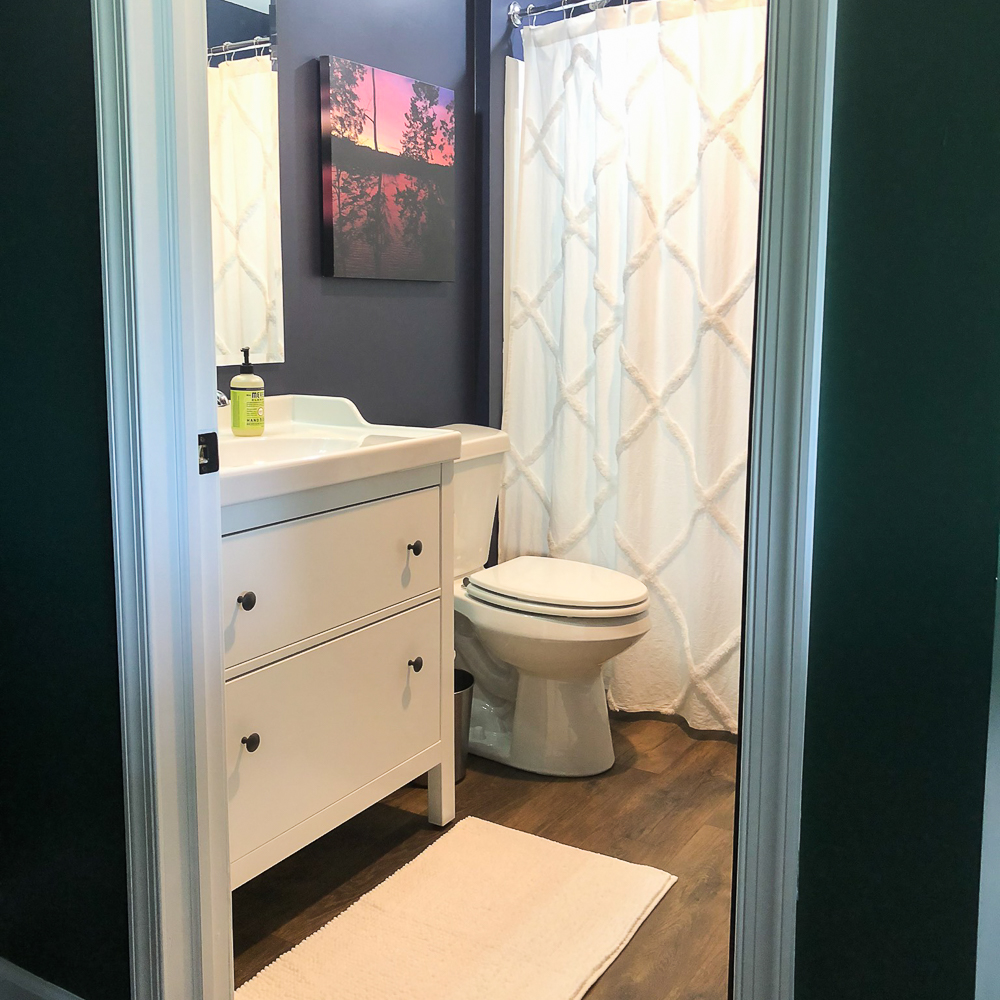
Then he moved on to installing moulding around the bathroom door both inside and outside the bathroom.
Next up was adding moulding to the door that leads to the unfinished part of the basement.
We plan to stain these doors but we haven’t decided on a color.
Preparing the Threshold
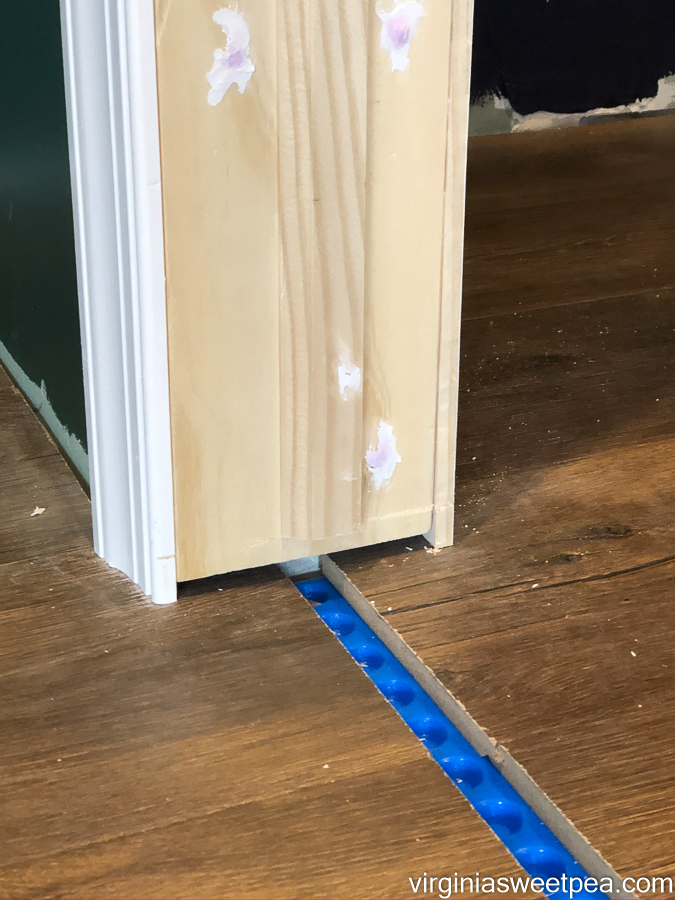
After the door moulding was complete, the next project was to prepare the door for the threshold.
Mr. SP cut the threshold to the correct length and then used a scrap piece to mark the depth for cutting off part of the door casing so the threshold can slide under it.
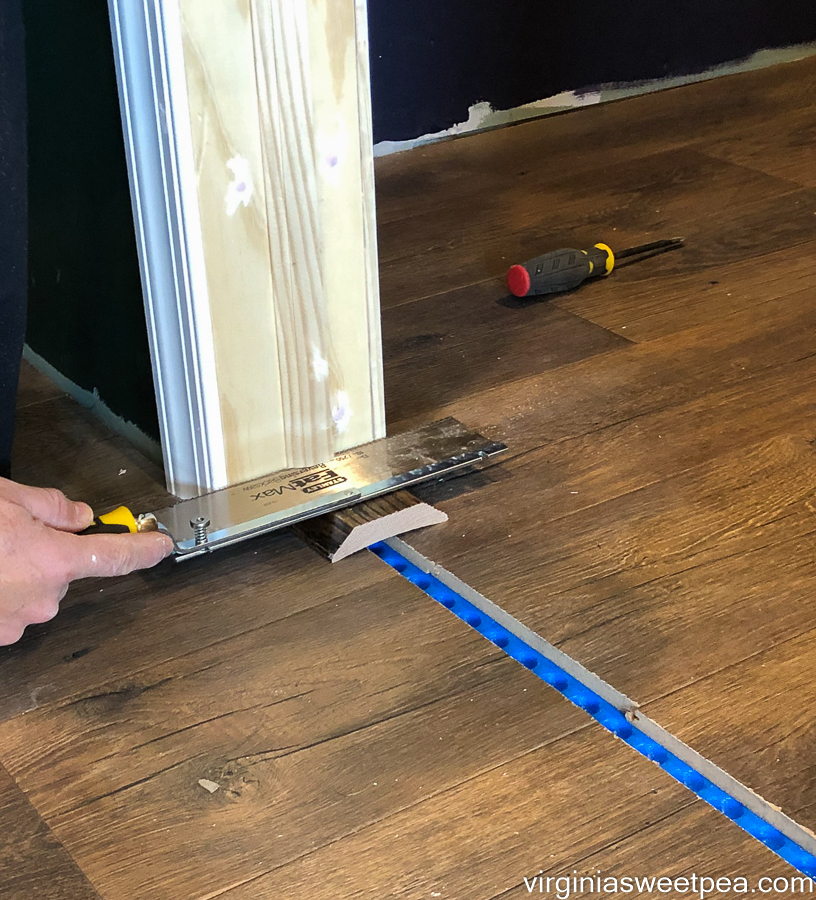
Here you can see the space created for the threshold.
I stained the threshold with dark walnut stain and it doesn’t match the floor perfecty, but it is close enough.
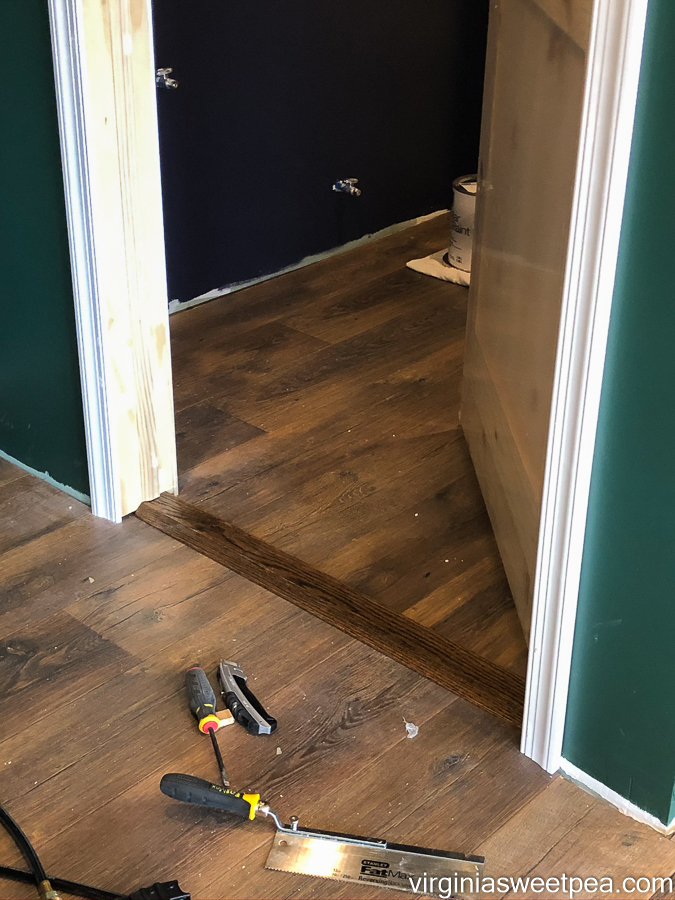
The threshold fits perfectly here. We will finish installing it after we finish painting the moulding and staining the doors.
Installing the Baseboards
The baseboard installation started in the bathroom.
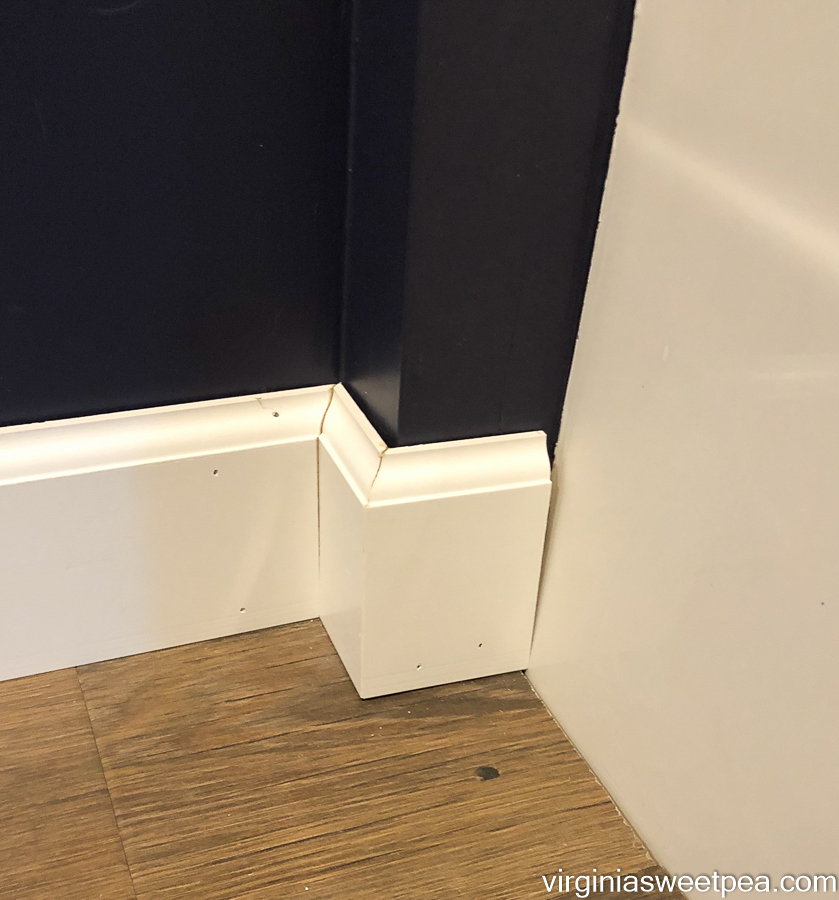
It was time consuming as it involved a lot of measuring, cutting, and then recutting to get the fit just right.
Areas like this were particularly time consuming.
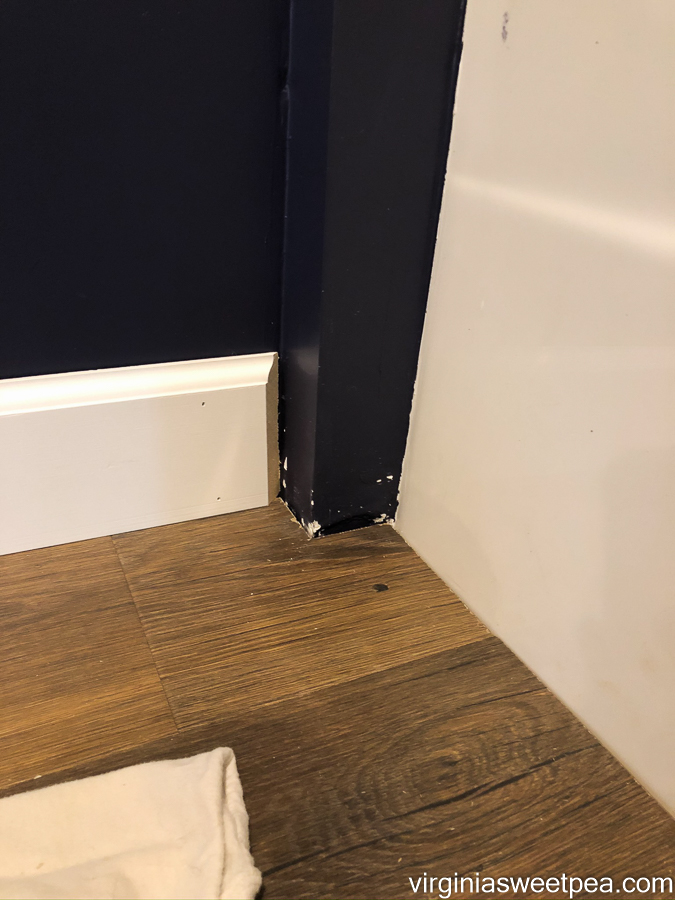
After all of the baseboard is installed, we’ll fill in gaps with caulk and paint it.
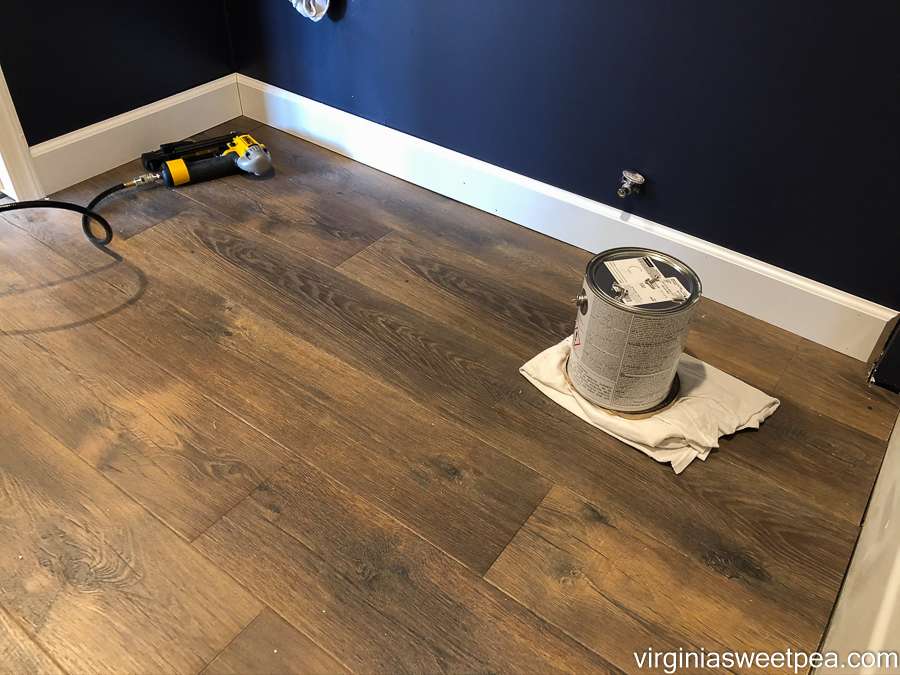
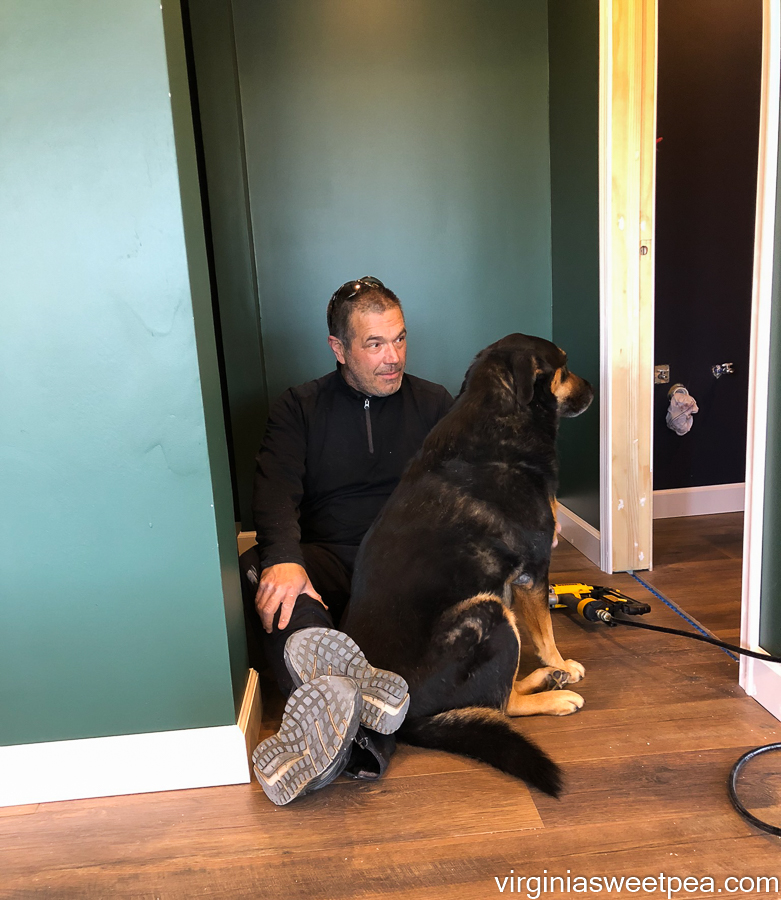
Next up was the hallway and closet. Mr. SP’s work was often interrupted by Sherman who needed attention.
I wasn’t a lot of help, but I did enjoy using our new nail gun. This thing is awesome!

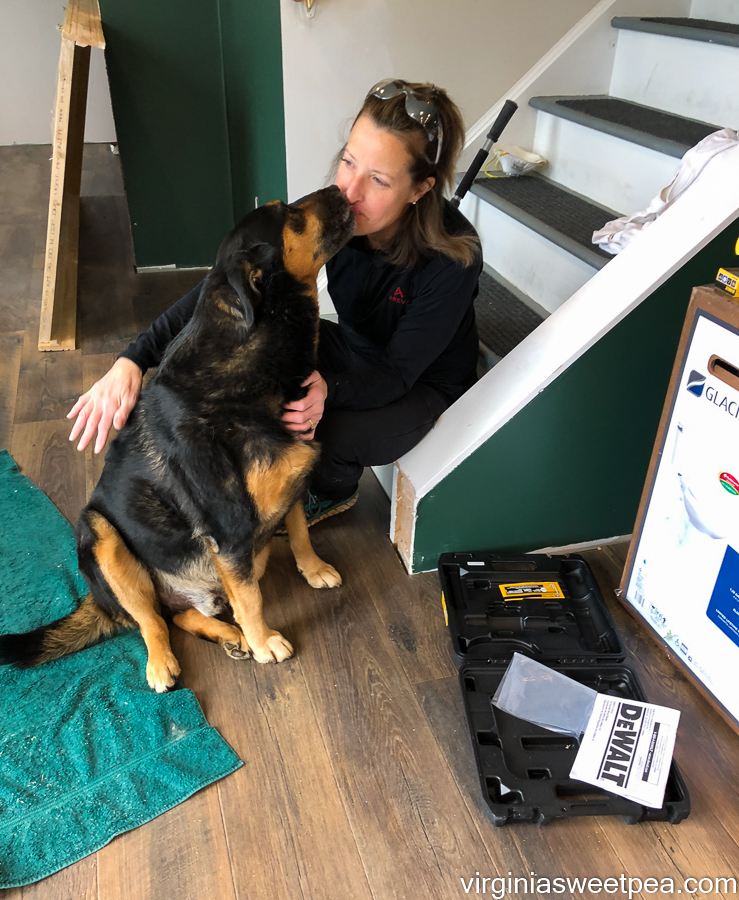
My work also got interrupted by Sherman who loves to give his Mama kisses.
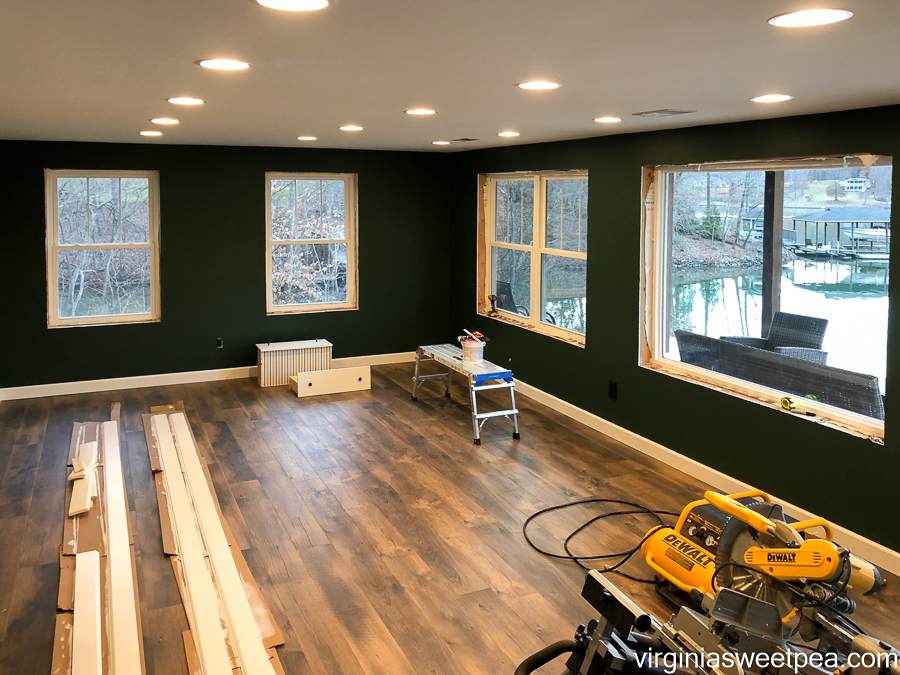
Progress for this Week
We are thrilled with our doors and baseboard.
I filled in most of the nail holes in the baseboards, door mouldings and door casings (which also had screws to cover). I’m looking forward to giving the door mouldings and baseboards a final coat of paint.
Our next door neighbor came over Saturday night to see our progress and gave us an idea. He suggested that the closet area would make a nice wet bar. We both liked that idea but I would rather have a closet than a bar.

Before we left on Sunday, we installed registers in the ceiling in the bathroom, bedroom, and family room. Of course, nothing is easy and one of the family room registers needs drywall work, so we filled it in with filler and hopefully next weekend will get the final register in the family room ceiling.
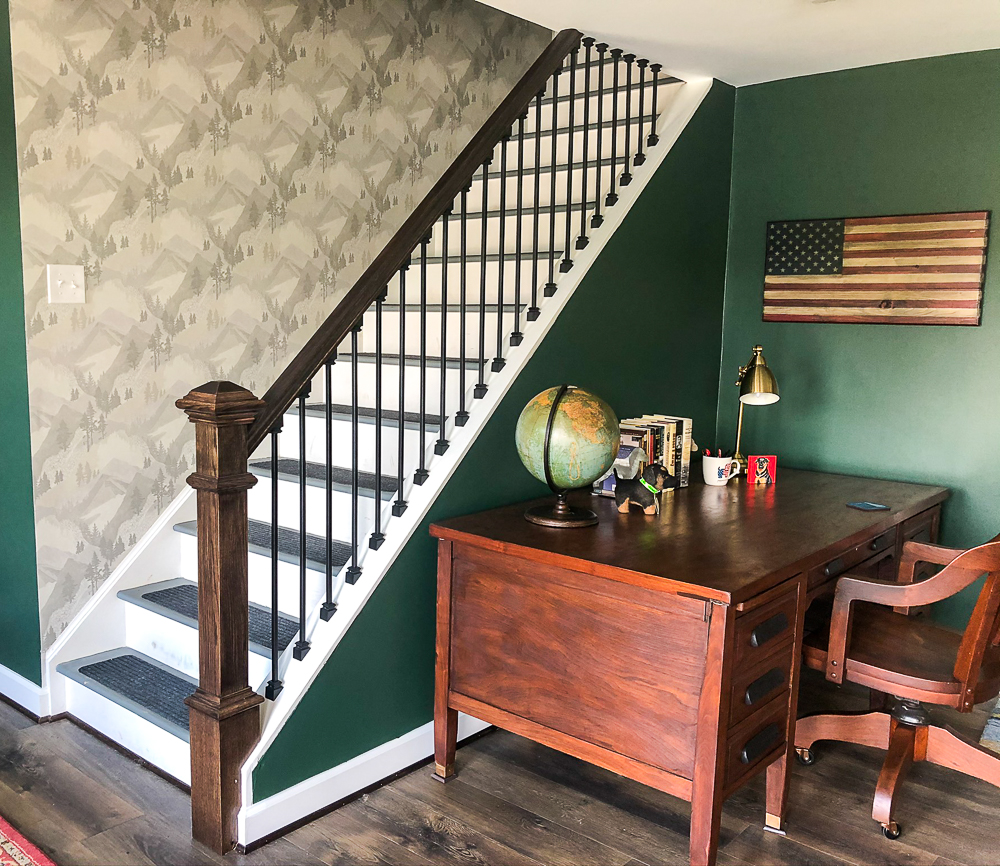
Next weekend our plan is to install a newel post for the step railing, and hopefully, install that pesky bedroom door and add moulding around it, and if that happens, continue the baseboard installation into the bedroom.
We’ve got a long way to go but progress is being made!


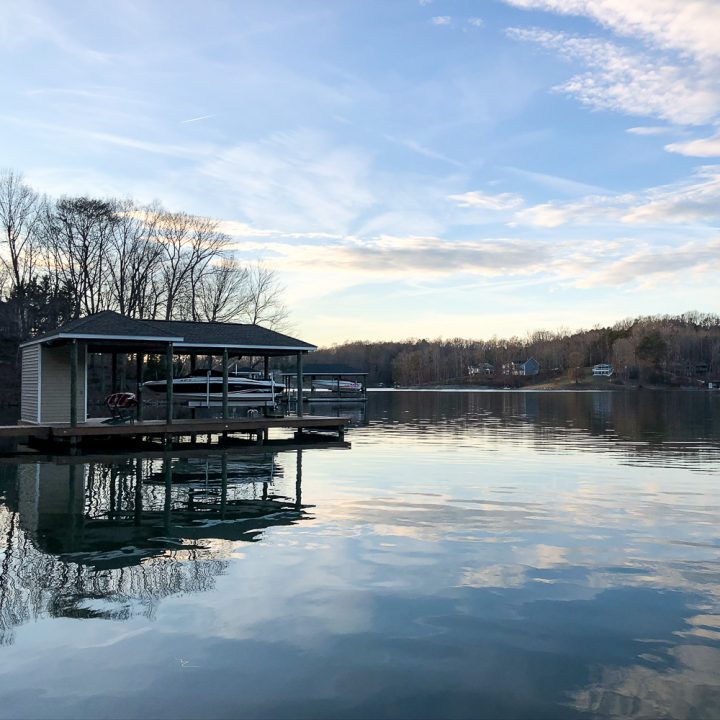


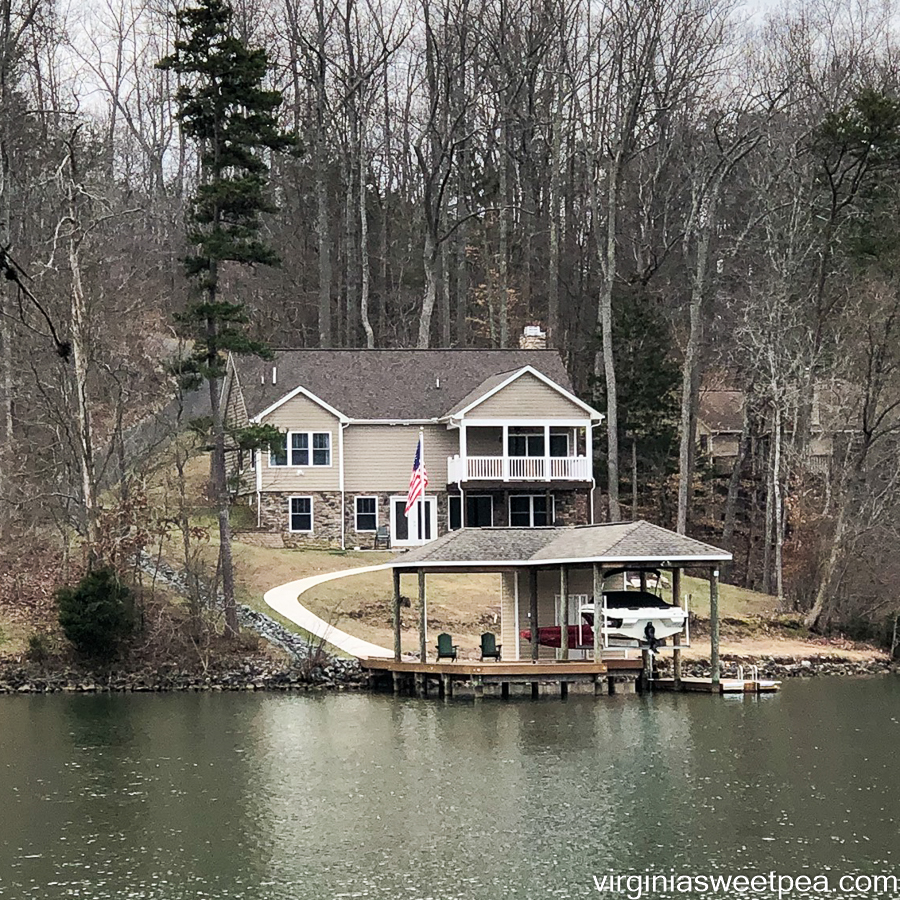
Love those doors…beautiful design on them! And the view…..Gorgeous, absolutely Gorgeous!! Enjoying seeing it all come together! Can’t leave out Sherman cause I always love to see him!!
Thank you! I’m looking forward to getting the doors stained. The view there is enjoyable in any season. Winter is actually really nice because there isn’t a lot of boat traffic. Sherman loves lake life!
Paula
Paula,
You and Mr. SP are so talented!!!
I have been following your blog for almost 3 years, we had just moved from No. Calif. to outside the Nashville area and
somehow I found your blog.
It makes my heart happy you both (and Sherman) are really moving along with your basement.
Have a beautiful day.
Colleen
Thank you so much, Colleen! I really appreciate you following along with me and your kind comment.
Paula
Paula,
You’re making great progress. Fill the holes from the nails is time consuming. I think you are making great progress every weekend.
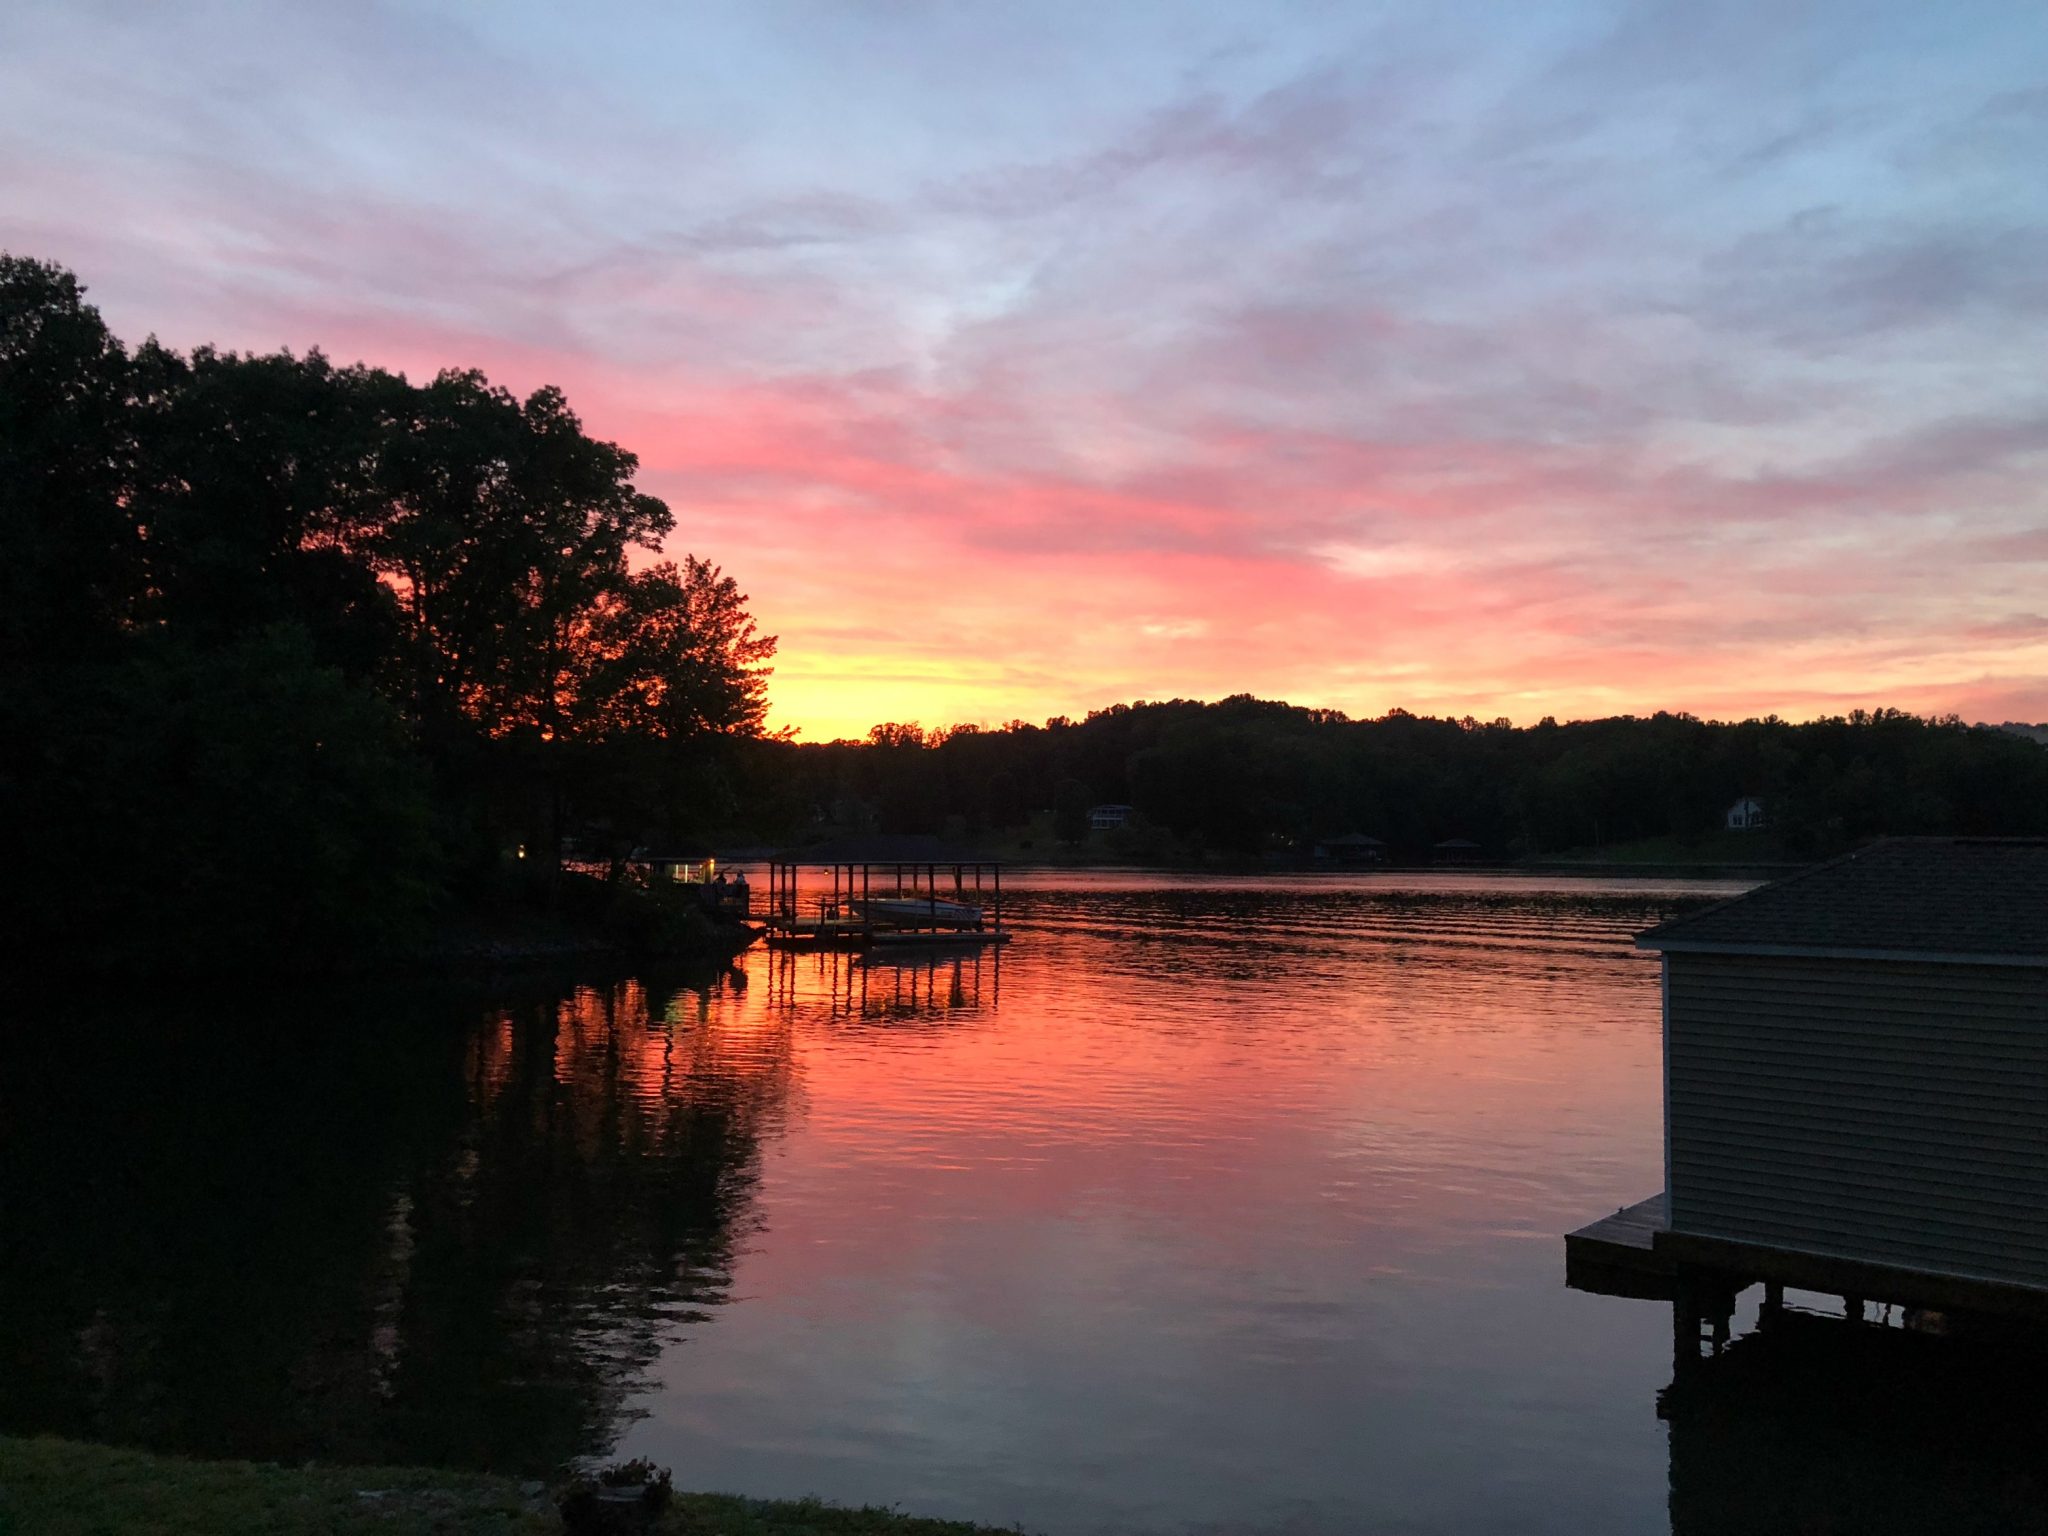
The view of the outside is drop dead gorgeous! Focus on boat rides and lake living in the end, how great will that be?
The doors being stained is going to be beautiful! We have the same doors but not solid wood.
Sherman sitting on Mr. SP was cute. Getting kisses from him is the best!!
Cindy
Sherman kisses are the best!
I am glad that we are doing all of the work now so that when the weather turns nice, we can be enjoying the lake rather than being inside working.
Paula
It’s looking great, Paula. That’s so frustrating about the door not being framed square. Hopefully it won’t be too much of a hassle to fix. Love the doors, by the way!
Thank you, Angie! Mr. SP has some wood chiseling tools that he is going to take to the lake next weekend. I think that if he chisels out just a bit of wood that we can get the door in with no problem.
Paula
Hi! Gosh, what a difference a few doors and so
E molding makes. Looking good!
Thank you! We are pleased with how it looks so far.
Paula
Those doors are beautiful. You guys have done great and I can’t wait to see it all complete.
Thank you so much, Sonya! Every weekend we get a tiny bit closer to being finished.
Paula
This looks so awesome, Paula. The finish work is so important, and you guys are really making it look good. I was reading your latest update in the LR with the new chairs (nice!). Maybe you should bring the wingbacks to the lake house??
Thank you, Rita! I am saving the chairs for now just in case I do decide to use them at the lake.
Paula
You and your husband are so talented! This space is coming together beautifully! I love the doors you chose.
All of the credit goes to my husband. I’m good at doing grunt work but he is the brains behind this project.
Paula
Its looking so good! The finish work always seems to take so long but it really does make a big impact when it’s finished.
Gorgeous! I had missed some updates, and am amazed at the progress you’ve made. The floor and wall paint are beautiful! Molding and baseboards may be fiddly jobs, but they certainly finish a room. Lovely!
Michelle
http://mybijoulifeonline.com
Thank you so much, Michelle!
Paula
Your basement is really coming along, Paula, but, you do know it’s really all about Sherman, right? lol
Thank you for sharing at Party In Your PJ’s.
Everything is about Sherman at our house!
Paula
Do you work for good food? I will happily cook up a feast, breakfast – lunch and dinner for you both! Just kidding, you do give me the courage to tackle some smaller projects in our home!
You are too funny! This project is taking so long since we are only working on it on weekends. We’ll be both glad to have a weekend off from it.
Paula