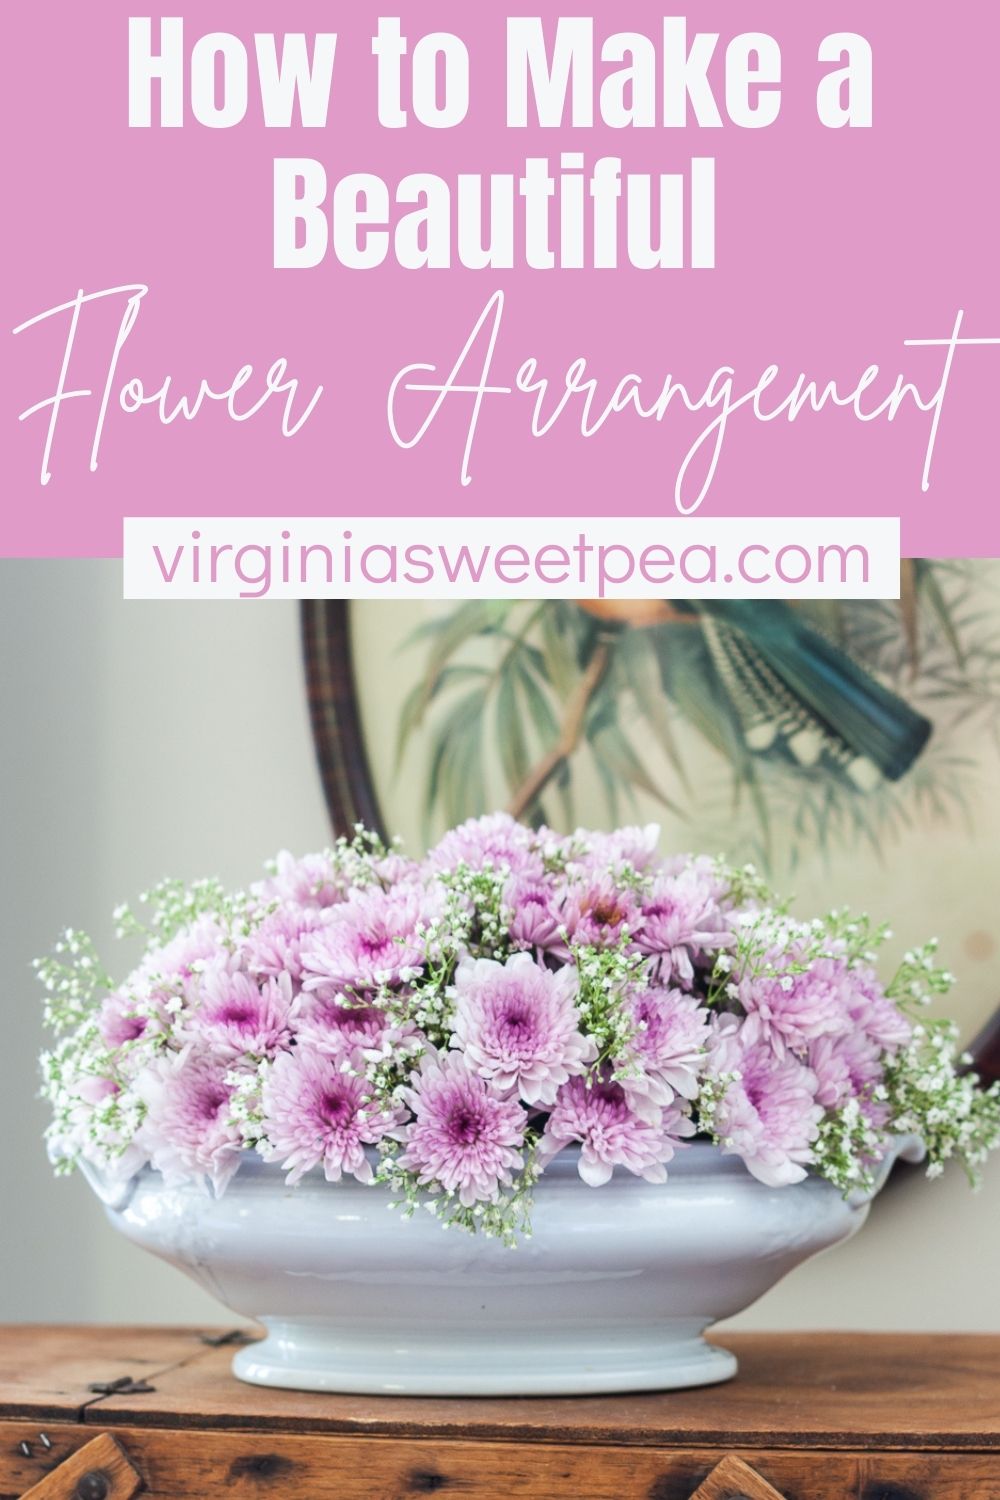
How to Make a Beautiful Flower Arrangement
Making a beautiful flower arrangement isn’t hard. Learn how to make a flower arrangement that you will love to display in your home and get summer flower arrangement ideas.
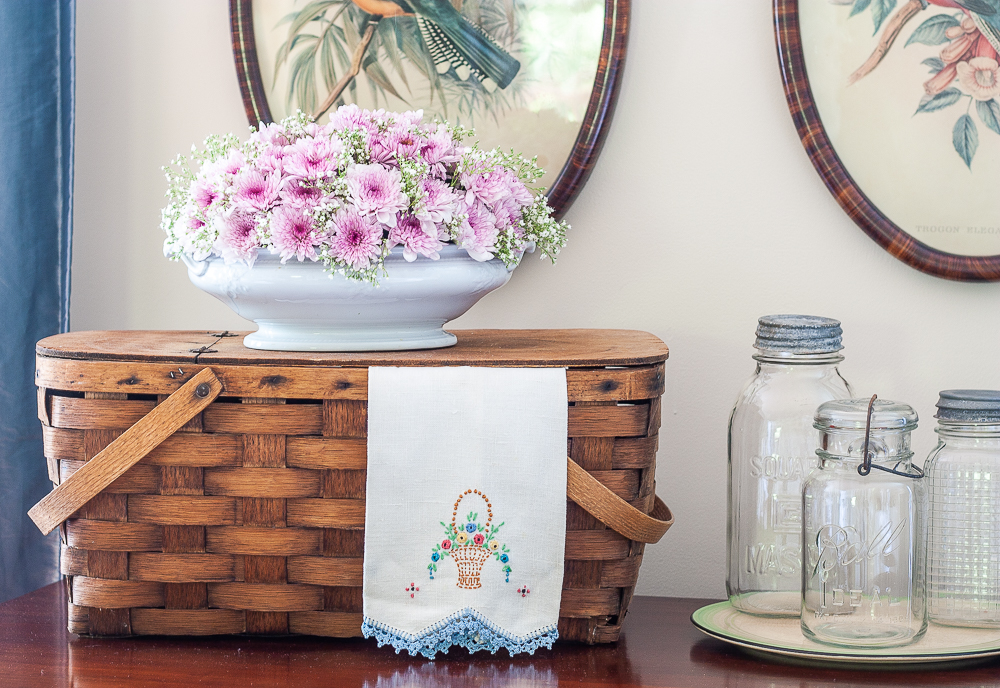
Part of the summer décor in our living room includes a vintage picnic basket display on an antique chest.
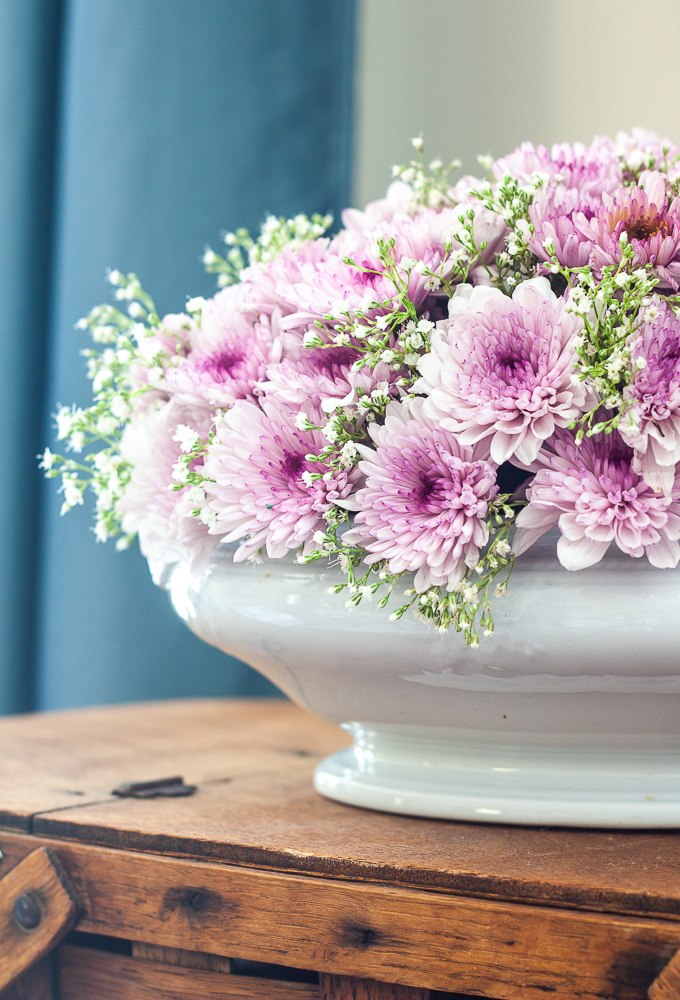
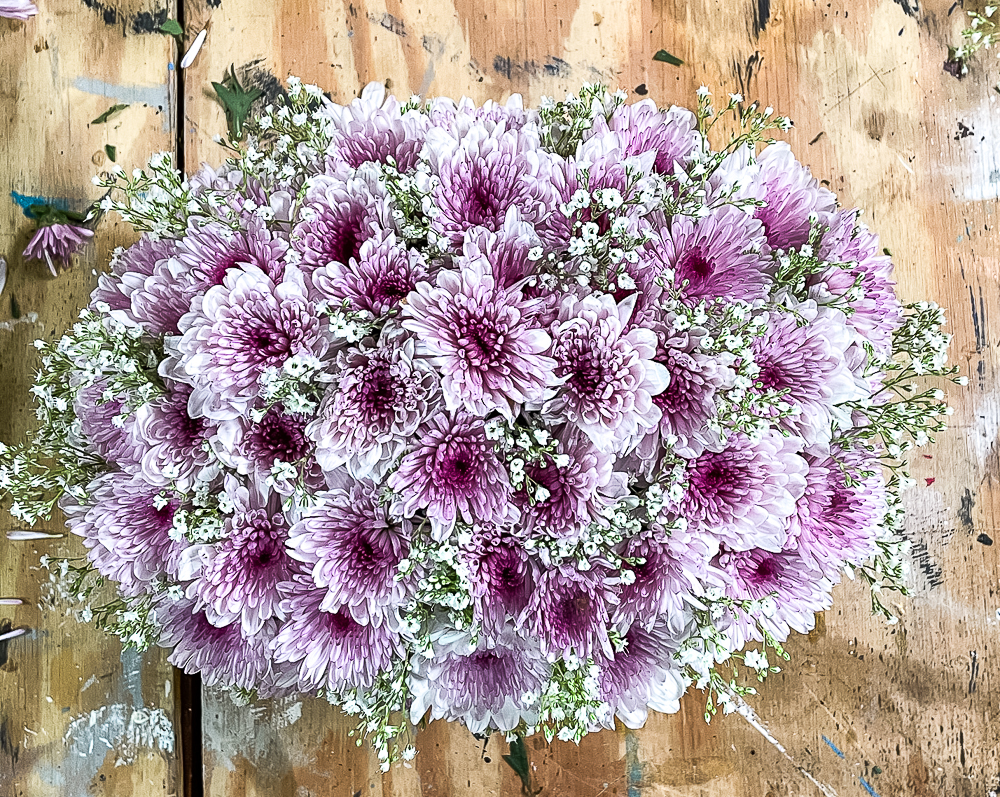
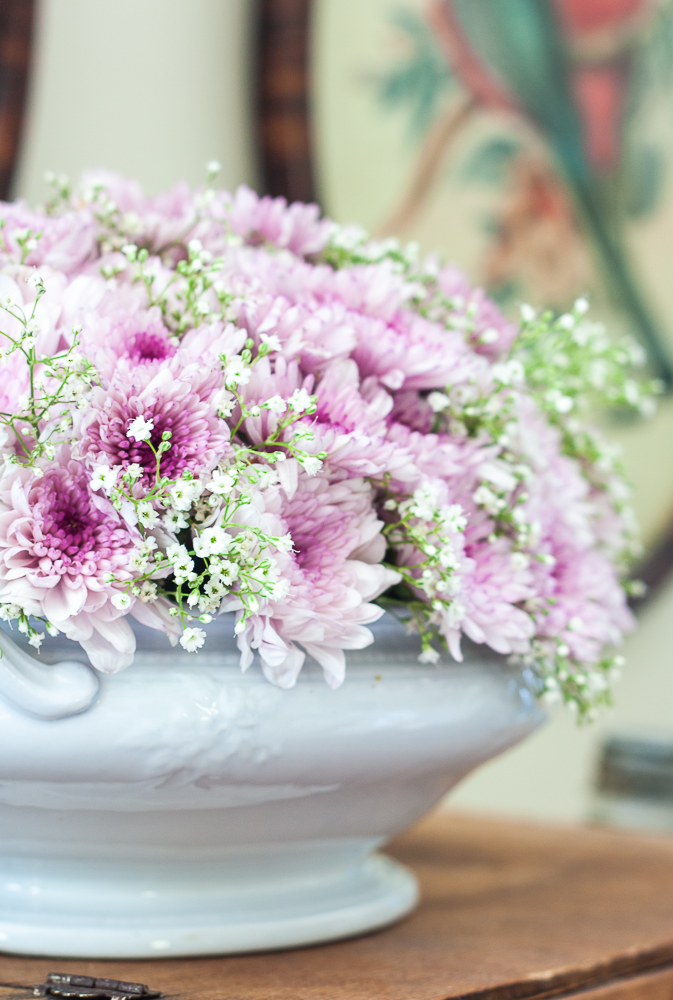
I made a summer flower arrangement using purple Chrysanthemums and Baby’s Breath to decorate the top of the picnic basket.
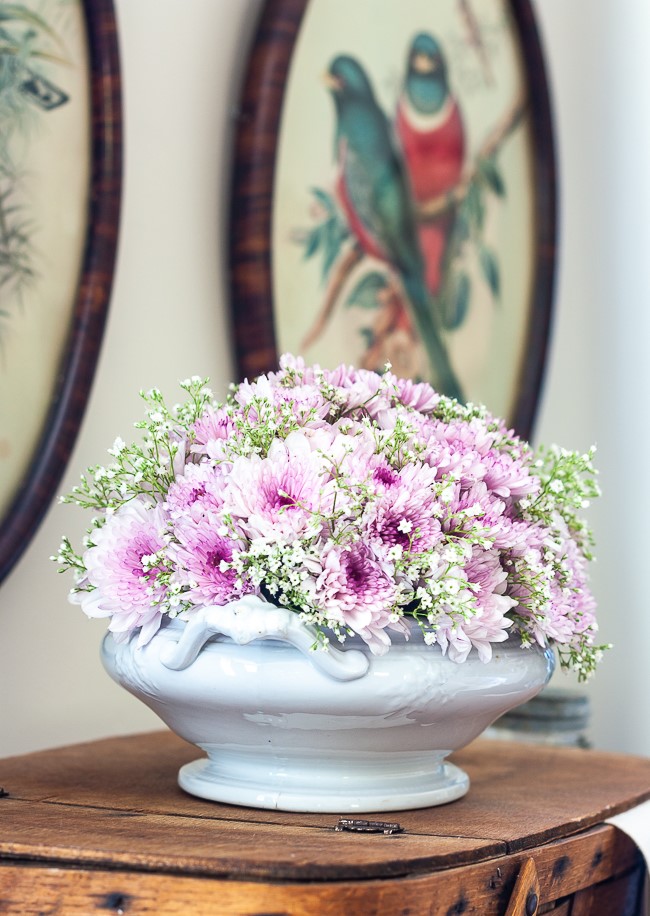
I used my grandmother’s Ironstone lidded bowl as the container for the floral arrangement.
This piece is marked, “Stone China John Meir & Son Tunstall”. I looked this up and discovered that if there is no ENGLAND after the mark, the piece was made prior to 1890.
I found this soup tureen on Etsy that is exactly like my lidded bowl and is dated 1863. If you click on the link, you can see the mark on this soup tureen which is the exact mark that my lidded bowl has. Plus, you can see what the lid of my bowl looks like.
When my grandmother gave me this Ironstone piece, she also gave me an Ironstone platter that she used under it.
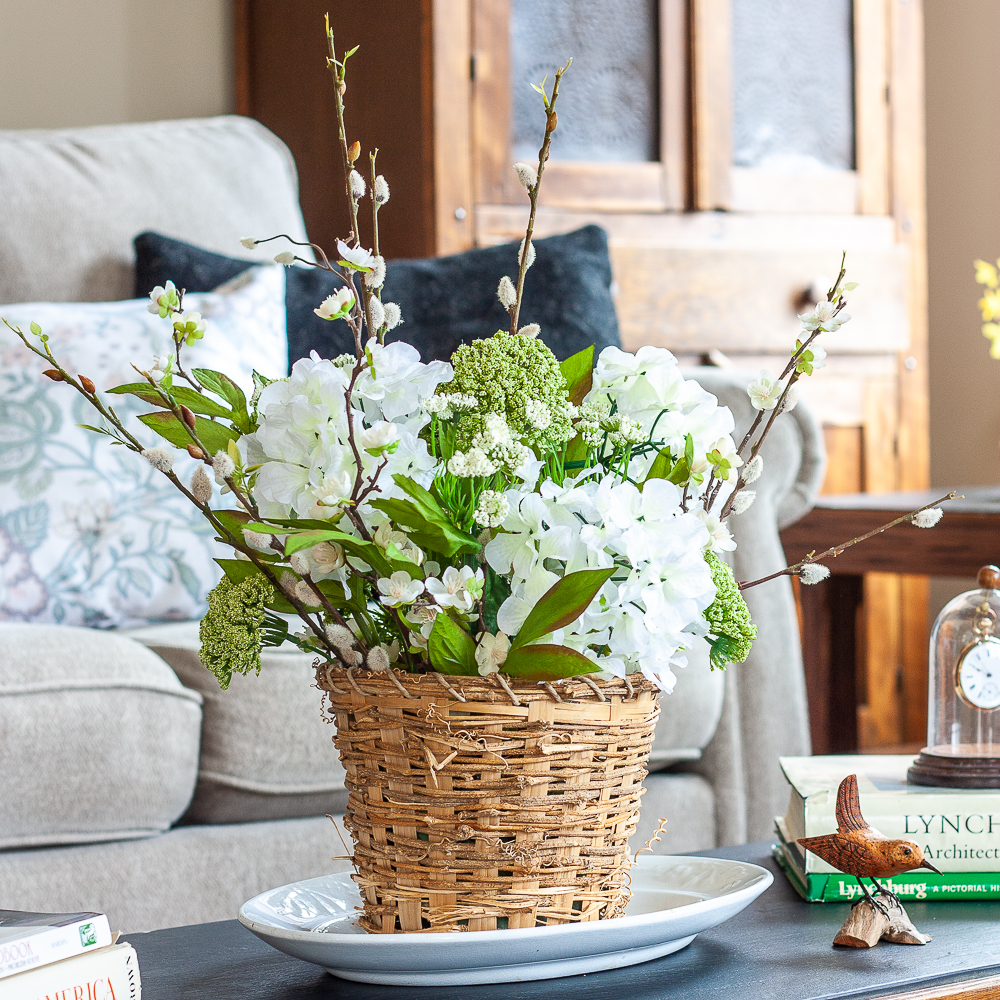
The platter is marked, “Ironstone China Meakin Bros & Co.” You can see the platter under the coffee table floral arrangement that I made this spring.
J. & G. Meakin was founded in 1851 and was known as being an inexpensive brand of Ironstone. The pattern on this J. & G Meakin platter is very similar to mine.
How to Make a Beautiful Flower Arrangement
I learned how to arrange flowers from my sweet Mama. Mama provided flowers for our church for the months of July and October during my growing up years and she continues to do so to this day. I’m 52 years old, so that’s a lot of years and a lot of flower arrangements that Mama has lovingly made.
My grandmother also made flower arrangements for her church and she made arrangements for Garden Club that won awards nationally. This is my paternal grandmother and she taught my mom flower arranging skills that Mama passed along to me. I’m the least trained of the three, but it doesn’t stop me from making flower arrangements to display in my home.
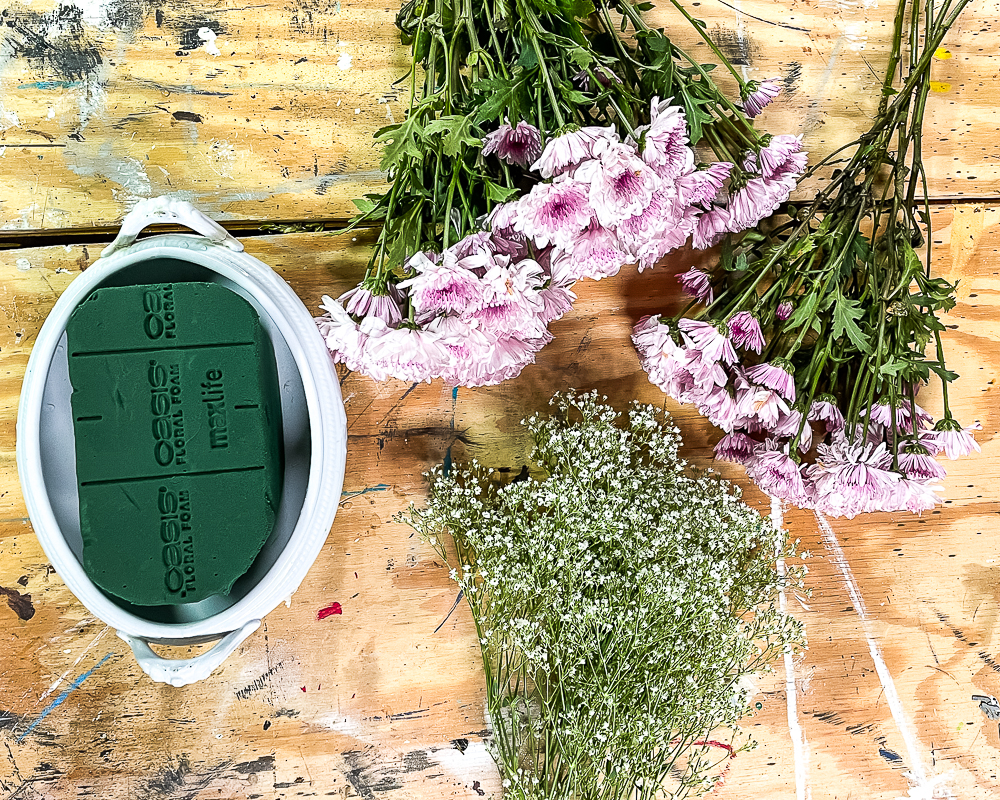
Supplies
To make a flower arrangement you will need:
- Flowers – Cut from your yard or purchased from a florist or grocery store
- Oasis
- Container
- Floral Pruners
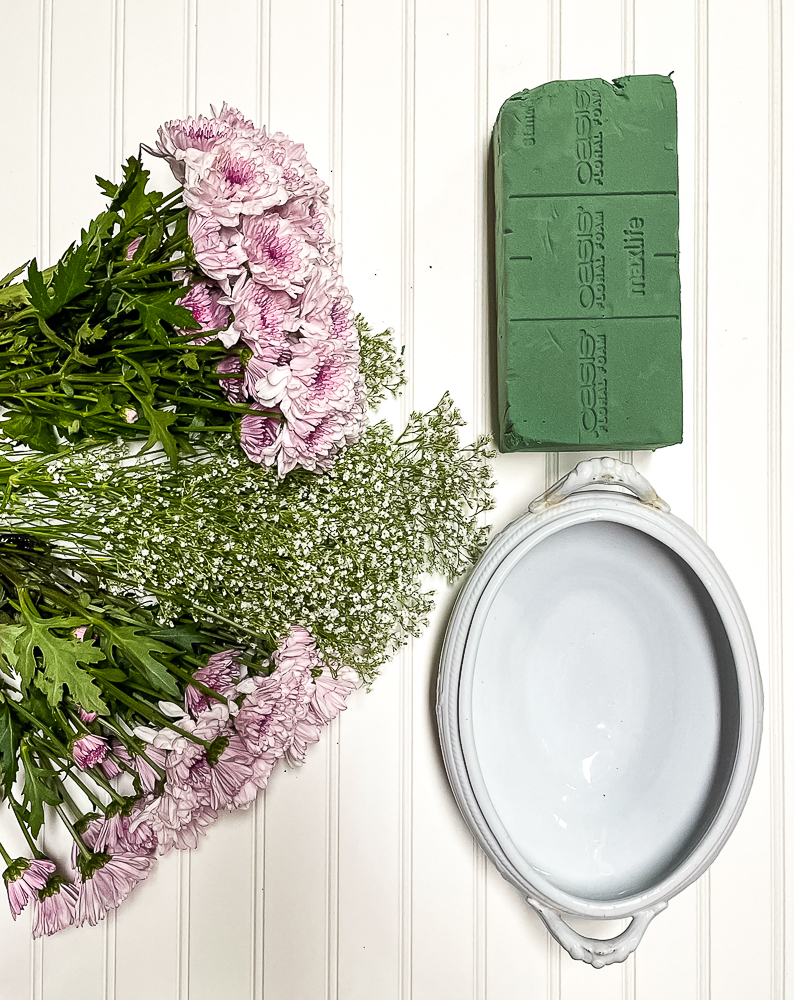
I purchased two bunches of Chrysanthemums ($5 each) and two bunches of Baby’s Breath ($4 each) at Kroger to make my arrangement.
Prepare Flowers
To make your flower arrangement last for the longest time possible, there are a few things to do once you have either purchased flowers or cut them from your flower garden.
For purchased flowers, give each stem a fresh cut.
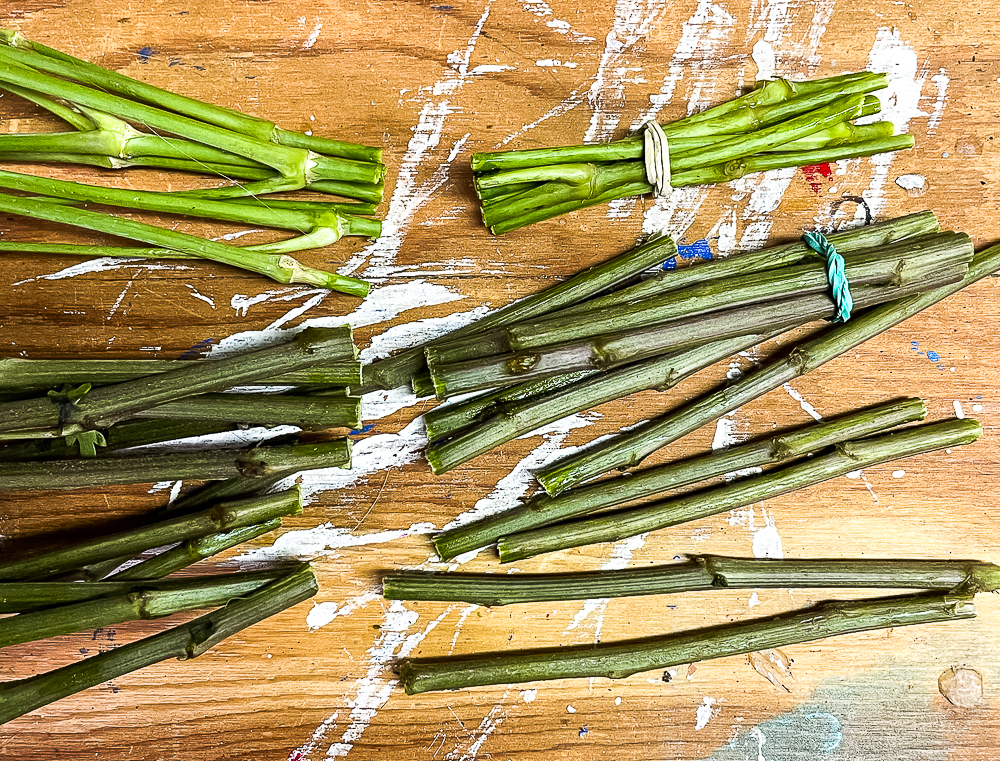
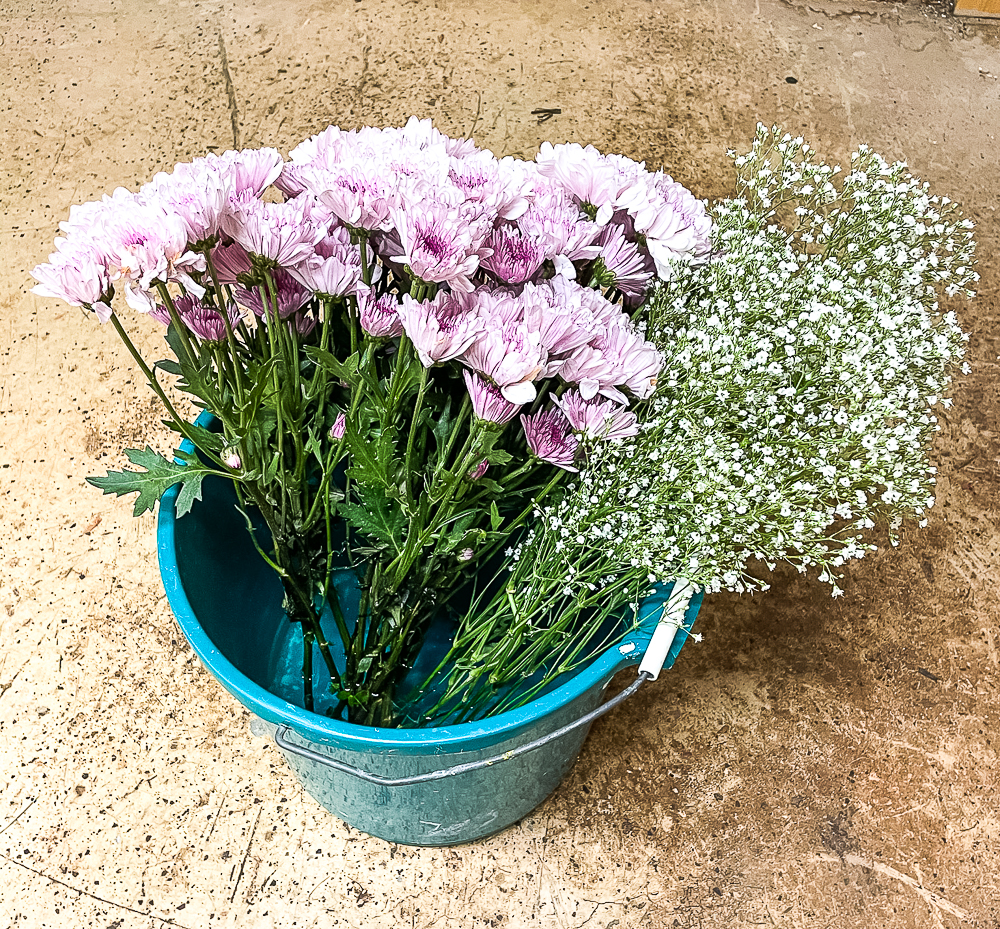
If you cut flowers from your yard to use, as you cut, put each stem in a bucket filled with water. Once you are back inside with the flowers, give each stem a second cut to make sure that the xylem is wide open so that water can be pumped through the stems to the flowers.
Fill a bucket with tepid water and place it in a cool spot that is out of direct sunlight. Let the flowers rest in this spot overnight. This will give the xylem plenty of time to pump lots of water to the flowers.
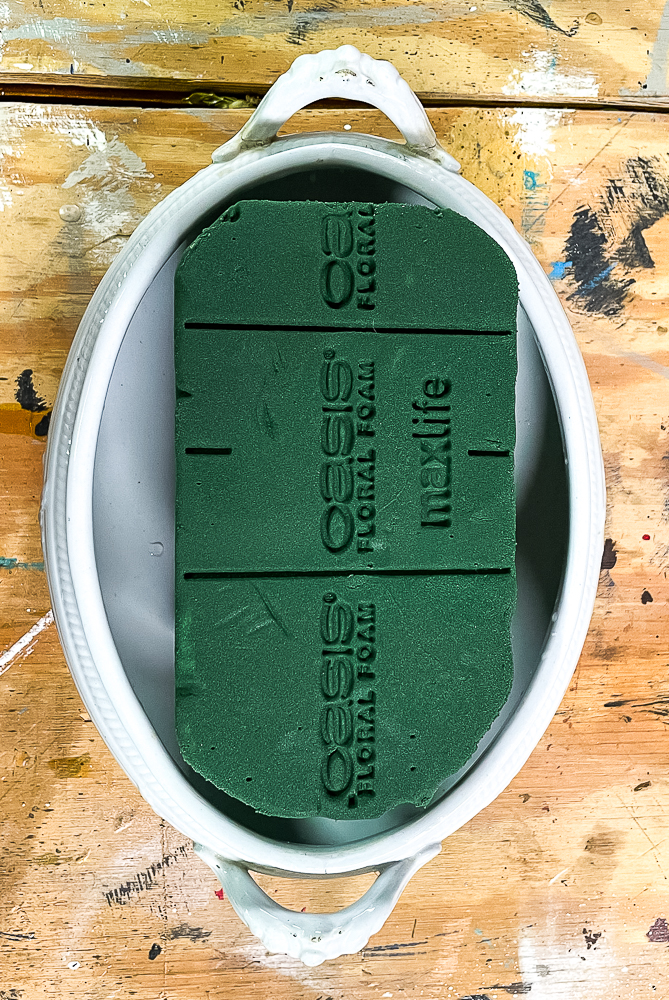
Prepare Container
The next step is the container by cutting Oasis to fit the container. I use an old steak knife for this step.
The oasis then needs to be saturated with water. You can do this by soaking it in a bucket of water or in your sink or by turning your faucet so that water is slowly coming out which allows the oasis to be slowly saturated.
Making the Flower Arrangement
I like to make my flower arrangements and also wreaths on an island workbench in our basement where I have plenty of room to work.
For this arrangement, I started by cutting a purple Chrysanthemum flower with some stem attached and then pushed the stem into the oasis. The oasis holds it in place and provides water for the flower.
After the Chrysanthemum was in place, I added a stem of Baby’s beside it.
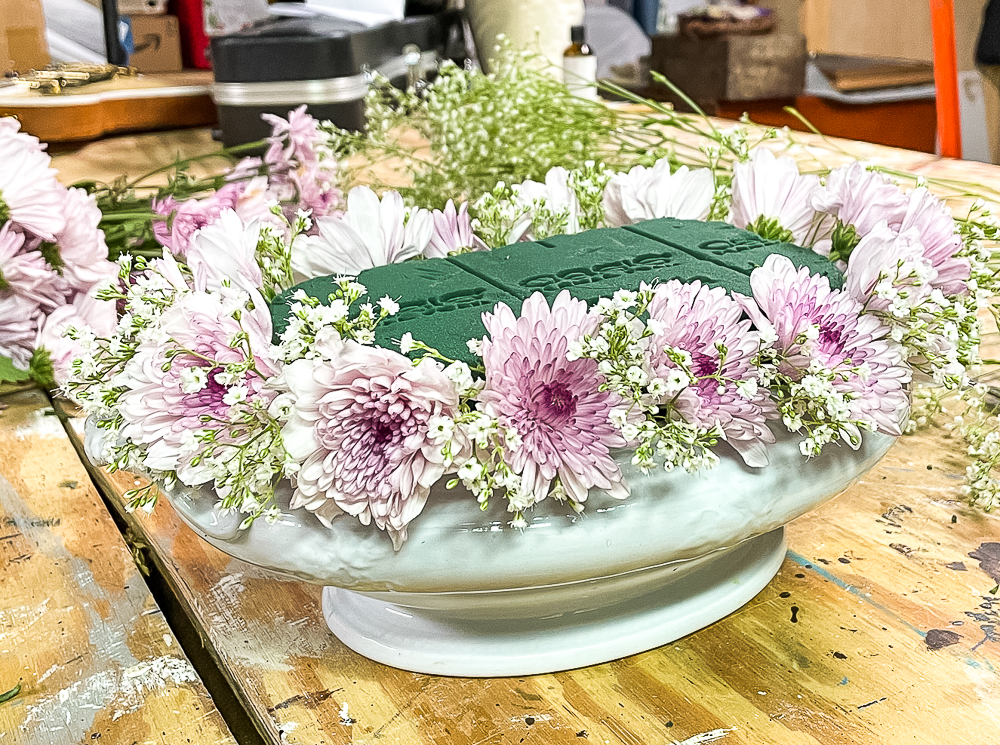
I continued this pattern until was back to the original Chrysanthemum.
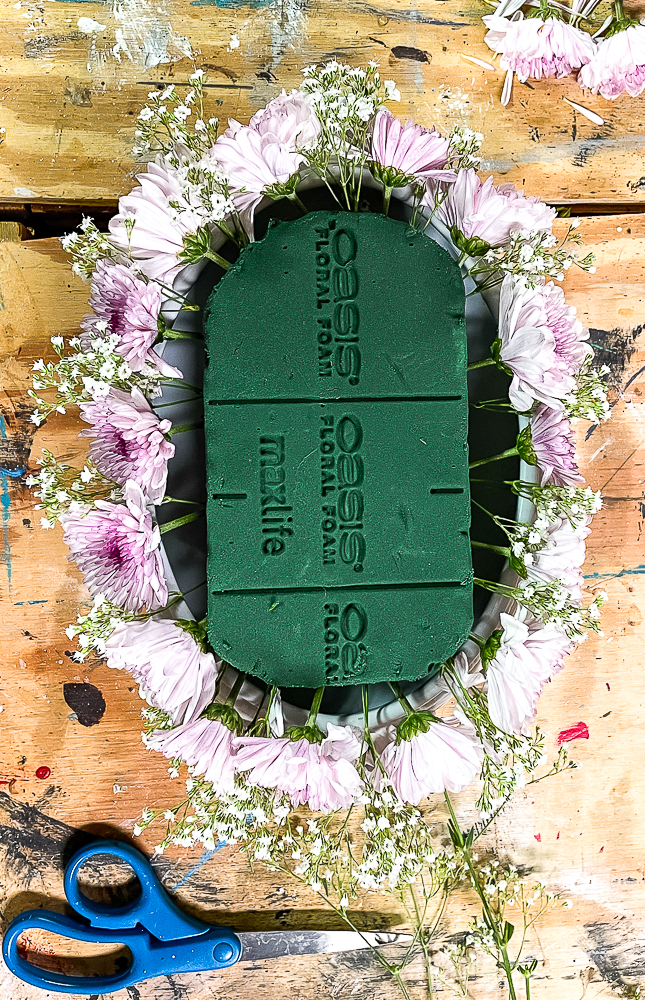
I should have been using my pruners for cutting the flowers but I couldn’t find them and had to resort to using scissors.
I continued to add rows of the flowers watching the placement of the Baby’s Breath to make sure it had a pleasing pattern and wasn’t lined up in vertical rows.
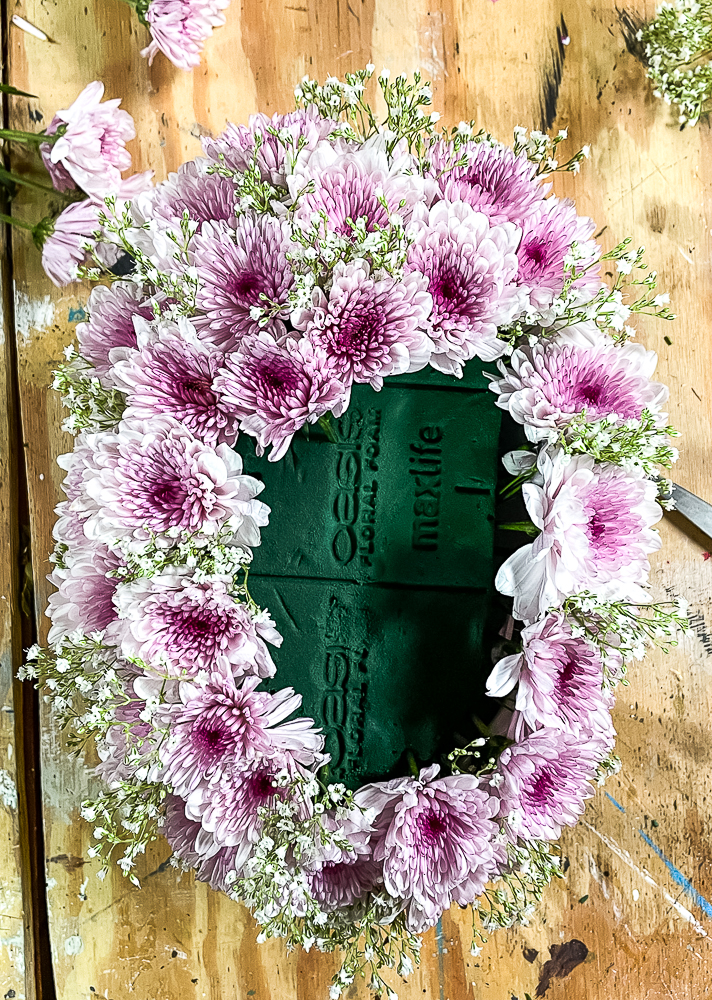
Before I knew it, I was finished.
The flower arrangement was then placed on top of the picnic basket and it has given me so much enjoyment.
Flower Arrangement Ideas
Get flower arrangement ideas from a few I’ve made over the years:
- Wheelbarrow with Flowers
- Coffee Table Floral Arrangements
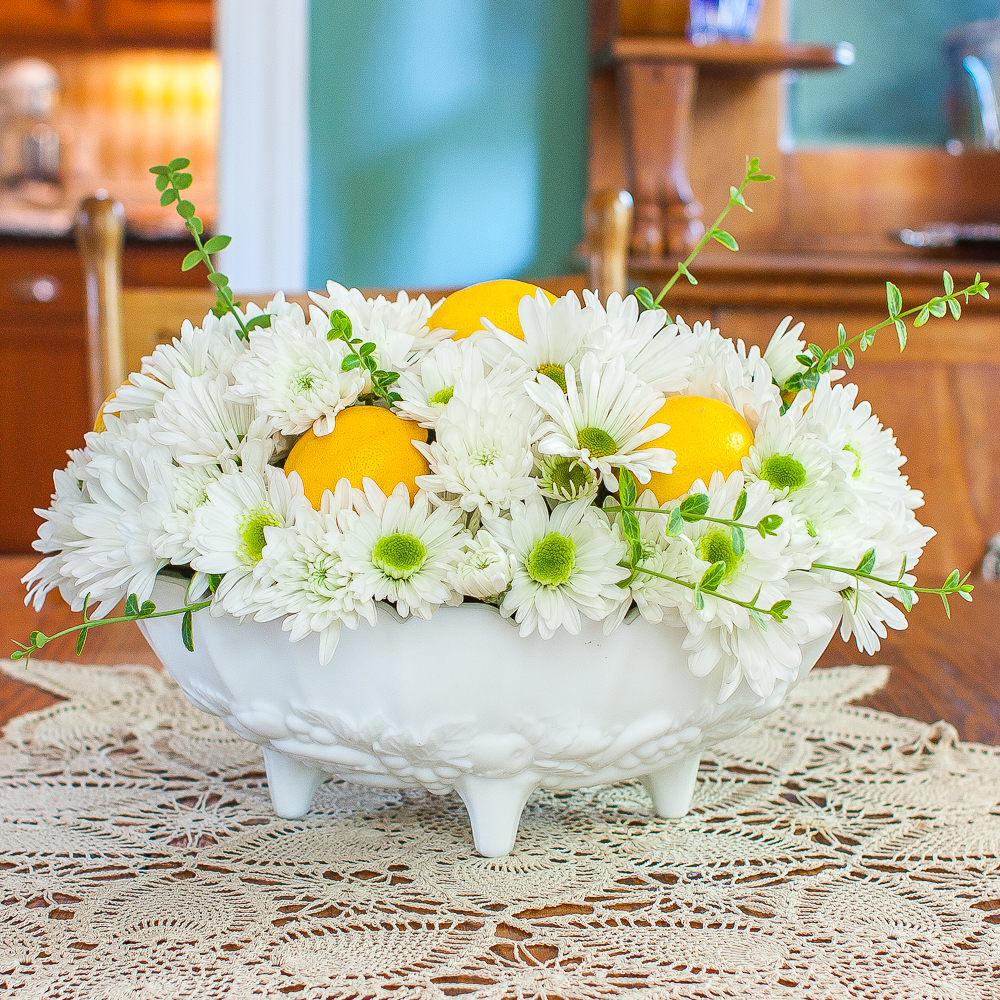
- Summer Flower Arrangement with Lemons
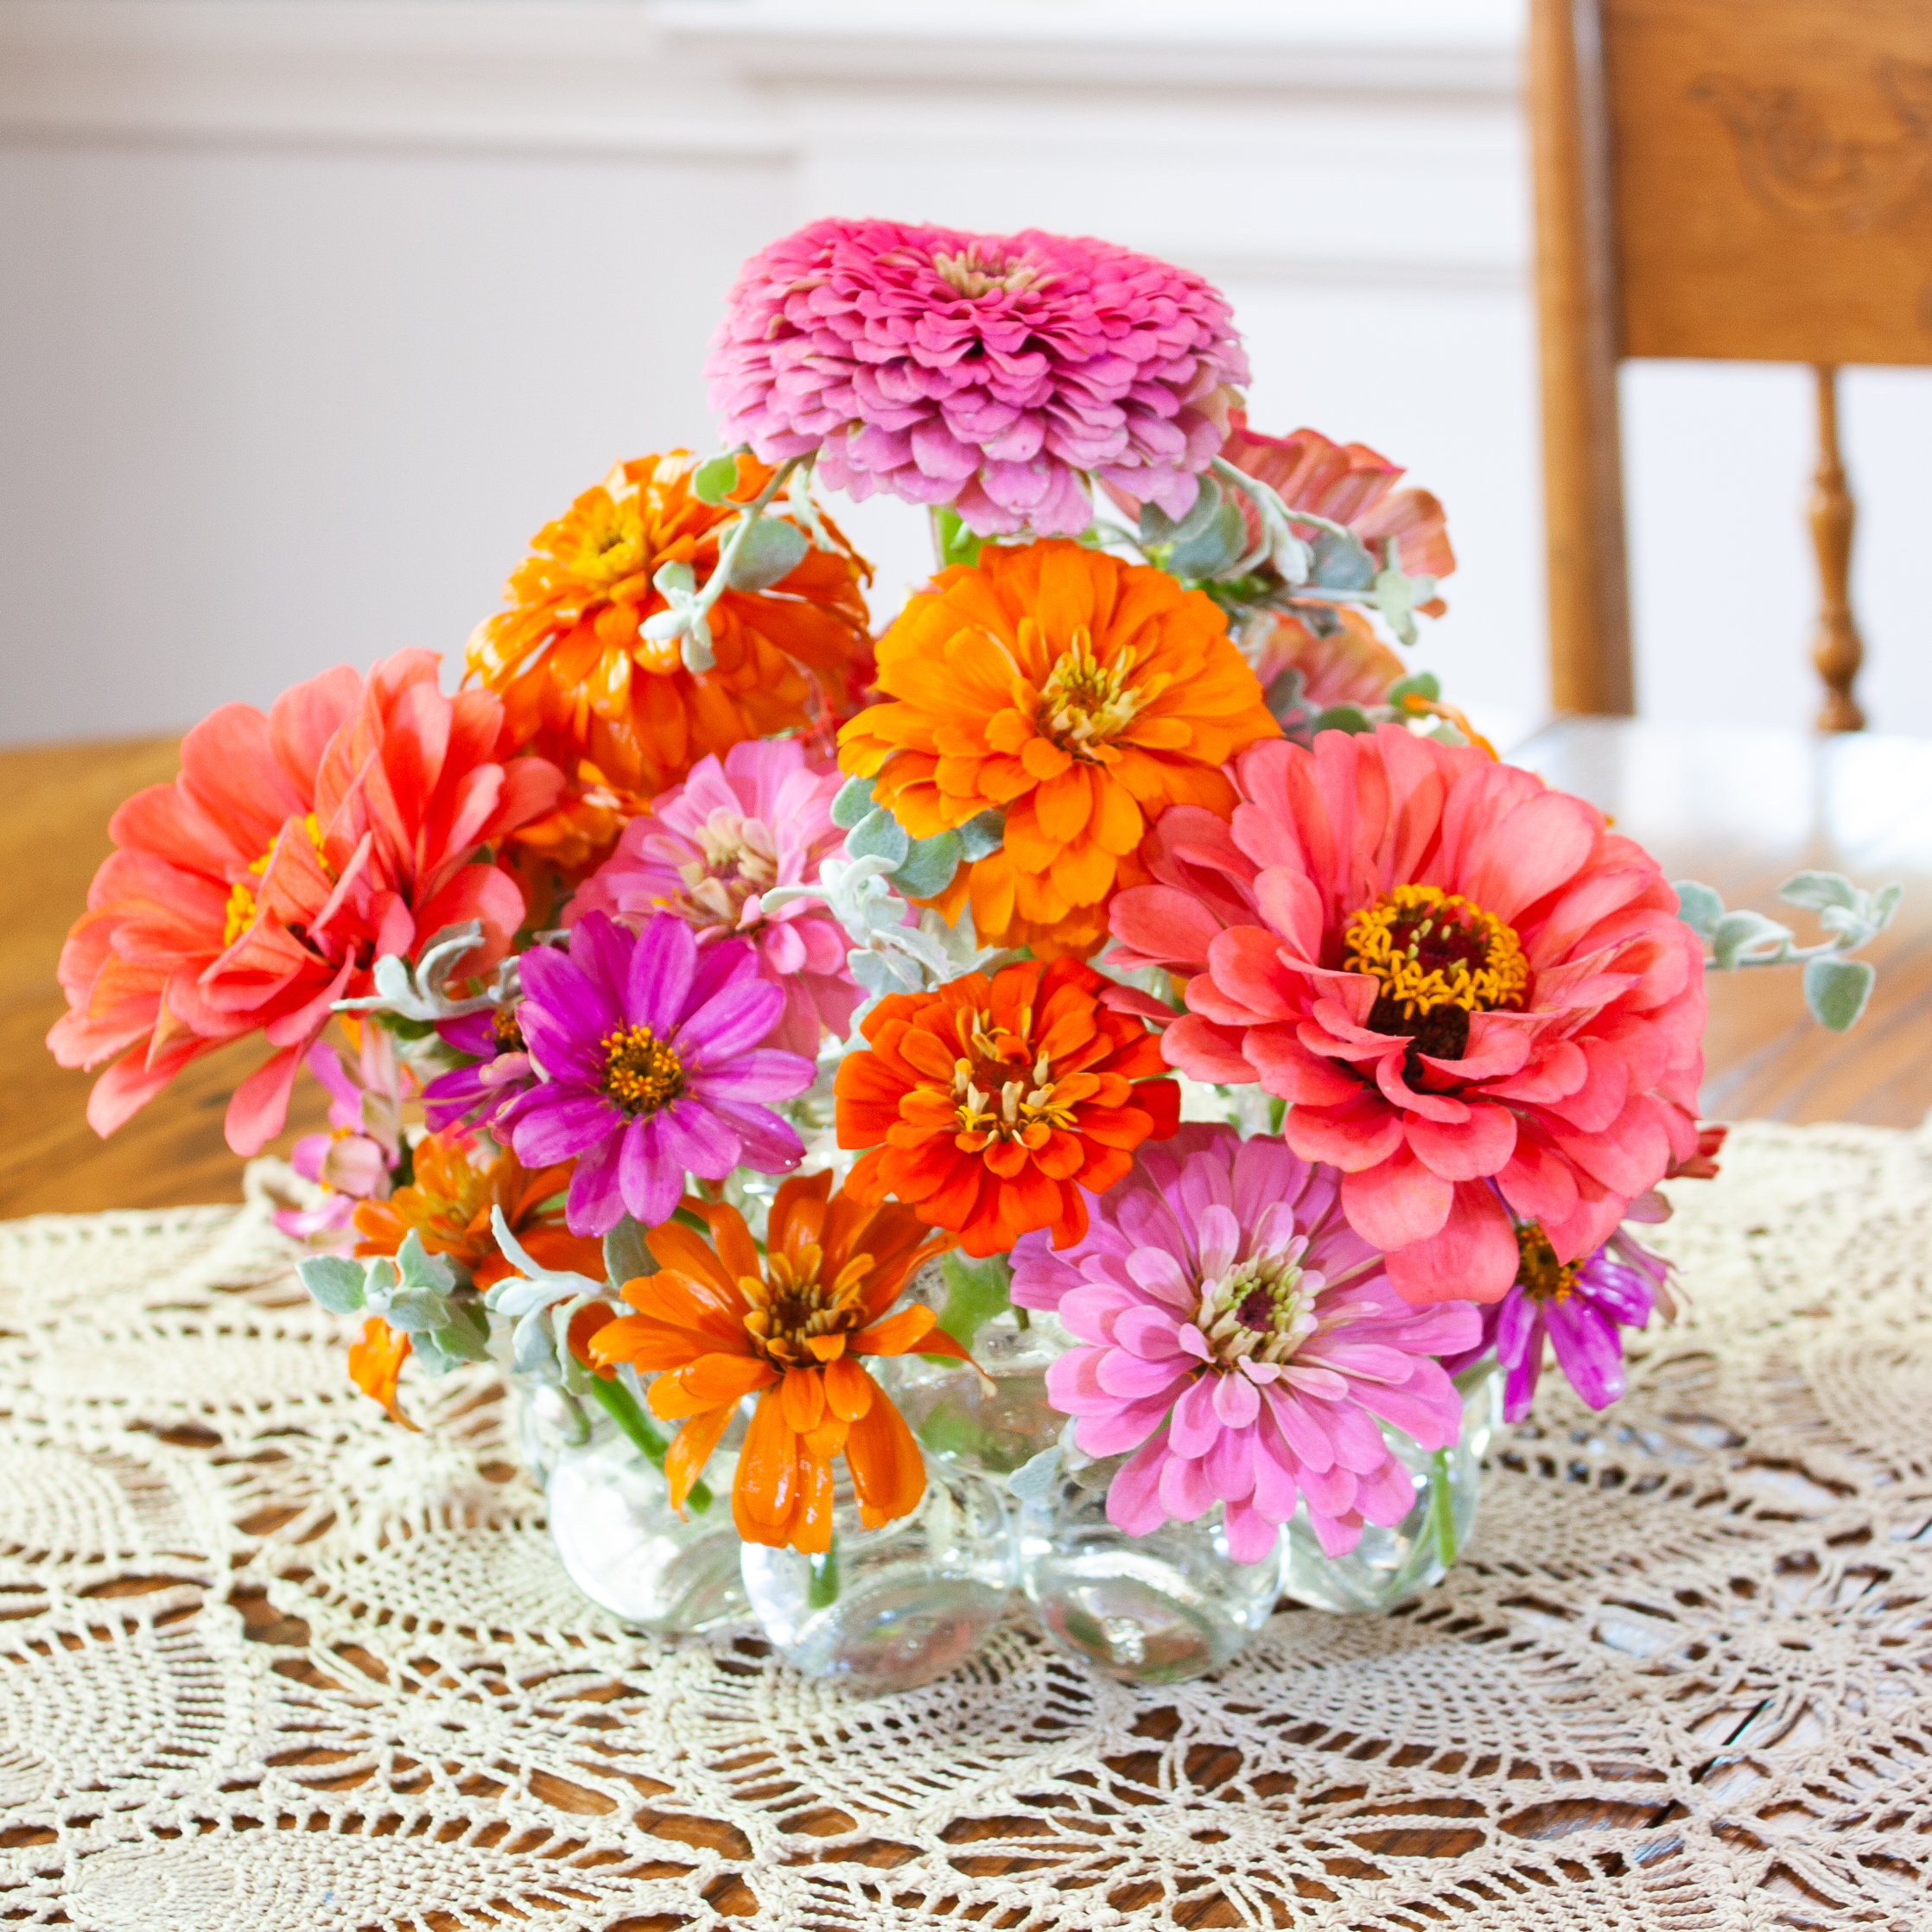
- Easy Summer Centerpiece
If you want to see more beautiful flower arrangements, I encourage you to check out a group of bloggers who share the most gorgeous flower arrangements every other Monday.
I love seeing what they come up with and pinning their ideas to copy to use in my home.

When I saw your soup tureen, it reminded me of a similar piece that I have. However mine is more shallow, so mine is probably a vegetable dish. Your arrangement is lovely, and I like how you showed the steps of arranging the flowers.
Thank you so much, Wendy! I hope you are enjoying Memorial Day weekend. It certainly is a chilly holiday weekend.
Wow! This arrangement is so gorgeous, Paula.
Thank you so much, Jen! I had fun making it and now I get to enjoy it for a few weeks.
I think we need to put you on the Garden Club program list!
I have so much to learn and I’m really looking forward to the upcoming fall meetings.
I think this is an award winning arrangement! I saw it on the picnic basket and I’m so glad you provided a tutorial on how to creat one like this!
Aww! Thank you so much, Jane!
Beautiful! I love fresh flower arrangements. Thanks for showing us how to create one for our own homes!
Have a wonderful weekend,
Suzanne
Thank you, Suzanne! I hope you also have a wonderful Memorial Day weekend.
Beautiful, Paula! How lucky you are to have been surrounded by such talented flower arrangers. You definitely picked up their skills. I’ve never actually done any arranging like this, but I’m eager to try. I popped the oasis in my cart. I’m curious, how long do the flowers usually last? Do they last longer than they would in a vase?
Oh…and Happy Belated Birthday!! I hope you had a lovely day and you’re still celebrating!
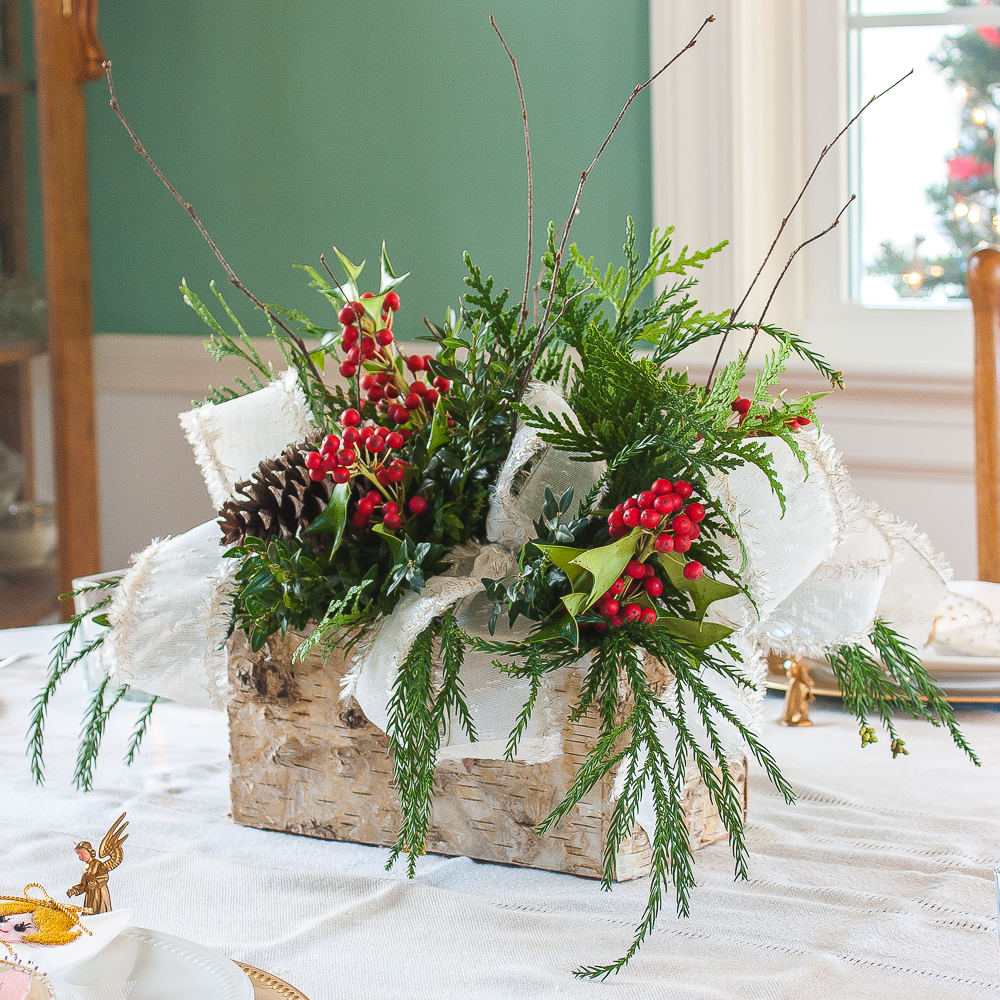
For how long the flowers last in oasis, it depends on the flower. My Christmas arrangements last over a month using Oasis. The mums in this one lasted about a week and a half. The baby’s breath dried and still looks great.
Thank you for the birthday wishes!
truly beautiful!
Thank you so much, Jackie! I hope you have a wonderful Memorial Day weekend.
This arrangement is so pretty– and you made it look so easy! I’m so glad you could enjoy graduation of former students!! So nice! And I’ve been to a local flower show (before covid….) and have seen such creative arrangements there…. I would love to join one day…. And I’ve taken enough pictures to share a past show– and just haven’t done it. Such amazing ideas.
I recently acquired my first flower frog …. I know how to use it to display cards, but certainly not how to use it for flower arrangements, though…..
I hope you have a great Memorial Day Weekend!
Your readers would love seeing pictures that you took from a flower show. I know I would love to see them!
A flower frog goes in the bottom of a vase that you fill with water. The prongs on the frog hold the stems in place. It works like a charm!
I wish you a wonderful Memorial Day weekend as well!
So beautiful Paula! I grow so many flowers in my garden and should go through a better process when making flowers arrangements. I love to do flower arrangements. Can’t wait until my dahlias bloom, that should be so fun! thank you for sharing this!
I love this arrangement. Those pink flowers look so pretty! xo
Thank you so much! Looking forward to seeing all of the arrangements you share using flowers you pick this summer from your gorgeous gardens.
This is so pretty! And I bet it lasts a long time too. Gotta love grocery store flowers!!
I love treating myself to grocery store flowers to use for arrangements.
Thank you so much, Libbie.
Paula,
This is gorgeous and so much history with the ironstone. I love finding pieces and learning the history. Yours is even more beautiful because it has history and from your grandmother.
You are so fortunate to come from a family of flower arranging. You gave wonderful information. Shirley and the other ladies always share beautiful arrangements and information too.
Thank you so much, Cindy.
This is so beautiful, Paula! I love how you used your grandmother’s iron stone for this arrangement. Your step by step instructions are so easy to follow that I am inspired to give it a try!
Wishing you a wonderful week, my friend!
Thank you so much, Lynne.
Paula, trust me – you have flower arranging skills! I would have been intimidated to try this but you broke the steps down perfectly. It’s beautiful!!
Thank you so much, Regina.
Happy belated birthday. Your flower arrangement is lovely and the tutorial was great. I can arrange faux flowers beautifully but don’t do well with live ones! Maybe cause I get “do overs”? I love using atypical containers for flower arrangements, too!
Thank you so much, Kathy.
beautiful arrangement. loved how you showed each step too.
Thank you so much, Linda.
Gorgeous arrangement, Paula! I love the step by step instructions too. So helpful to make the flowers last longer!
Shelley
Thank you so much, Shelley!!
Thank you so much, Shelley.
Great tutorial, Paula! I love how your arrangement turned out! Thanks for sharing about your Mom and your Grandmother. I loved ready about their giving back to the church and the garden club.
Thank you so much! My grandmother took pictures of many of her arrangements over the years. They aren’t great quality but I could edit them and share some of them in a blog post. Thank you for giving me the idea. My church now uses a florist for flowers. I miss seeing handmade flower arrangement made by church members.
Thank you so much, Kimberly.
I always love an unexpected vessel used as a vase, just as you show here. The pattern you did for the arrangement is so pretty! How cool to be a 3rd gen arranger 🙂
Thank you so much, Marie! I recently joined a garden club and I’m super excited to learn more about flower arranging.
Thank you so much, Marie.
Hi Paula,
This is just beautiful, thank you so much for sharing this how-to!
And thrilled to have you join us this week for the Welcome Home Saturday series.
Wishing you the best Saturday,
Brendt
Thank you so much, Brendt! I so much appreciate the opportunity to join you guys as a Welcome Home Saturday guest hostess.
Thank you so much, Brendt.
Wow – this is so beautiful, Paula! I love the detailed tutorial!
Thank you so much, Jen!
Thank you so much, Jenn.
It’s so pretty. I love the purple and. White! I love reading about your grandma doing flowers for church and Garden Club!! What a legacy! So glad you joined us for Welcome Home Saturday!
Thank you so much, Kristin! And thank you for the opportunity to be a gets hostess this week.
Thank you so much, Kristin.
This arrangement is so pretty Paula, thanks for showing how you made it, I definitely need all the flower arranging tips I can get!
Thank you so much, Jayne.
This arrangement is just stunning, Paula! It looks so beautiful in the vintage tureen on top of the basket! You certainly make it look easy! Thank you for showing us all how to do it. I have pinned it for future reference! 🙂 Wishing you a wonderful week to come!
Hugs,
Tee xo
Paula, I’ve told you before but it bears repeating–I love the way you USE your precious antiques! I think it’s a great honor to your family for you not only to possess these pieces but to put them to good use.
And I also love the story of your mother and grandmother arranging flowers for their churches. For some reason I’ve always preferred flower arrangements to flowers loose in a vase. Thank you for putting together this tutorial to show that creating a flower arrangement is a very doable project.
And thank you so much for joining the Grace at Home party. I’m featuring you this week!