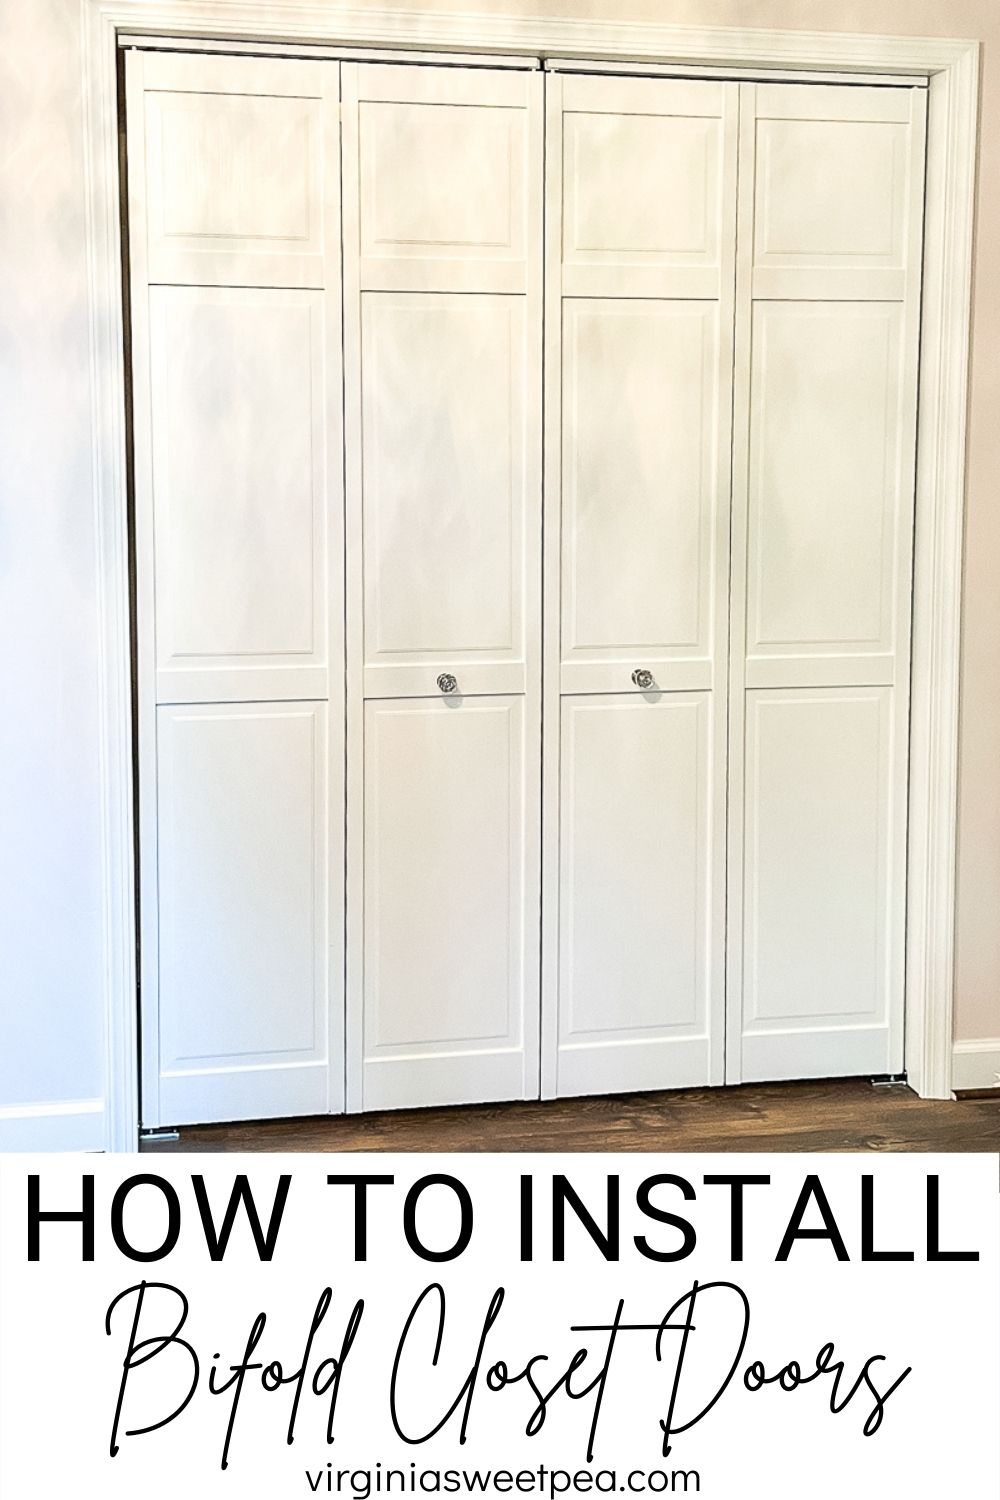
How to Install Bifold Closet Doors
Have you ever wondered how to install bifold closet doors? Let me show you how easy they are to add to a closet in your home.
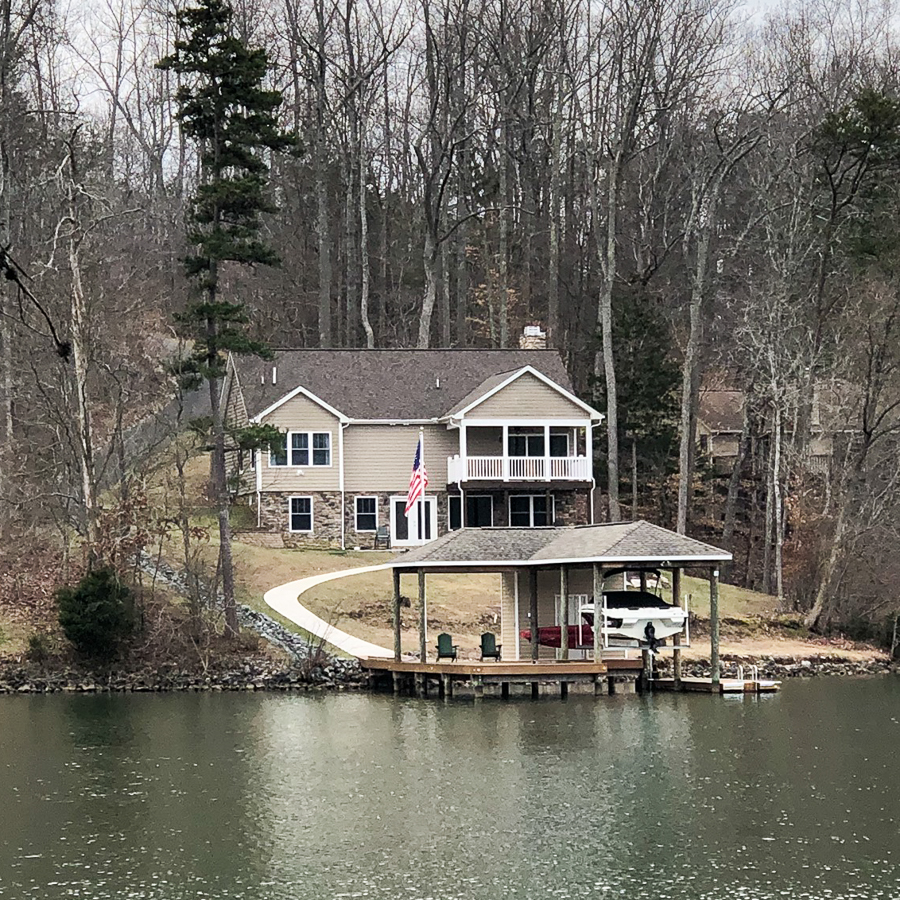
During the fall of 2019 through winter and spring of 2020 we spent every weekend transforming the unfinished basement of our lake house into a family room, bedroom, and bathroom.
We took a break from the project during the summer of 2020 which lasted until just recently when we began work to finish the basement guest room.
The first project on our list was to install bifold closet doors.
How to Install Bifold Closet Doors
Bifold doors slide open from the center and fold against the closet frame. These folding closet doors are easy to open are a space-saving option in smaller areas like bedrooms, pantries, and hallways.
If you live in a home with sliding closet doors, consider switching them to bifold doors for better access to your closet.
Measure Your Closet
The first step is to measure your closet to determine which size doors you will need. After we measured, we shopped at both Home Depot and Lowe’s to see what closet doors would work for our closet size.
At the time of construction, we knew we wanted bifold doors here, so our closet opening was built 60″ wide by 80″ tall to fit a standard size door.
We purchased two sets 30″ wide of bifold closet doors from Lowe’s. There were a lot of choices, but we chose these folding closet doors that were unfinished pine.
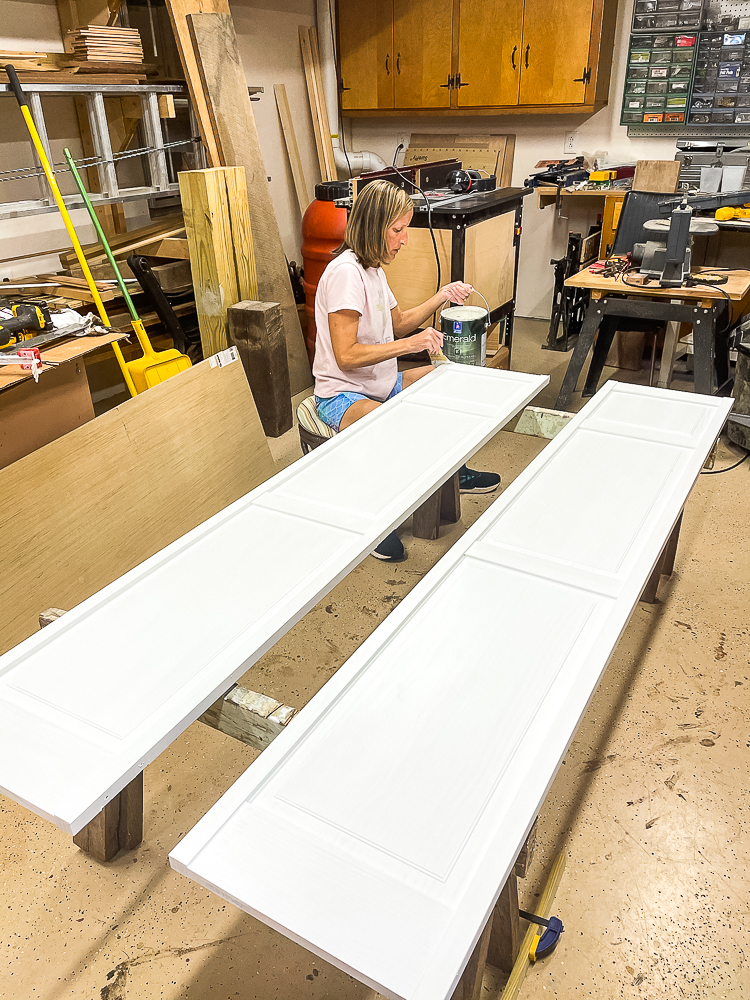
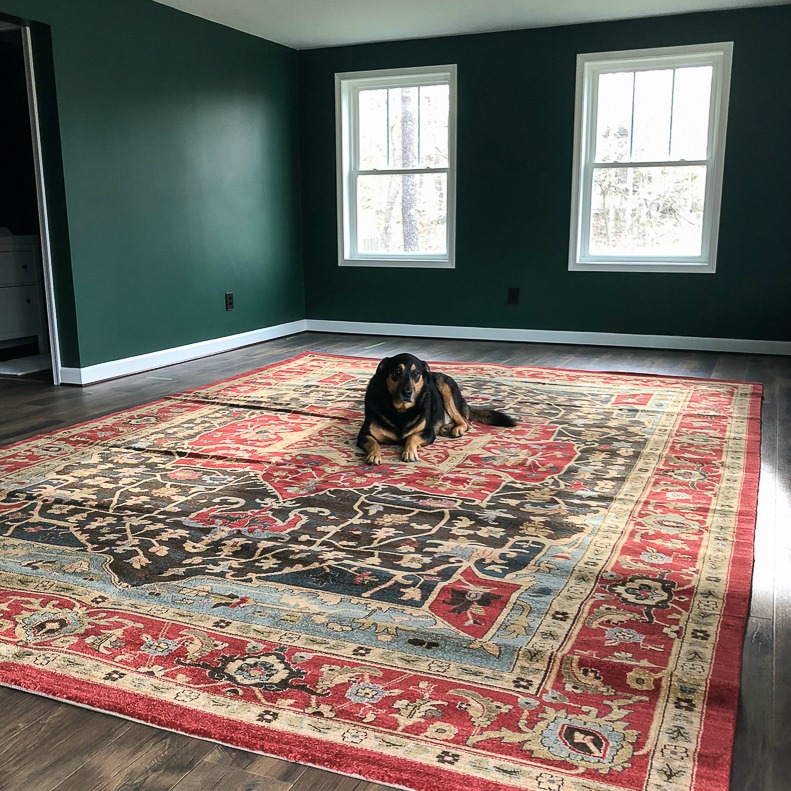
Paint the Closet Doors
The next step was to prime and paint the closet doors. I first removed all the hardware from the doors. I did this at home and when the painting was complete, the doors were transported to the lake disassembled.
Painting was an easy but time-consuming job because each closet door got a coat of Kilz followed by three coats of paint.
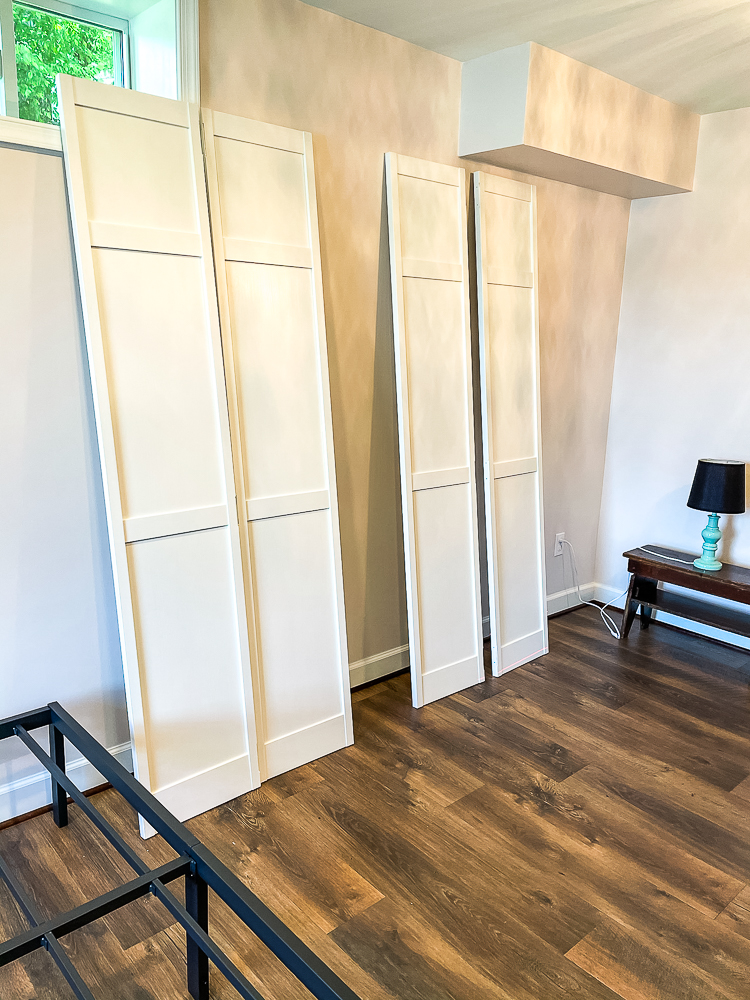
After the painting was complete, it was time to install the bifold closet doors.
Tools Needed
In addition to the hardware that came with the closet doors, we used these tools for the installation:
- Laser Level
- Drill (and bits)
- Impact Driver
- Hand tools: screwdrivers & hammer
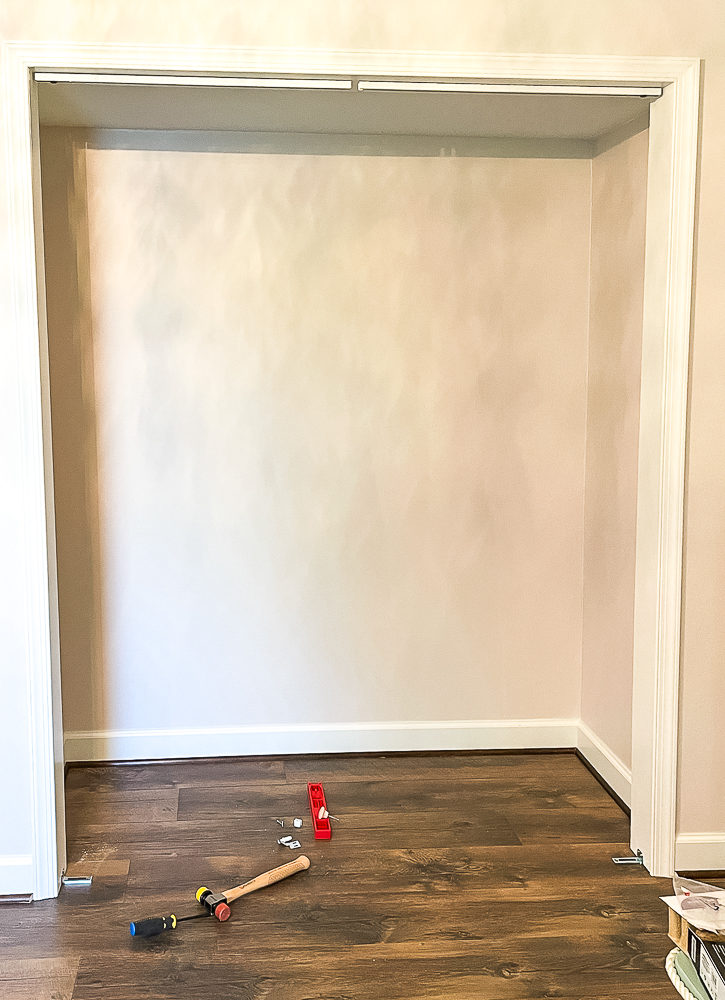
Install the Track
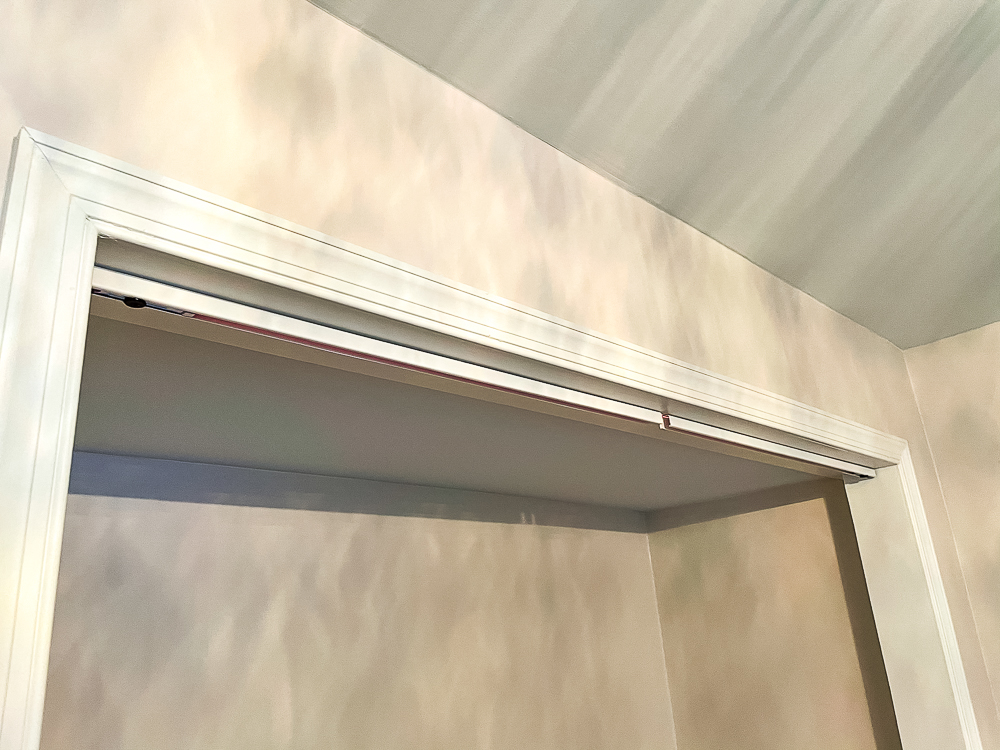
Installing bifold doors begins with the track which is positioned in the centerline of the closet header. We used a laser level to help with this step.
It doesn’t look like it is in the center of the header but you’ll see that it is in the next picture.
Using the lines created by the laser level, Mr. SP held the track in place for the first set of doors (left side), and I marked where the screws were to go with a pencil. We repeated the process on the opposite side of the closet.
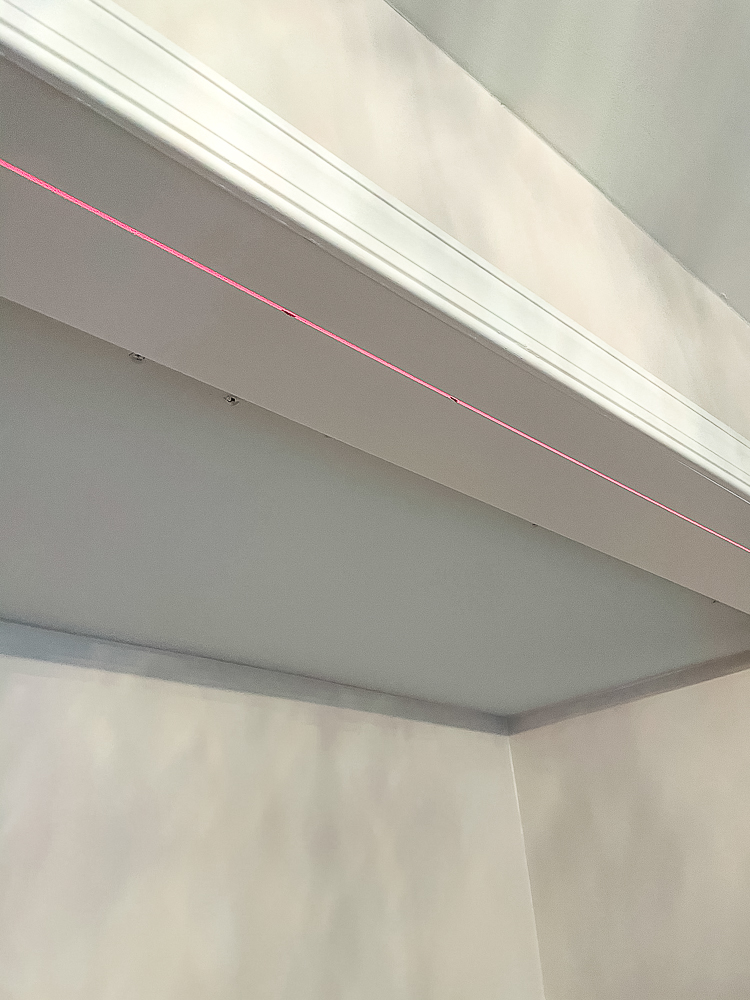
Now the two tracks are installed, one for each of the pair of doors. They will hinge on the sides and open from the middle.
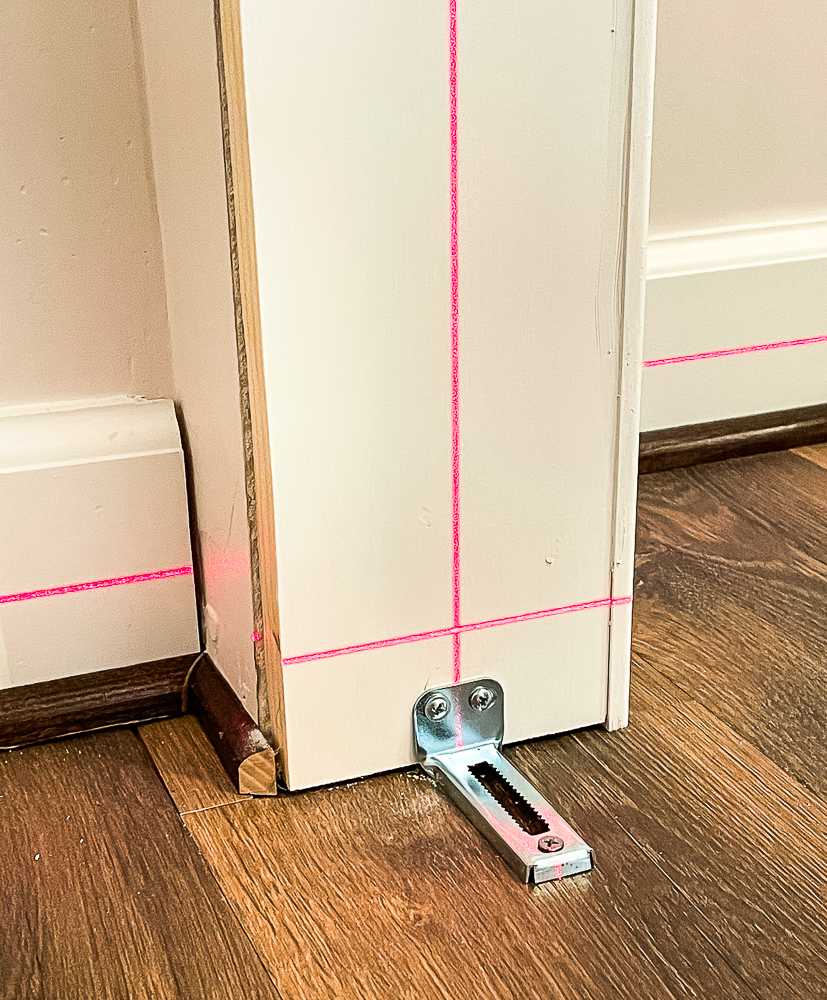
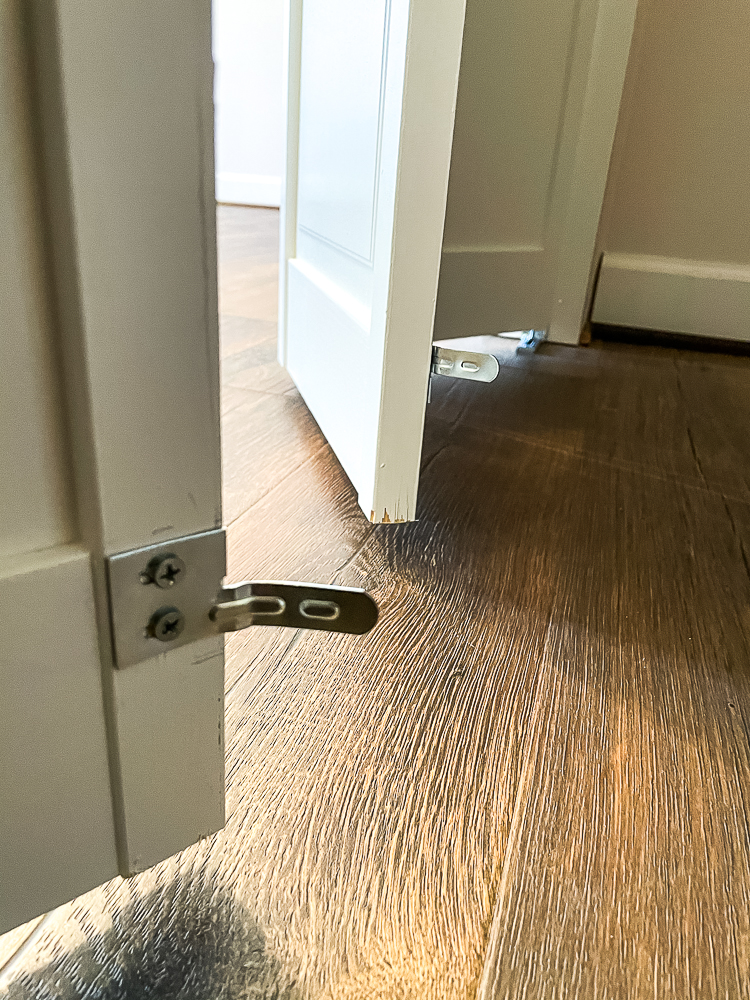
Install the Floor Brackets
The next step was to screw the floor brackets into place. The laser level made this step easy to insure the doors are vertical.
Extra Step
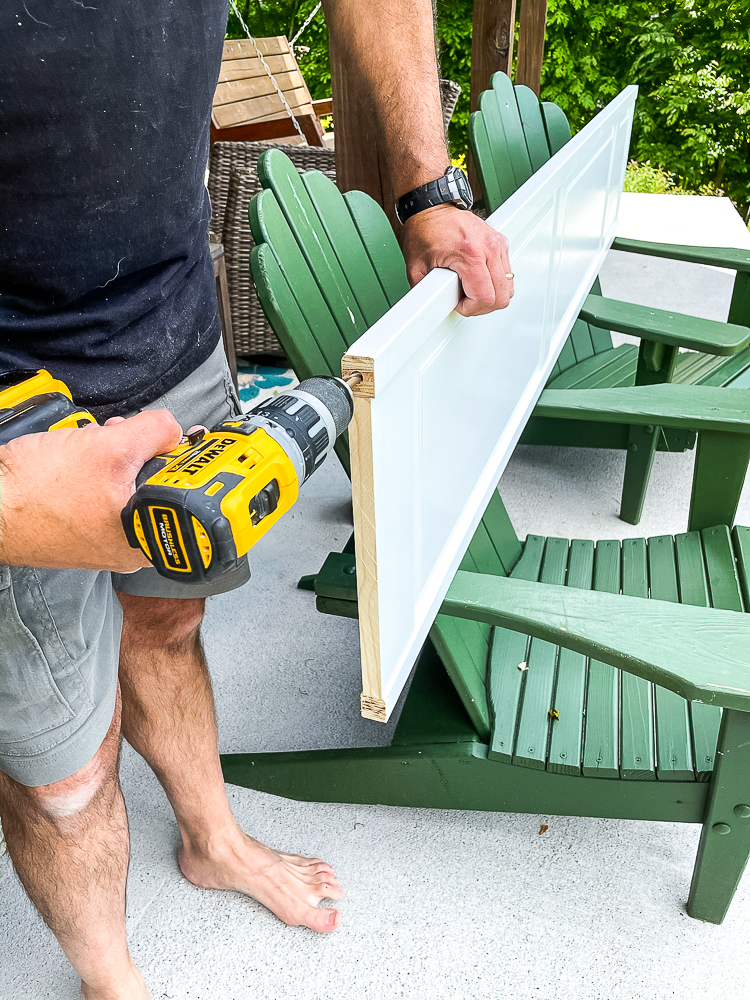
We had an extra step for installing our doors because our closet frame height is slightly shorter than the standard closet door size (likely because we did not properly account for the subfloor and flooring when we constructed the wall/closet opening). We used our table saw to cut 1/2″ from the bottom of each closet door.
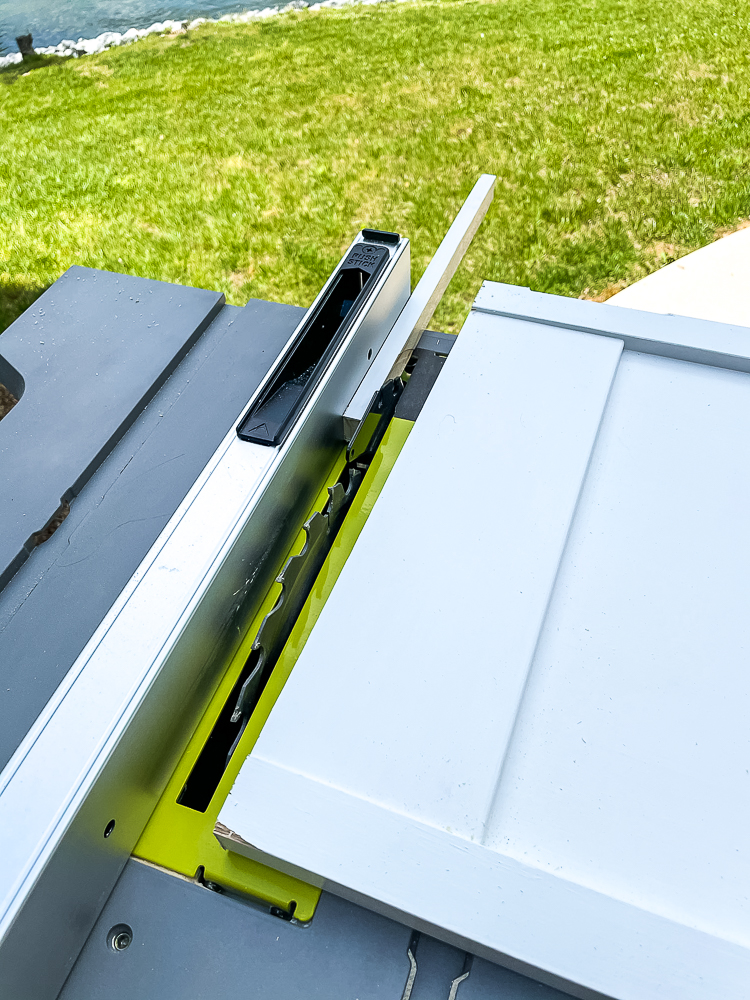
The door instructions state that you can cut 1/4″ from each side of the door, if necessary. I suppose this is stated to both maintain symmetry, and because of the depth of the predrilled holes. However, we chose to cut 1/2″ from the bottom of each door simply because we did not want to re-paint both sides of the door, nor did we consider that the asymmetry would be discernable. Therefore, since we reduced the door height by 1/2″, it was necessary to make the hole deeper for the pivot for each door on the side that we had cut (match the drill bit size to the existing hole – I believe this was 3/8″ for this door).
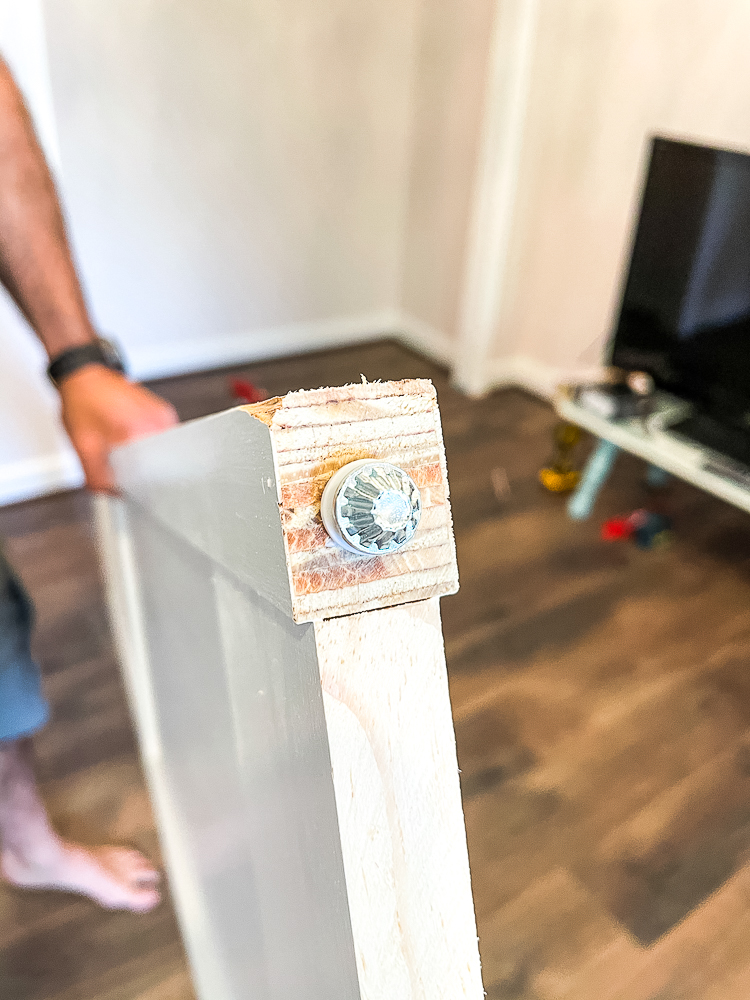
Add Pivots to Each Door
Per the instructions, we then added the pivots to the doors. The bottom pivot, where the doors hinge, is an adjustment screw. The top pivots are nylon posts that connect to the track at the top of the closet opening.
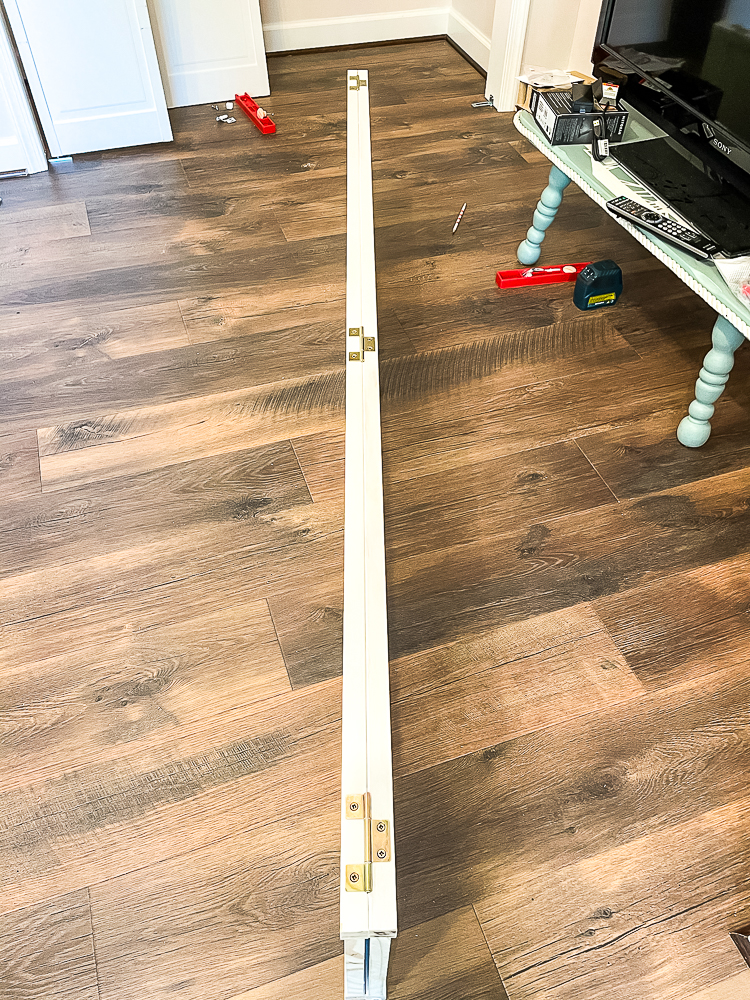
Add Hinges
Since we had previously removed the hardware for painting, our next step was to screw the hinges back on each set of doors.
Install the Doors
Having a partner for this step is a must. Mr. SP held the folding closet doors in place while I lined up the top posts into the track. The hinge side pivot/post is a fixed hole in the track. The post on the opening side of the door fits into a nylon slider that fits into the track.
Then insert the bottom pivot into the floor bracket.
Check the door height. The doors shouldn’t rub on the floor or come in contact with the header jamb. To change the height, lift the door and rotate the bottom pivot. To change the angle of the doors, move the bottom pivot along the bottom bracket. This process is slightly iterative between the two sets of doors such that they meet in the middle appropriately, gaps are consistent, and are of equal height.
Install Aligners
After the closet doors were in place the aligners were added to the back of the two center closet doors.
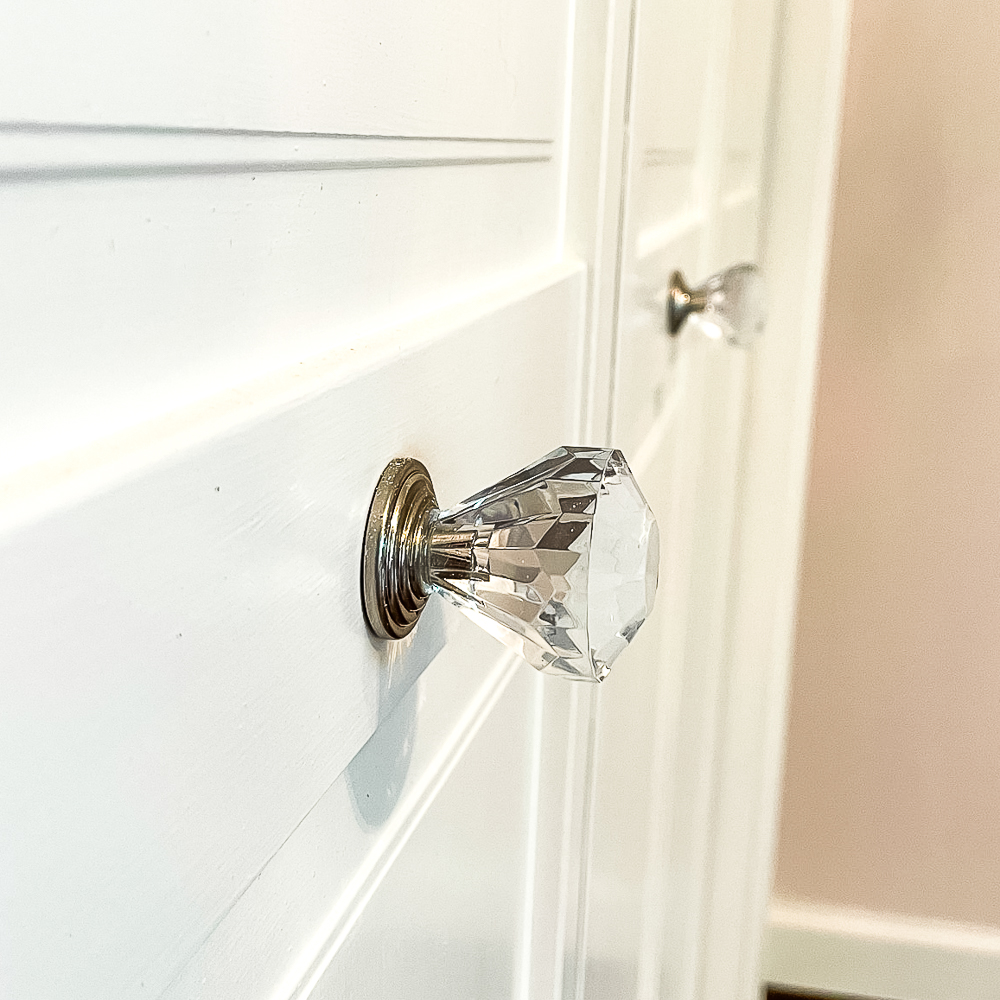
Add Pulls to the Closet Doors
The closet doors came with plain wood knobs but I wanted something pretty to coordinate with the bedroom’s chandelier.
I found these knobs at Lowe’s.
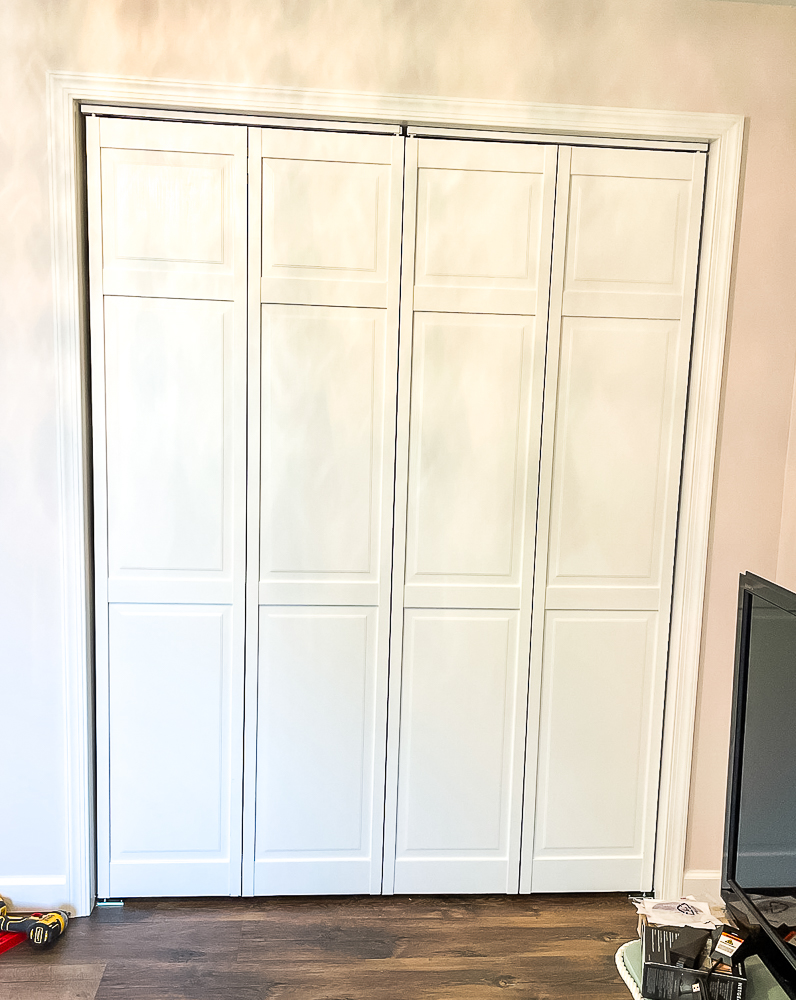
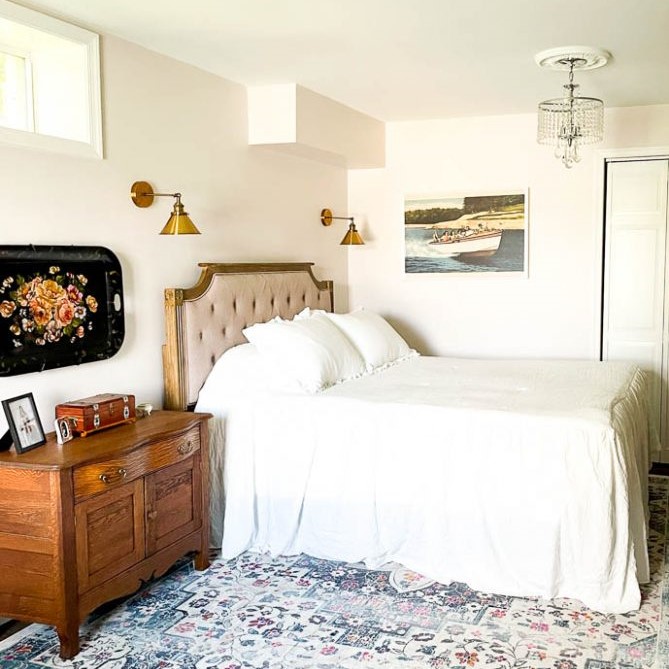
The End Result
Adding closet doors to this bedroom immediately made it look finished.
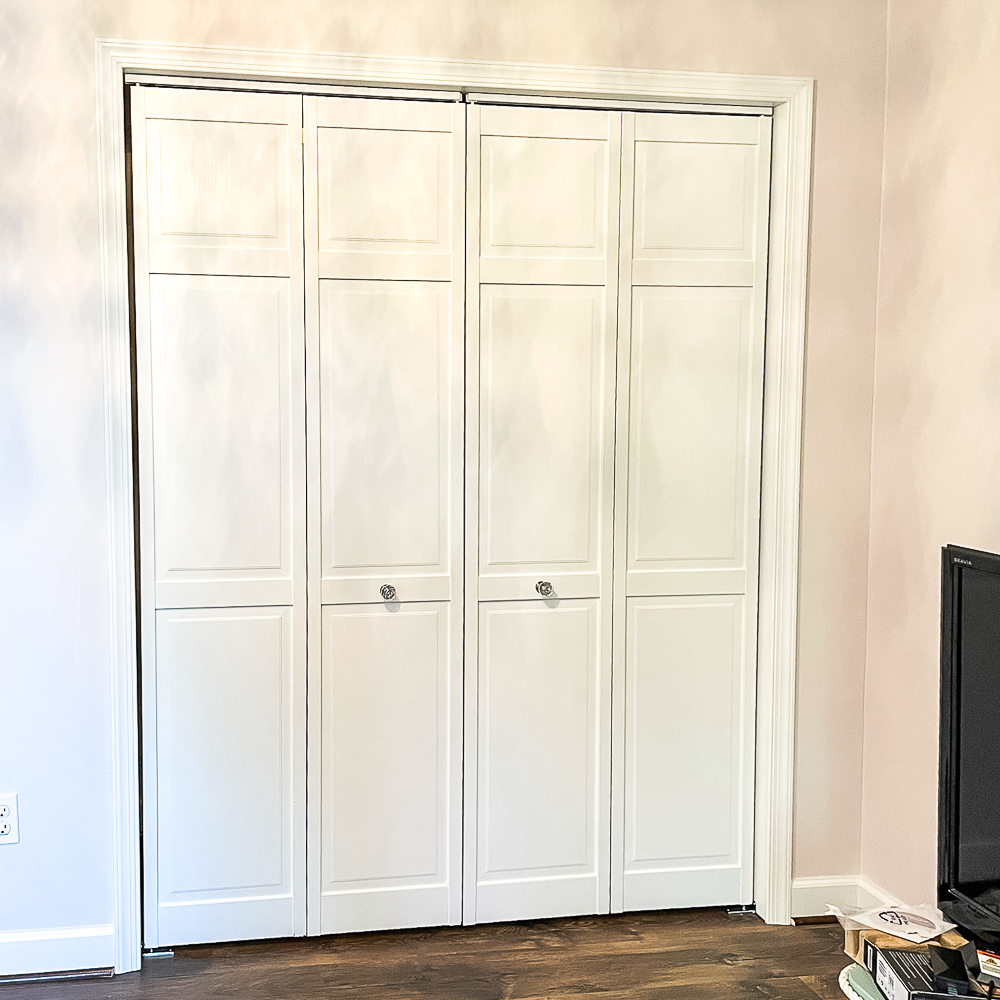
Here you can see both the chandelier and closet pulls.
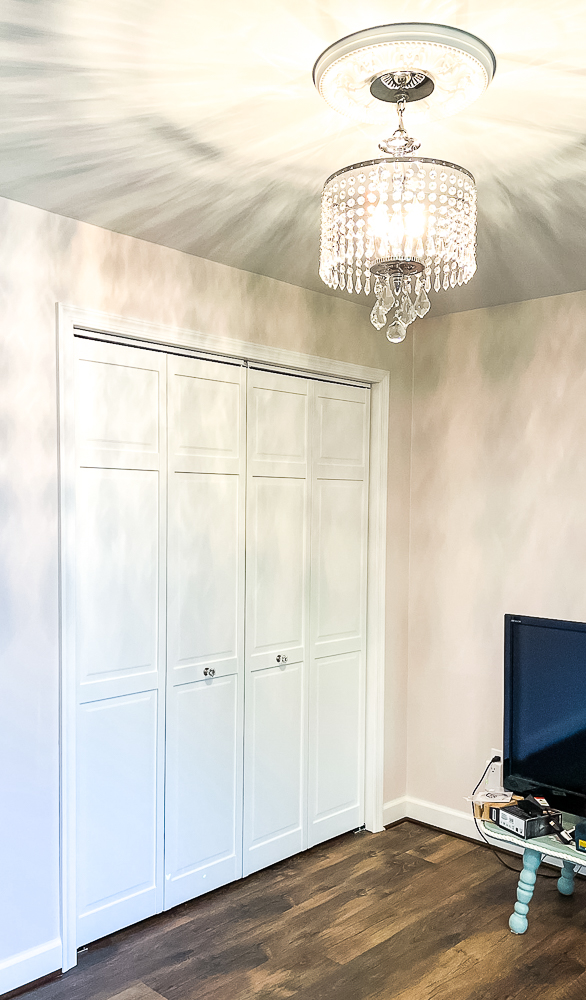
The tv and coffee table will not stay in this room. In fact, they both need a new home. We have never watched tv at the lake and have no desire to do so.
An antique oak dresser that my mom is giving me will go in this spot. It’s not yet at the lake but once it’s there, I’ll be sure to share it.
If installing bifold closet doors is on your DIY list, I hope my tutorial is helpful to follow.


These look so good. I want to be a guest sometime.
You are always welcome!
Oh wow, Paula. The finished closet doors really do make a big impact on the look of the room. They look great and I love the pretty crystal knobs too!
Thank you so much, Jen!
Mr SP is working with tools barefoot? Where is the Safety Patrol? I guess he was lucky and survived because the doors look great. Love the glass knobs.
I was thinking the same thing as he worked! He was sure to wear his safety glasses and ear protection but failed to protect his feet. We are thrilled with the doors. Hope you are at the lake this weekend enjoying what feels like a summer weekend.
Looking great Mrs. Pea. I have folding doors at my house but they are metal. Love them. You
did a great job with your doors. I love all your posts. Sending love and prayers.
Thank you so much, Janet! I so much appreciate you love and prayers.
I have two awful, plain sliding doors in my bedroom and I’ve never been a fan. I’m going to show my own DIY guy your doors and maybe we can finally replace them. Love the pulls…fabulous!!
The house I grew up in had sliding closet doors and I never liked them. They made it so hard to see what was in the closet. I hope you can get your doors switched out to bifold ones.
This takes sliding doors to a whole new level! Mine are not nice at all. What a great DIY!
Thank you so much, Melba!
Love it! You have inspired me to get moving today….although I enjoyed my coffee and reading your post. 😊
I am so glad that you enjoyed this post, Fleta. Like you, I spend my mornings enjoying coffee and reading blog posts. I hope you weekend is a good one.
Wow, I’m so impressed, Paula! They look great and I love your lighting too. Pinned!
Hope you are well, my friend!
Shelley
THank you, Shelley! We are so happy to check this off of our project list. I am feeling better and better with each passing day.
Great job on these doors. I’m not surprised at all because your basement turned out beautiful.
Love the knobs and that light,, beautiful!
Thank you so much, Cindy!
What a beautiful place! The doors look amazing. Enjoy!
Thank you so much, Vickey!
Glad to see you’re back at the lake house! Your first project back looks to be a success.
It’s great to be back to doing projects at the lake. When it got warm last year, we enjoyed every second of lake time and didn’t do any projects. That continued all fall and winter but now we are on a roll to complete what’s left to be done.
I have bifold doors on two upstairs closets. Well, they are getting new knobs now! Thanks for the inspiration. What a transformation with those new knobs!
Thank you so much, Leslie!
Gorgeous – thanks for the tips! I love the crystal hardware and chandelier so much. <3
Thank you so much, Stacey!
Dear Paula Love the doors. Mr. SP did a great job with your help. My DO-IT guy passed on 7 yrs. ago So my adult kids and I run around yelling Dad fix this please or wish Dad was around to make whatever was needed. Your lake house is beautiful and you are so good at decorating. Still praying for you and Mr.SP. Susan
I am so sorry that you lost your husband, Susan. Thank you so much for your support and prayers.
these turned out so pretty! Great tutorial. 🙂
Thanks for sharing this. I’m considering adding bi-fold doors to our closets – at the moment they have none. We used to have sliding doors but they were very noisy. It would wake the person sleeping in the next room if you opened the closest. Are these ones noisy?
These door are silent. We are so pleased with them.
Love it all . The doors and knobs are beautiful. I love your posts. Love and prayers your way.
Thank you, Wendy!!
Can’t wait to see how this all comes together, Paula! These doors are beautiful and I love the hardware you chose too. And don’t even get me started on that light – gah – GORGEOUS! Hugs, CoCo
Thank you, CoCo! I’m making the room very girly for my niece. I can’t wait to finish the room so she can come stay with me.
Chandelier and knobs are so pretty. Your workspace where you are painting looks amazing!
Thank you, Marie! When we added an addition to our house, it allowed us to created a workshop in our basement. It’s so wonderful to have this space for woodworking and other projects.
Those doorknobs are the best!! Great job Paula! And BTW, you are looking so good!
Aww! Thank you so much, Cindy. I’m still struggling with after effect of the radiation but overall I feel good.
Great tutorial, Paula! Thanks for sharing at Vintage Charm!
Thank you for hosting a party for both bloggers and blog readers to enjoy.
The doors look fantastic. I especially like the new knobs you chose to go with the chandelier. Custom is always better, don’t you think? When I moved into my house the closets all had cheap bypass doors on them that were always breaking and coming crashing down when the kids would try to open them. I eventually took them all out and just hung curtains instead for safety when the kids were really little. I’ve been thinking that it’s probably about time to put real doors back on in these rooms but I won’t be doing the bypass ones. I’ll be doing the bifold ones as well.
Thank you so much, Tara.
I have just decided to add bi-fold doors rather than a swing door upon reading this post. I have a set of antique doors that would be perfect. I was trying to figure out what to do with them!
What do you use in the center to prevent them from swinging in and out? (rather than back and forth?)
And what do the aligners do?
I’ve built 15 pocket doors with Johnson Hardware. They make bi-fold hardware. Did you use theirs, or is this just available locally? This is really a THIS moment decision, so I’ve not done any research!
Thanks for sharing and the inspiration.
What did you use the impact driver for? What did you use to secure the floor bracket to the floor?
We used the impact driver to install the track and screws to secure the floor bracker.
What type of screws? Did you use the ones that came with the doors? I have a laminate hardwood over concrete and I’m at this point now. Thank you so much!
Yes, we used the screws that came with the door.
Thank you so much!