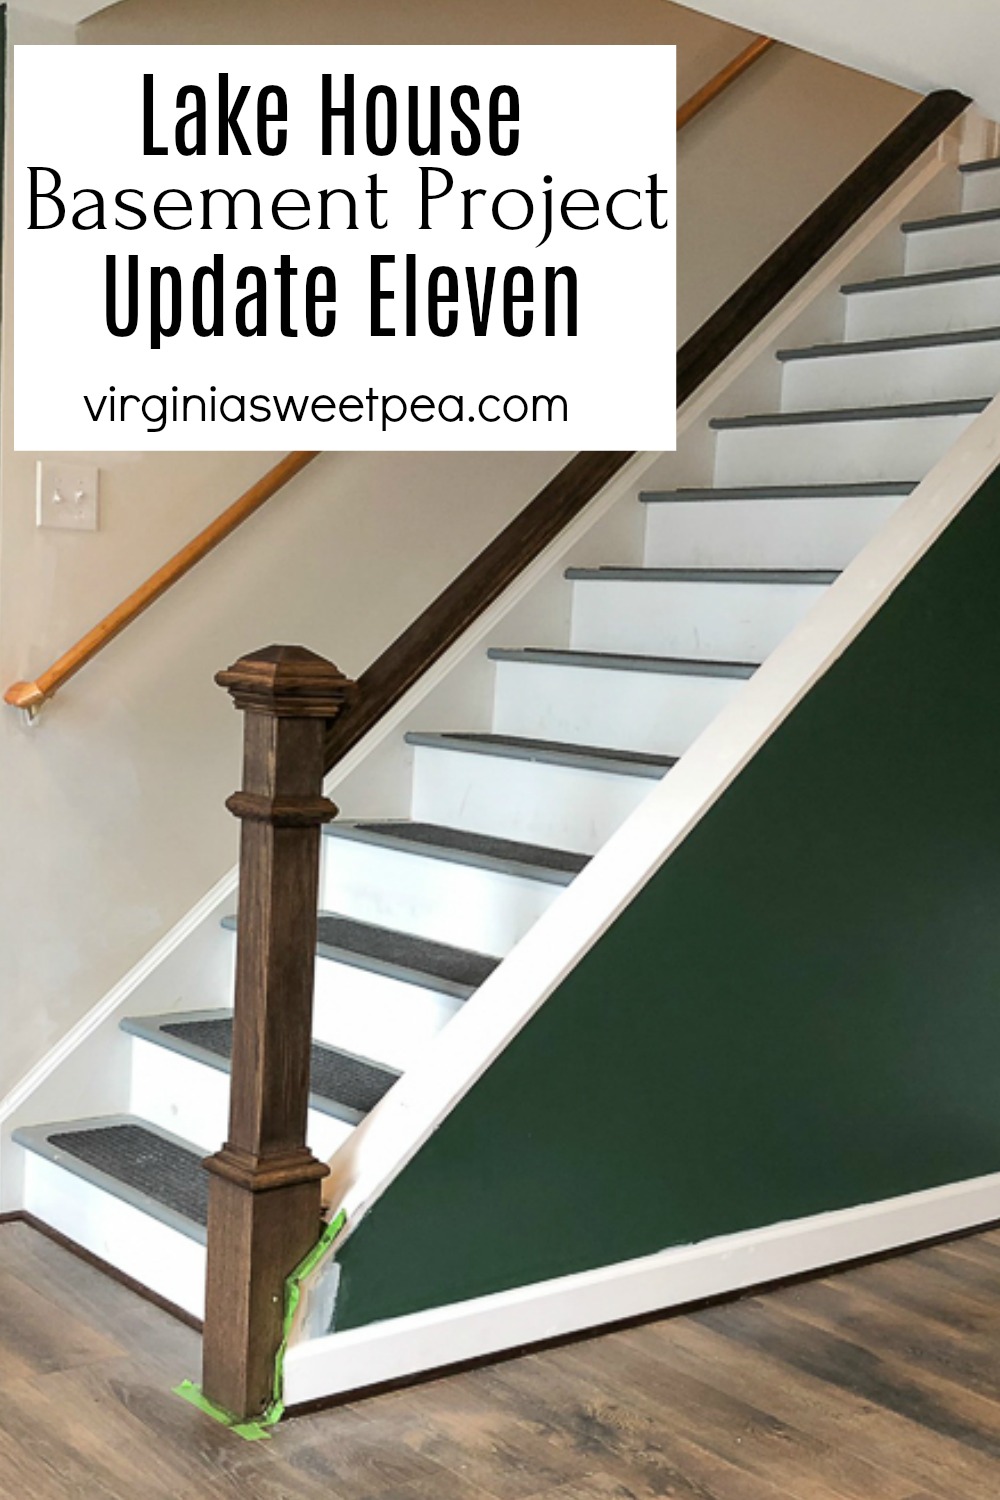
Lake House Basement Project – Update Eleven – Installing a Banister
Last weekend was another productive time working on our lake house basement project. Things are rolling along and we can almost see the finish in sight!
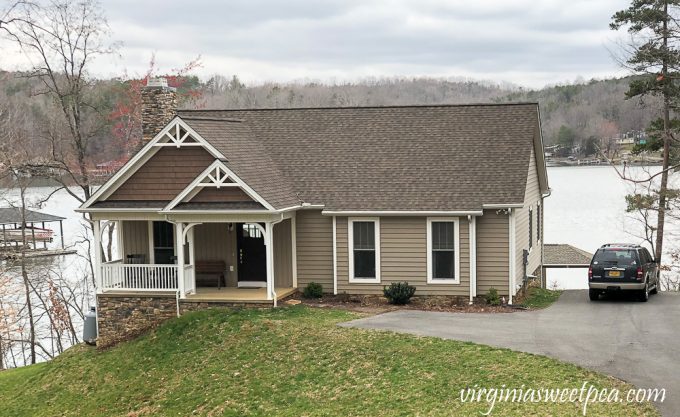
If you are new here, we are transforming our basement into a family room, bathroom, and bedroom. These posts chronicle the work that we’ve accomplished so far:
- Lake House Basement Project Plans
- Lake House Basement – Update One
- Lake House Basement – Update Two
- Lake House Basement – Update Three
- Lake House Basement – Update Four – Paint
- Lake House Basement – Update Five – Flooring
- Lake House Basement – Update Six
- Lake House Basement – Update Seven
- Lake House Basement – Update Eight
- Lake House Basement – Update Nine
- Lake House Basement – Update Ten – Installing a Newel Post
- Lake House Basement – Update Eleven – Installing a Banister
Let’s take a look at what we accomplished last weekend!
Staining the Doors
My main project for the weekend was staining the three wood doors. I set up a work station on the patio and worked on one door at a time.
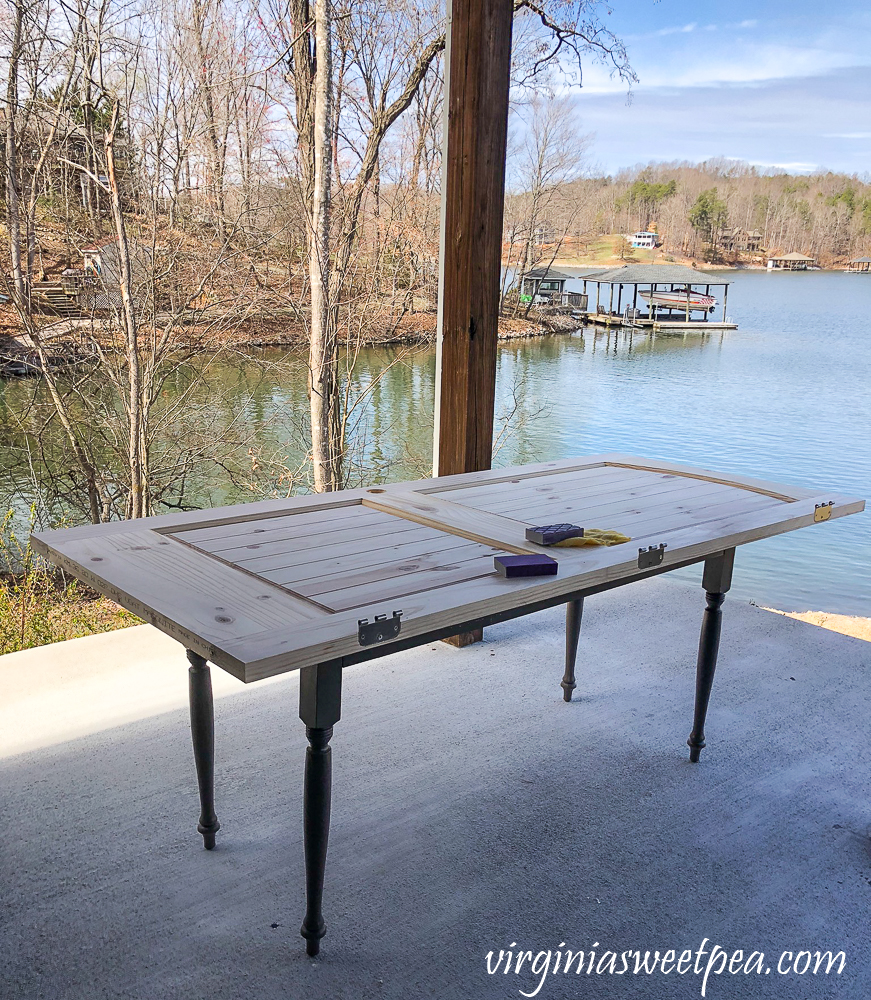
For the stain, I used Zar Wood Stain in Charcoal. I chose this stain for the color and because it is a gel formula and it does not run.

I brushed the stain on with a foam brush and then wiped off the excess with an old t-shirt.
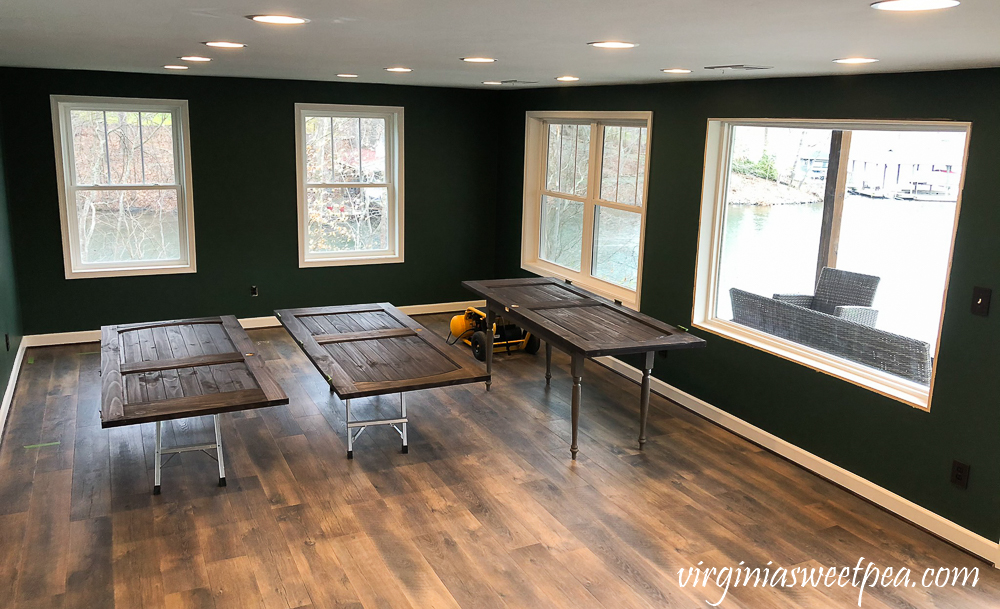
Over the weekend I was able to get both sides of the doors stained. I went back to the lake on Tuesday and applied the first coat of top coat. I’m using General Finishes High Performance Water Based in Satin.
Each side of the door is to get three coats of top coat and the dry time is 12-18 hours between coats, so this process will take me a while.
On Tuesday I also painted the three windows that are framed.
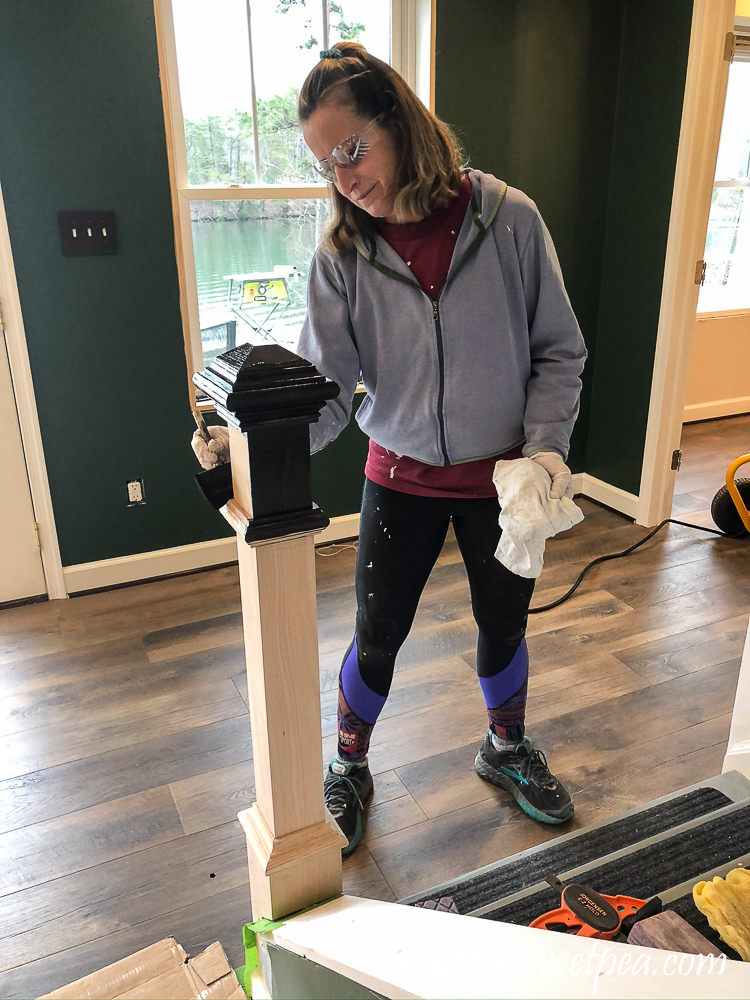
Staining the Newel Post
The newel post and banister were stained the same color as the doors.
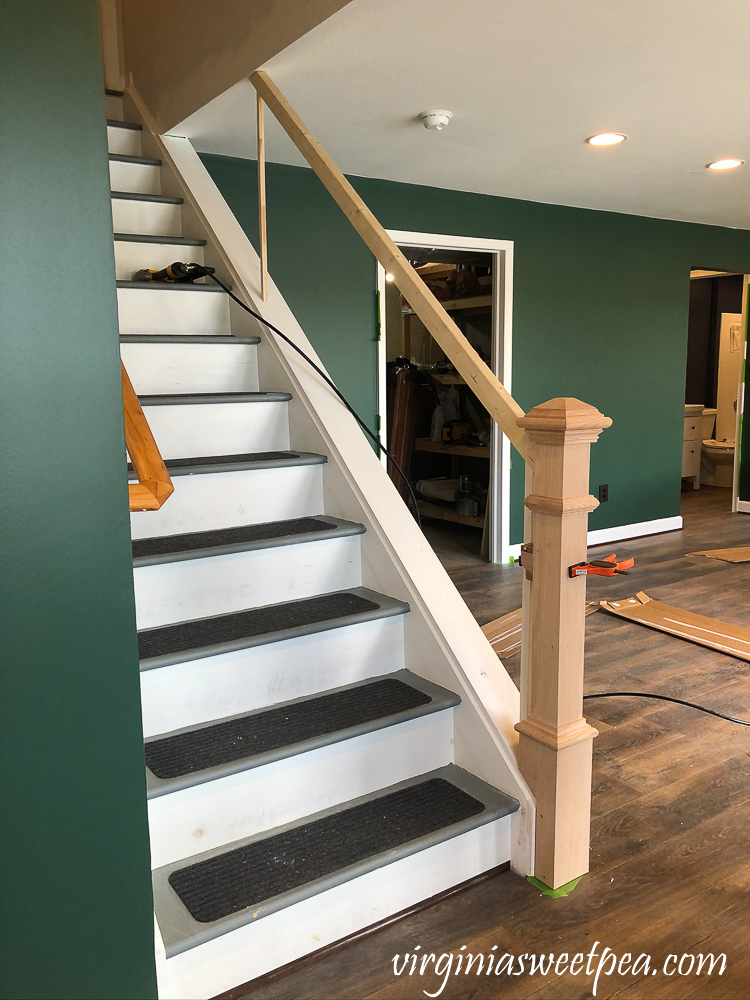
Installing a Banister
Mr. SP’s main task for the weekend was installing a banister on the steps. He started the process by using a 2×4 to make sure that he had his measurements correct before cutting the oak banister.

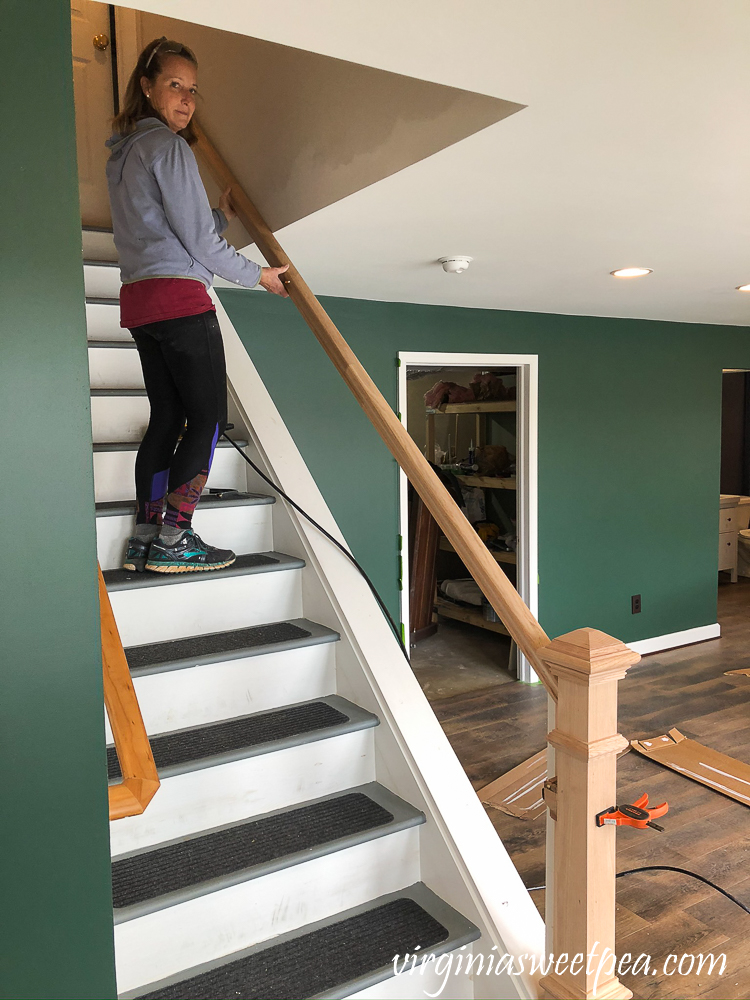
We cut the banister template post angle at approximately 40 degrees to mate with the newel post. We also cut 2 temporary balusters at the correct height to help with the placement and marking of the template. Once we had the template in place on the newel post, we were able to scribe the angle of the ceiling onto the other end of the template, and onto the ceiling. We then dry fit the template in the correct position of the banister.
After we were happy with the angles and position of the template, we moved on to working with the banister by the same process.
Before it was installed, I stained the banister.

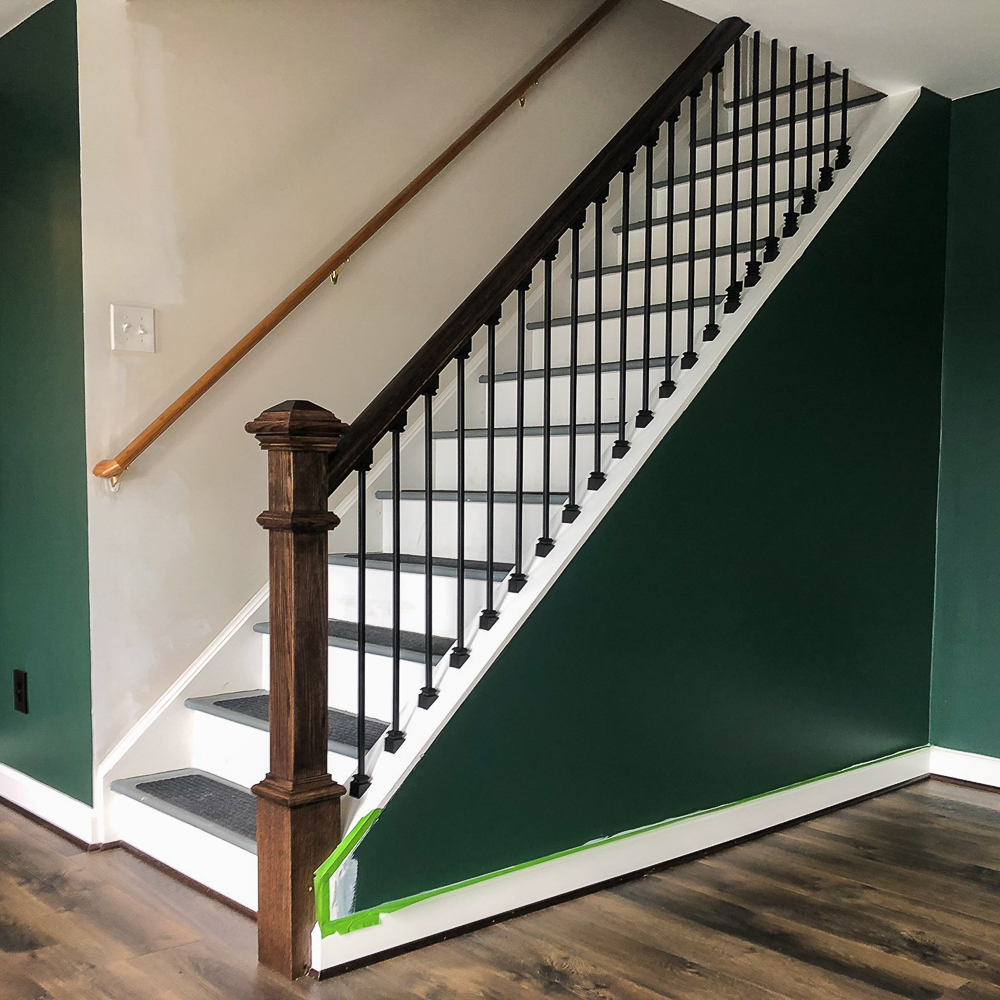
Here we show the final dry fit of the banister in place before bolting it into place.
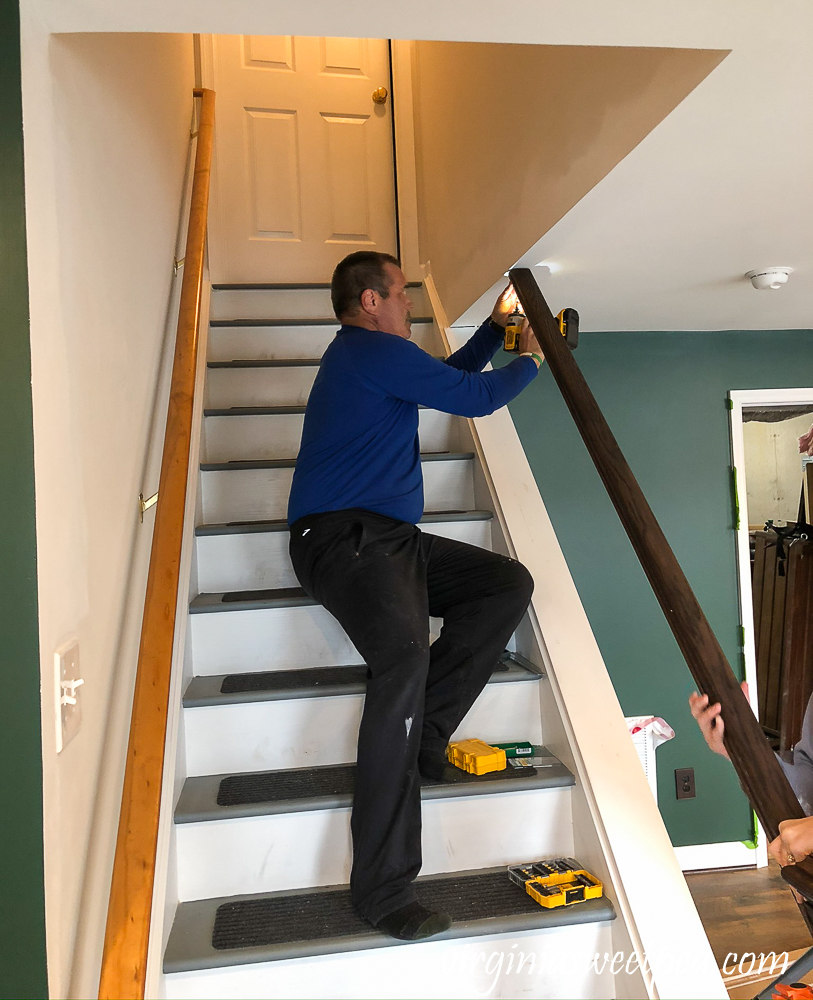
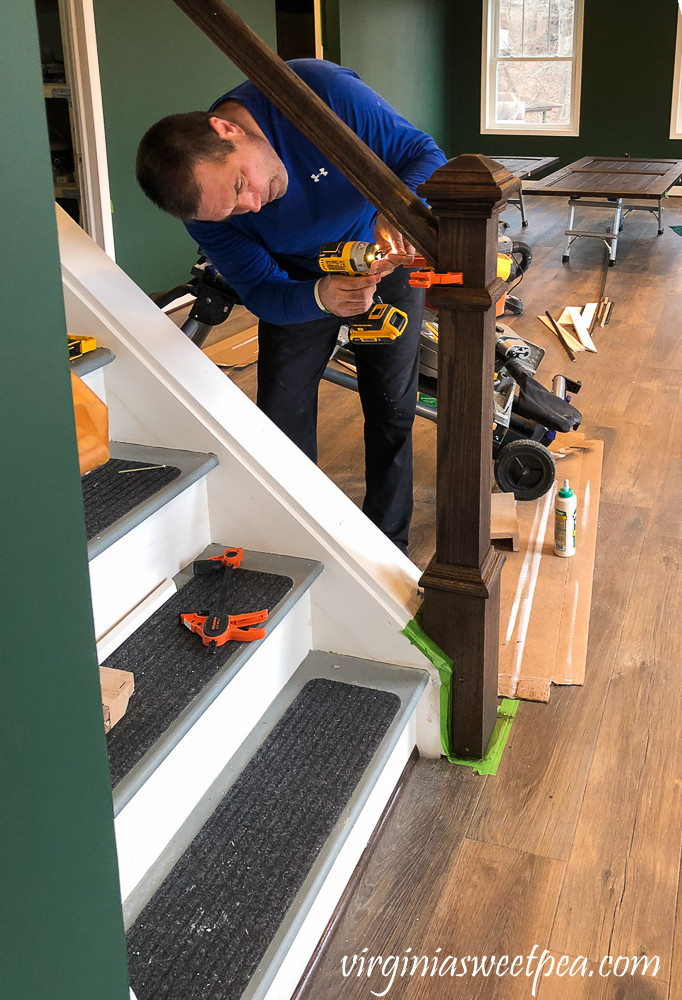
Once the banister was cut to the correct length with the proper angles, we countersunk and drilled holes in each end for the bolt that will attach the banister in place. The banister was then bolted to the ceiling joist on the top end, and into the oak newel post on the bottom. We will cut two discs out of scrap oak to cover the bolts.
Windows Framed and Trimmed
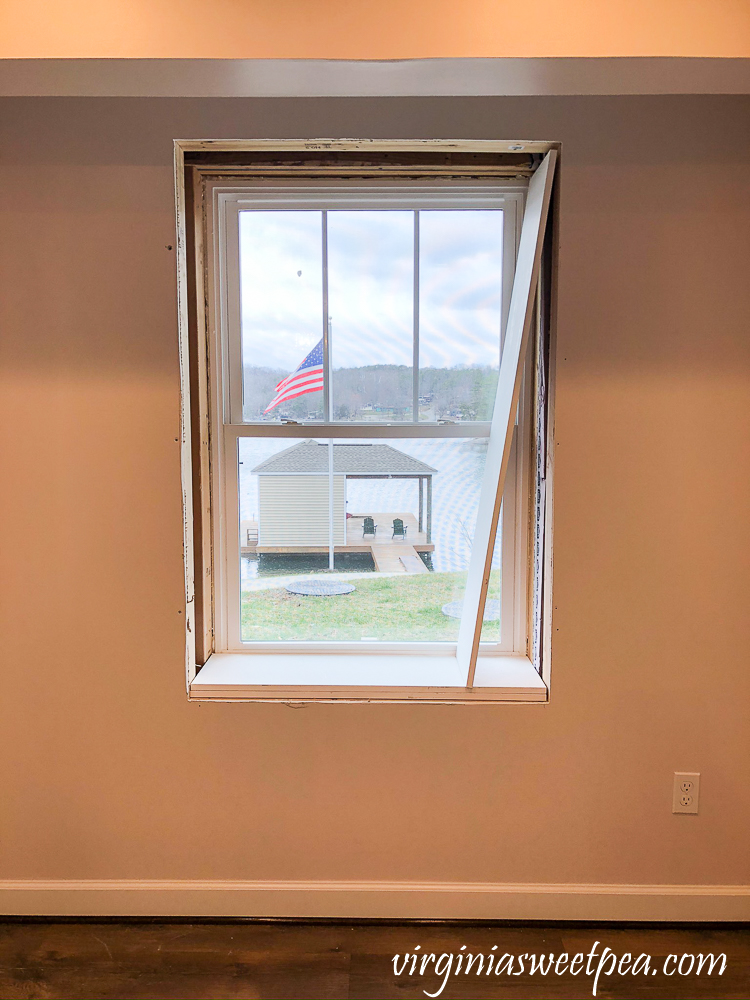
After the banister was installed, Mr. SP framed the remaining unframed window in the family room and he then moved into the bedroom.
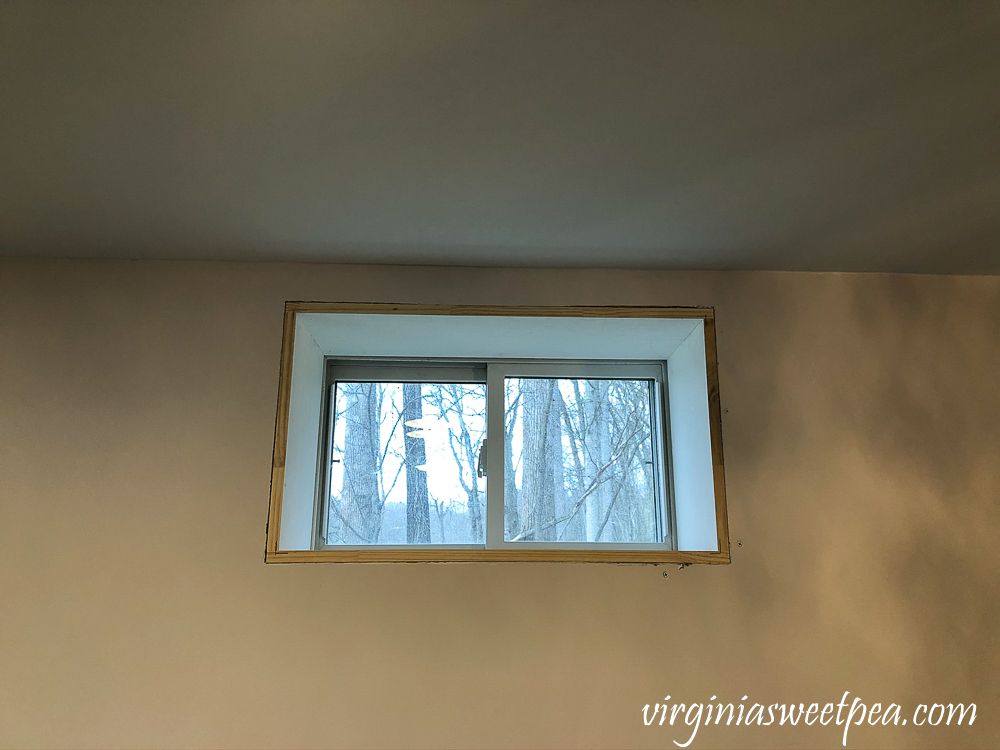
He was oh-so-close to finishing but ran out of wood for this window.
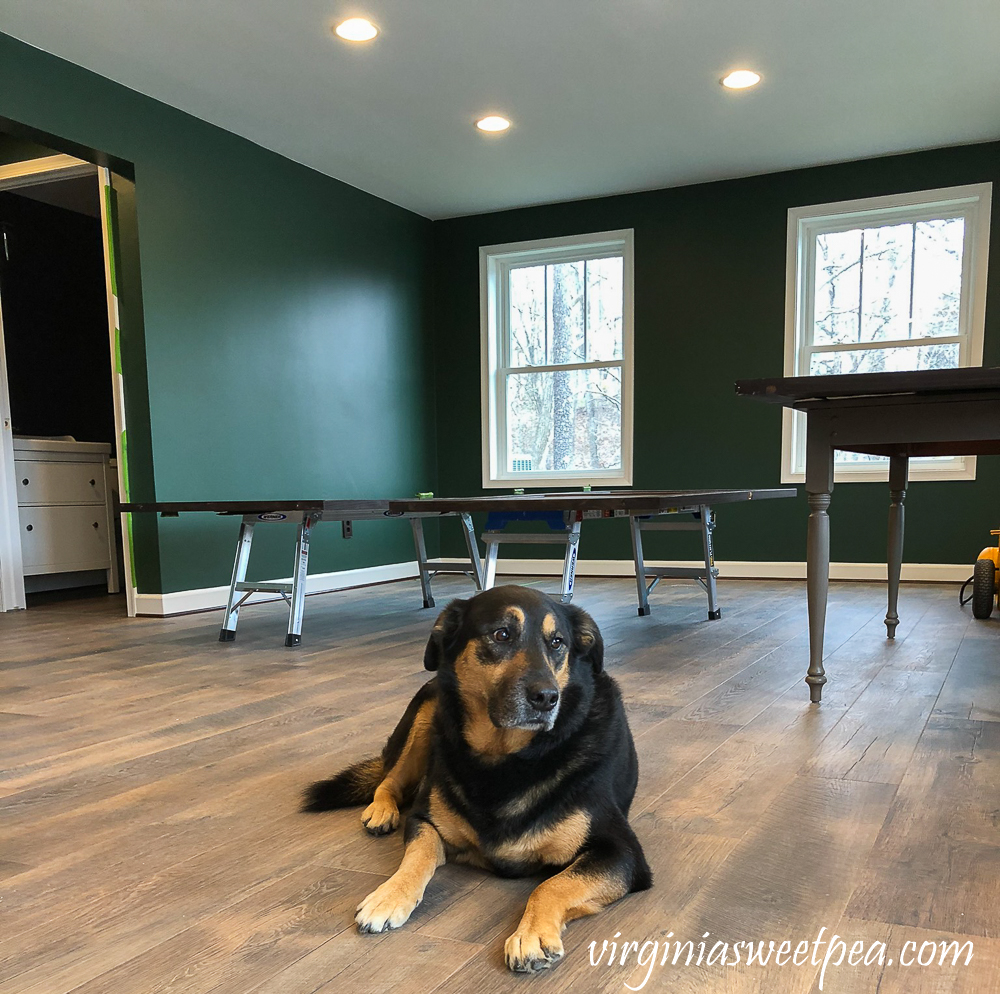
He added trim to the family room windows until he ran out.
I delivered two contractors packs of trim to the lake on Tuesday, so he’s all set to finish that project this coming weekend.
My Redneck Engineering
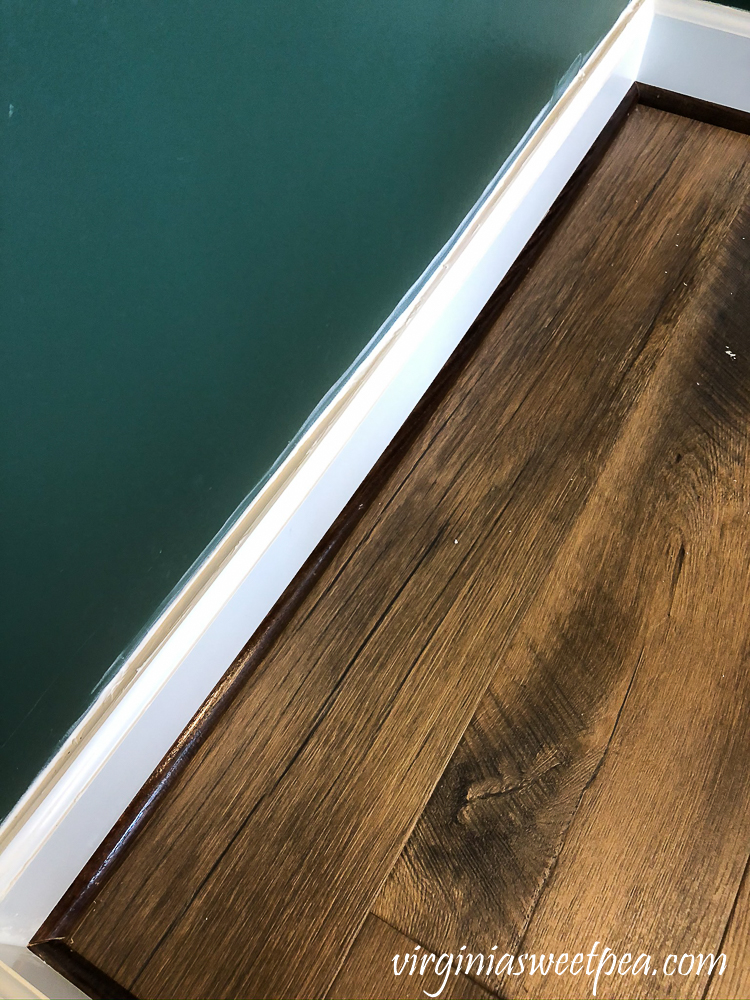
One spot in the hallway had a huge gap between the baseboard and wall. We tried caulking it, but the caulk just fell into the hole.
I did a bit of redneck engineering and stuffed the open area with strips of cotton from a cotton ball.
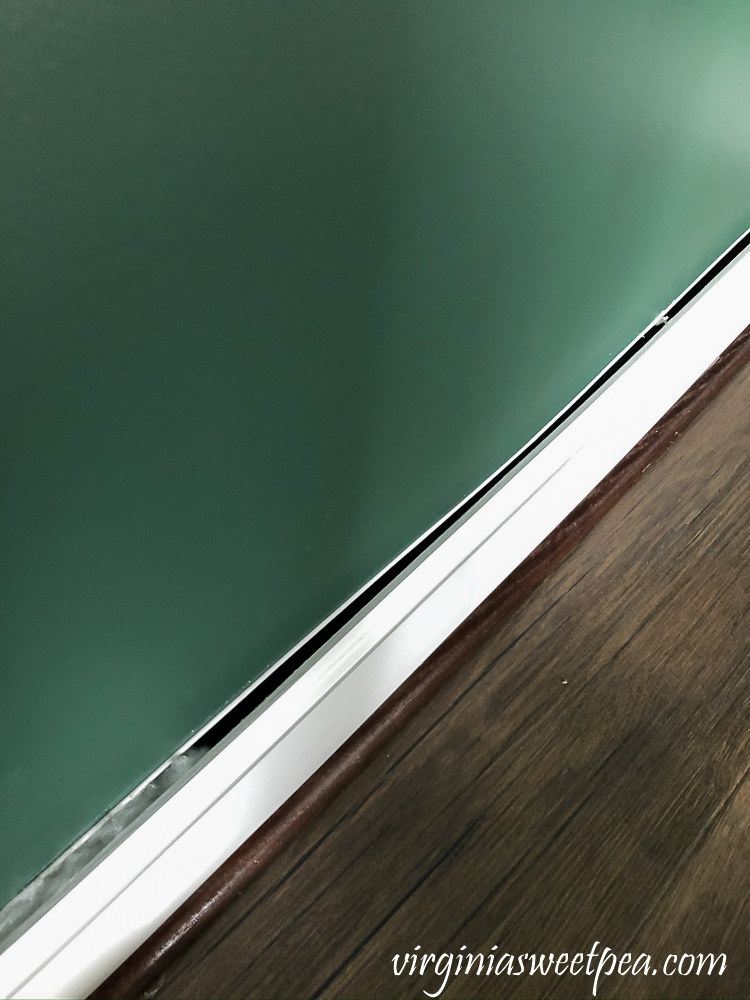
My redneck engineering worked and I was able to caulk over the cotton. I’m a messy caulker and have some paint touch-up to do in this area.
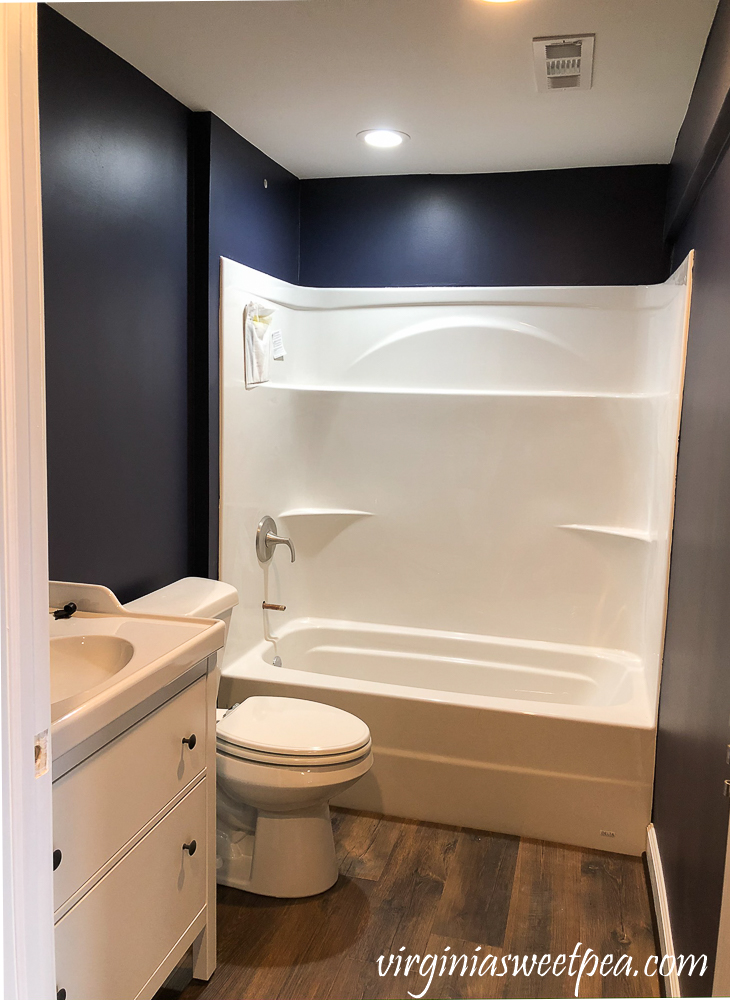
Bathroom Work
In the bathroom, Mr. SP installed a LED light specifically for showers and he finished installing the fan. He also installed the toilet seat.
This bathroom is getting close to being finished!
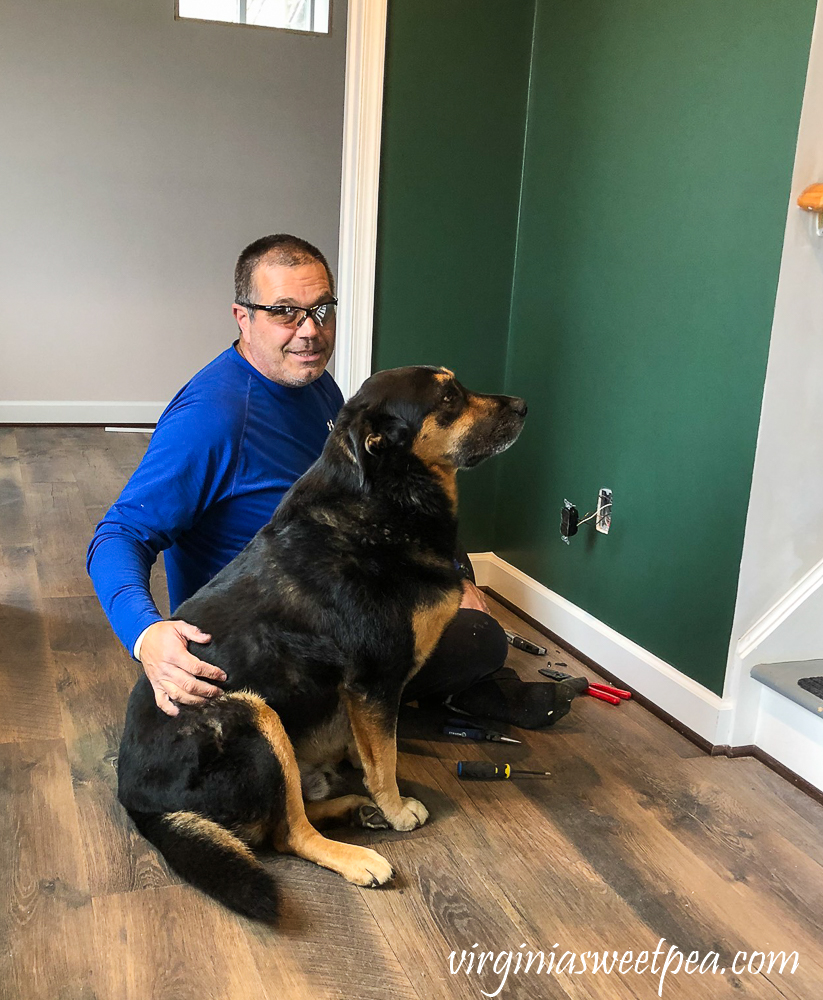
Sherman’s Weekend at the Lake
Sherman helped when Mr. SP did a bit of electrical work.
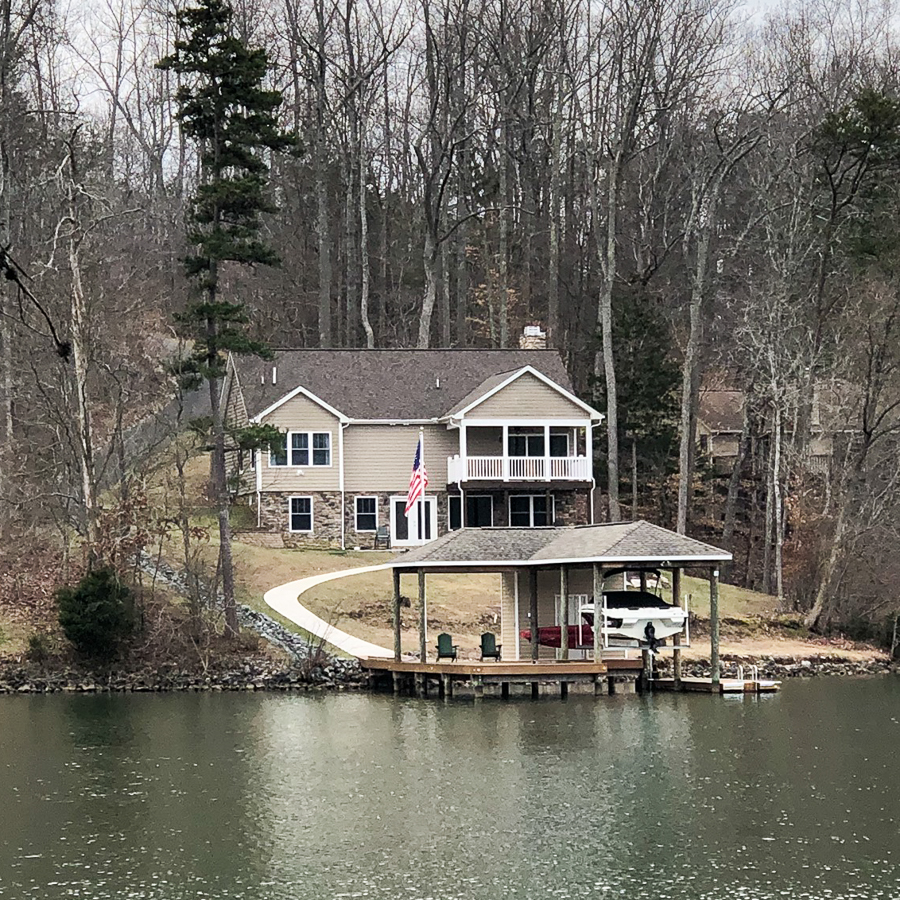
He also enjoyed a bit of dock relaxation.
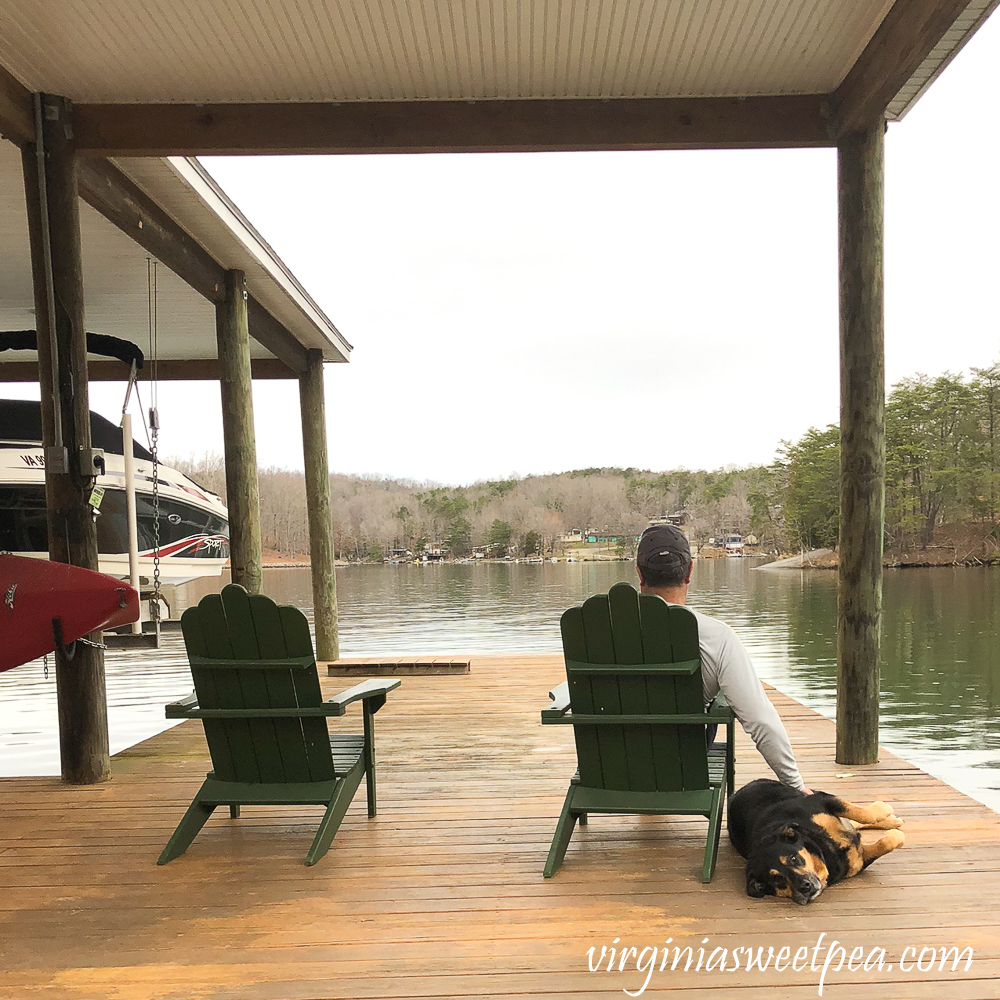
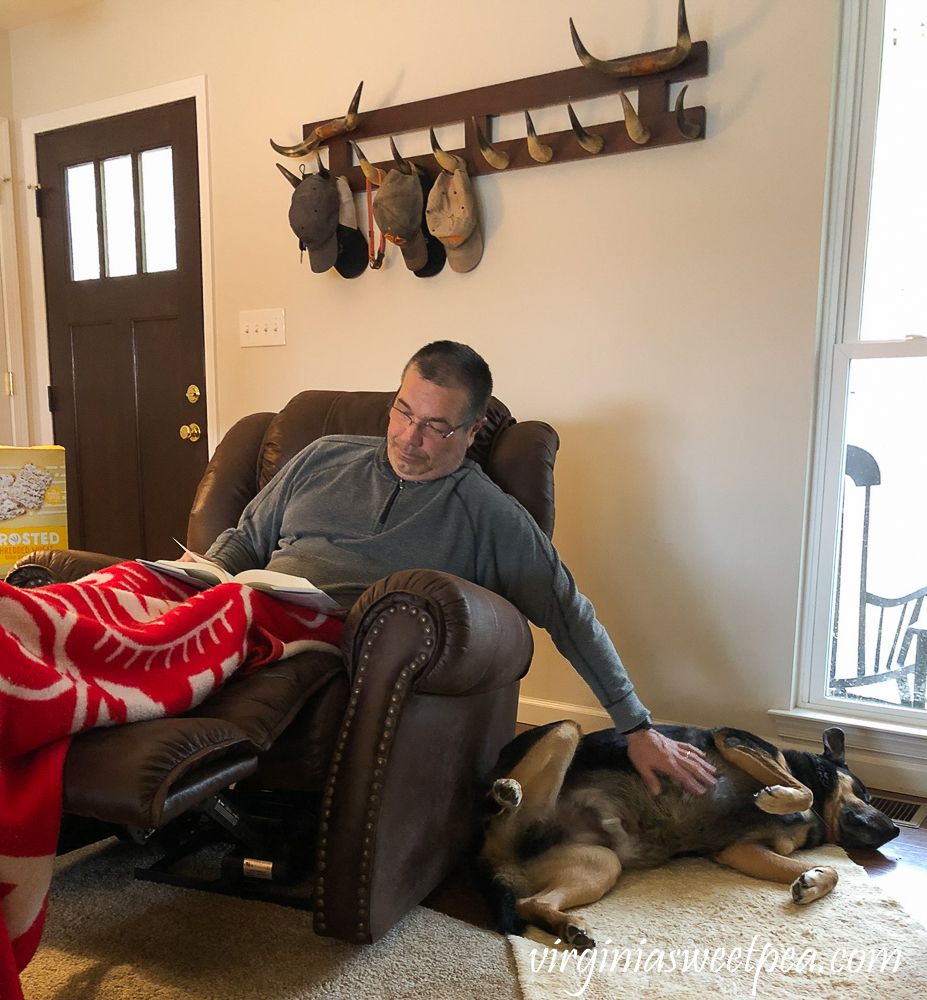
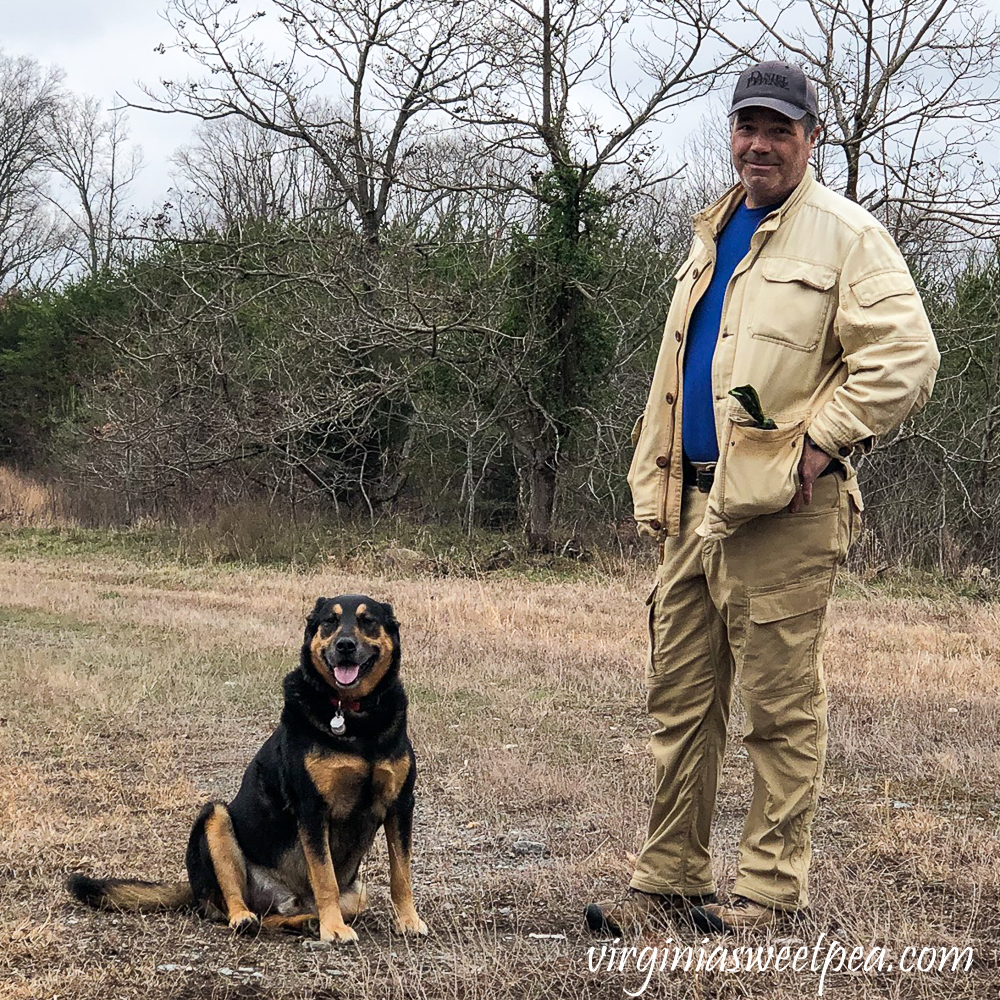
Morning and night he is always by his daddy’s side.
We took Sherman hiking at Smith Mountain Lake State Park both Saturday and Sunday.
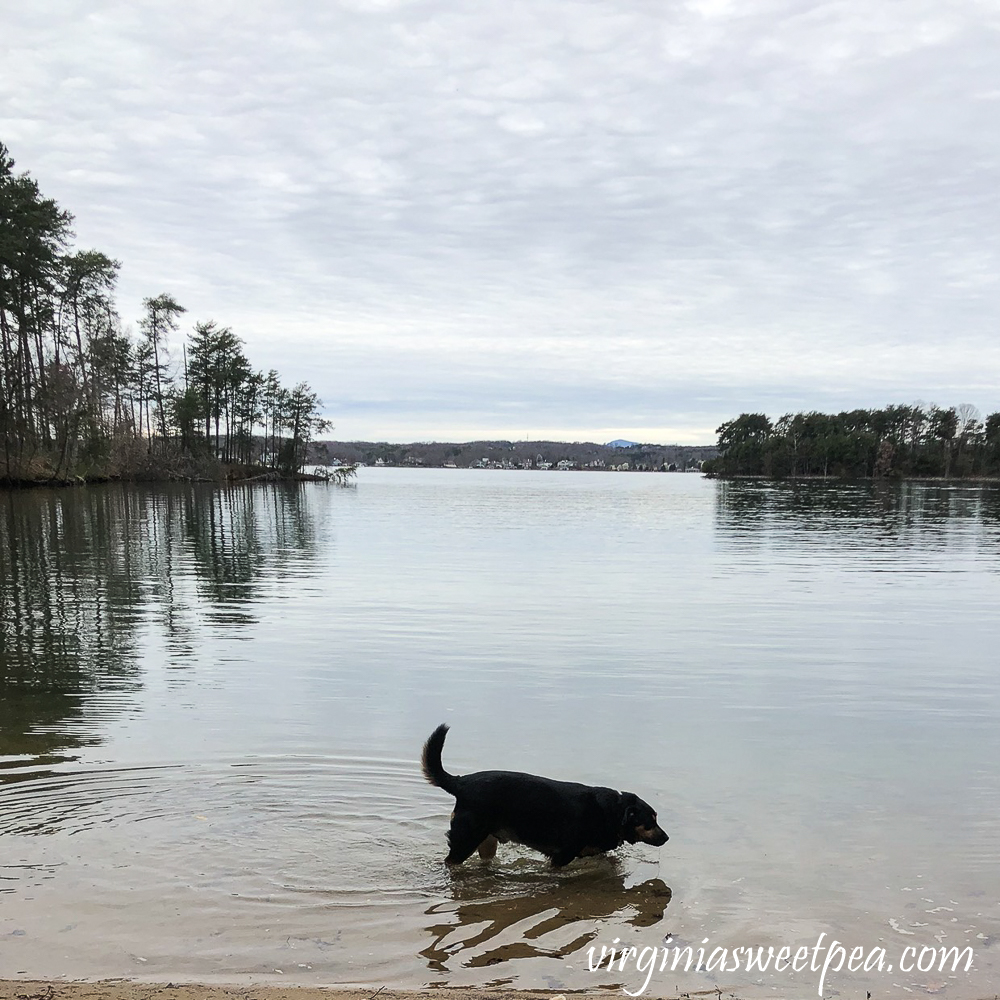
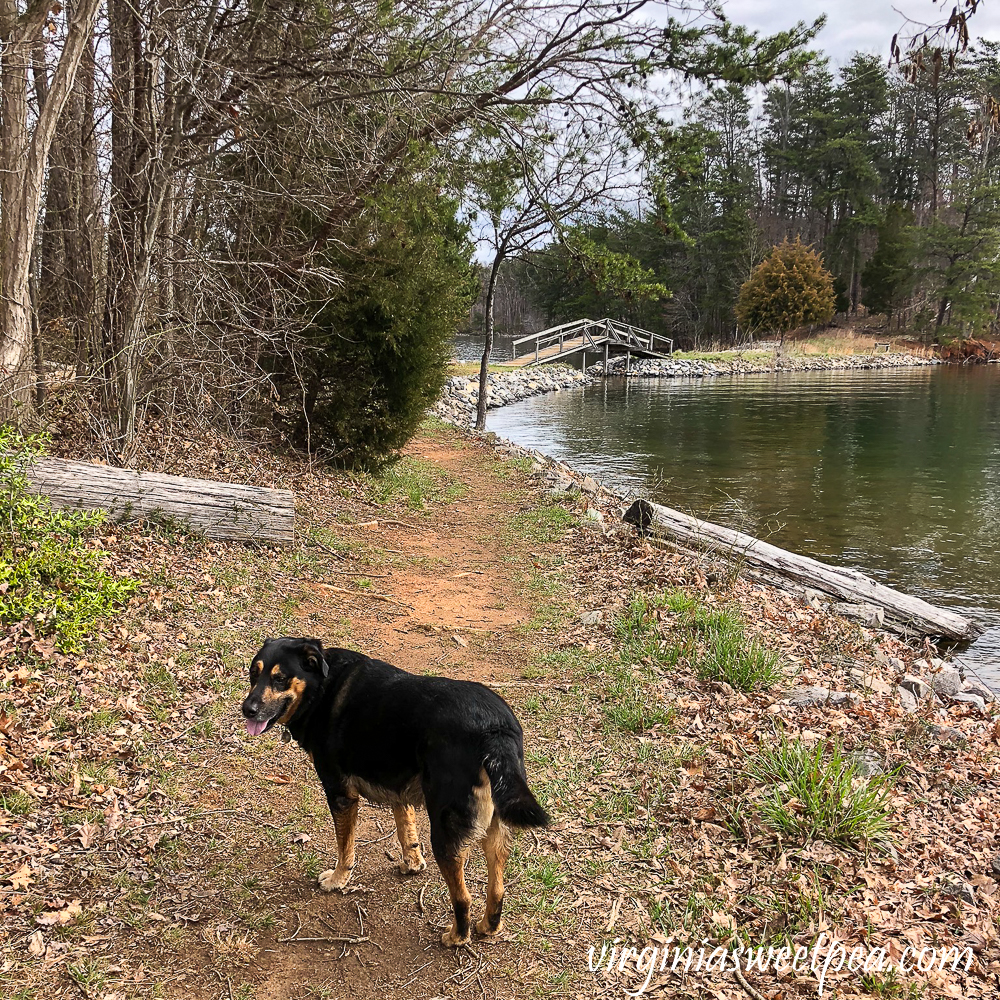
Here he is on Turtle Island, one of our favorite places in the park.
To get onto Turtle Island, you cross the bridge seen in the picture below. If I was an artist, I would paint Turtle Island.
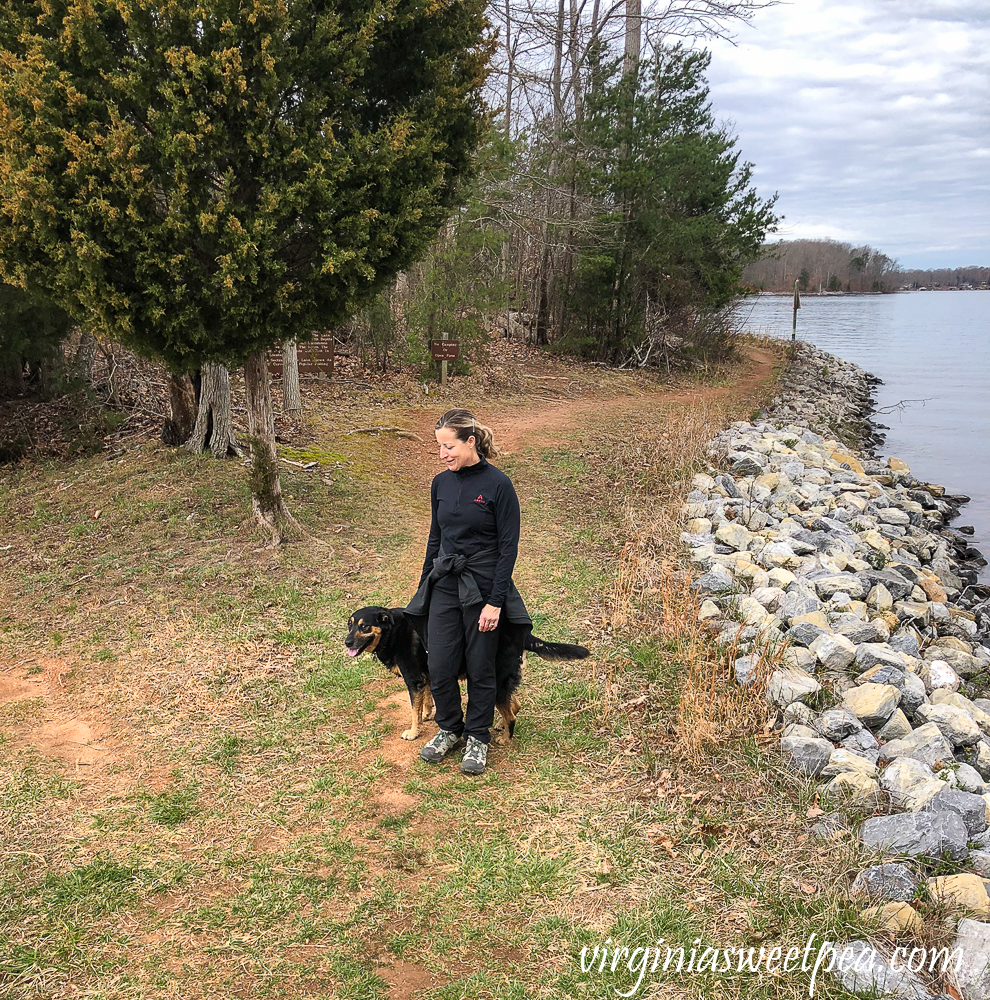
On Sunday we walked again at the park. Sherman’s mom and dad enjoy the hikes as much as Sherman does.
What’s Next?
This weekend our main project is to install balisters on the stairs. Once that is complete, Mr. SP will finish framing the bedroom window and add trim to the windows that currently have none.
We also hope to finish the plumbing work for the bathtub and shower and get the shower curtain, towel rods, and toilet paper holder installed.
Pin It!
I would love for you to pin this post for others to discover on Pinterest.

So glad you and hubby have the skills to do this project! Here in PA no outside construction work is happening here. Thankfully, Home Depot is open so we can get supplies we need for our simple projects!
Yesterday when we went to Home Depot for supplies for this weekend it was hopping. I think that a lot of people are doing chores around the house since we’re all home.
Paula
I love the stain color, it’s beautiful. The new banister is looking great too.
Love seeing Sherman always, such a smuggler and belly rub lover. Our two want them every second .
Stay well and keep enjoying that beautiful place
Cindy
The banister looks great and I love the dark stain! Great job with the cotton balls! : )
Liberty
Thank you, Liberty! I was happy when my cotton ball idea worked.
Paula
Everything coming together looks great can’t wait to see it all finished .
Thank you, Laura! We hope to get the balusters on the stairs installed this weekend. The end is definitely in sight!
Paula
Cotton balls, who knew!! Particularly like the last pic of Sherman and his daddy…Sherman has a great big smile on his face!!
I was thrilled that my cotton ball idea worked! Sherman loves that daddy and he is one smiling dog.
Paula
Paula, your selection of materials/finishes is beautiful. I’ve always admired your decorating (and power tool) skills. Thanks for continuing to share.
Thank you so much, Sarah! I really enjoy home projects but will have to say that I’m eager for the basement project to be finished. 🙂
Paula