Lake House Basement Project – Update Thirteen
Our lake house basement project is getting so close to being done! This DIY project has been a ton of work but work that we have both enjoyed doing.
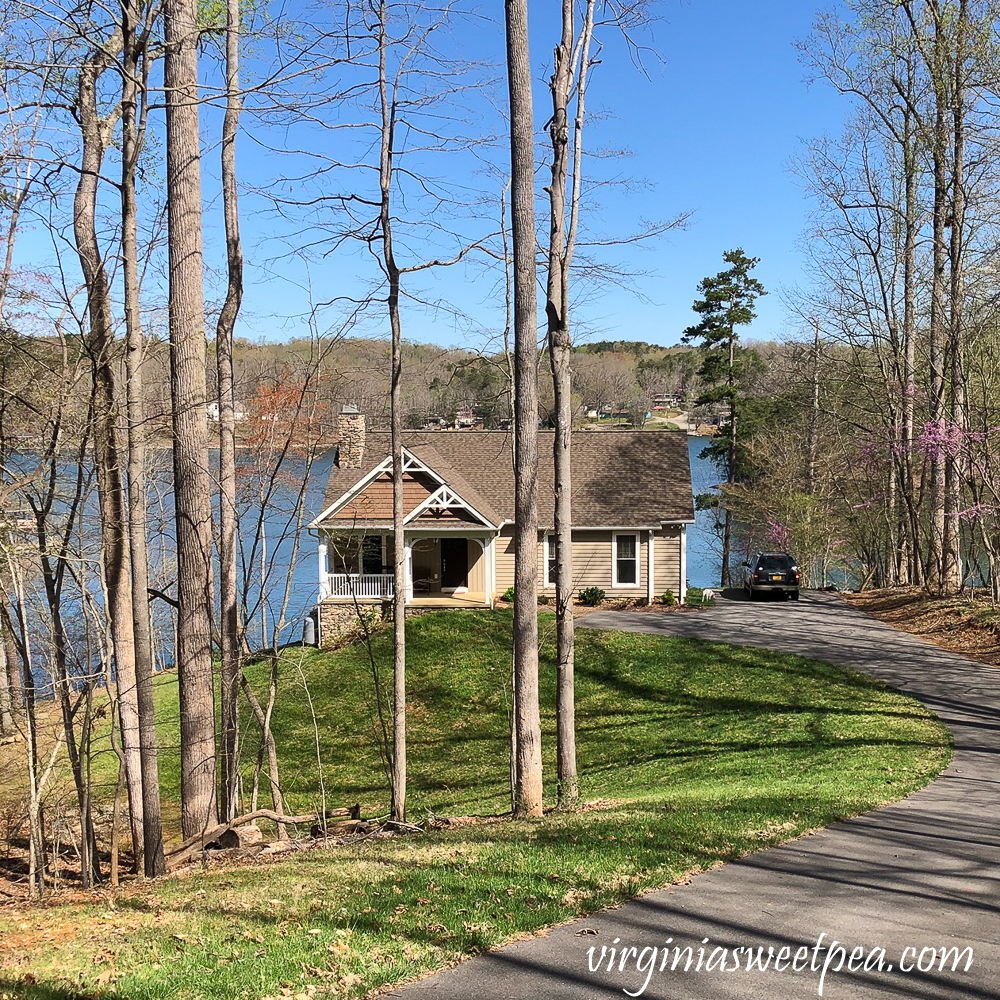
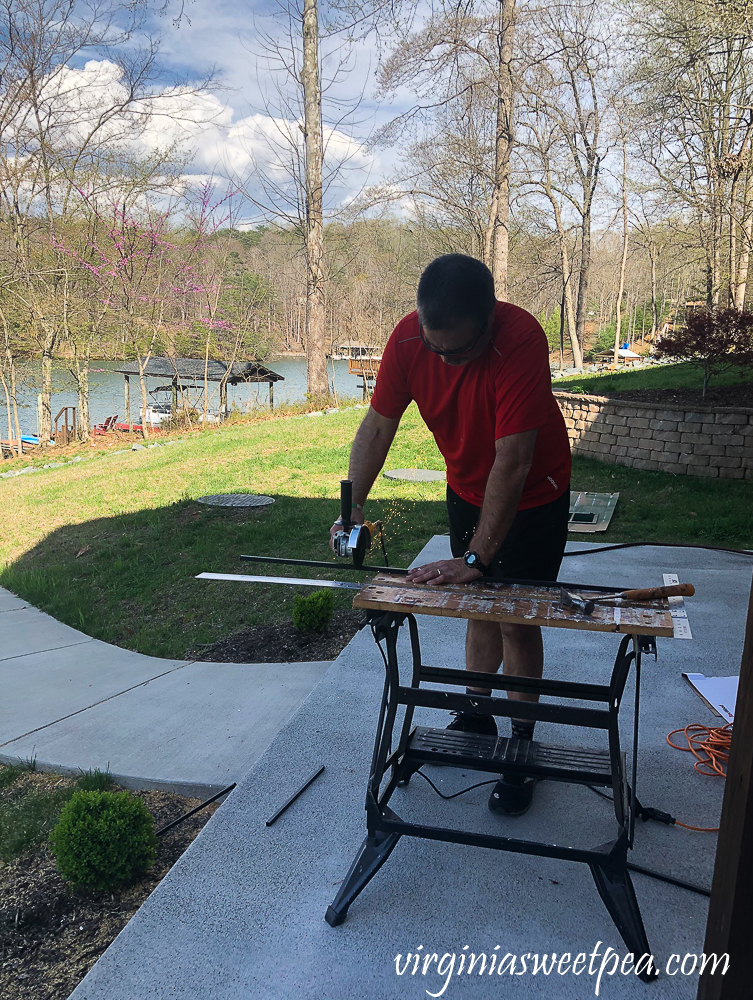
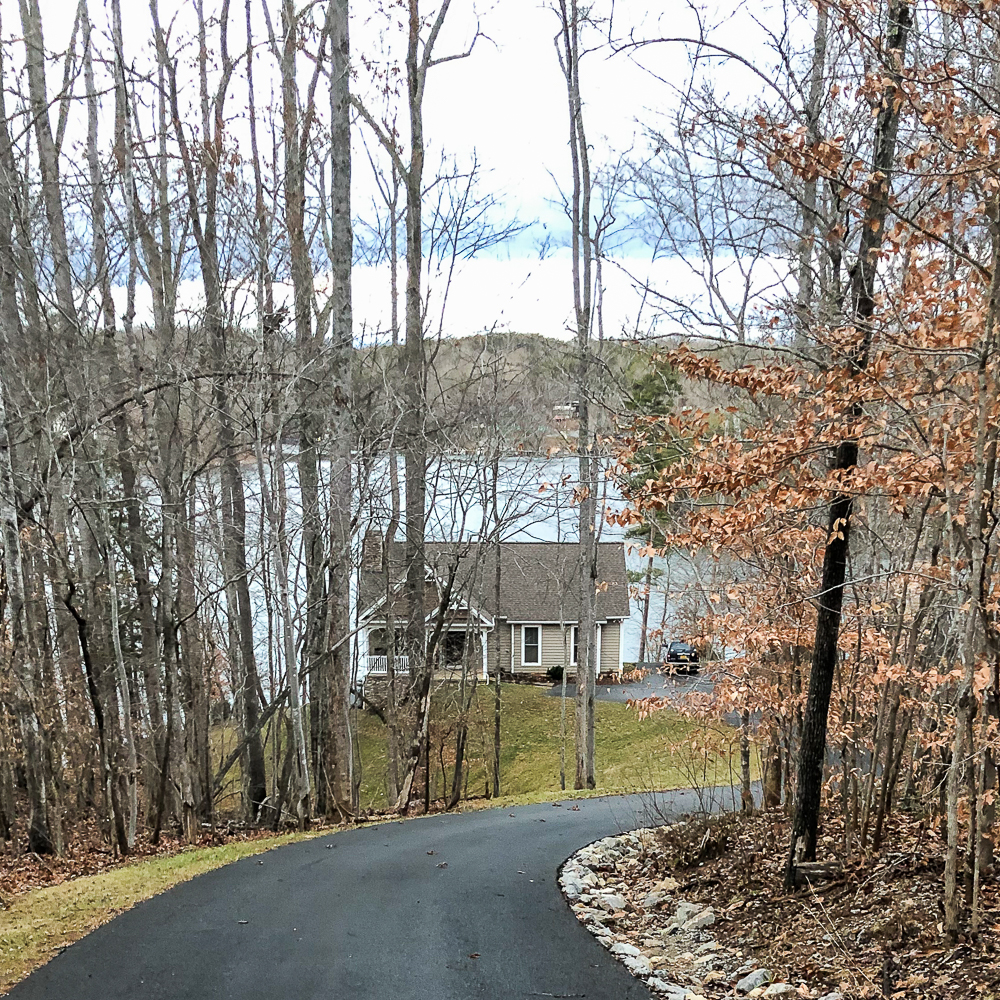
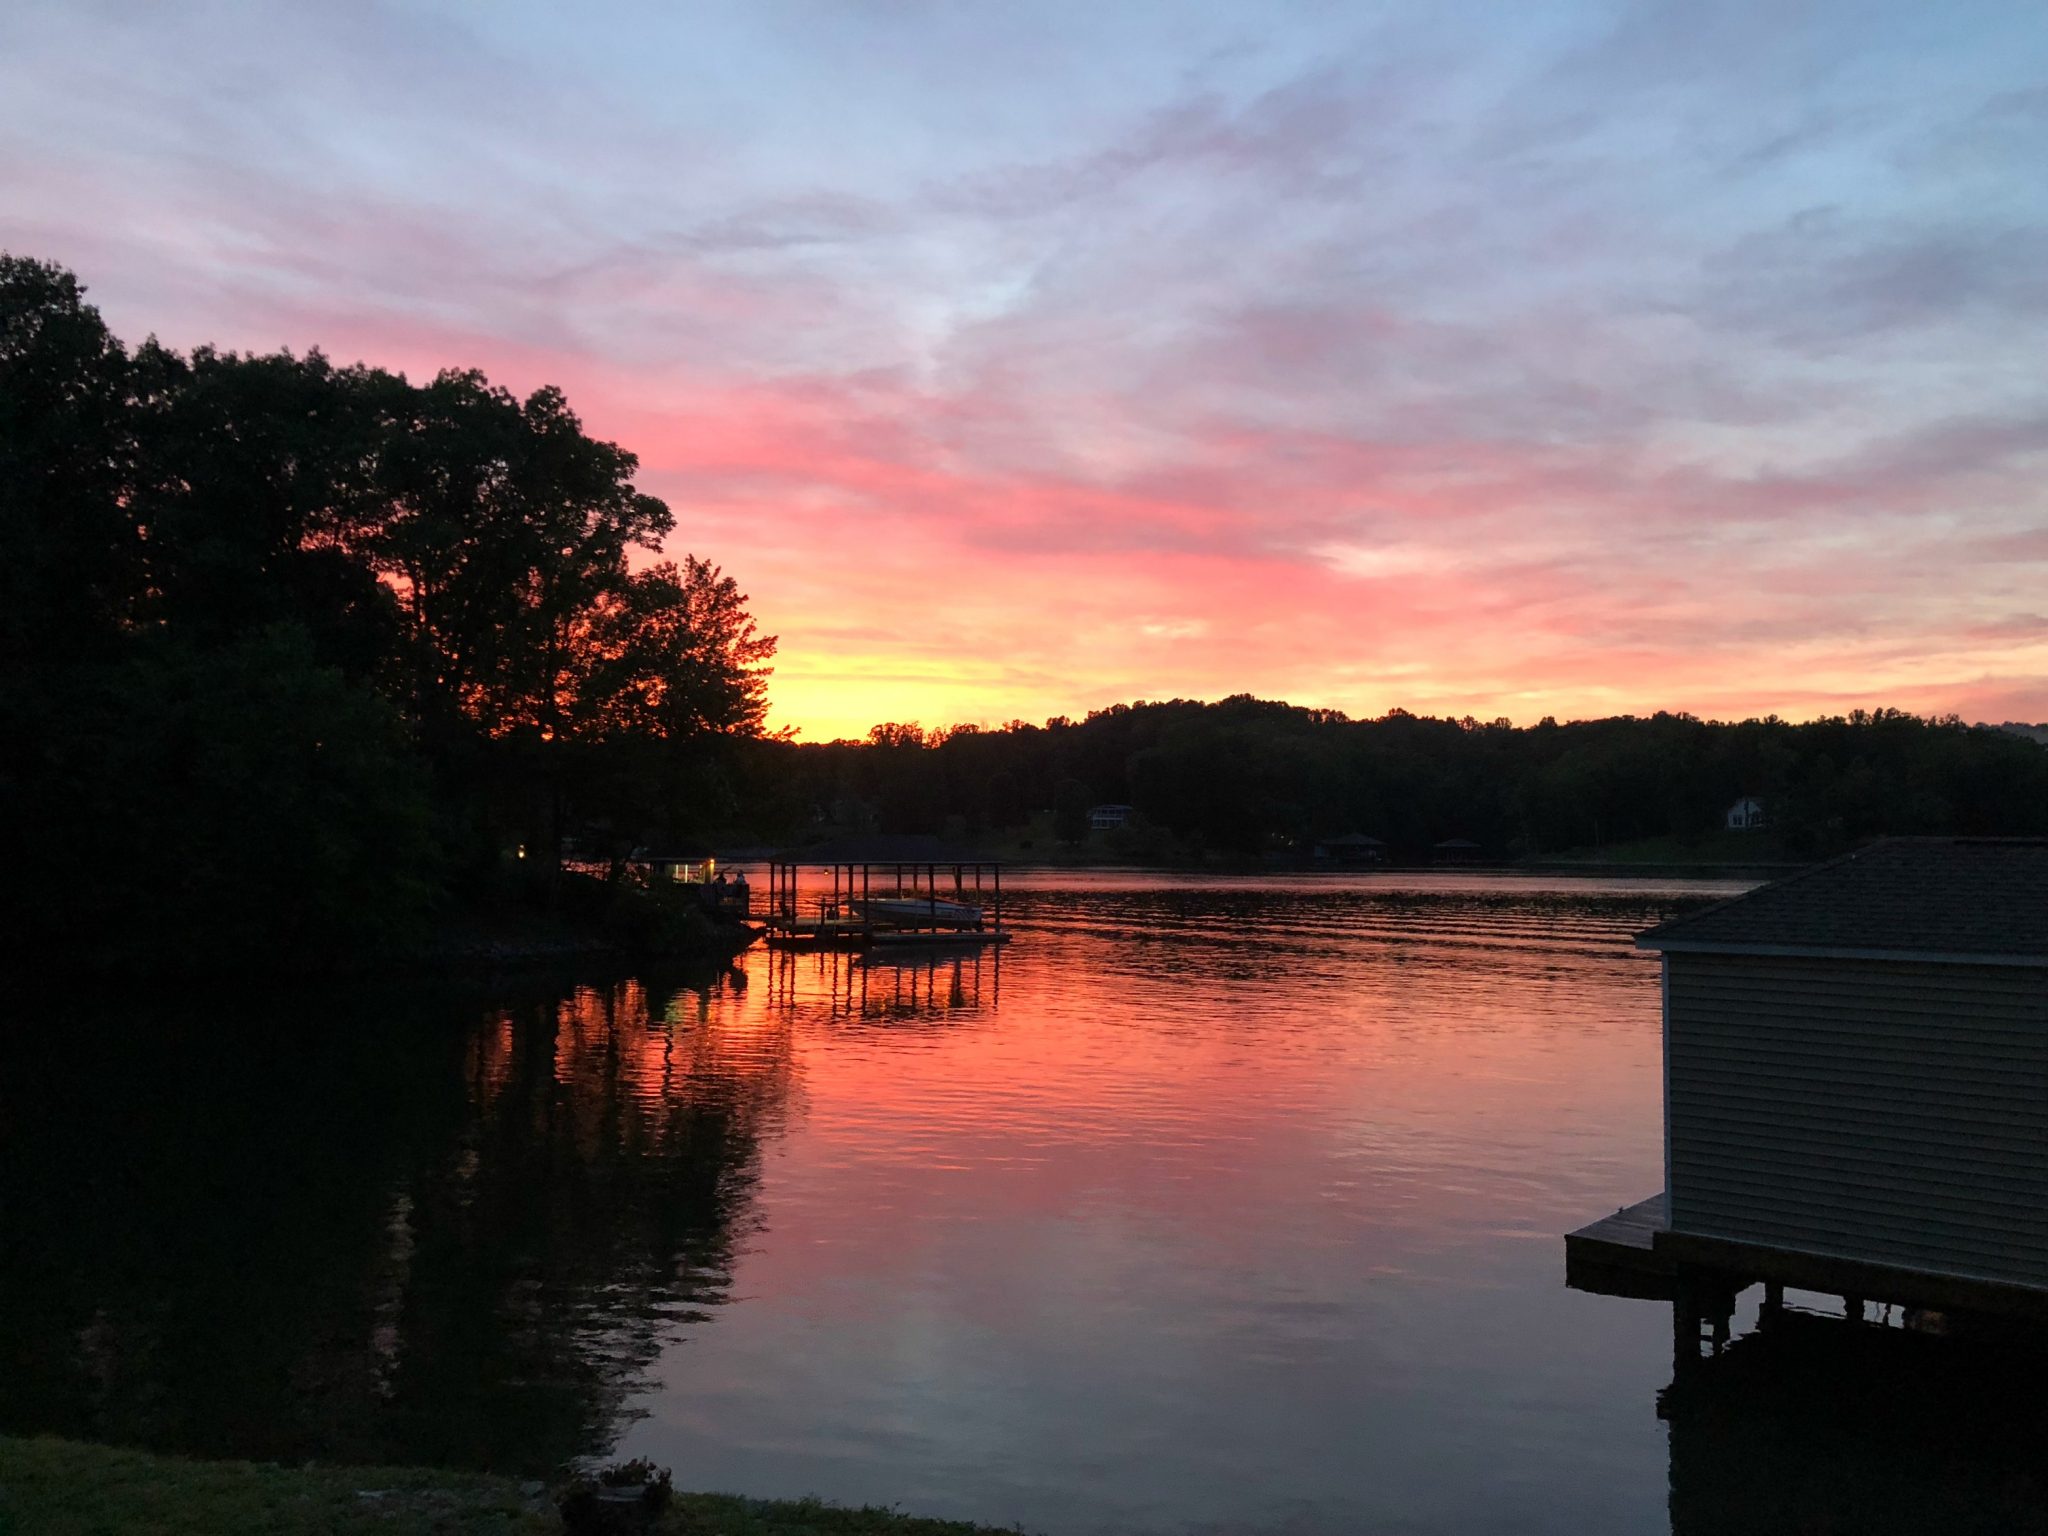
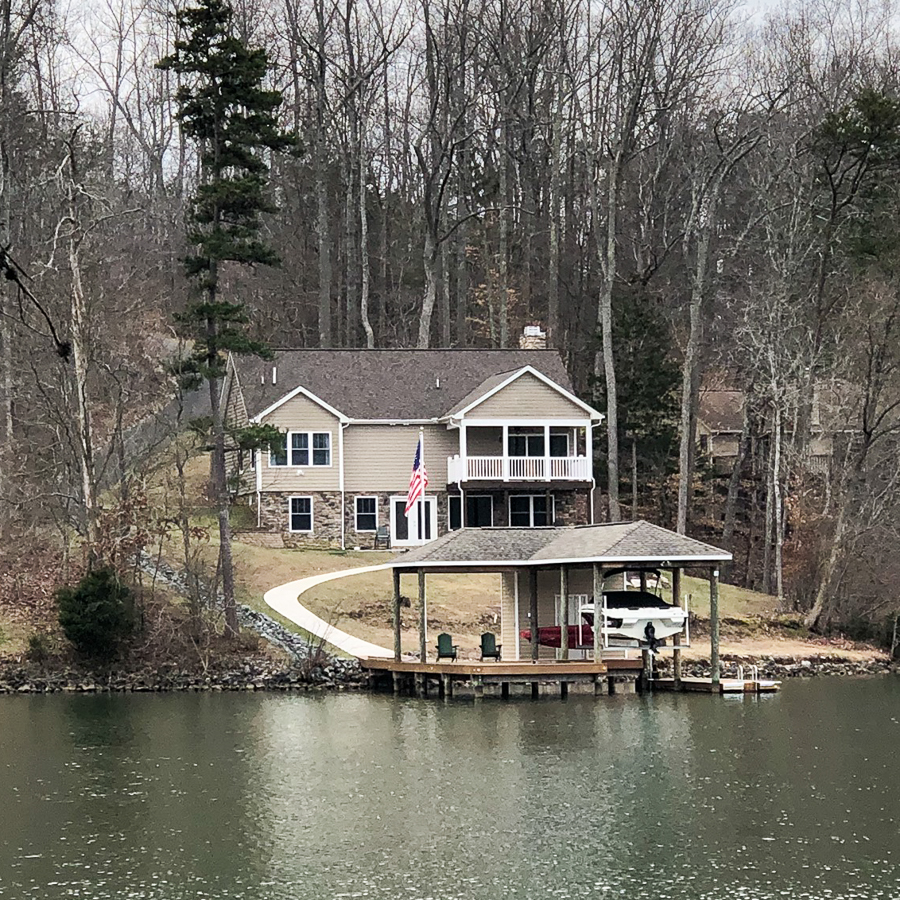
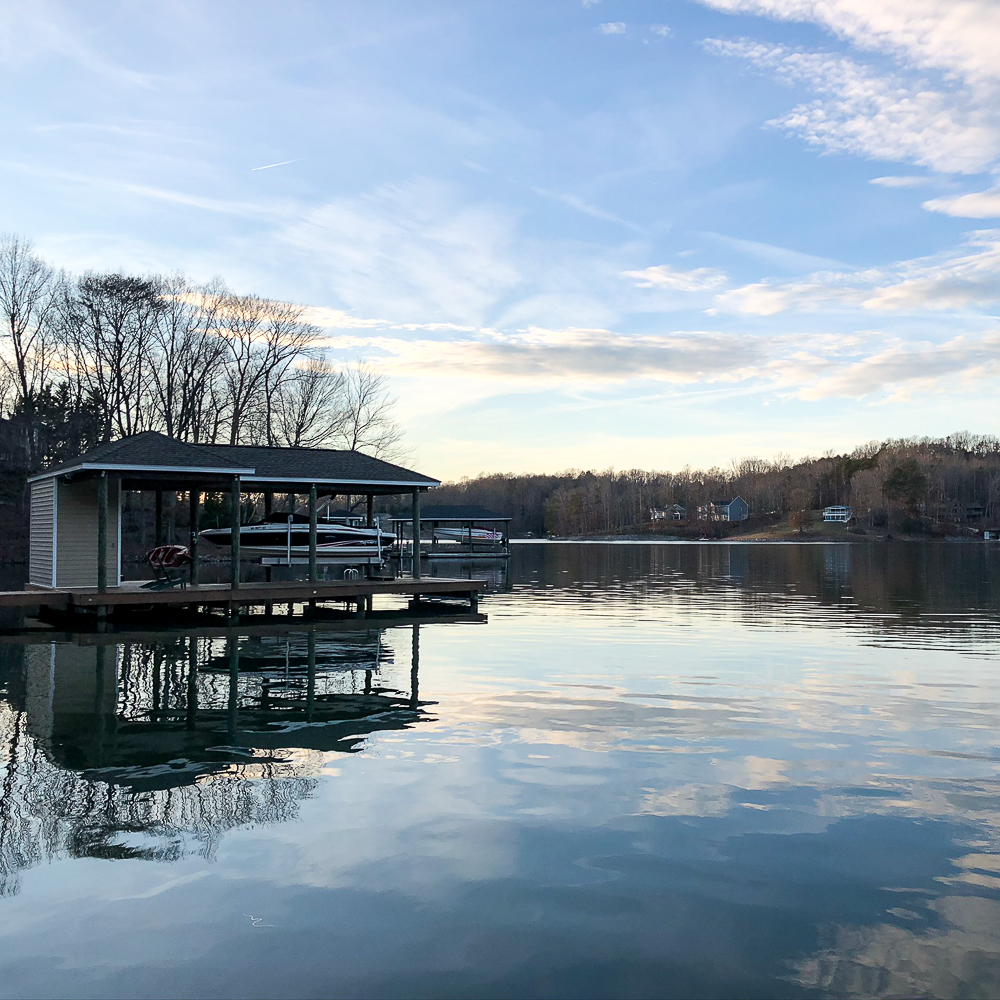
Spring has come to the lake and along with our grass getting green, the trees are starting to leaf out.
The staircase in our lake basement was a major project. After installing the newel post and then installing a banister, we were ready to move on to installing the metal balusters.
We started this project last August and I’ve been chronicling our work as we complete it.
- Lake House Basement Project Plans
- Lake House Basement – Update One
- Lake House Basement – Update Two
- Lake House Basement – Update Three
- Lake House Basement – Update Four – Paint
- Lake House Basement – Update Five – Flooring
- Lake House Basement – Update Six
- Lake House Basement – Update Seven
- Lake House Basement – Update Eight
- Lake House Basement – Update Nine
- Lake House Basement – Update Ten – Installing a Newel Post
- Lake House Basement – Update Eleven – Installing a Banister
- Lake House Basement – Update Twelve
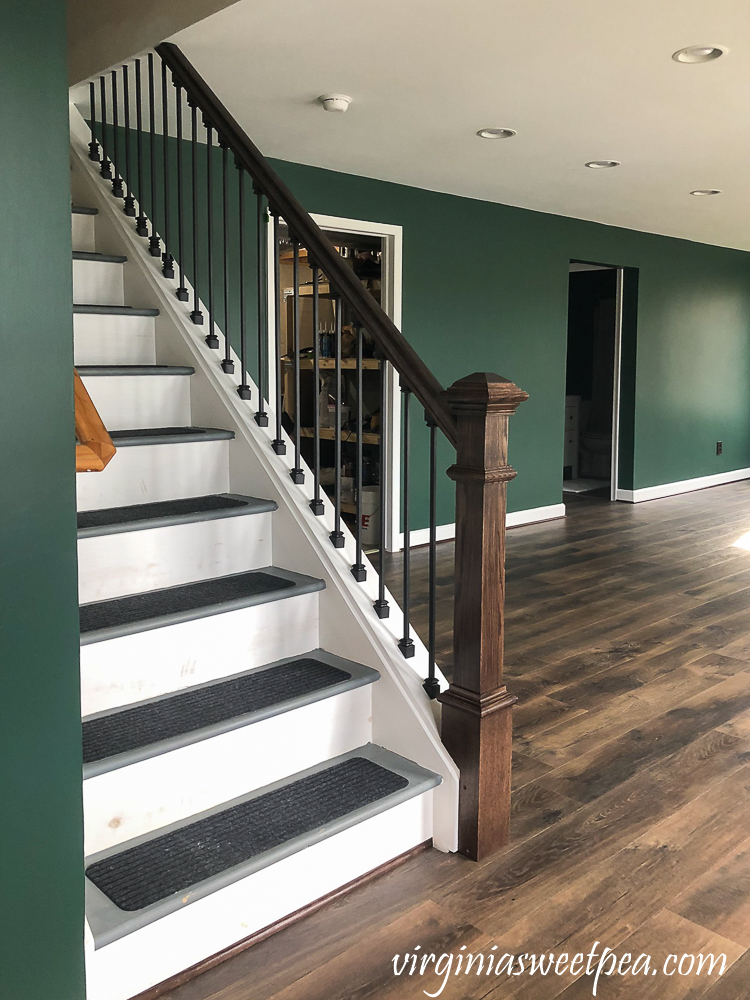
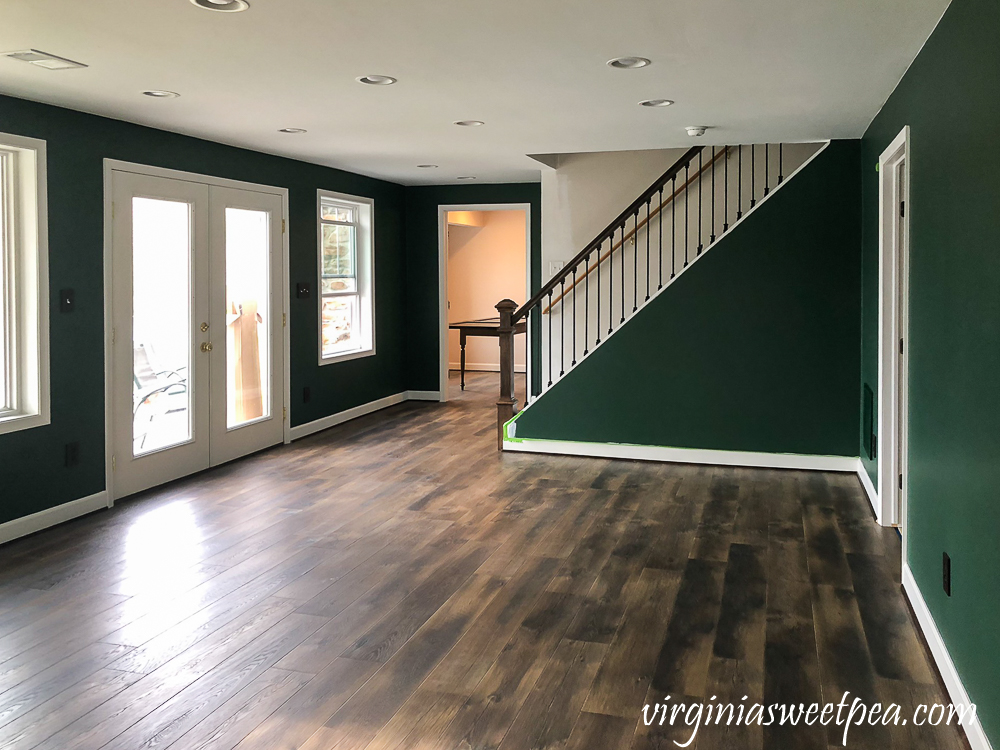
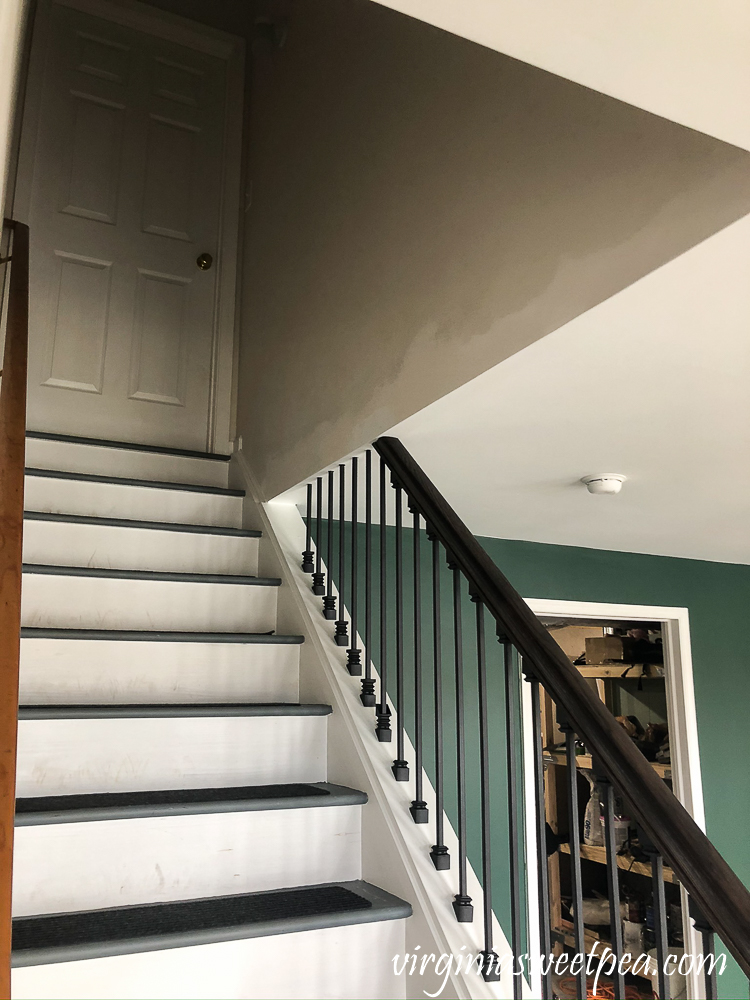
Finishing the Staircase
The main accomplishment of the weekend was finishing the basement staircase.
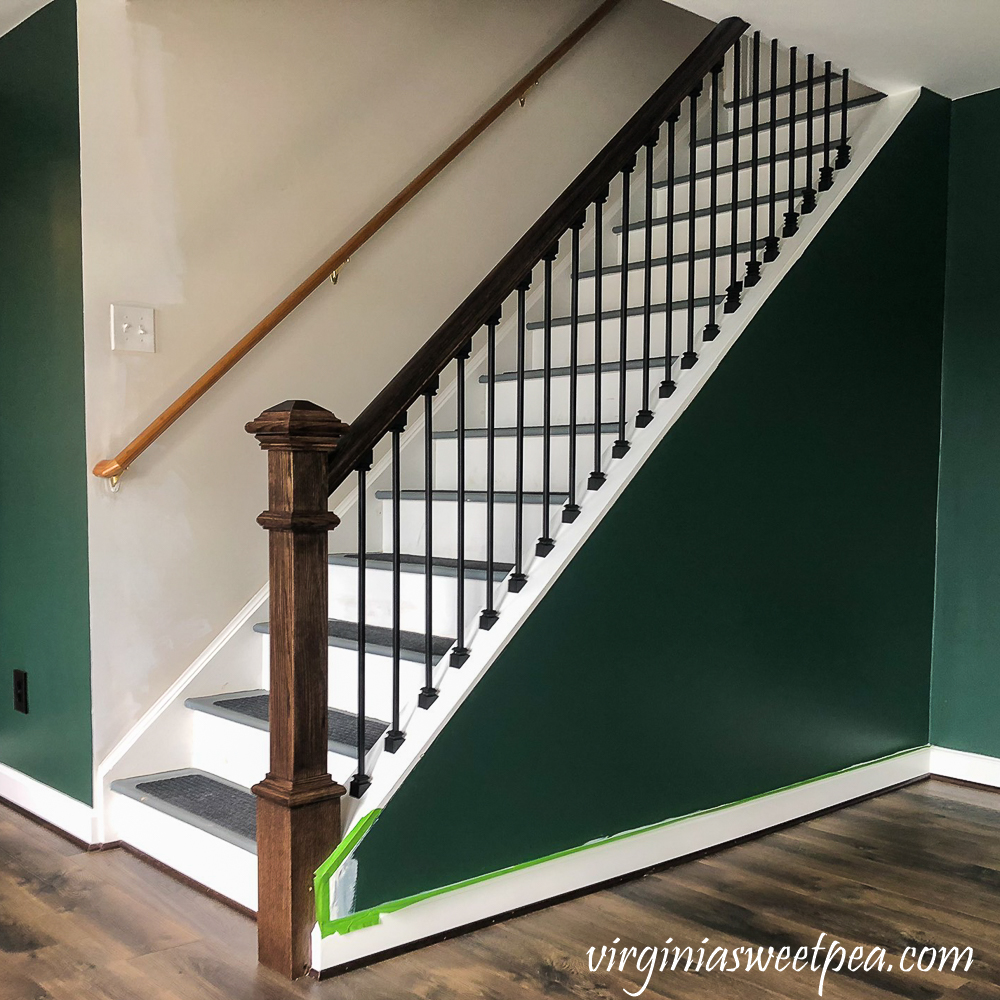
Eventually, we may remove the original banister but for now, we are leaving it in place.
The steps will be painted and we will install this runner.
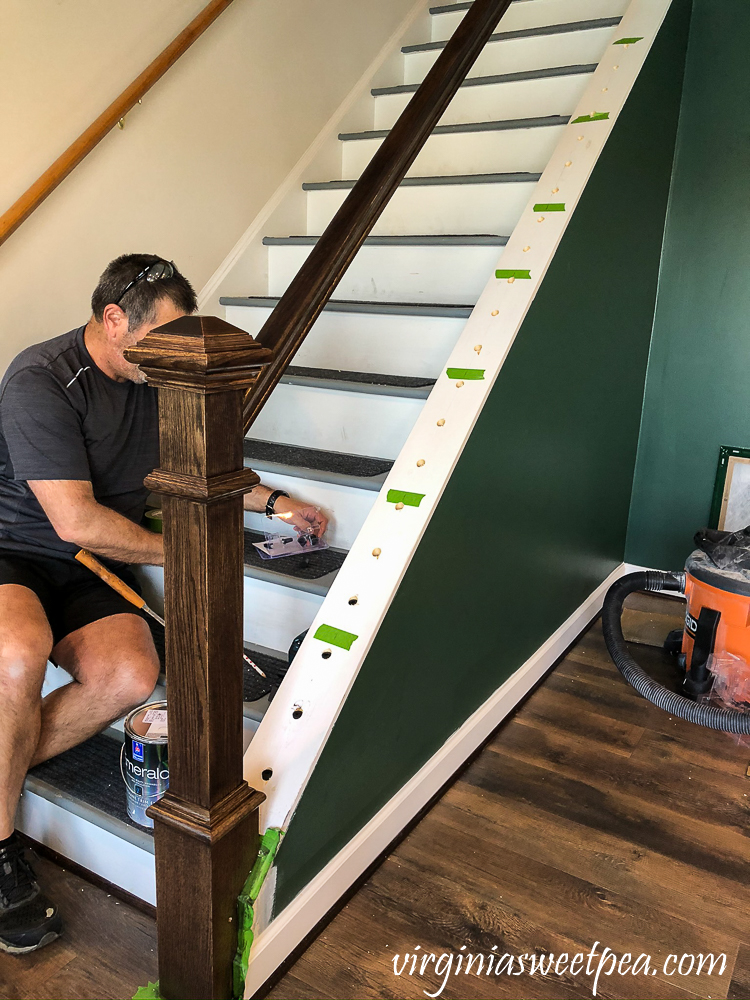
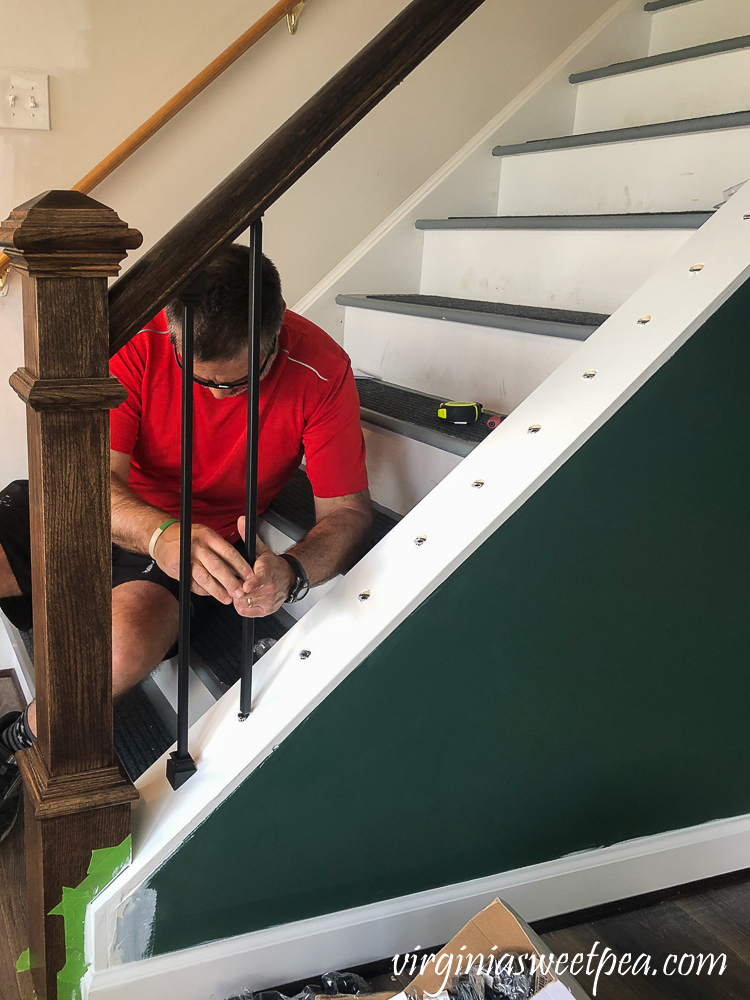
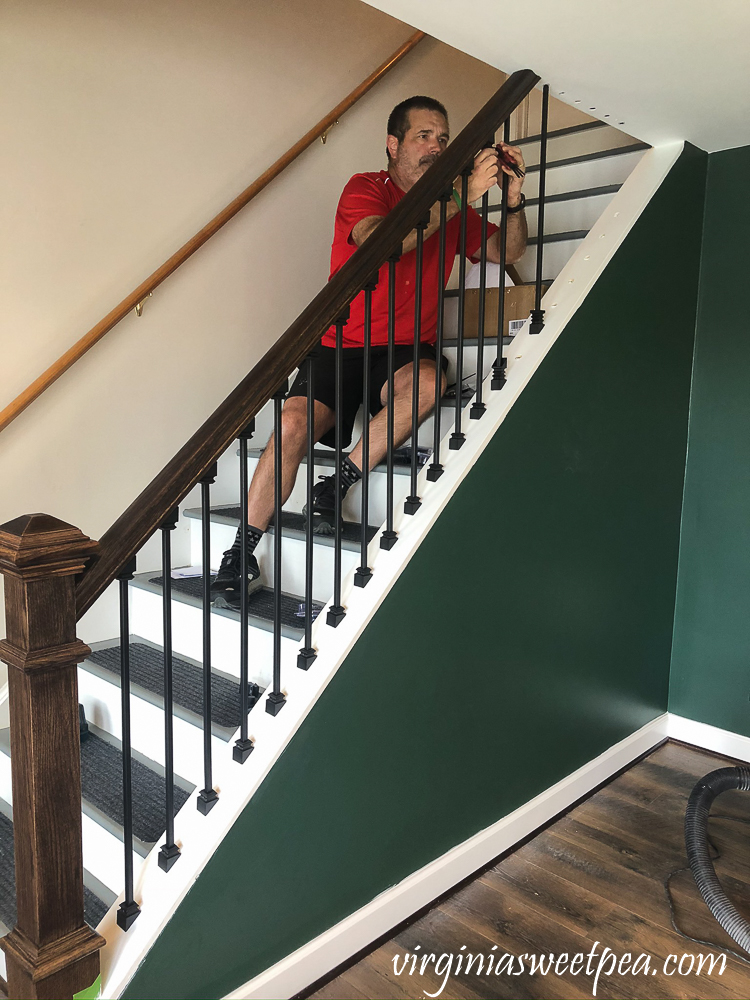
I am very proud of the hard work that Mr. SP did to install these metal balusters. Since they were installed on an angled knee wall, this project was especially tricky.
I heard him muttering cosign, tangent and other math terms that I haven’t used since high school when he was making his installation plan. I stayed out of his way as he completed this project.
I’ll let him explain the process!
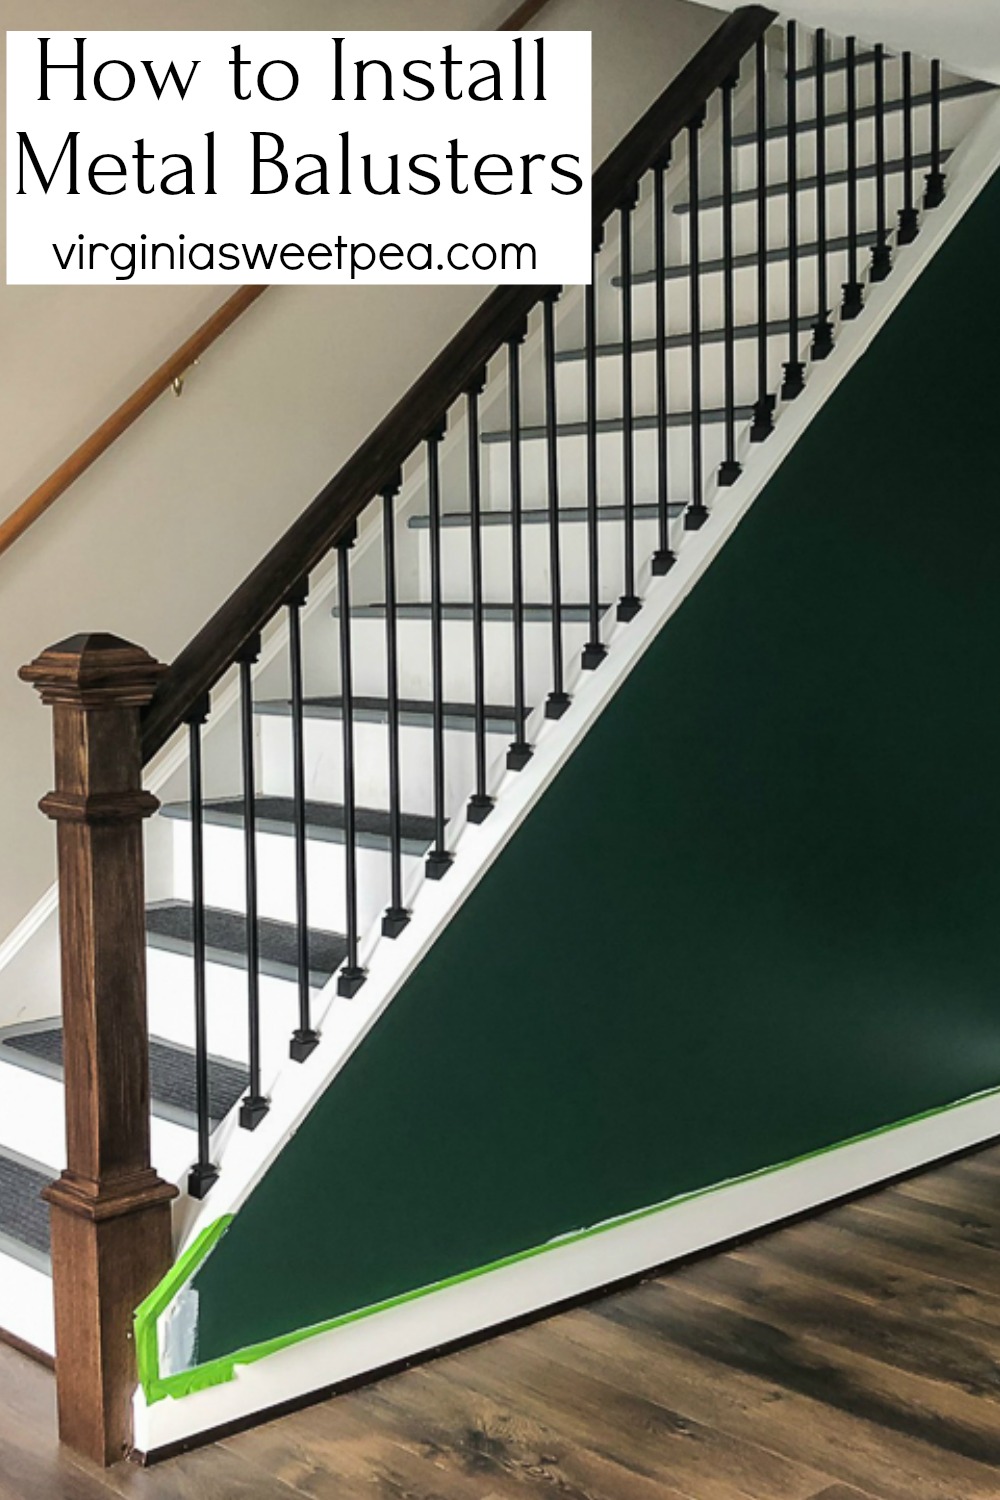
How to Install Metal Balusters
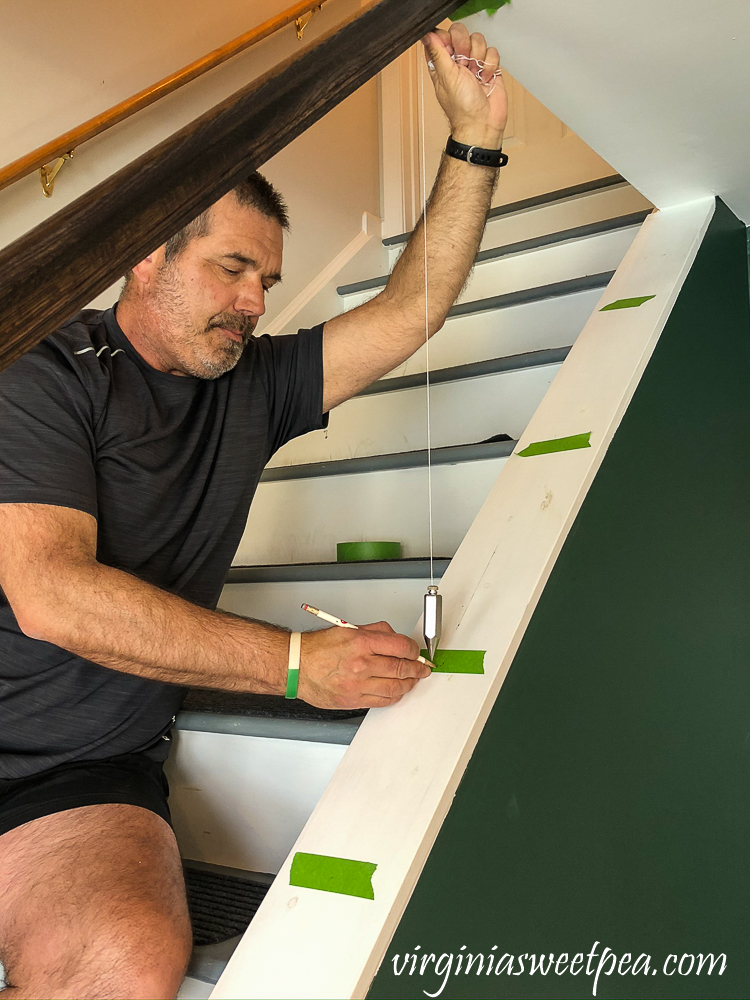
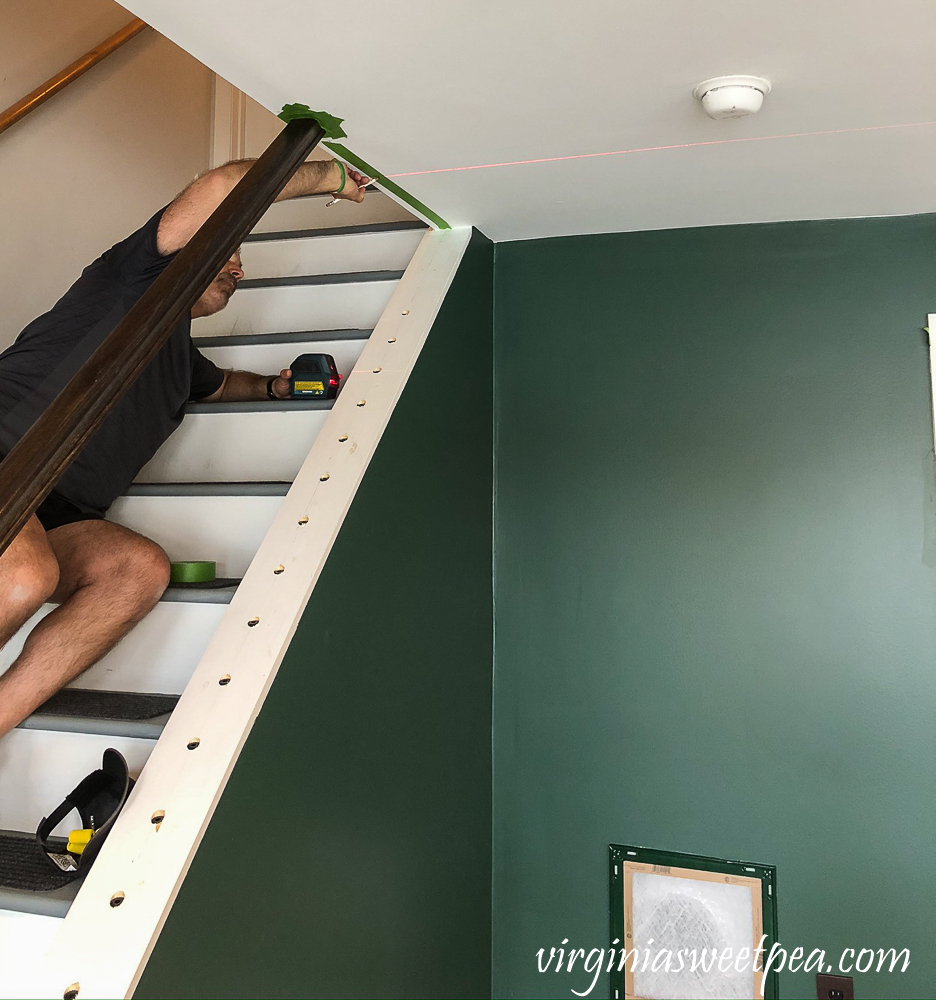
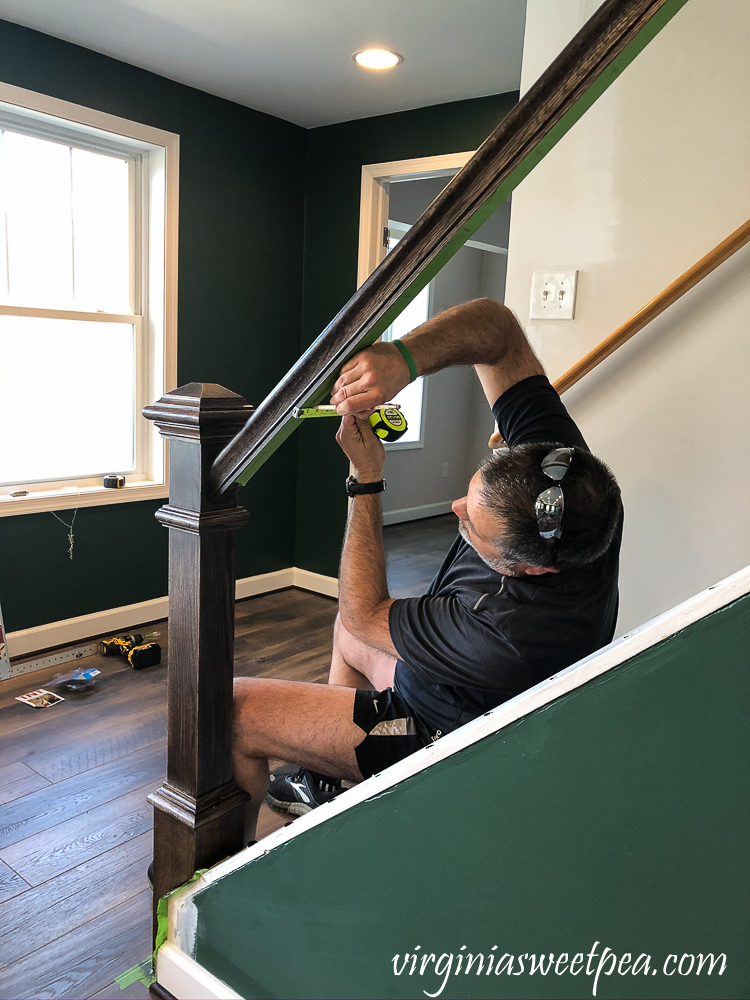
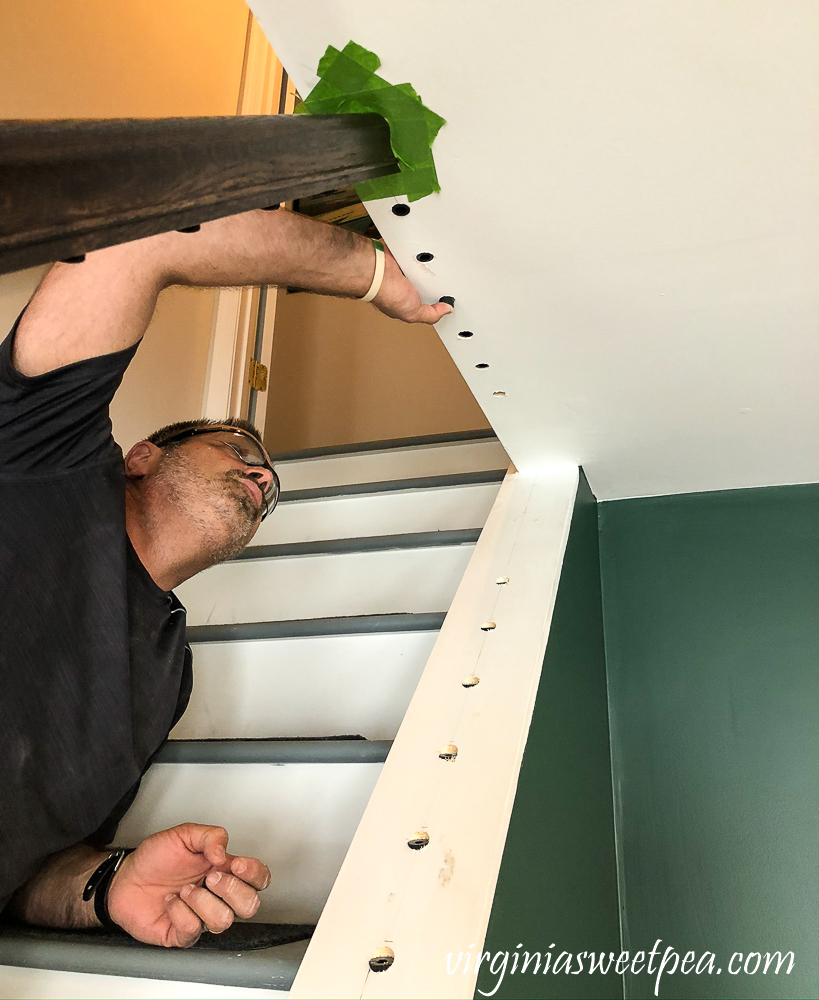
We first ran a plumb line onto the knee wall, directly below the centerline of the banister. We used painters tape underneath the entirety of the banister and onto the knee wall at intervals onto which we put pencil marks to mark the centerline. We then scribed the centerline up the knee wall with a pencil
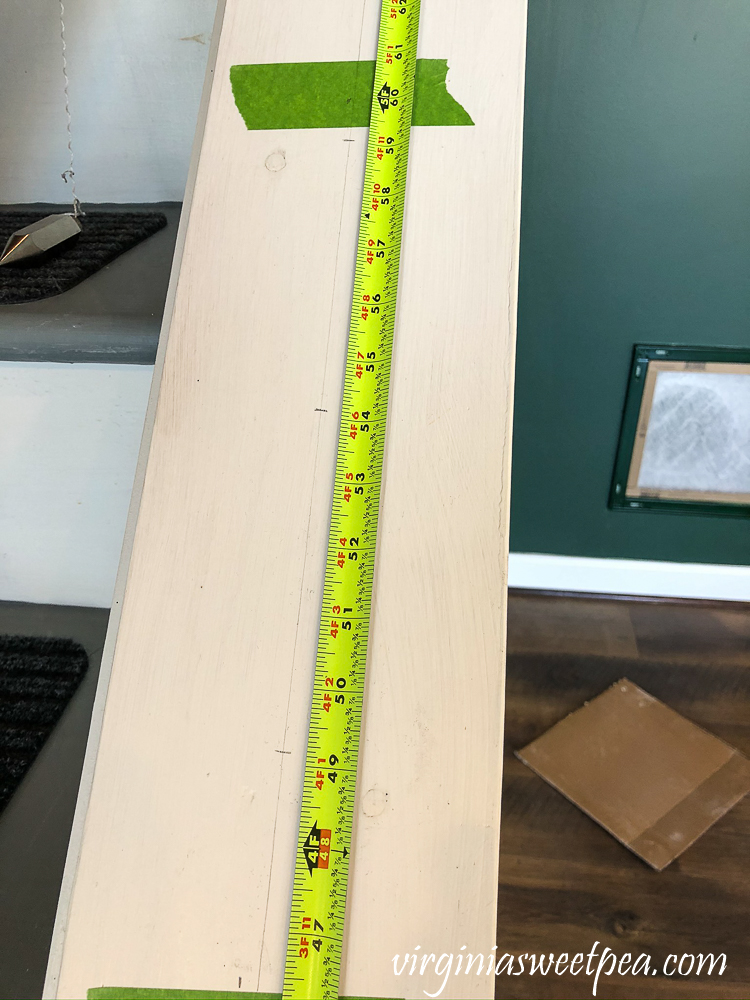
On that centerline, we marked 5″ intervals up the knee wall. With the ~40 degree slope of the knee wall, this meant that the balisters would be less than 4″ apart (measured horizontally).

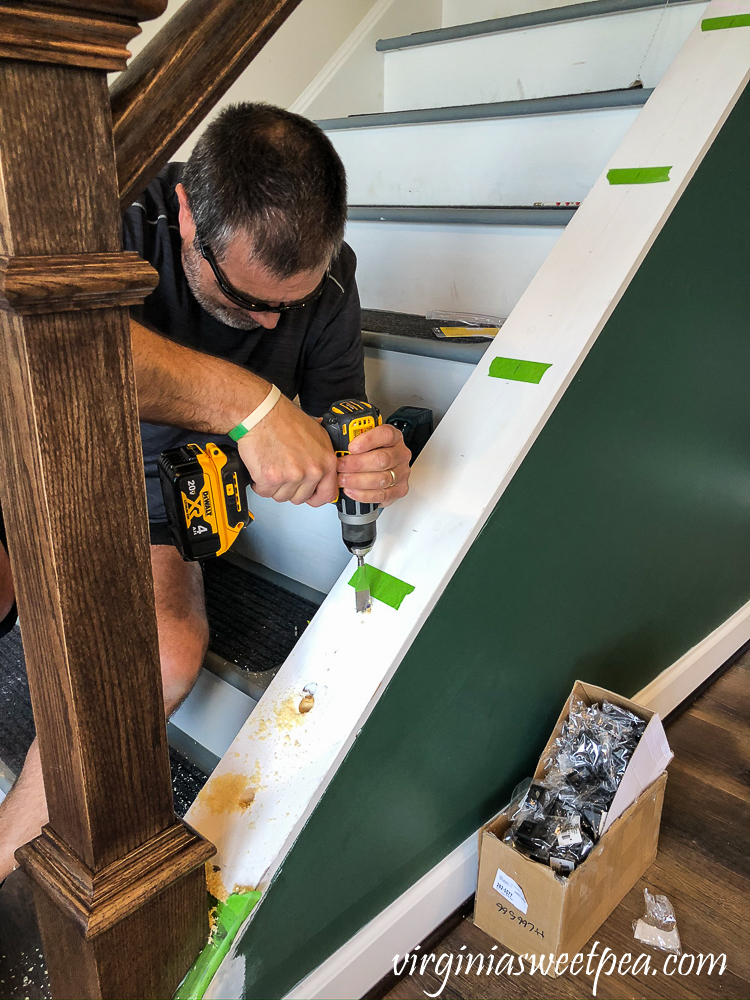
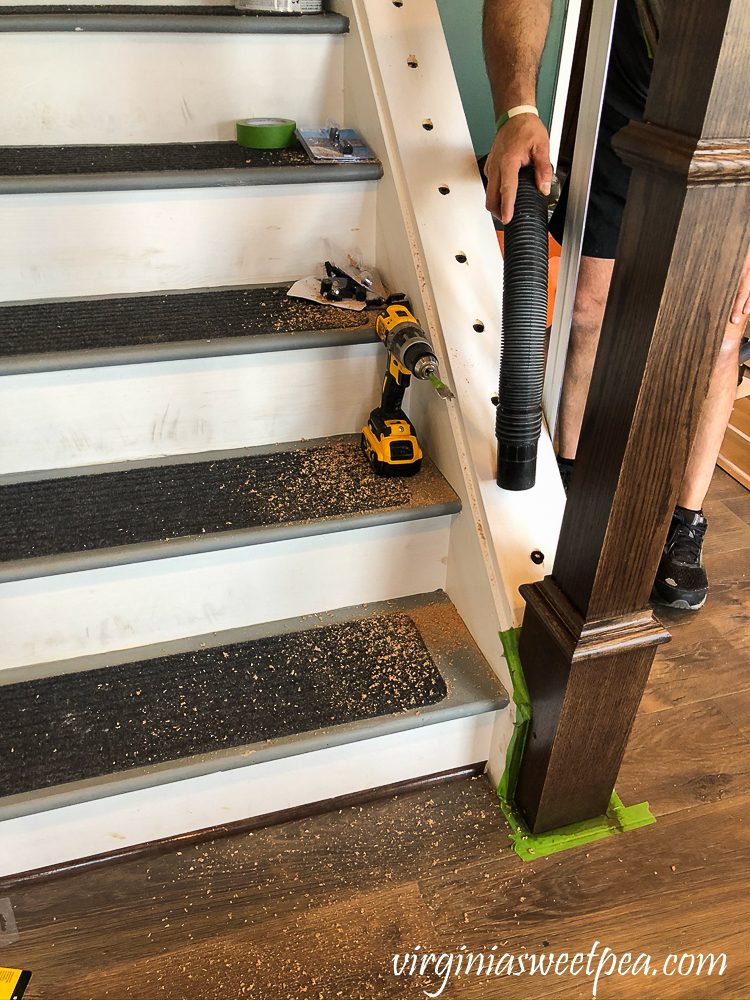
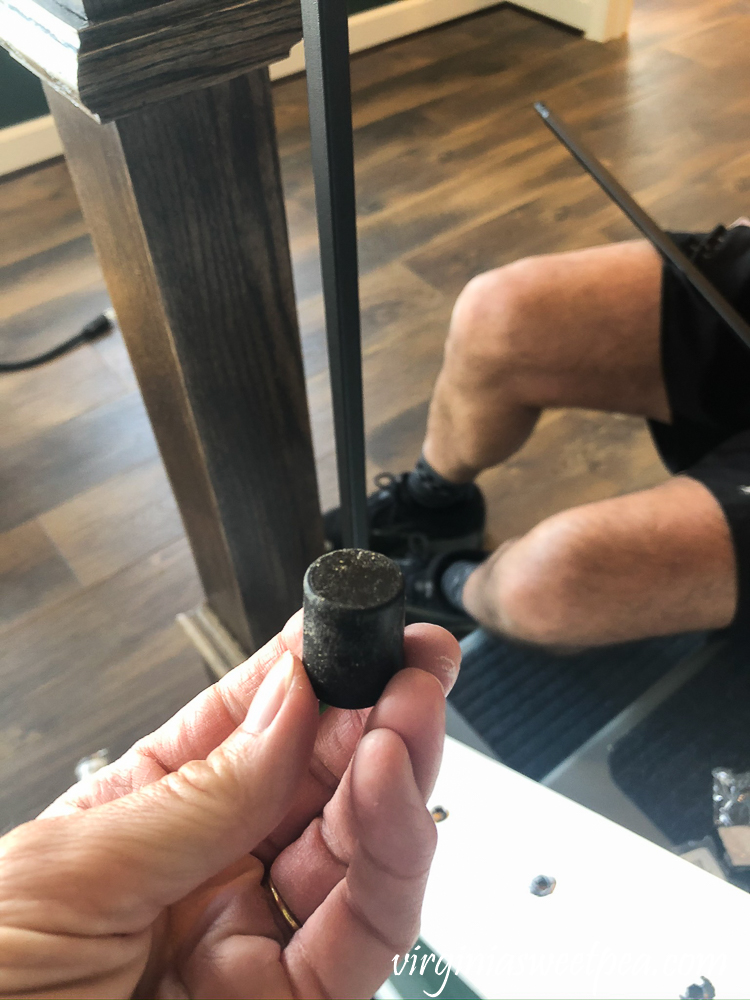
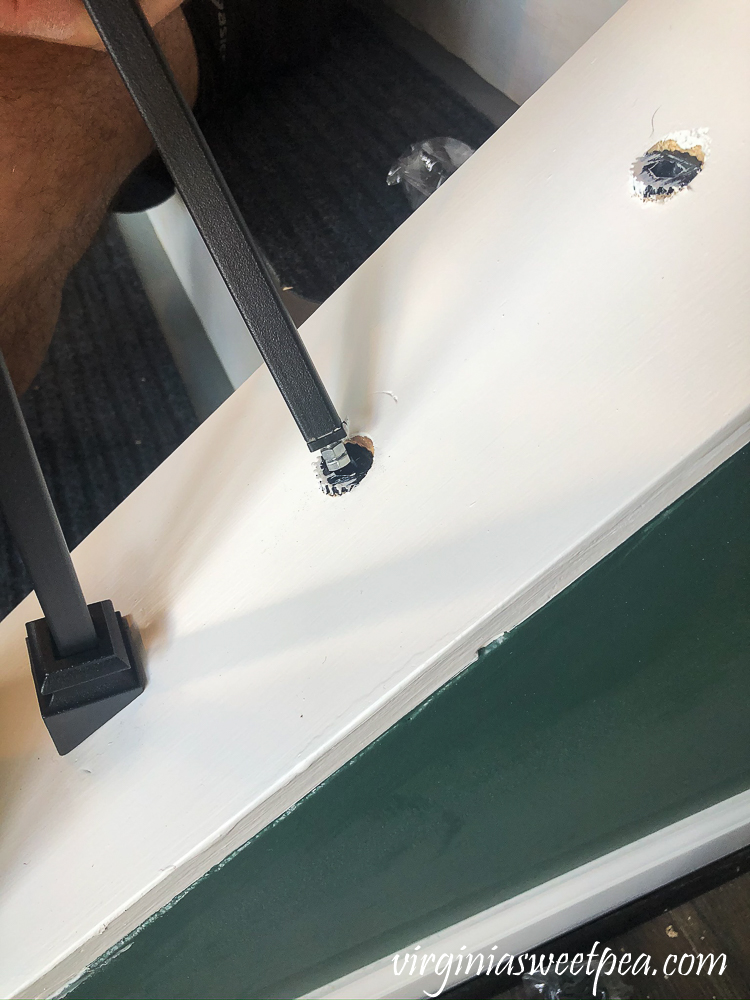
We used 1/2″ hollow aluminum balusters and an install kit from Home Depot specifically for those balusters. The install kit comprised of a round plastic base “plug” for the bottom, and a round rubber “cork” for the top. Using a spade bit, we drilled 3/4″ holes, approximately 1″ deep, at the specified marks up the knee wall for the bottom plastic “plug”.
The plastic “plugs” were tapped into the holes just drilled. These form the base for the ballusters.
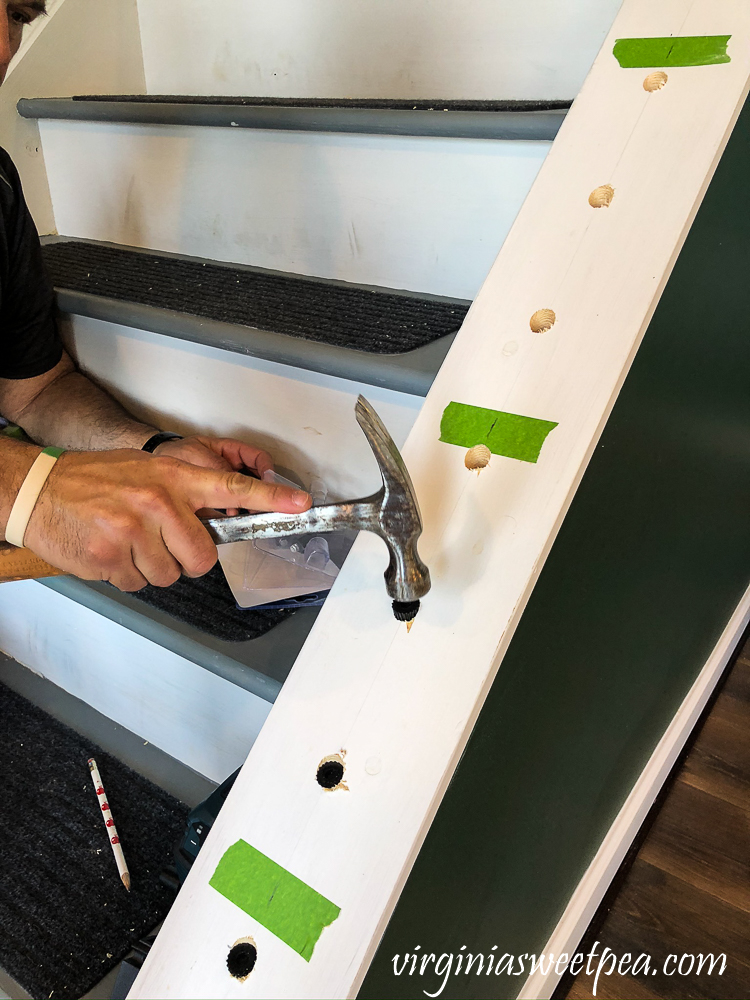
With the base plugs in place, a laser level was used to mark the position of each baluster location above those already drilled into the knee wall. This was done for the entire length of the stairs – from the banister, onto the ceiling.
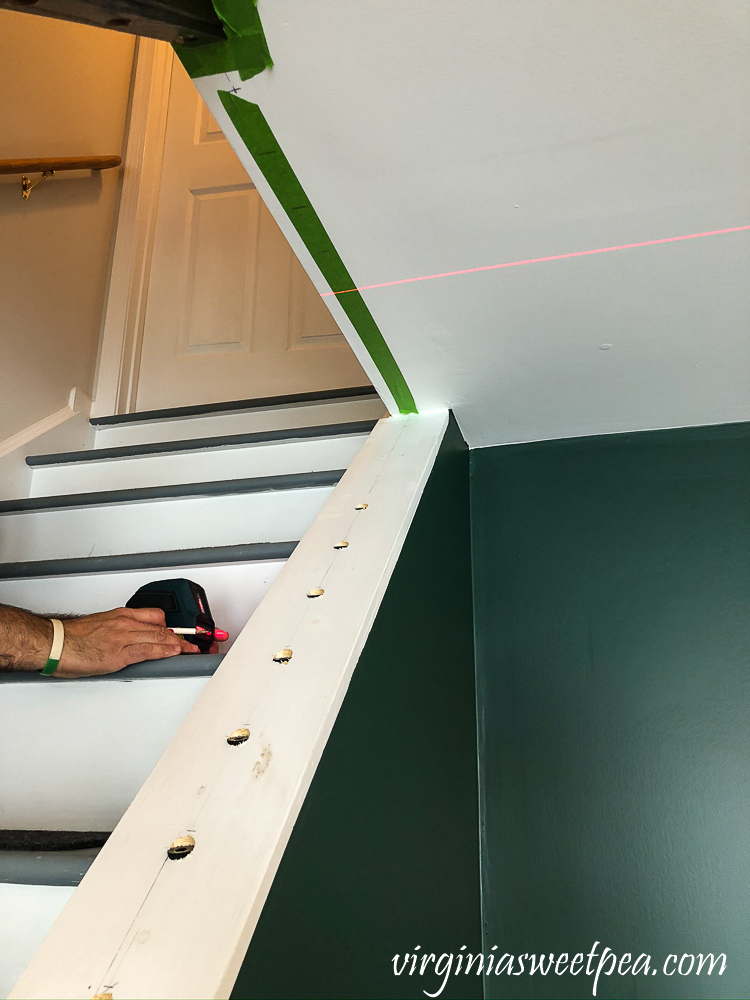
The centerline was marked for each of the baluster locations under the banister. A 3/4″ hole was drilled, approximately 1″ deep, at each of these locations.
This made another mess to be vacuumed up before proceeding. Prior to starting the baluster installation, the knee wall face board was painted with white trim paint.
Into these top holes, the rubber “cork” was inserted. These corks have a hole in the center, into which the round end of the baluster is inserted.

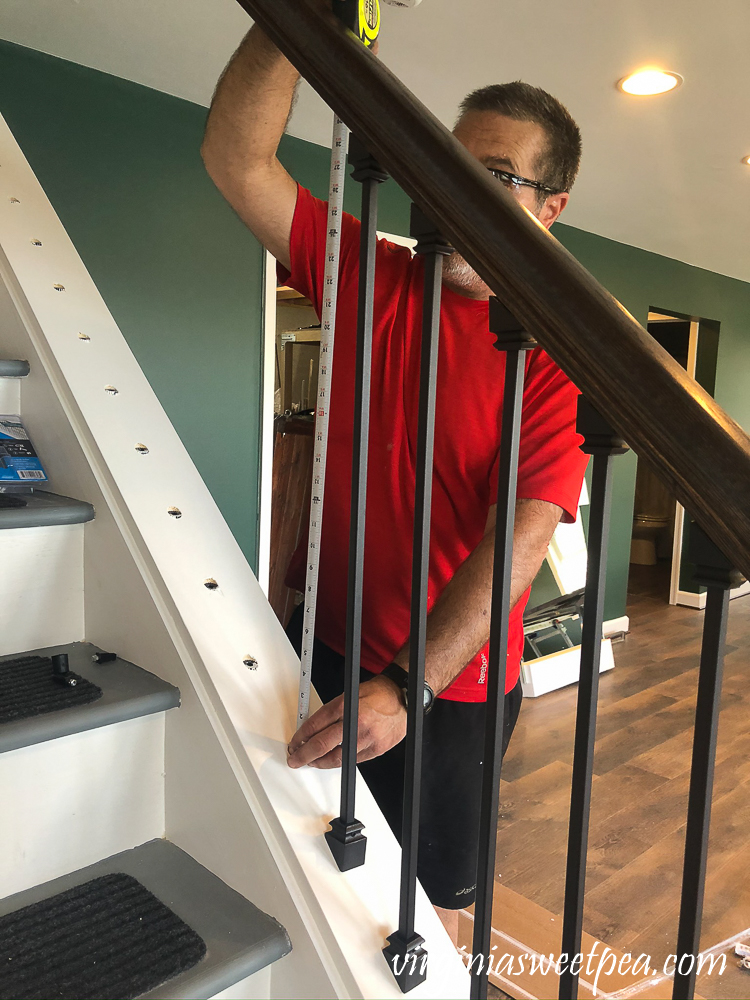
The balusters were cut to length by measuring the distance between the bottom plug and the top cork. 3/8″ was added to this dimension to account for the top of the baluster that fits inside the top cork.
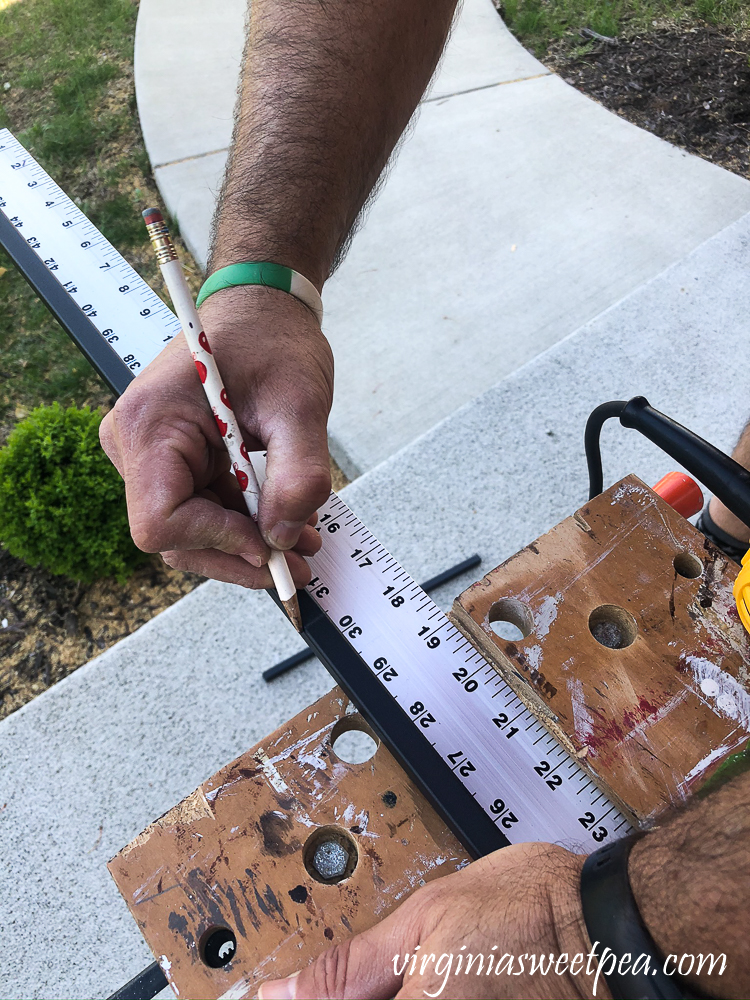
Balusters were cut with a right angle grinder with a metal cutting wheel. The aluminum is soft, and cutting is easy.
The installation kit purchased has fittings for the bottom of the baluster. These fittings have a screw and two nuts on the bottom. When the baluster is inserted into the top cork, the bottom screw/nut fits into a corresponding recess in the bottom plug. The baluster is then rotated to lengthen the screw to tighten the baluster into place. The nut is then tightened against the fitting to keep the baluster screw from turning.
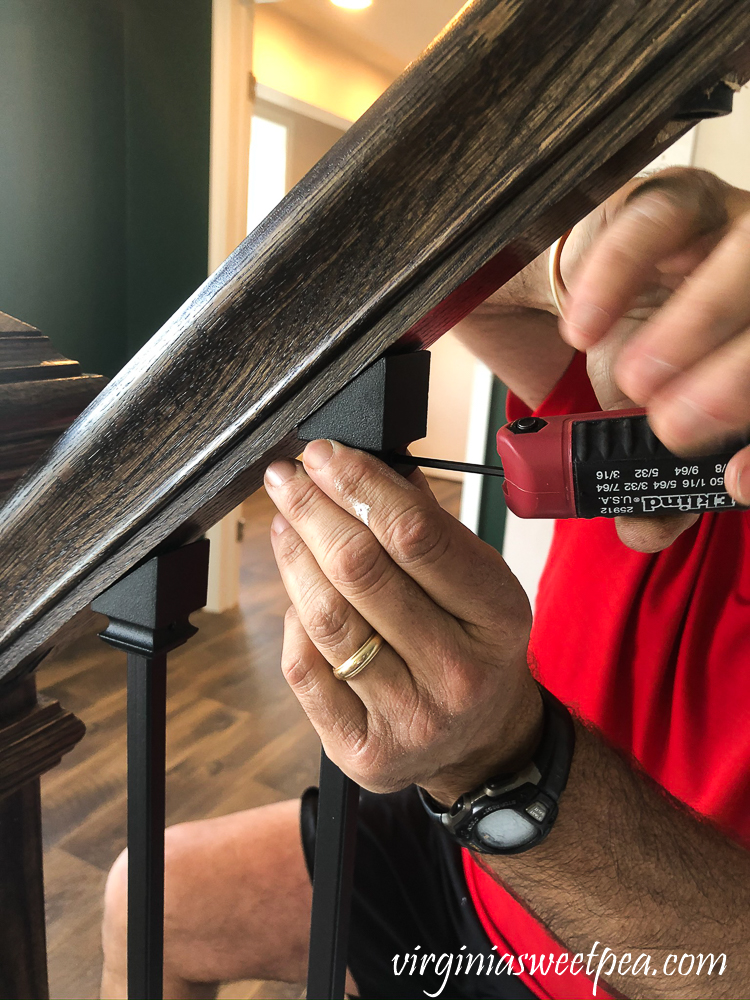
We used baluster shoes to hide the hardware on the top and bottom, and to give the stairs a finished look. Angled shoes were used for the bottom and top of the balusters. Where the balusters connect to the ceiling, flat shoes were used (unfortunately, not shown in any of the photos). The shoes are held in place by a set screw.

Though I am using an english set of allen keys, the set screws are metric. I was able to get most of the shoes in place, but waited to finish until I brought the correct metric allen keys from home to finish the job. For that reason, the balusters at the upper end of the stairs do not have the shoes in place.

Sherman is our constant companion during all this work.
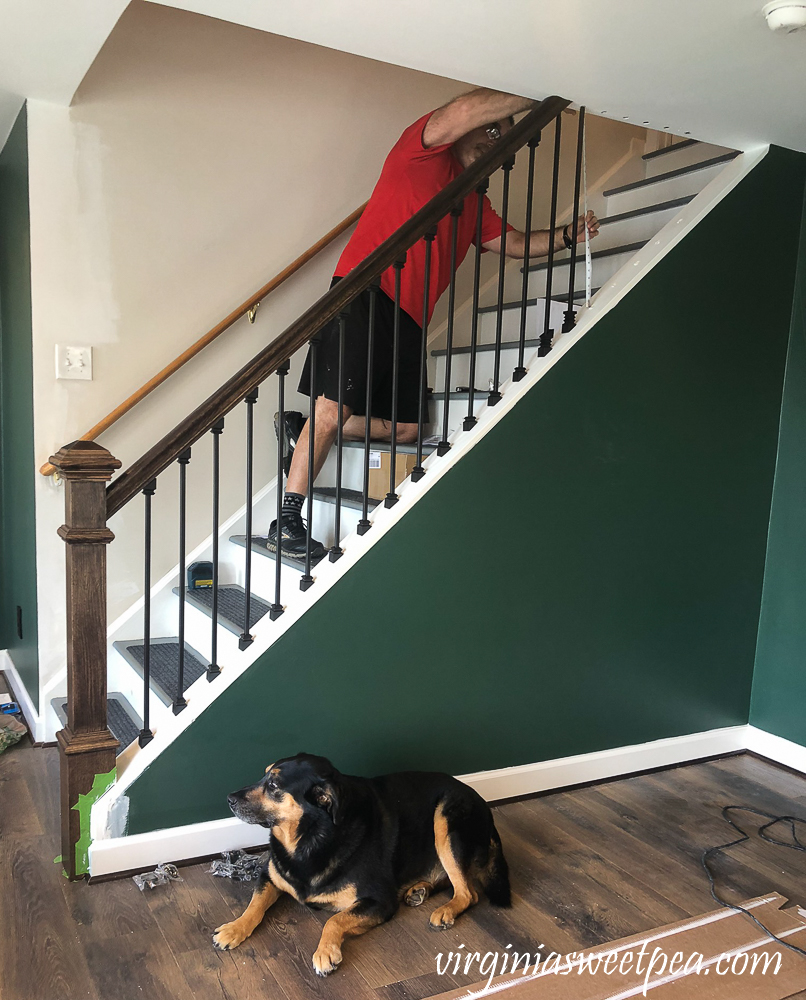
In this photo, you can see the top shoes resting on the bottom of the balusters – prior to being moved into position at the top of the baluster and screwed into place.

Paula here! We both are thrilled with the outcome of our stair project.
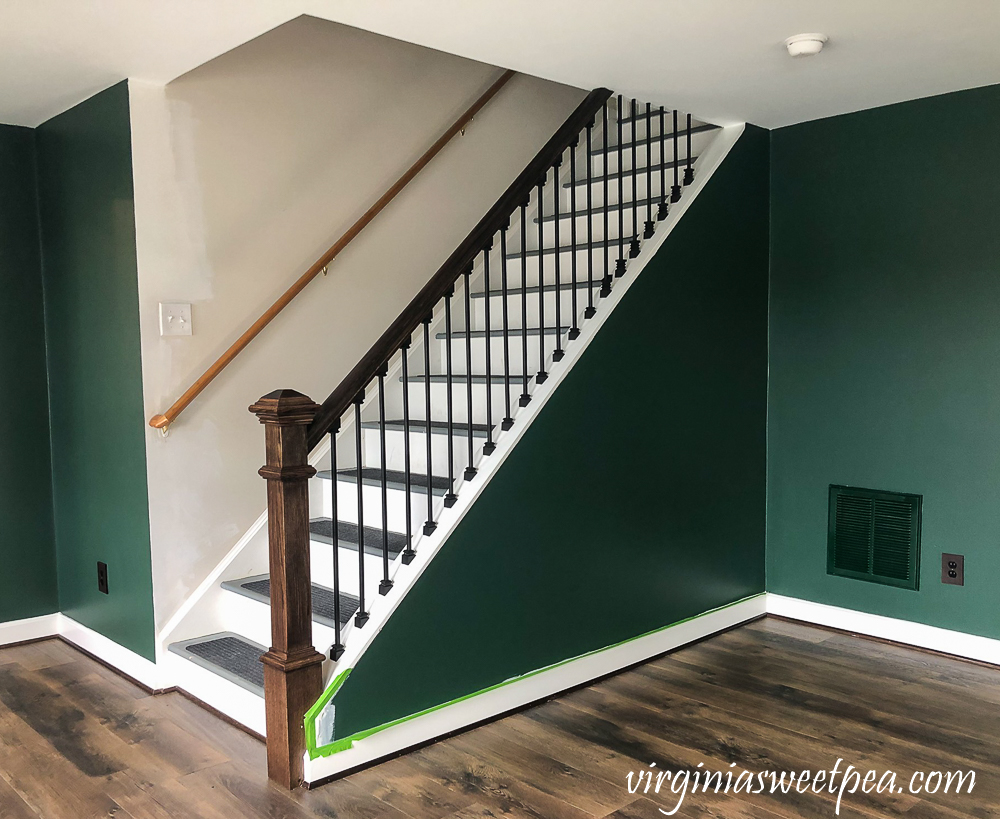
There’s a bit of touch-up painting to be done, that is the reason for the Frog tape.
What’s Next?
We need to finish putting the shoes in place on the balusters.
We also need to add a banister piece to the basement wall extending from the new banister to the doorway. This will wait until we apply the wallpaper on the stairway walls. For now, the old banister will remain in place on the opposite wall.
Look for a separate post coming tomorrow showing what I accomplished while Mr. SP was hard at work installing the balusters.
Pin It!
I would love for you to pin this post to Pinterest for others to discover!


Wow, that looks so good, Paula! And I love the runner you’ve chosen! I enjoyed reading Mr SP’s account of the steps taken to install that railing. Very clear.
Thank you, Rita! Hopefully Mr. SP’s directions will help someone else out when they try to tackle a project like this one.
Paula
Looks great!
Way to go guys- what fantastic teamwork!
Thank you, Cole! Can’t wait for you and Beth to jet ski over and come in to see it in person.
Paula
Wow Paula!
The bannister completely warms up the room and GREAT JOB Mr. SP!!!!
I’m living vicariously through you guys, can’t wait for the finish (I know you are!!!!)
Take care
Thank you so much, Colleen! Mr. SP worked so hard on this project and we both were so happy when it turned out just as we envisioned. The end is definitely in site for the basement!
Paula
That looks so beautiful! I bet it was a lot of work but totally worth it.
Thank you, Joanne! We are thrilled with the outcome of this project and glad to check it off our list of things to do.
Paula
It looks beautiful! Terrific job! He has lots of patience lol. I’m new to your blog and am finding lots of inspiration. Glad I found it!
Janet
I am so glad that you discovered my blog, Janet! I’m delighted that you are here and I hope that you’ll continue to follow along. The basement project has been a lot of work, but very rewarding work.
Paula
Wow, what a great post! Mr.SP really explained the process so thoroughly, if anyone had any questions about how to do this, they certainly can refer to this post! AND, it’s so very nice and truly makes the staircase stand out. It’ll be even prettier when you install the beautiful runner you picked out! I bet if felt great to just sit on your deck for a bit and appreciate Spring blooming. I know I always get excited when I see the trees budding…LOL, I just looked out the window and it’s snowing here!!! Western NY…you just never know!!!
That looked like. Lot of work but it turned out beautiful. Thanks for sharing the process in detail.
Wow– what a job! It looks very nice. Well done.
You’ve done so much Paula. Amazing🙋🏼♀️
I read with great interest, as we are planning a similar project at our abode soon. Great job…it looks spectacular. Visiting from Flaunt It Friday Link Party!
Wow! What a project – too much math for me! How fortunate you are to have a home on a lake.
Thank you for sharing at Party In Your PJ’s!
I’m exhausted just reading this! I’d be phoning a professional. Luckily you have one.
Your basement is looking so pretty! The dark green paint is lovely. And the staircase is beautiful. It’s been so nice to peek in from time to time to see how it’s going.
Michelle
http://mybijoulifeonline.com
Thank you, Michelle! It’s nearly finished and we are starting to use and enjoy it.
Paula
This looks amazing! I love this style of railing and i love your green color on the walls!!
Thank you, Kristin! It’s been a lot of work but we are nearly finished and love the end result.
Paula
Looks like a lot of work has gone into your basement project! Thanks for sharing with us at The Blogger’s Pit Stop!
It was hard work but very rewarding.
Paula
Lovely job! Exactly what we’re looking to do for our staircase. I know you mentioned the balusters were from Home Depot – you don’t happen to you know a link or item number do you? We are in Canada and I’m having trouble tracking them down.
Thanks!
Hi, Eleanor! Here is a link to the balusters. I will also update the post with a link.
Paula
Thanks for such a quick response. Alas! They’re not carried by Home Depot Canada. The search continues. Thanks again.
That’s a shame! Good luck with your search.
Paula