DIY Fall Wood Bead Garland
Learn how to make a wood bead garland to use to decorate your home for fall.
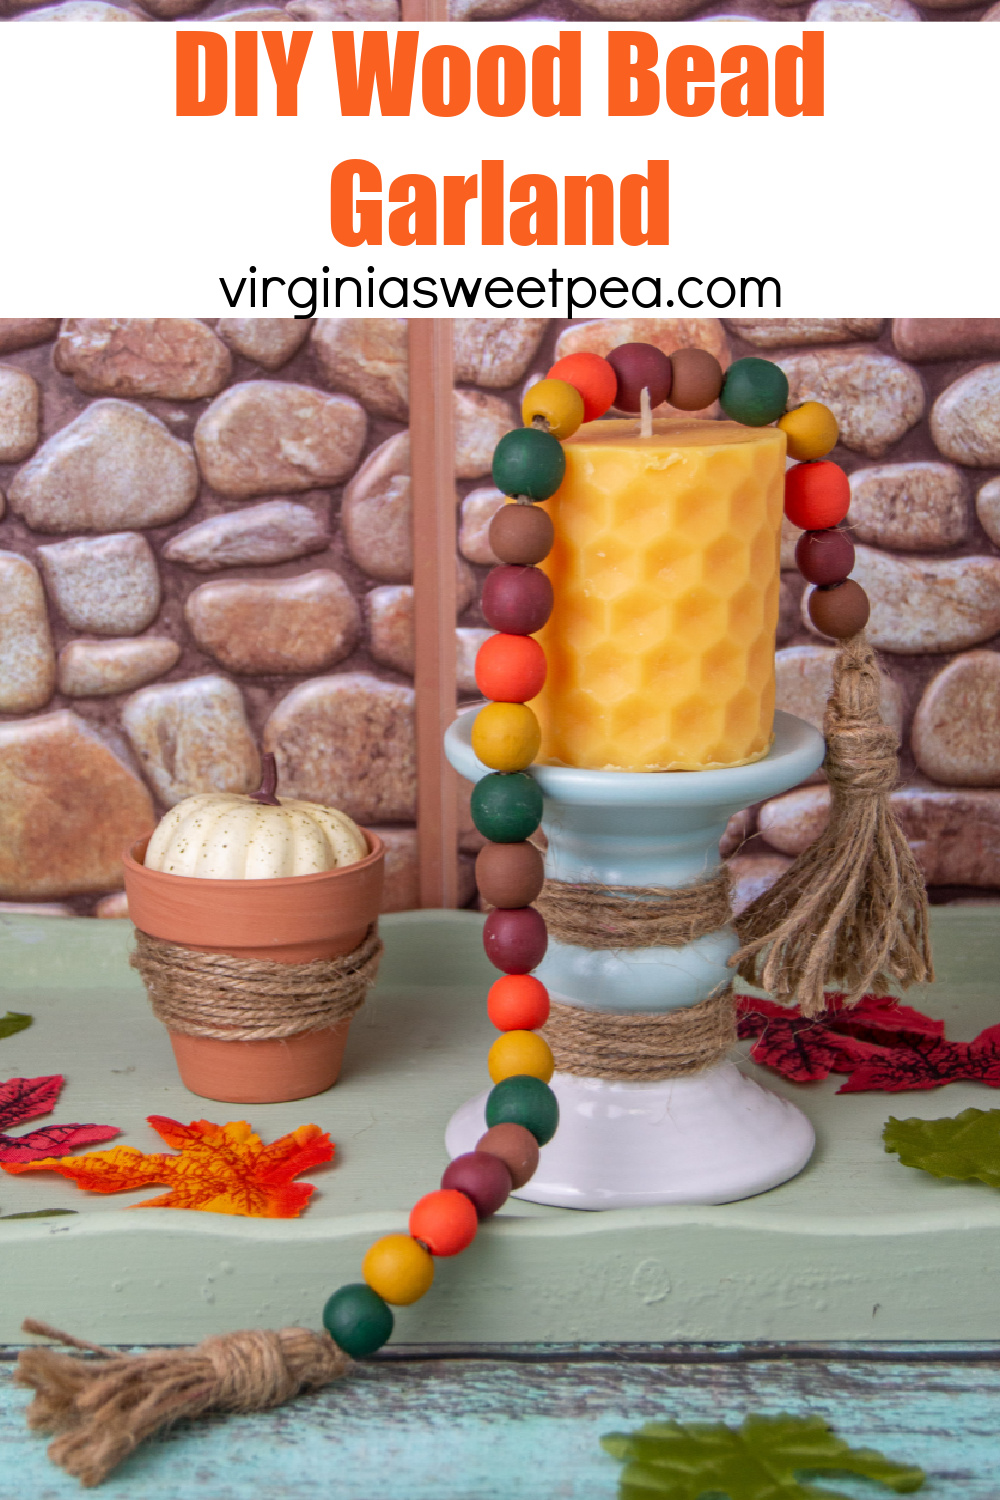
DIY Fall Wood Bead Garland
Wood bead garlands have been a hot home decor item for a few years. I love the look of a natural wood-colored garland but wanted to make a garland to use to decorate for fall.

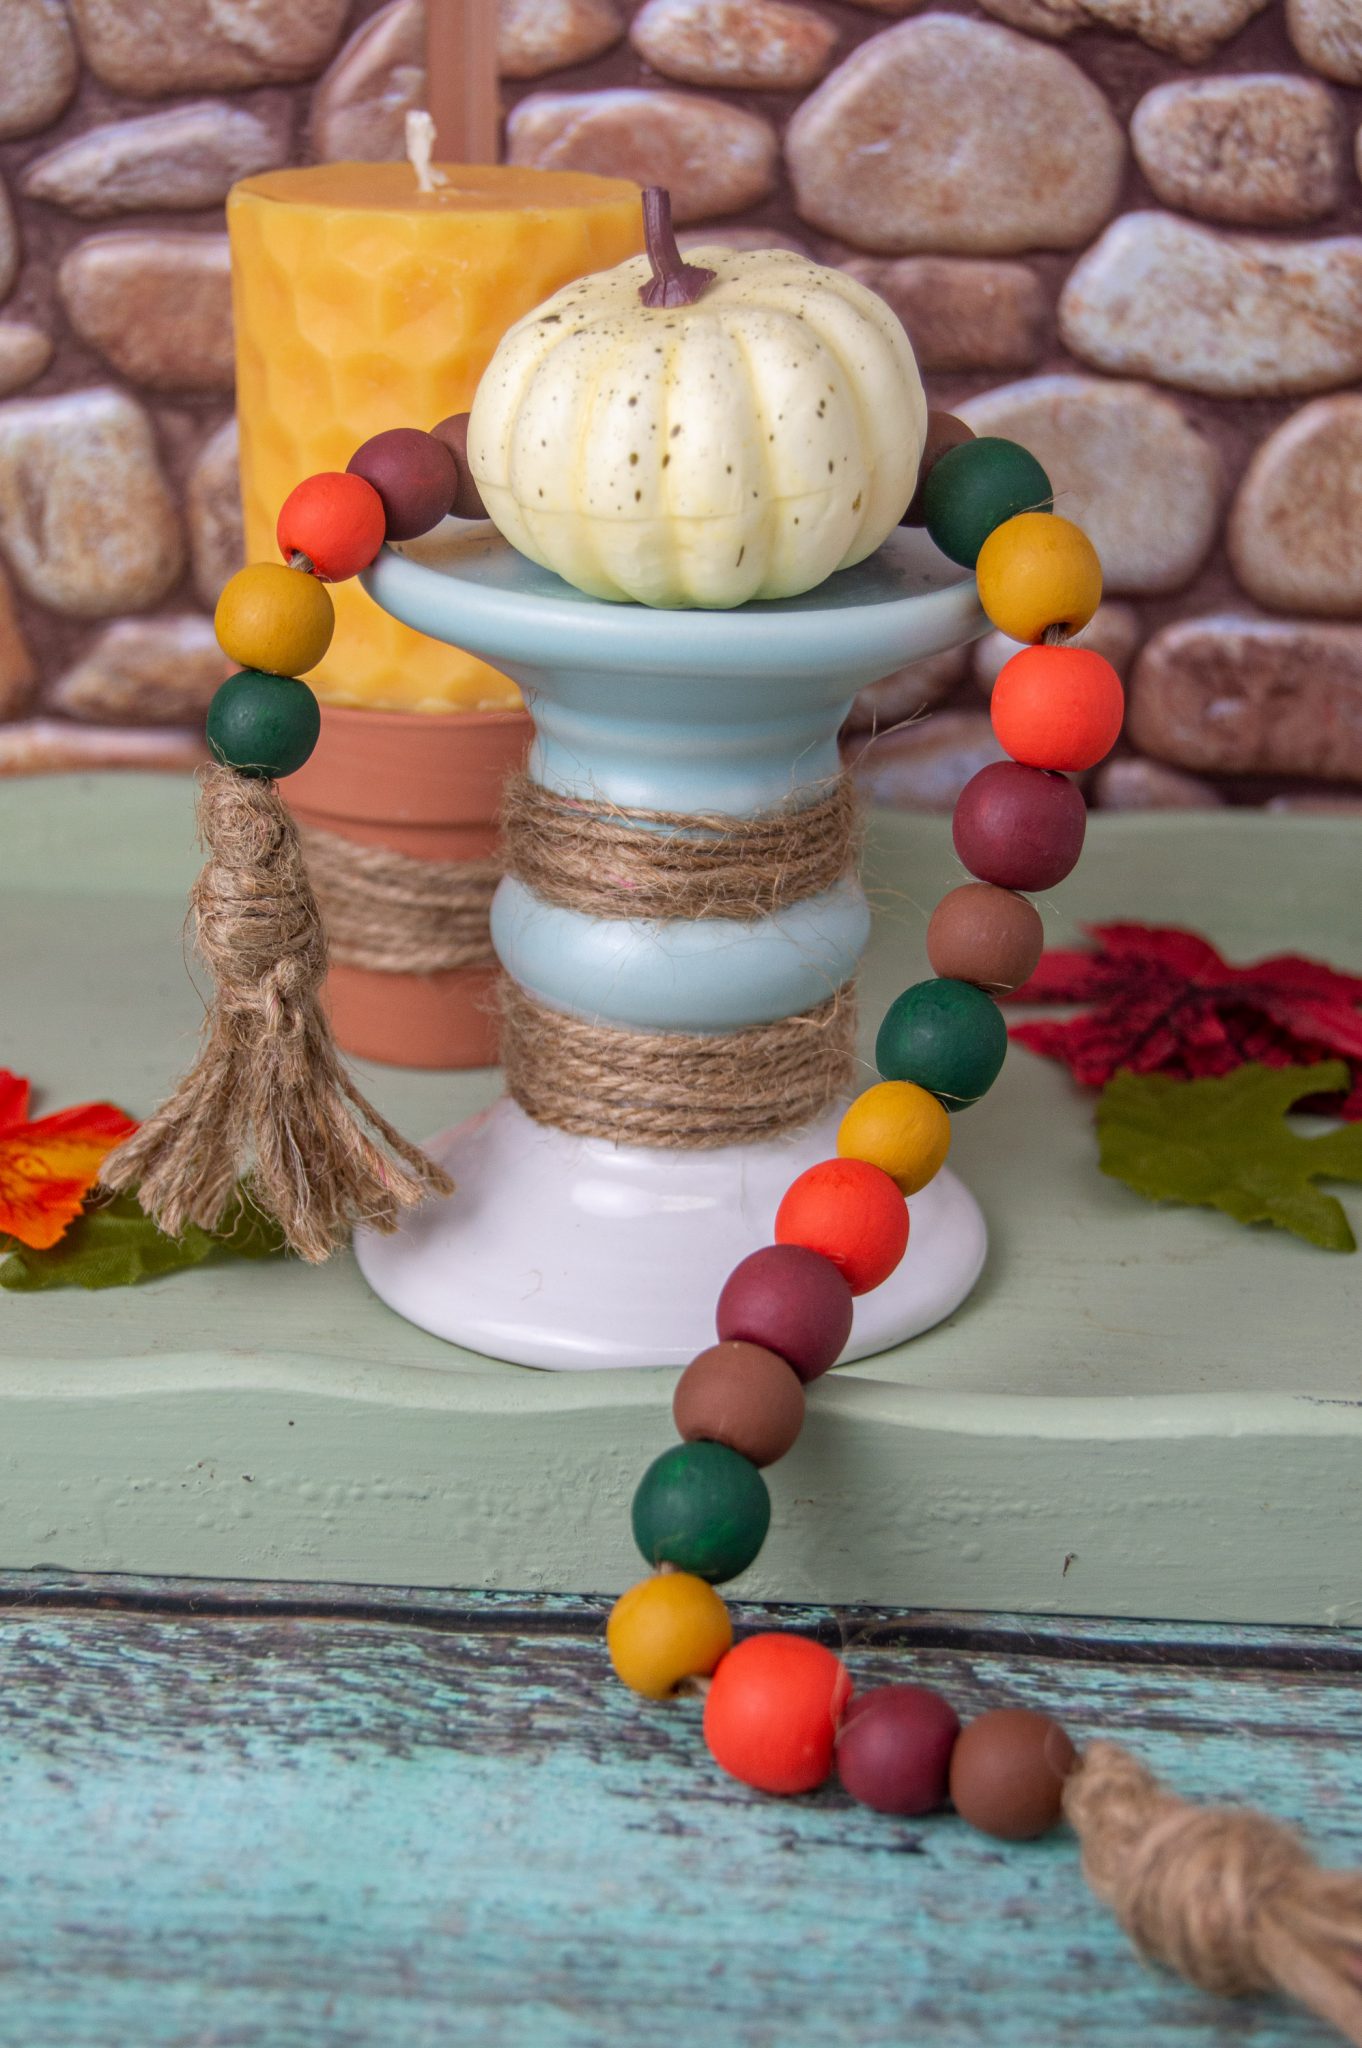
Wood beads were painted in fall colors and then strung onto twine.
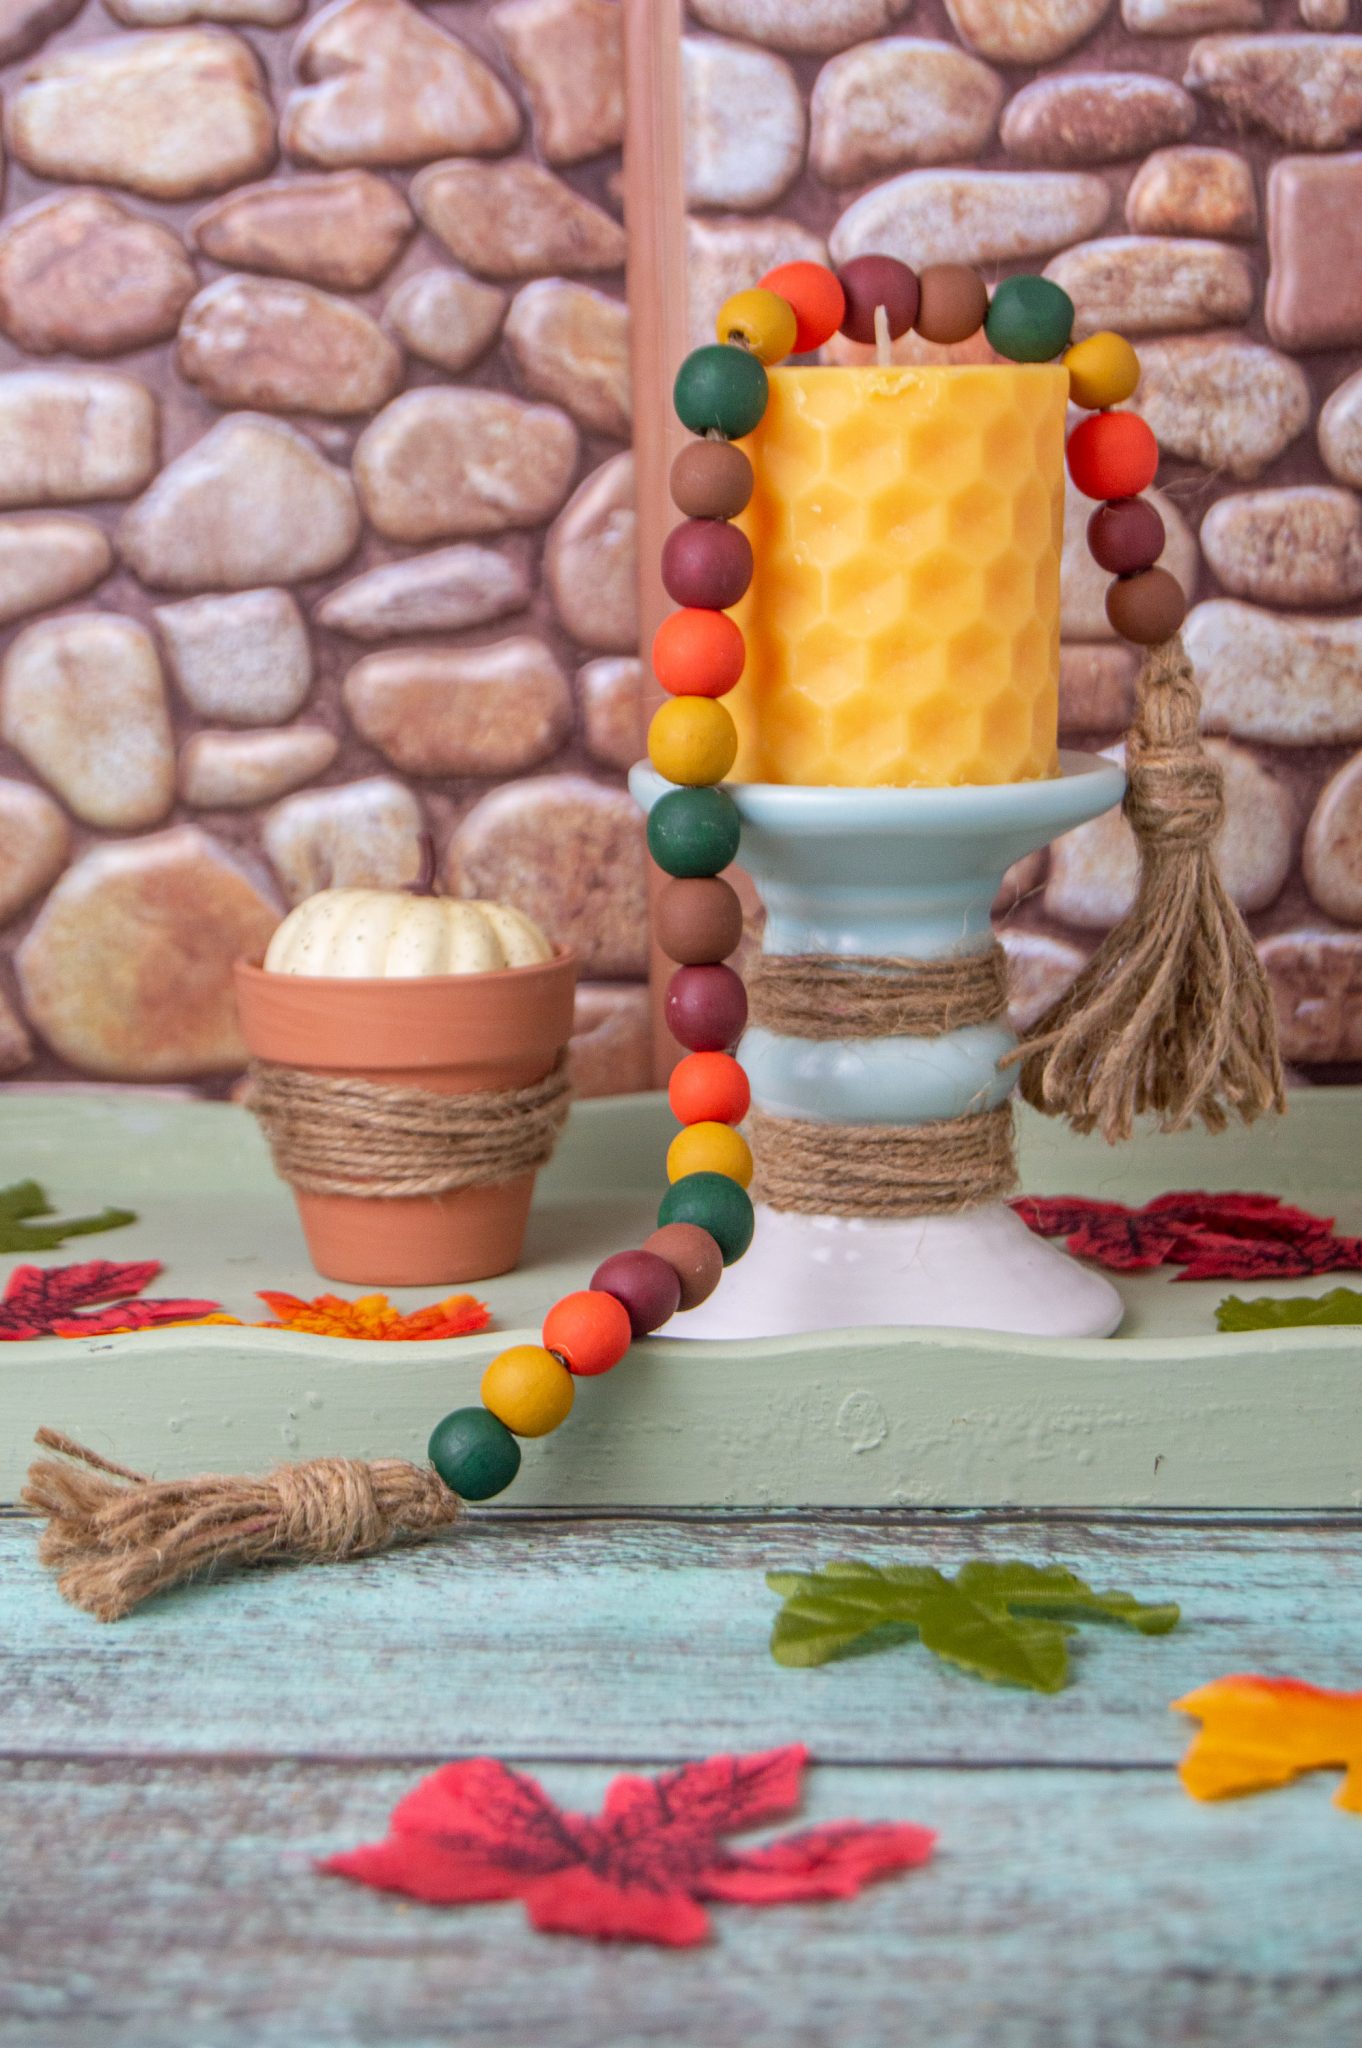
Twine tassels were added to both ends of the garland.
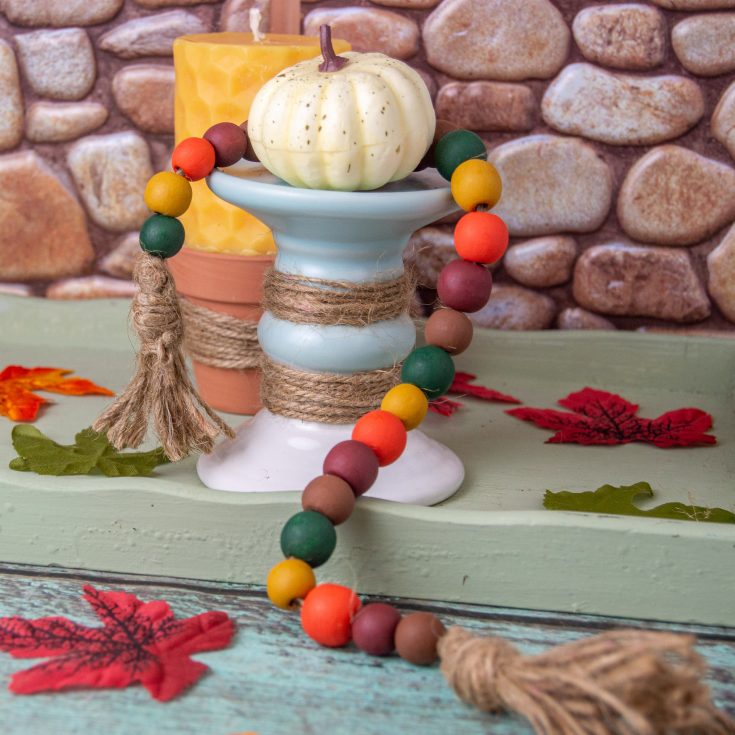
I love the end result and I can enjoy this DIY fall wood bead garland for years to come.
DIY Fall Wood Bead Garland
Learn how to use supplies from The Dollar Store to make a fall wood bead garland. Use different paint colors to make a garland for different seasons.
Materials
- Wood Beads (Crafter Square 125 Multi-Color/Size Beads) - 2 packages from the Dollar Store
- Skewers
- Floral Foam
- 5 Autumn Paint colors
- Paint Brush
- Jute Twine
Instructions
Pick out 25 of the larger-sized beads and add 5 beads to each of the 5 skewers. Stick skewers straight down into foam pointy side down. To keep the beads from hitting the foam and possibly messing up the paint, add a smaller bead to the pointy end of the skewer before you stick it in the foam.
Paint beads and allow them to dry. Add more coats until fully covered, drying between each coat. (I got good coverage in 4 coats.) Once completely dried, take beads off of the skewers.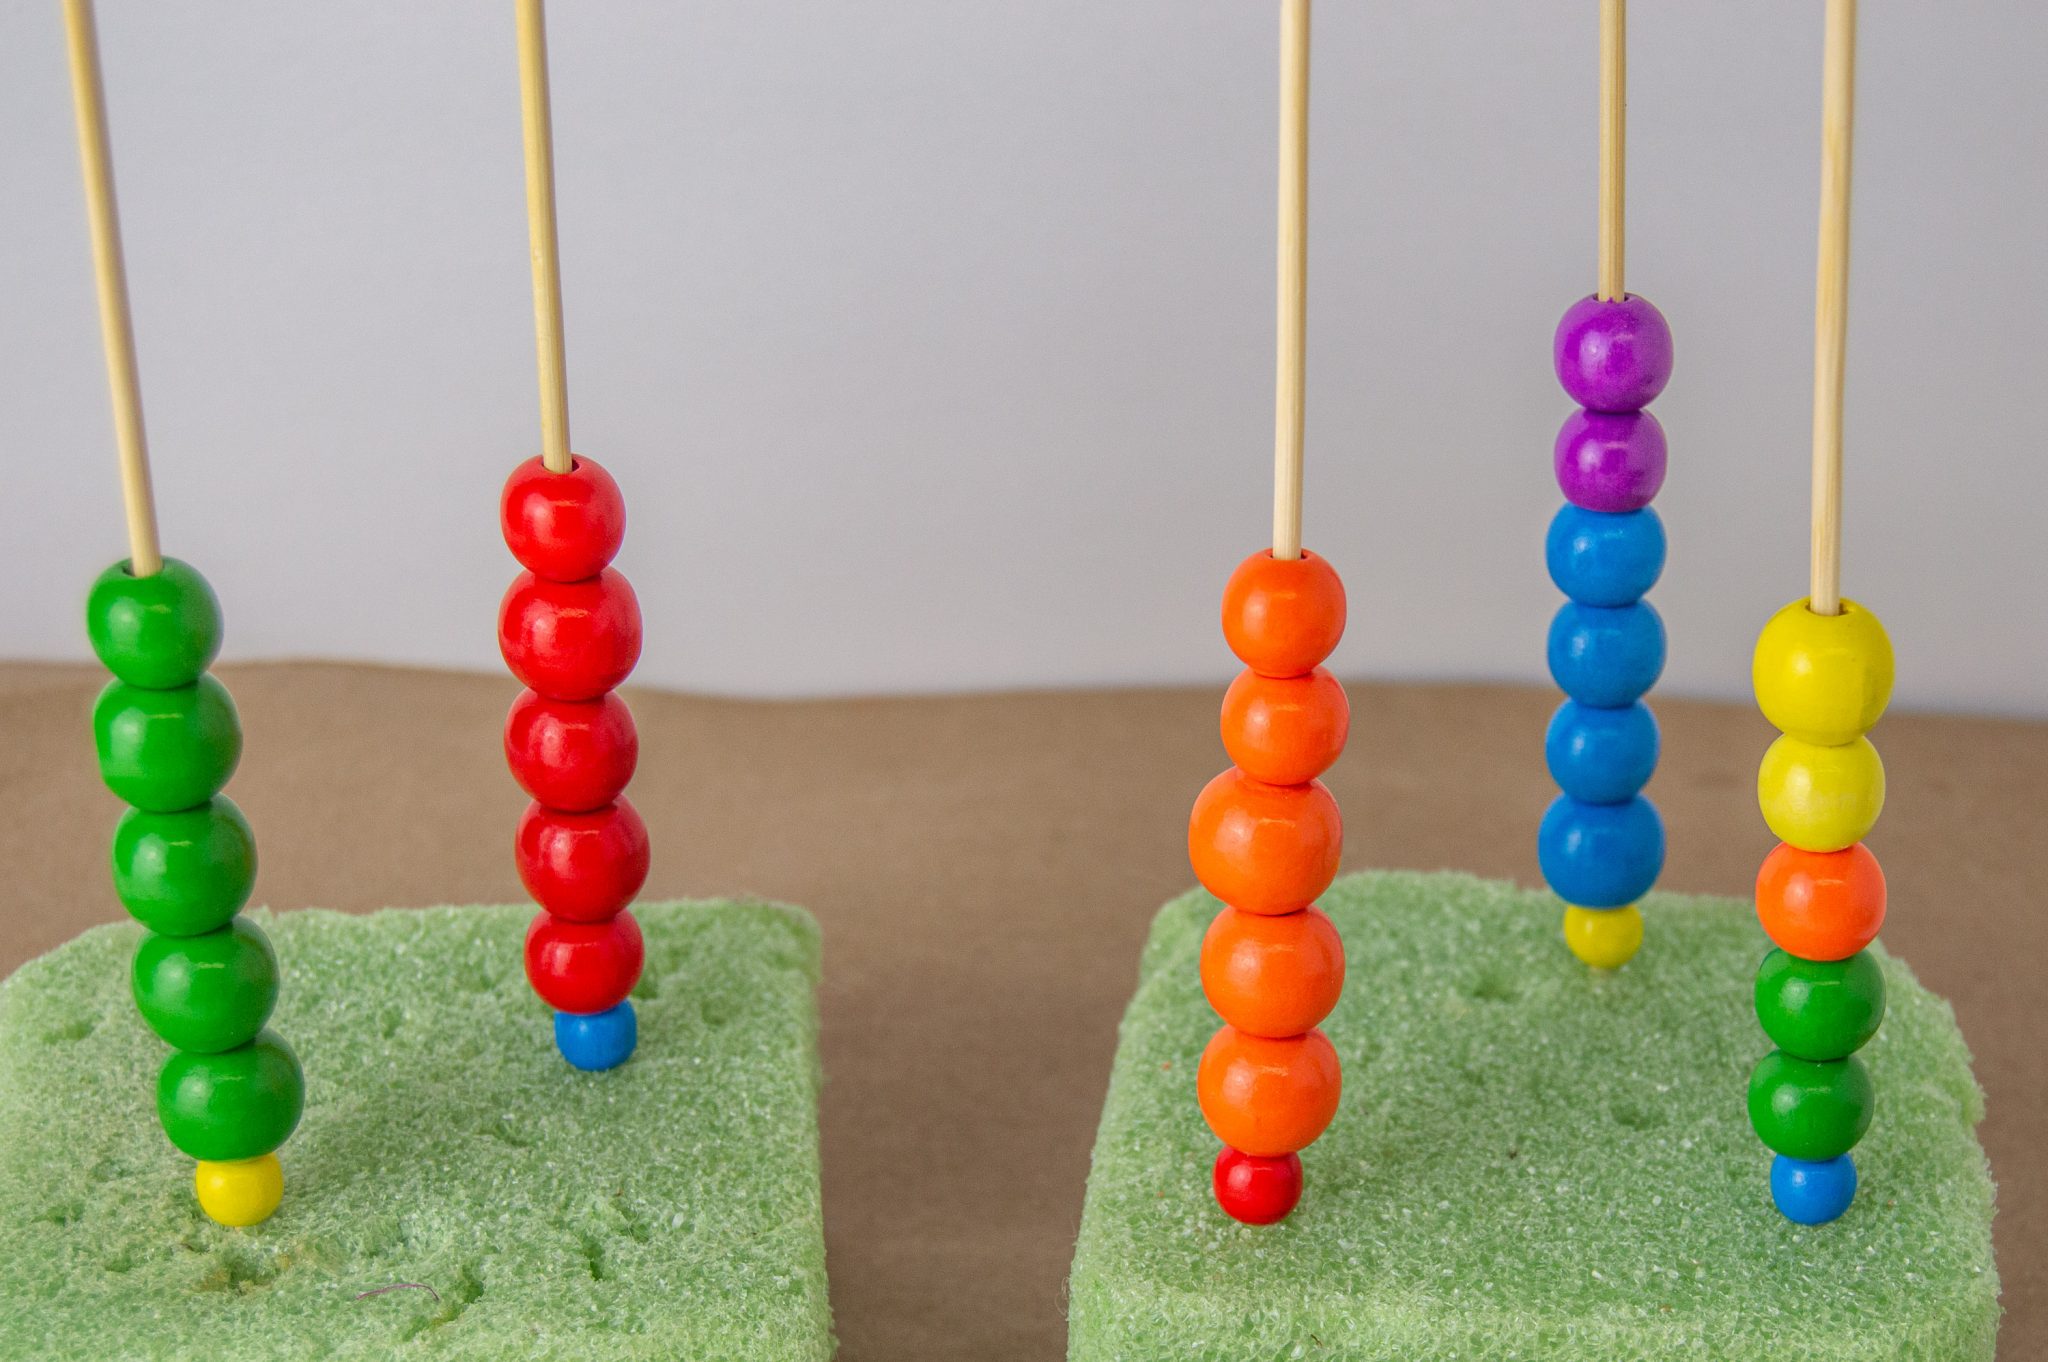
Cut about 2 feet of twine. Tie a few knots into the end of the twine, leaving about 3 inches hanging from the end. (Make sure the knot is larger than the holes of the beads so they don’t slide off.)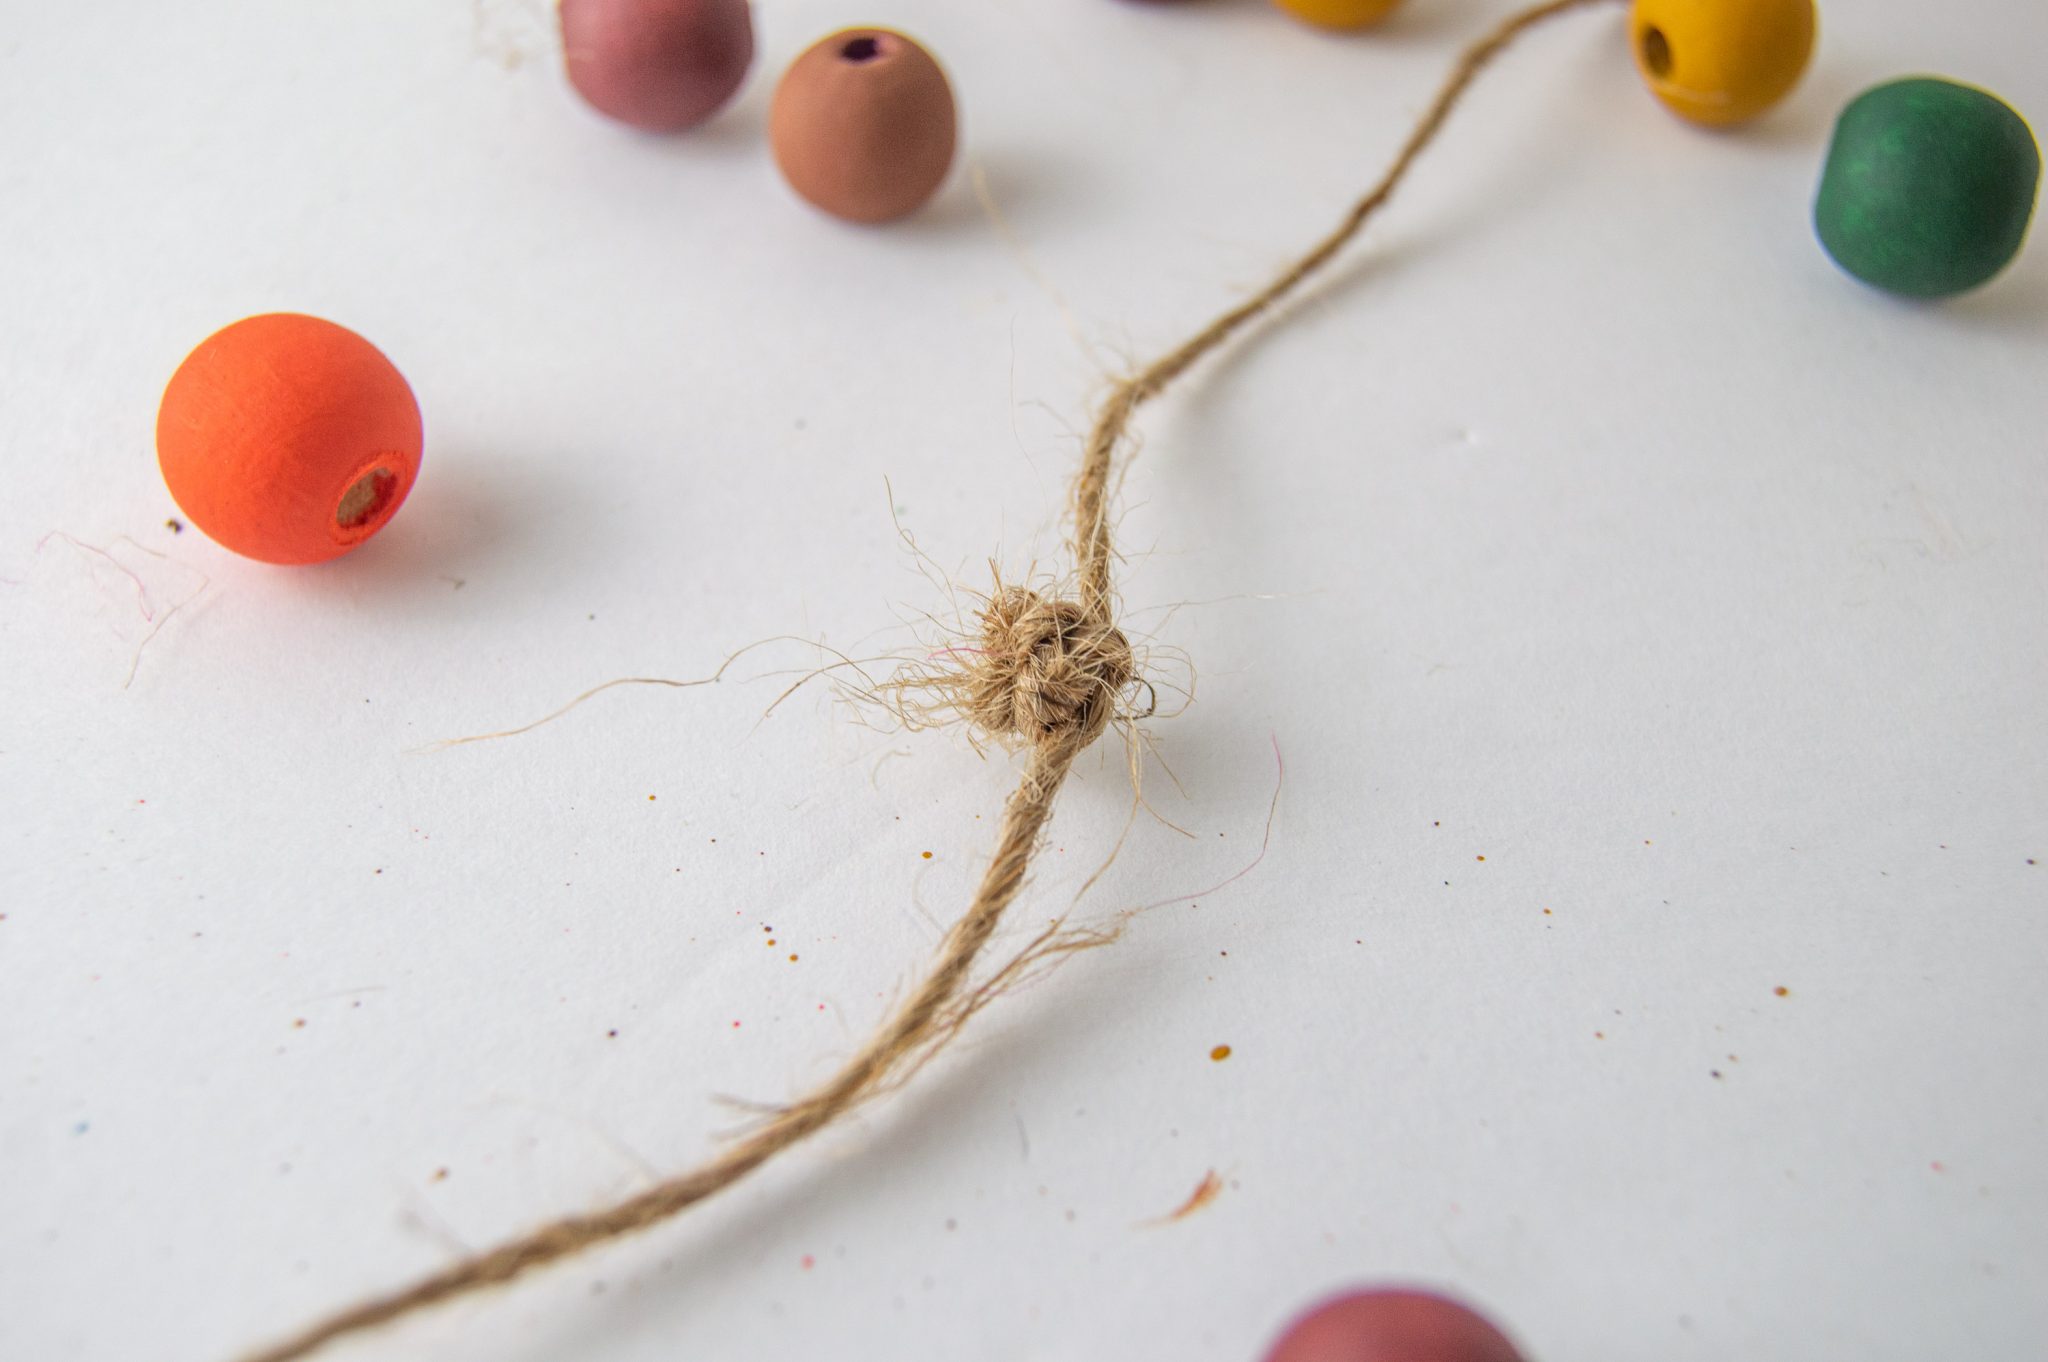
Begin sliding the beads onto the twine in a pattern of your choosing. (I did green, yellow, orange, red, and brown.) Continue the pattern until you have placed all the beads on. Make sure they are tightly together and knot the other end. (Again making sure the knot is larger than the holes of the beads so they don’t slide off.) Cut off remaining twine, leaving about 3 inches at the end, and set aside.
Make a tassel by wrapping twine around 4 fingers about 20 times and snip off the end. (Wrap it just tight enough to be able to slide off your fingers when done.)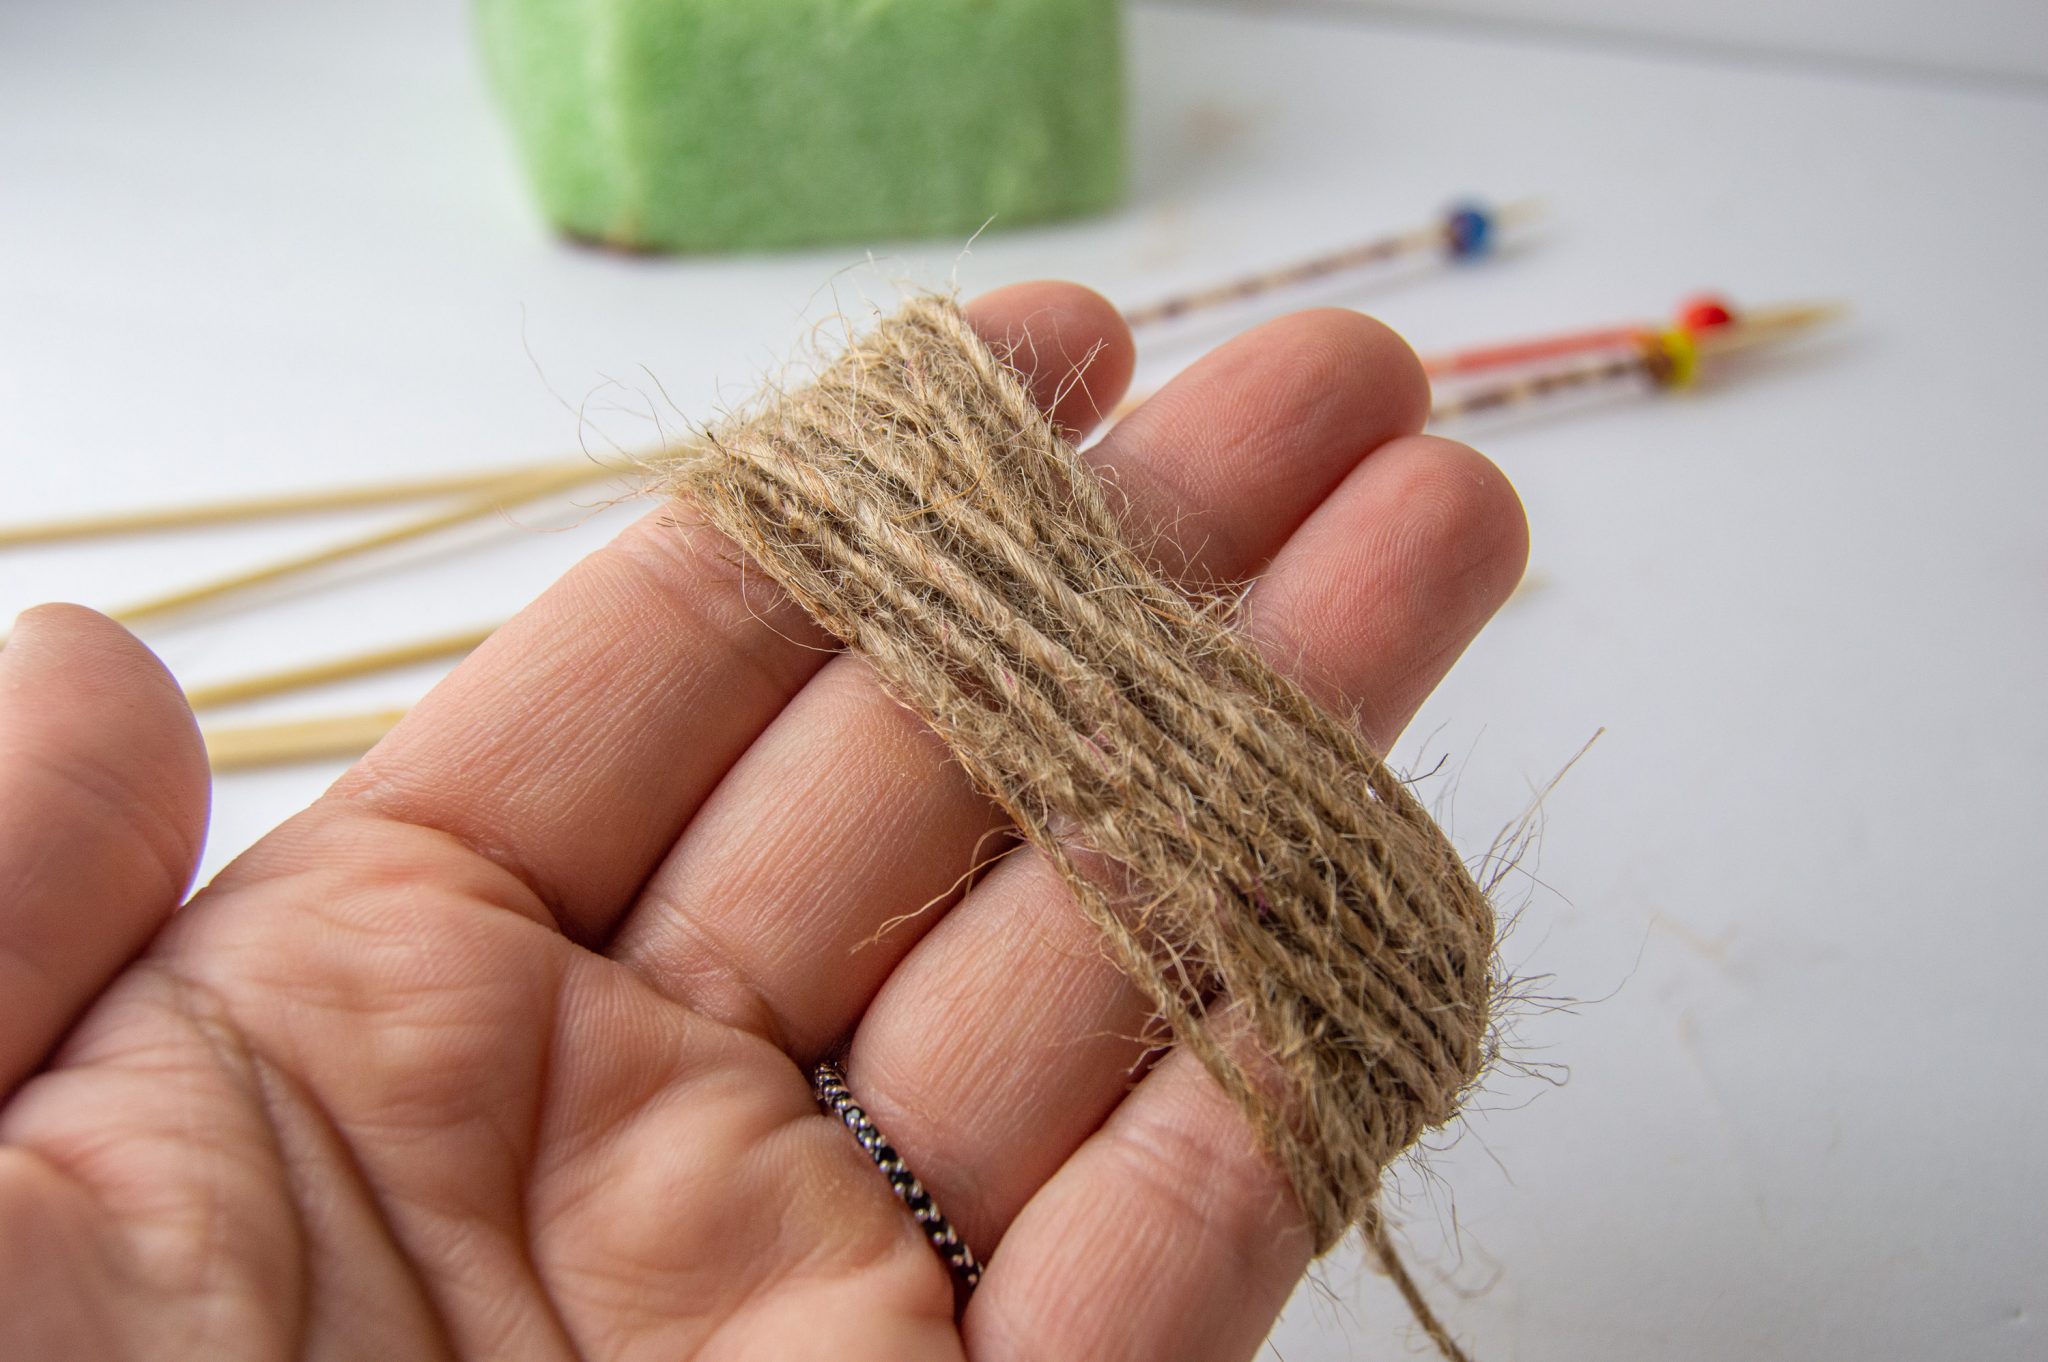
Slide off of your fingers and cut through one side of the “circle” of twine.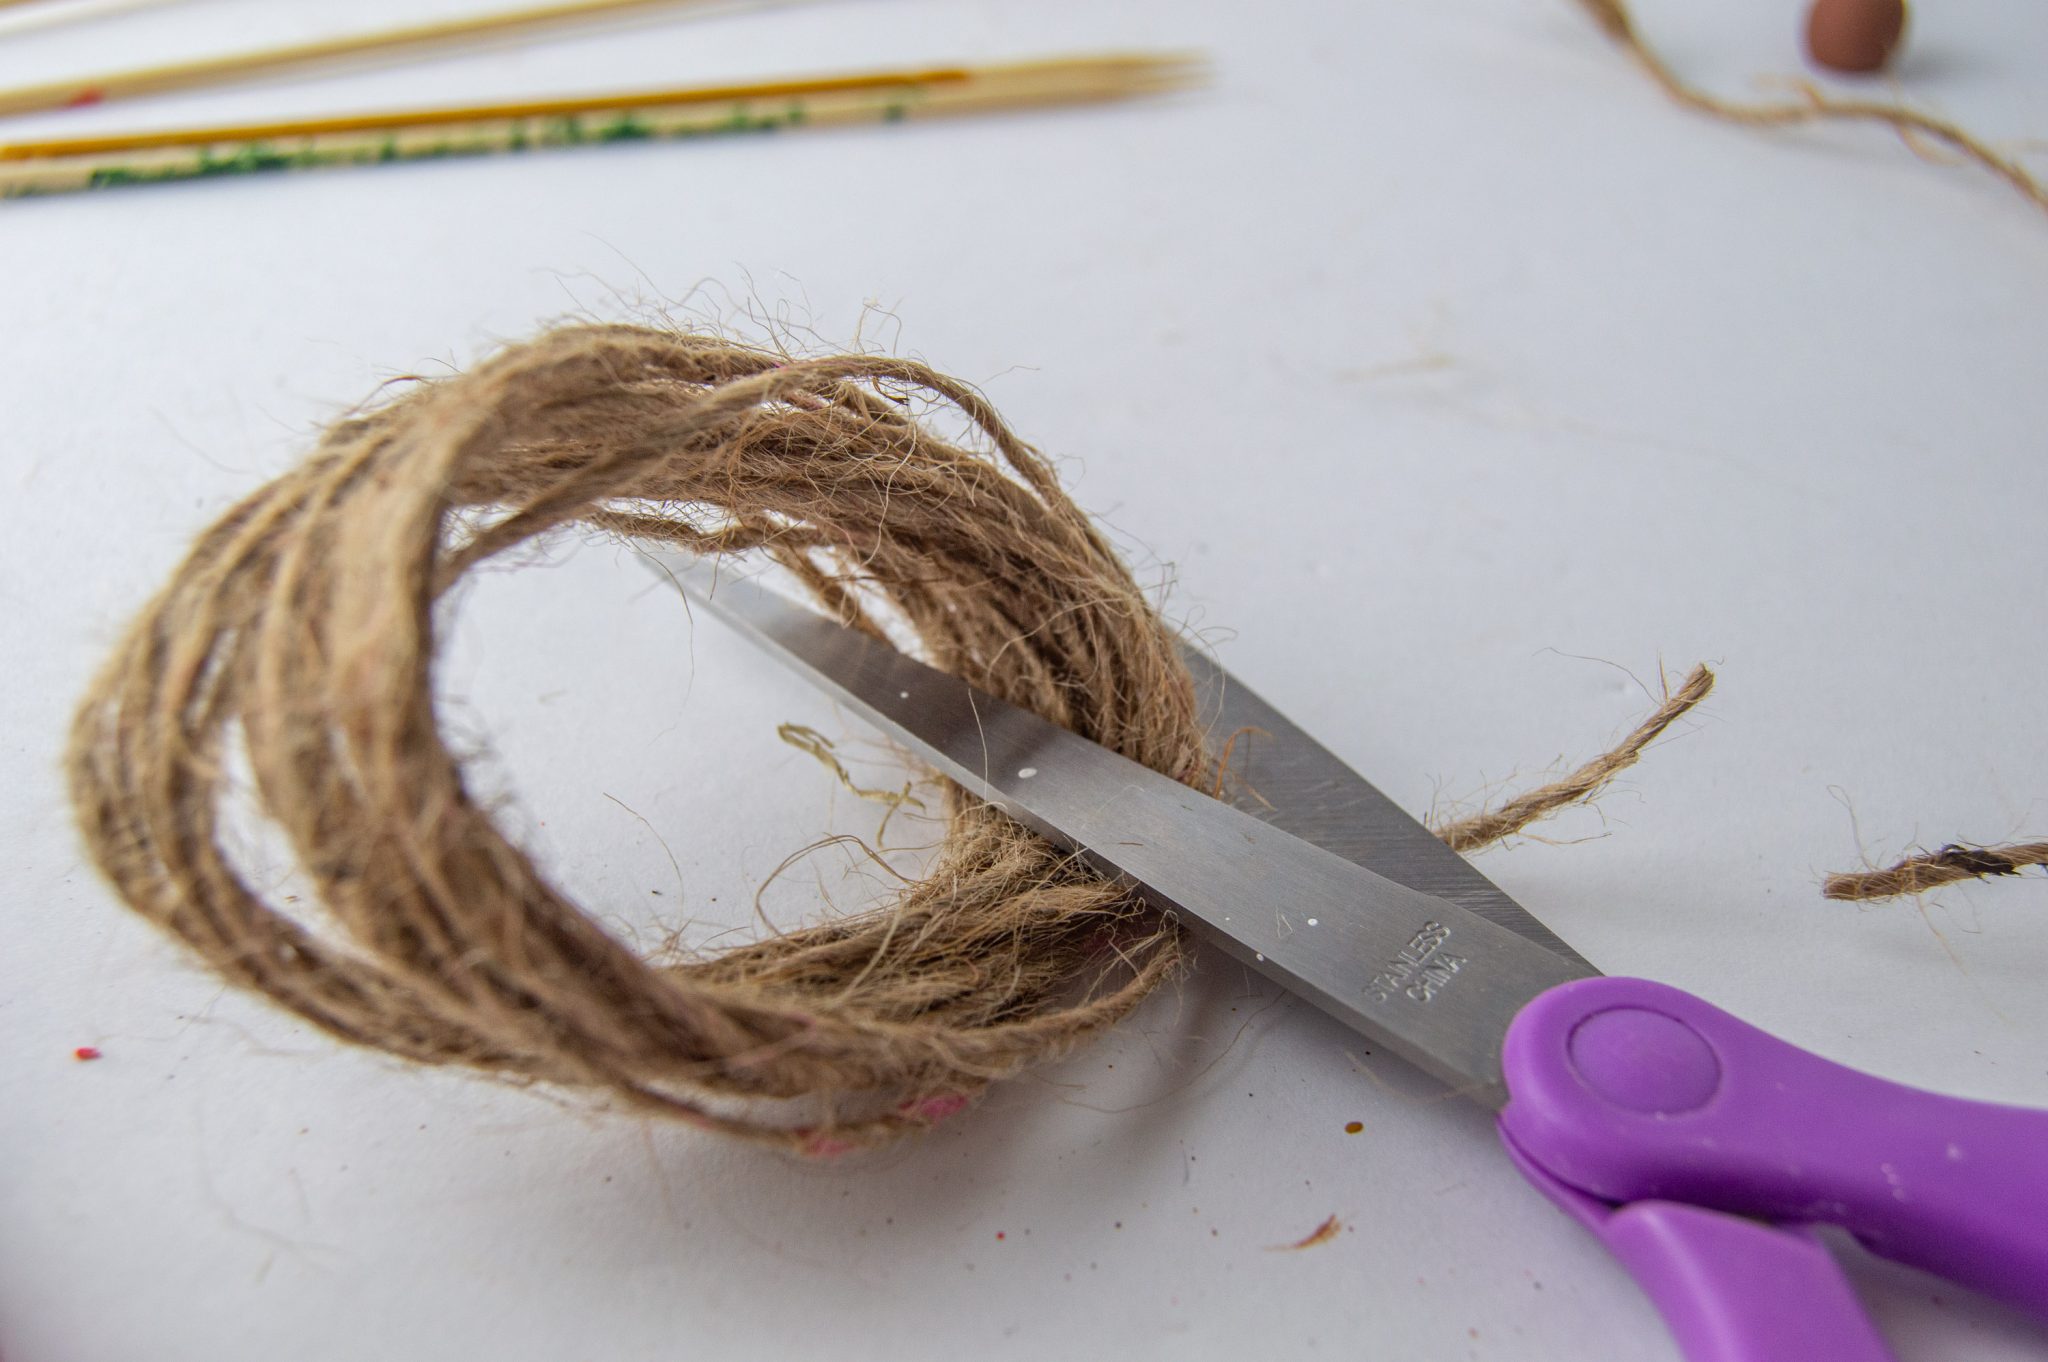
You will be left with strings that are generally the same size.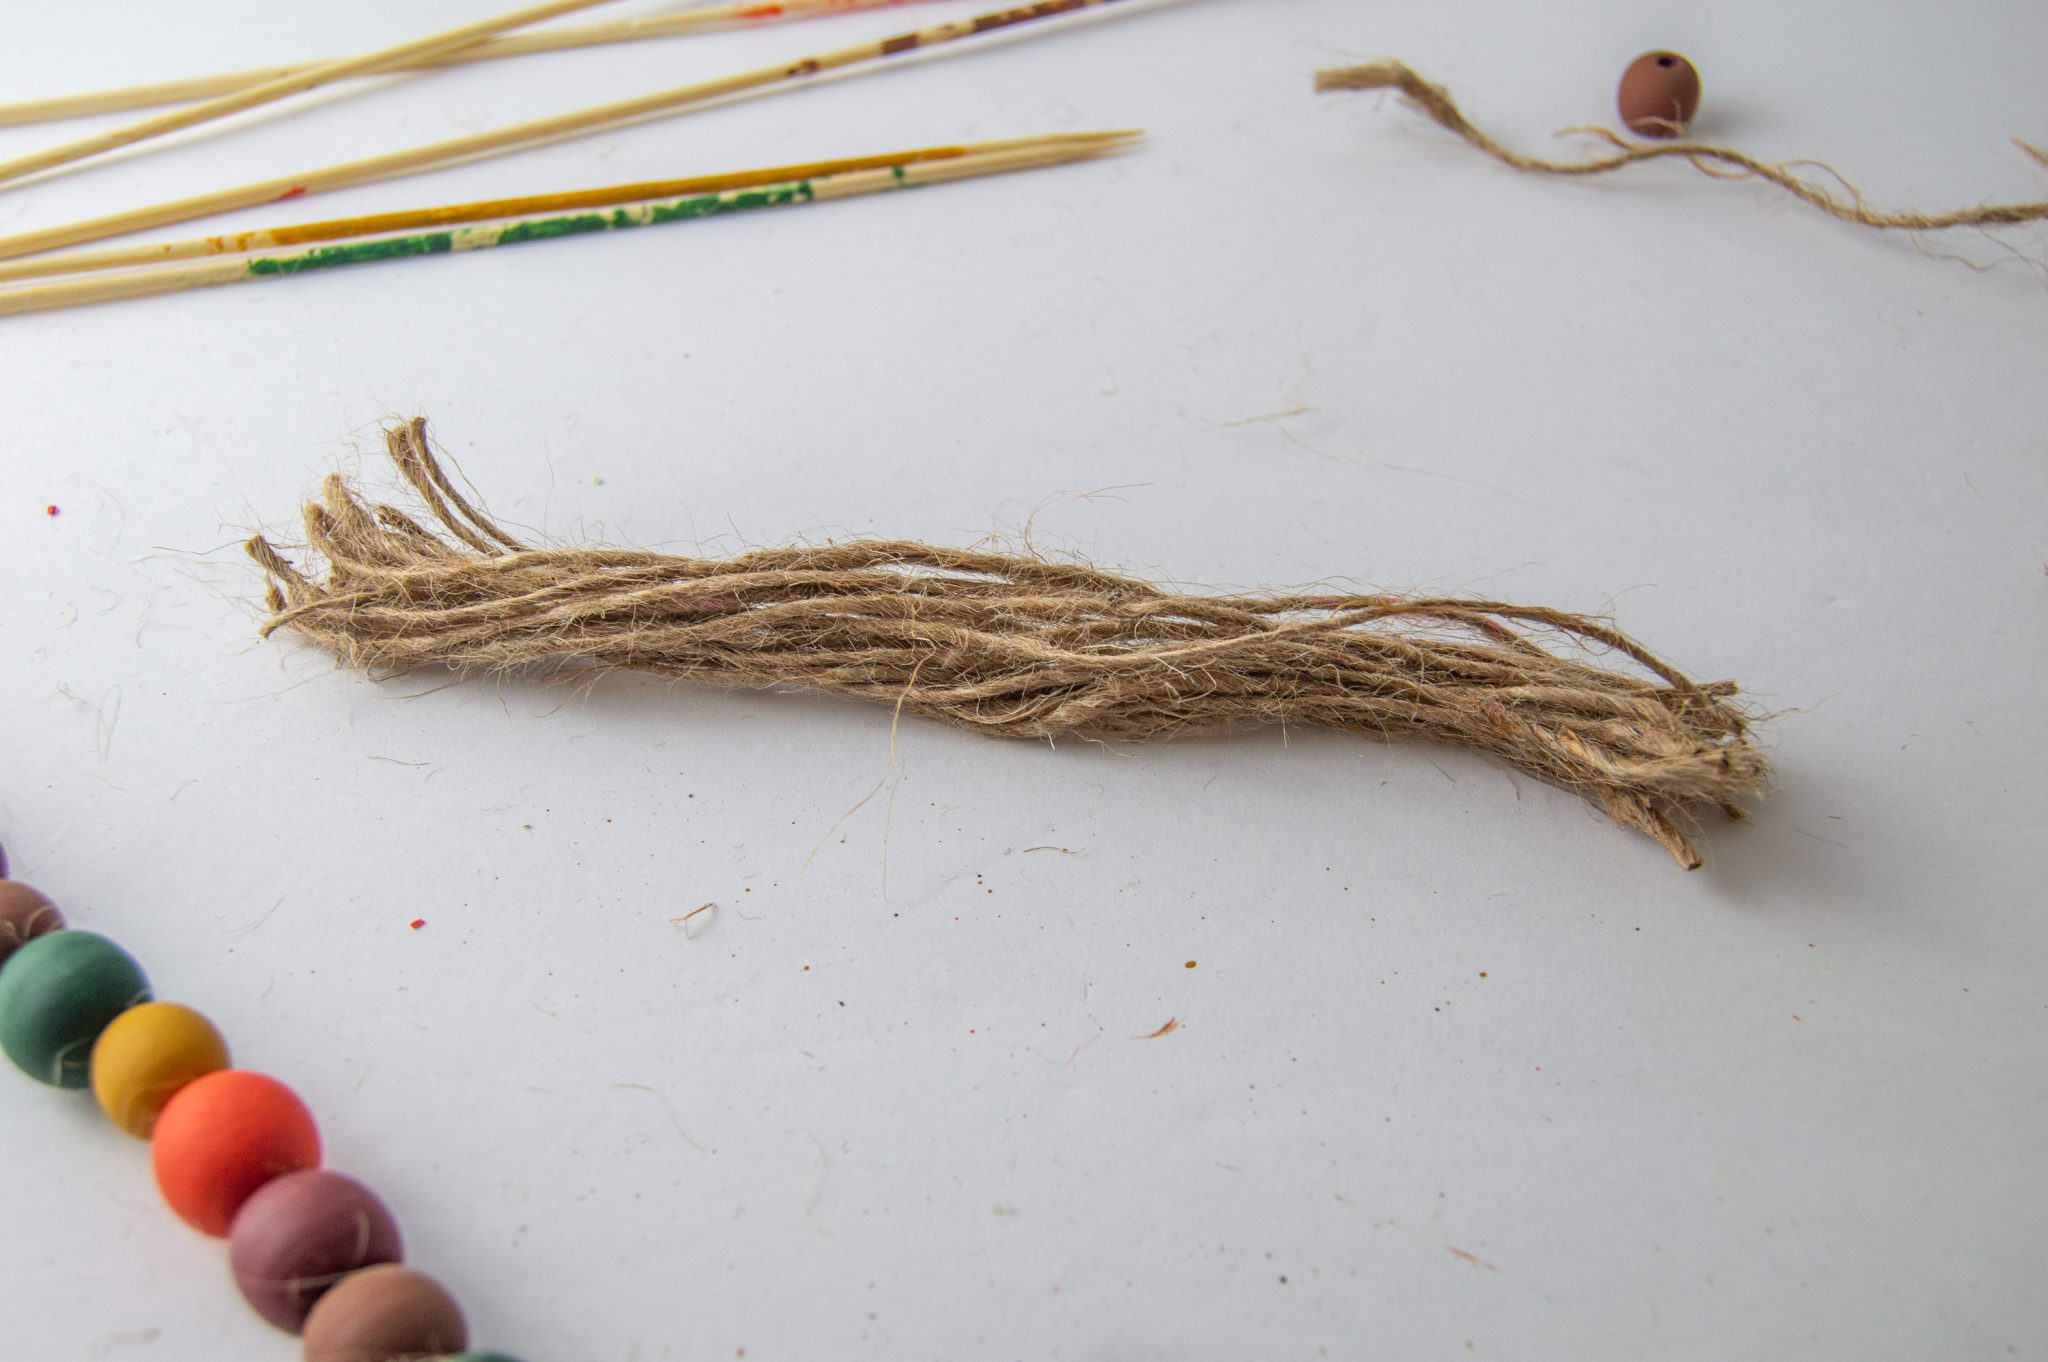
Lay garland down with the excess string straight out. Place the center of tassel strings across the top of the garland string.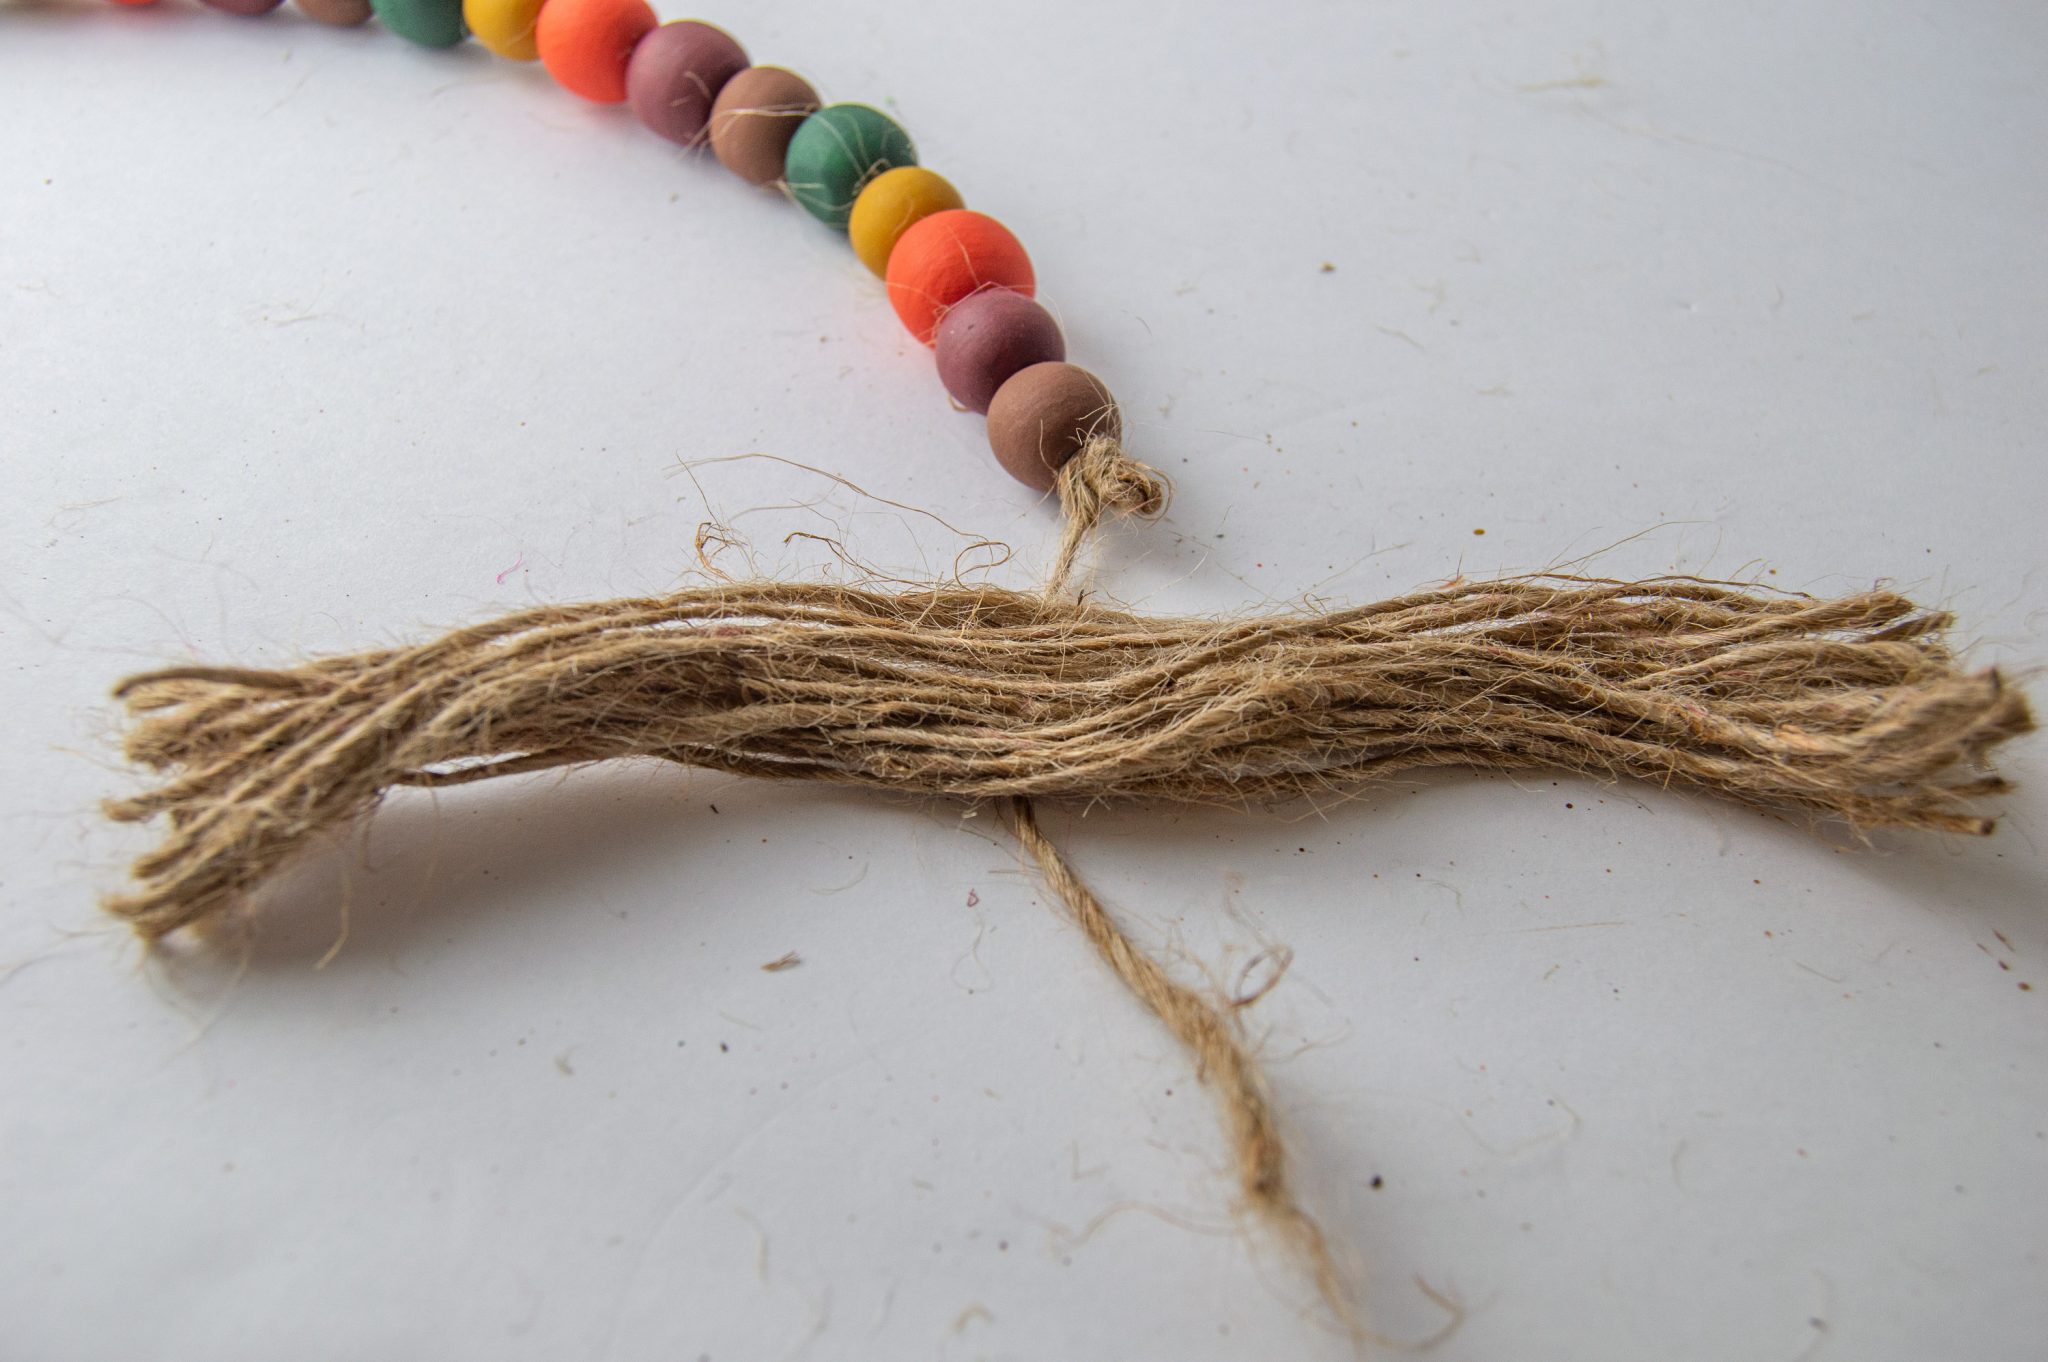
Use the excess garland string, tie a knot around the tassel strings a few times to secure.
Pull all of the strings together, wrap twine toward the top about 10 times, and tie a few knots to secure.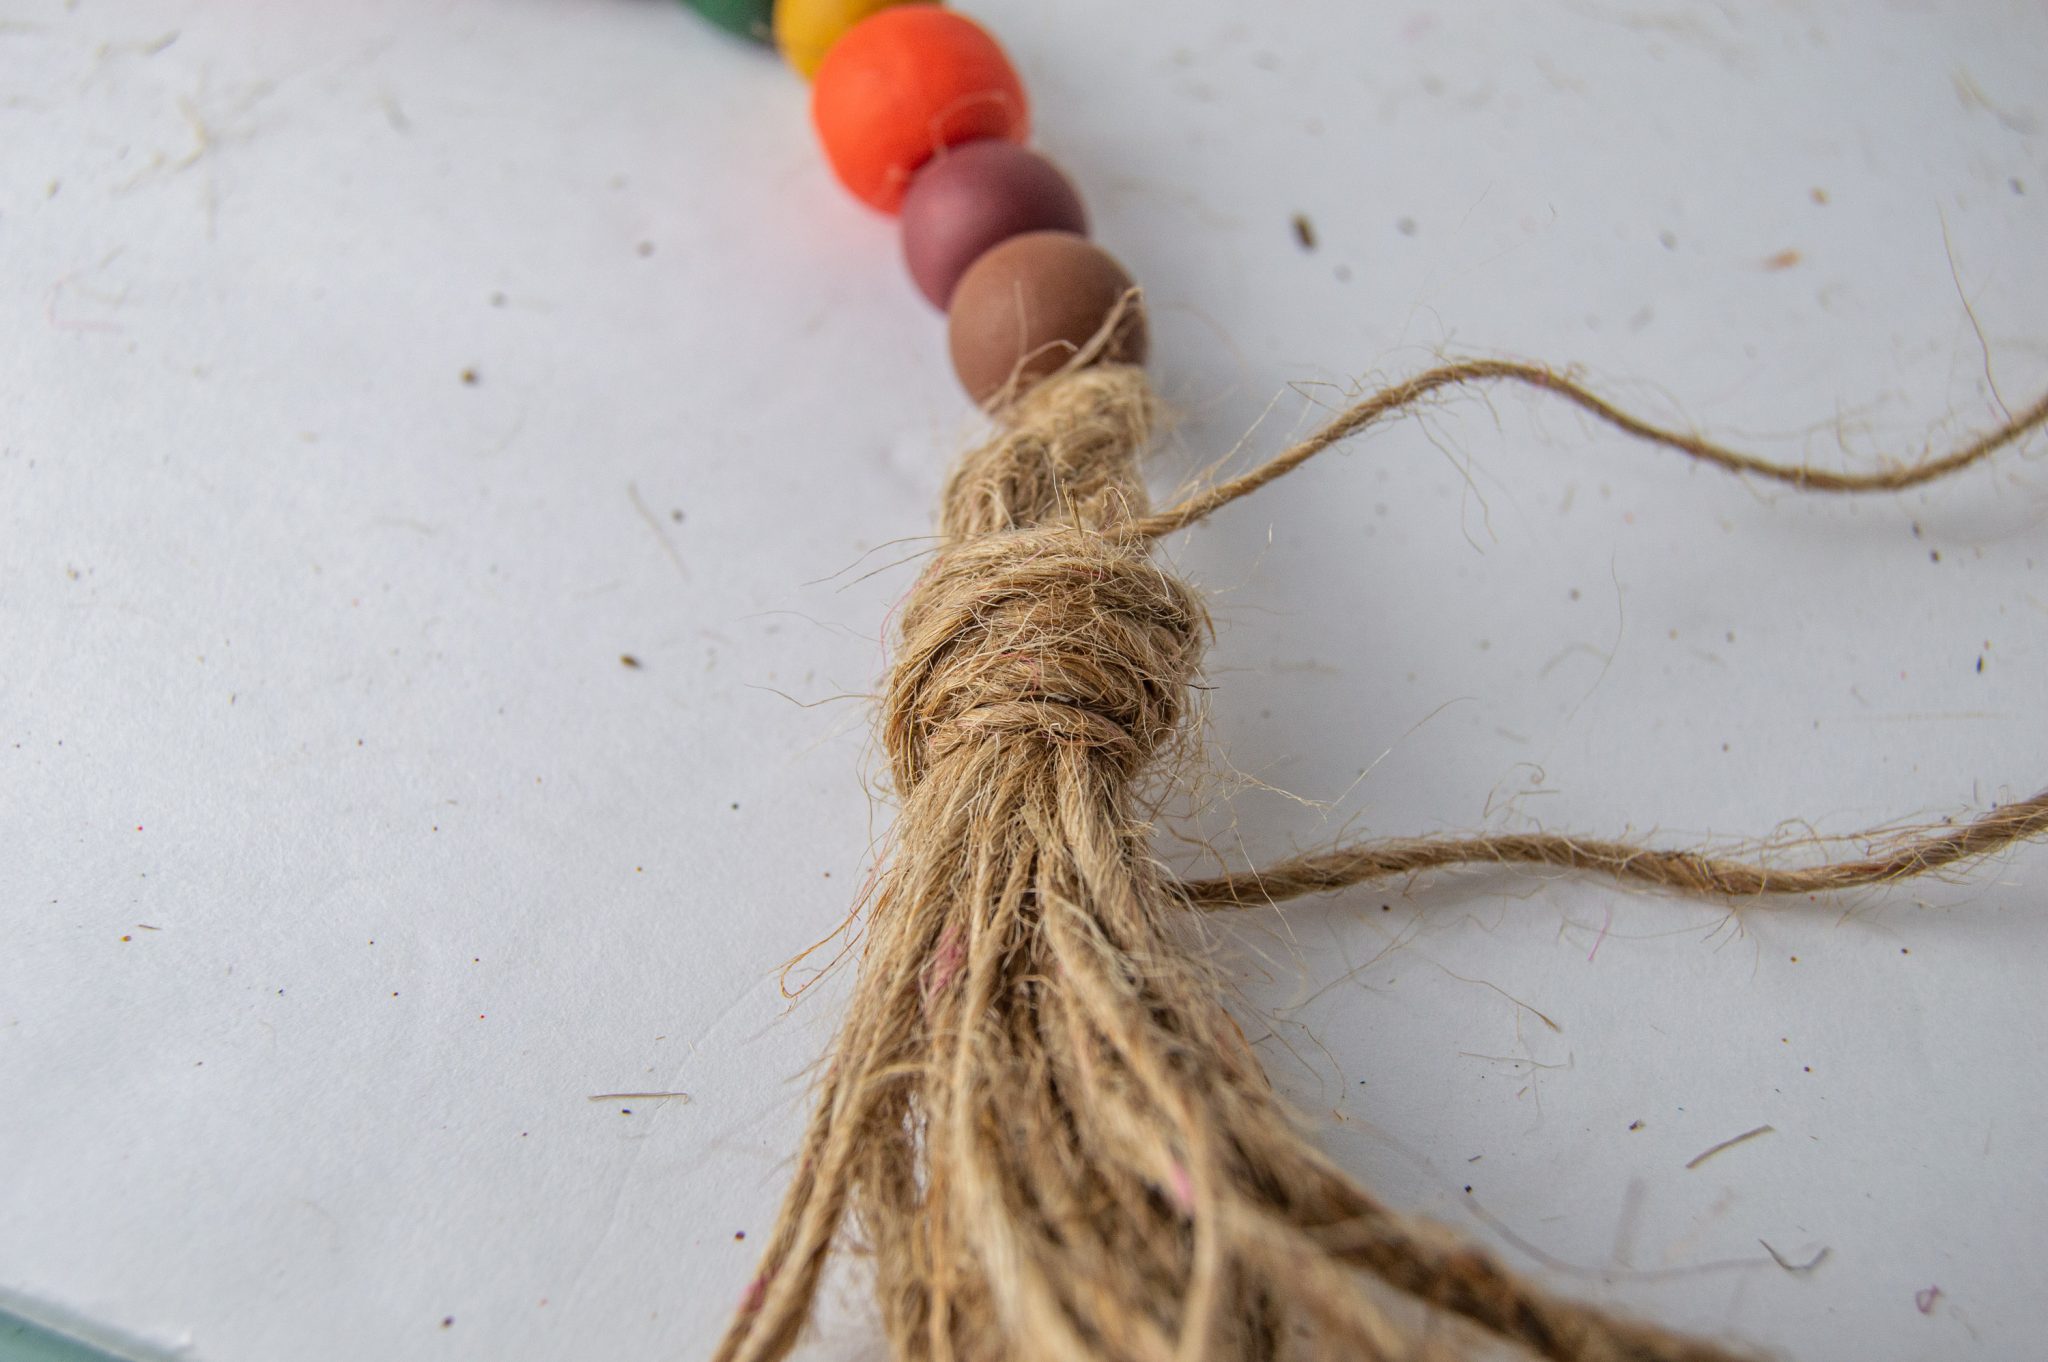
Snip off ends.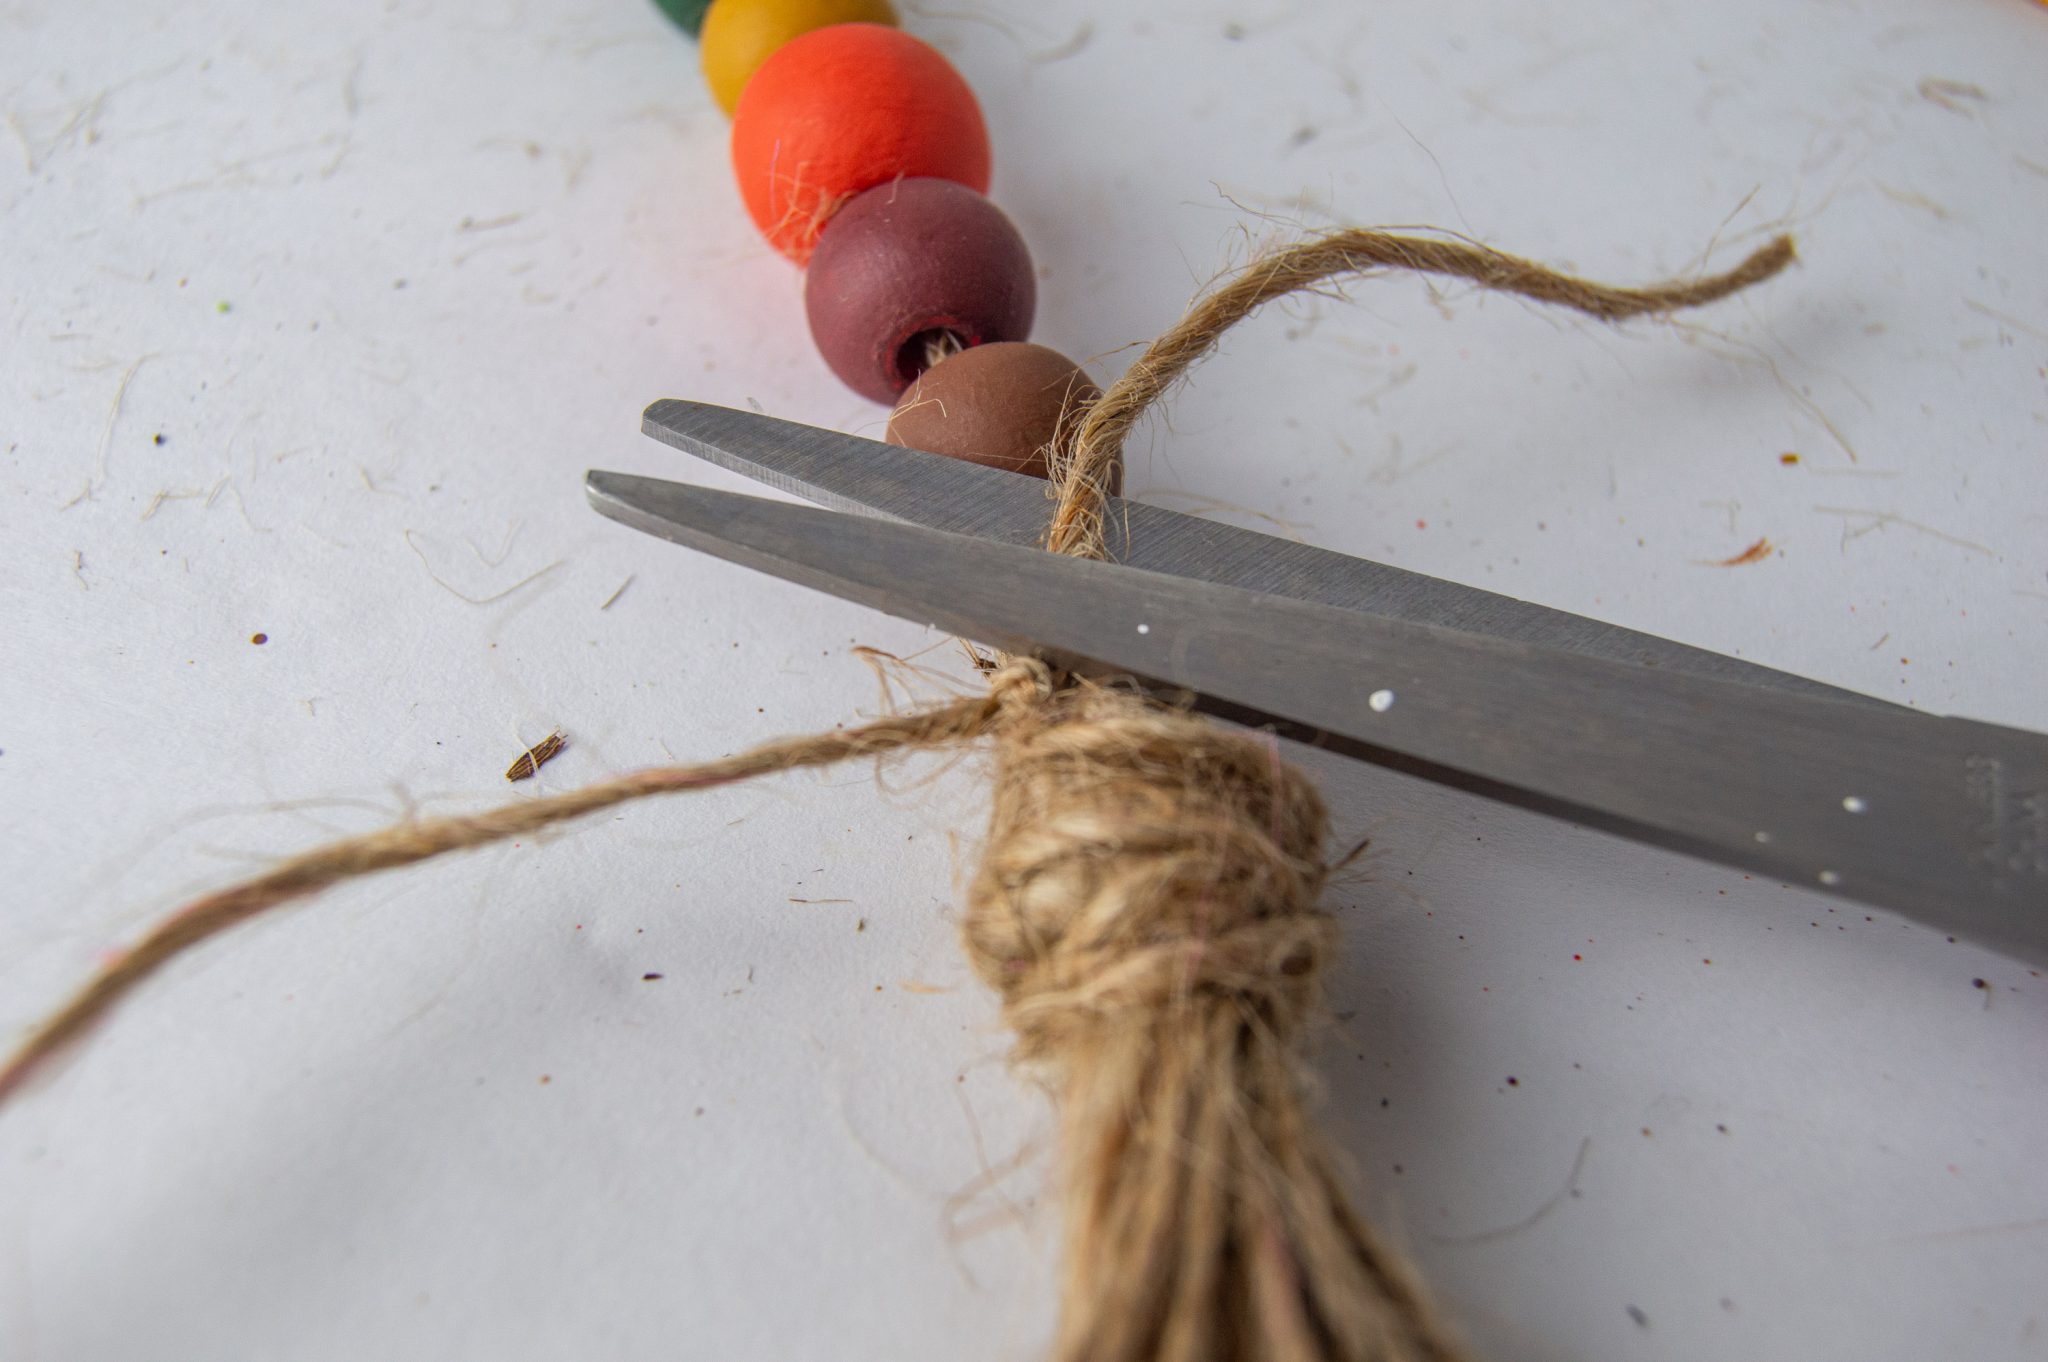
Eyeball how long you want your tassel to be and trim the ends.
Repeat making and placing another tassel on the opposite side.
Recommended Products
As an Amazon Associate and member of other affiliate programs, I earn from qualifying purchases.
-
 MaZeeB 500 Pieces Wooden Beads for Crafts with Jute Twine, 6 Sizes Assorted Unfinished Wood Beads Used for Garland, Farmhouse Decor, Jewelry Making, and DIY Crafting, 8mm 10mm 12mm 14mm 16mm 20mm
 -
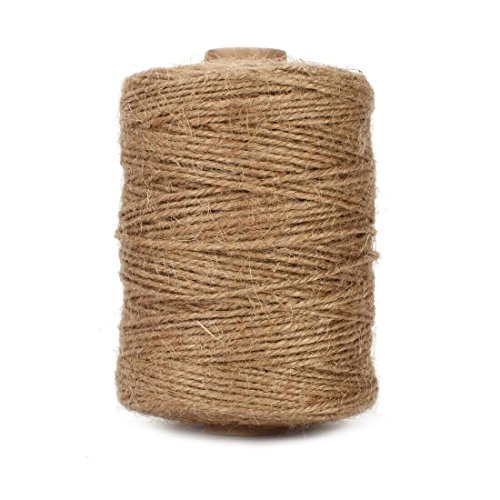 Tenn Well Natural Jute Twine, 500 Feet Long Brown Twine Rope for Crafts, Gift Wrapping, Packing, Gardening and Wedding Decor
 -
 Premium Dry Floral Foam Bricks, Green Styrofoam Foam Blocks, 6 Pack - Great for Artificial Floral Dried Arrangements Decorations, Permanent botanicals or Any Arts & Crafts Project.
 -
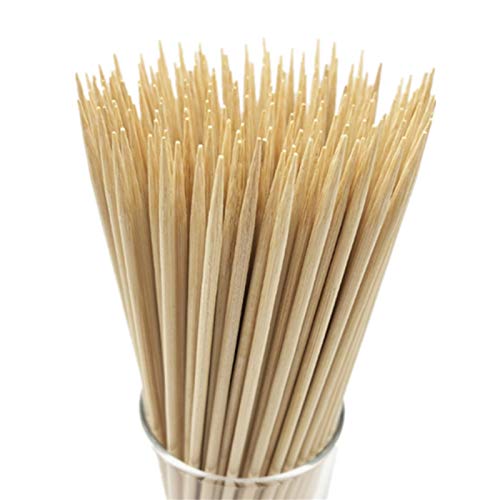 HOPELF 8" Natural Bamboo Skewers for BBQ,Appetiser,Fruit,Cocktail,Kabob,Chocolate Fountain,Grilling,Barbecue,Kitchen,Crafting and Party. Φ=4mm, More Size Choices 6"/10"/12"/14"/16"/30"(100 PCS)
 -
 FolkArt Plaid Nylon Brush Set, 50559 Brown (3-Piece)
 -
 Apple Barrel Arbor Green Paint
 -
 Apple Barrel Acrylic Paint in Assorted Colors (2 oz), 20521, Nutmeg Brown
 -
 Apple Barrel Fall Themed Acrylic Paint Set - Barn Red, Golden Sunset, and Jack-o-Lantern (2 oz each)
If you like wood bead garlands, you’ll enjoy seeing how to make a coastal farmhouse wood bead garland and a patriotic wood bead garland with stars..
More Fall DIY Ideas
- Fall Hoop Wreath
- DIY Pumpkin and Bittersweet Wreath
- DIY Wheat Wreath for Fall
- Magnolia Wreath Styled for Fall
- Easy to Make Preserved Gourd Wreath
- DIY Crow Door Decor
- DIY Wood Slice Coasters with Fall Transfers
- How to Make Fall Ornaments from Clay
- DIY Faux Acorns
- How to Make Gourds Shine for Display
- How to Preserve Gourds
- Magazine Inspired Fall Pillows
- Easy to Make Fall Pillows
- Mod Podged Vase for Fall
- DIY Fall Drop Cloth Tea Towel
- DIY Fall Wood Bead Garland
- Dollar Tree Tumbling Tower Block Pumpkins
Hi Paula! Again you are the most creative one! These little fall beads are so cute. I have been seeing them all over blogland but they were a natural color. I love yours with the colors! Thanks again for showing us how to do this!
Have a great weekend and be a sweetie,
Shelia 😉
Thank you so much, Shelia!
Great tutorial! I particularly love the colors of the beads that you used. Great job!
Thank you so much, Missy!
So cute Paula! Loving the colors!
Thank you so much, Melba!
LOVE these fall colors, Paula… and you know I’m a sucker for wood bead anything! 😉 I’m going to link your post to my coastal wood bead garland! Hope you get some backlink traffic!
Thank you so much, Julie!
Love the garland. Pretty color combination. Great tutorial too!
Pinned
Thank you so much, Cindy!
I’ve seen these all over in natural wood tones, but how clever to paint them! Another great idea, Paula!
Thank you so much, Amy!
Love the garland. Now you have me thinking about Christmas ones! Thanks-as always- for your inspiration!
Thank you so much, Leslie!
This is so cute Paula!! I’m adding the link to my roundup!
Thank you so much, Jennifer!
These really turned out cute Paula. I love the idea for painting them.
Thank you so much, Corine!
The vintage colors you painted your wood bead garland for fall are so pretty, Paula!
Paula, your bead garland is just darling. I LOVE the way you don’t assume that the reader already knows how to do things; instead, you explain every step with such patience. (You are a teacher at heart!!) And if I could just say–the idea of stringing the beads on skewers to paint them? Brilliant!
Thanks so much for linking this post to the Grace at Home party. I’m featuring you this week!
Thank you so much for the feature, Richella!